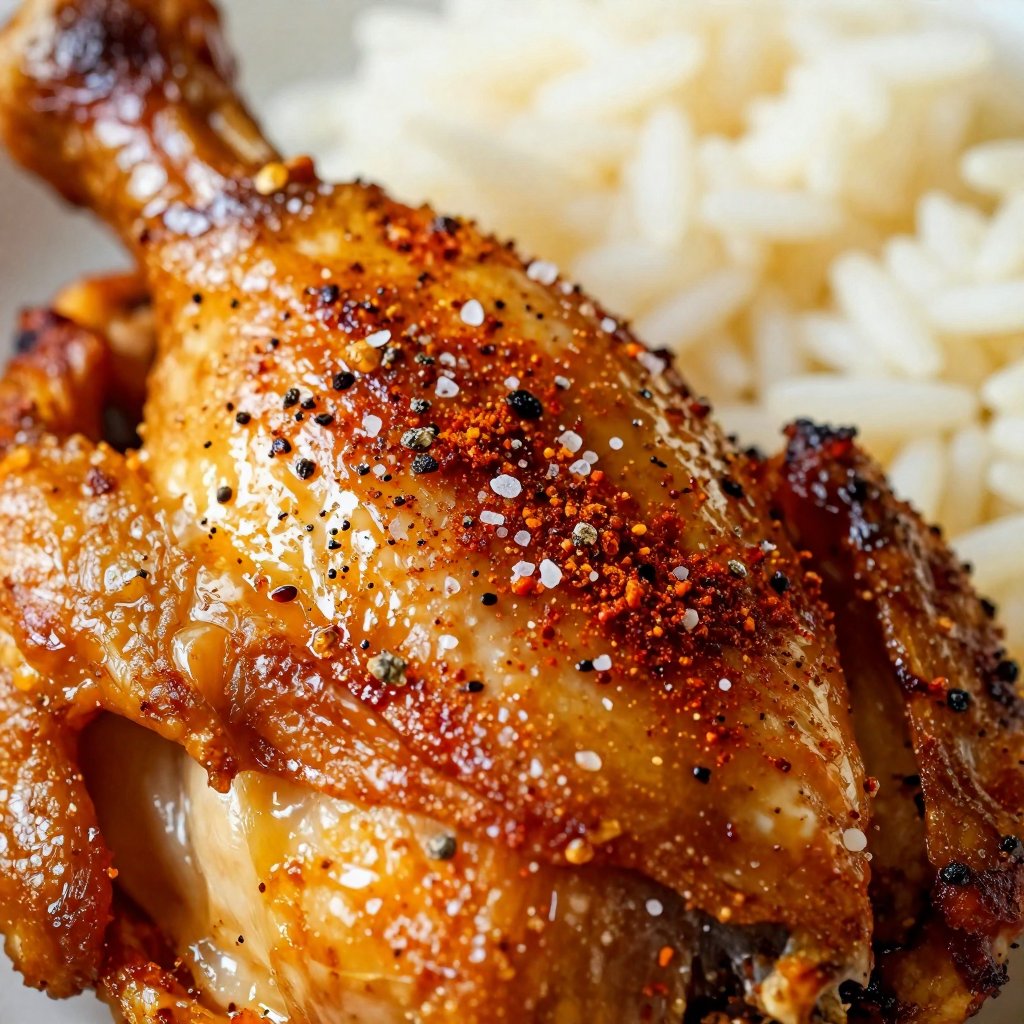
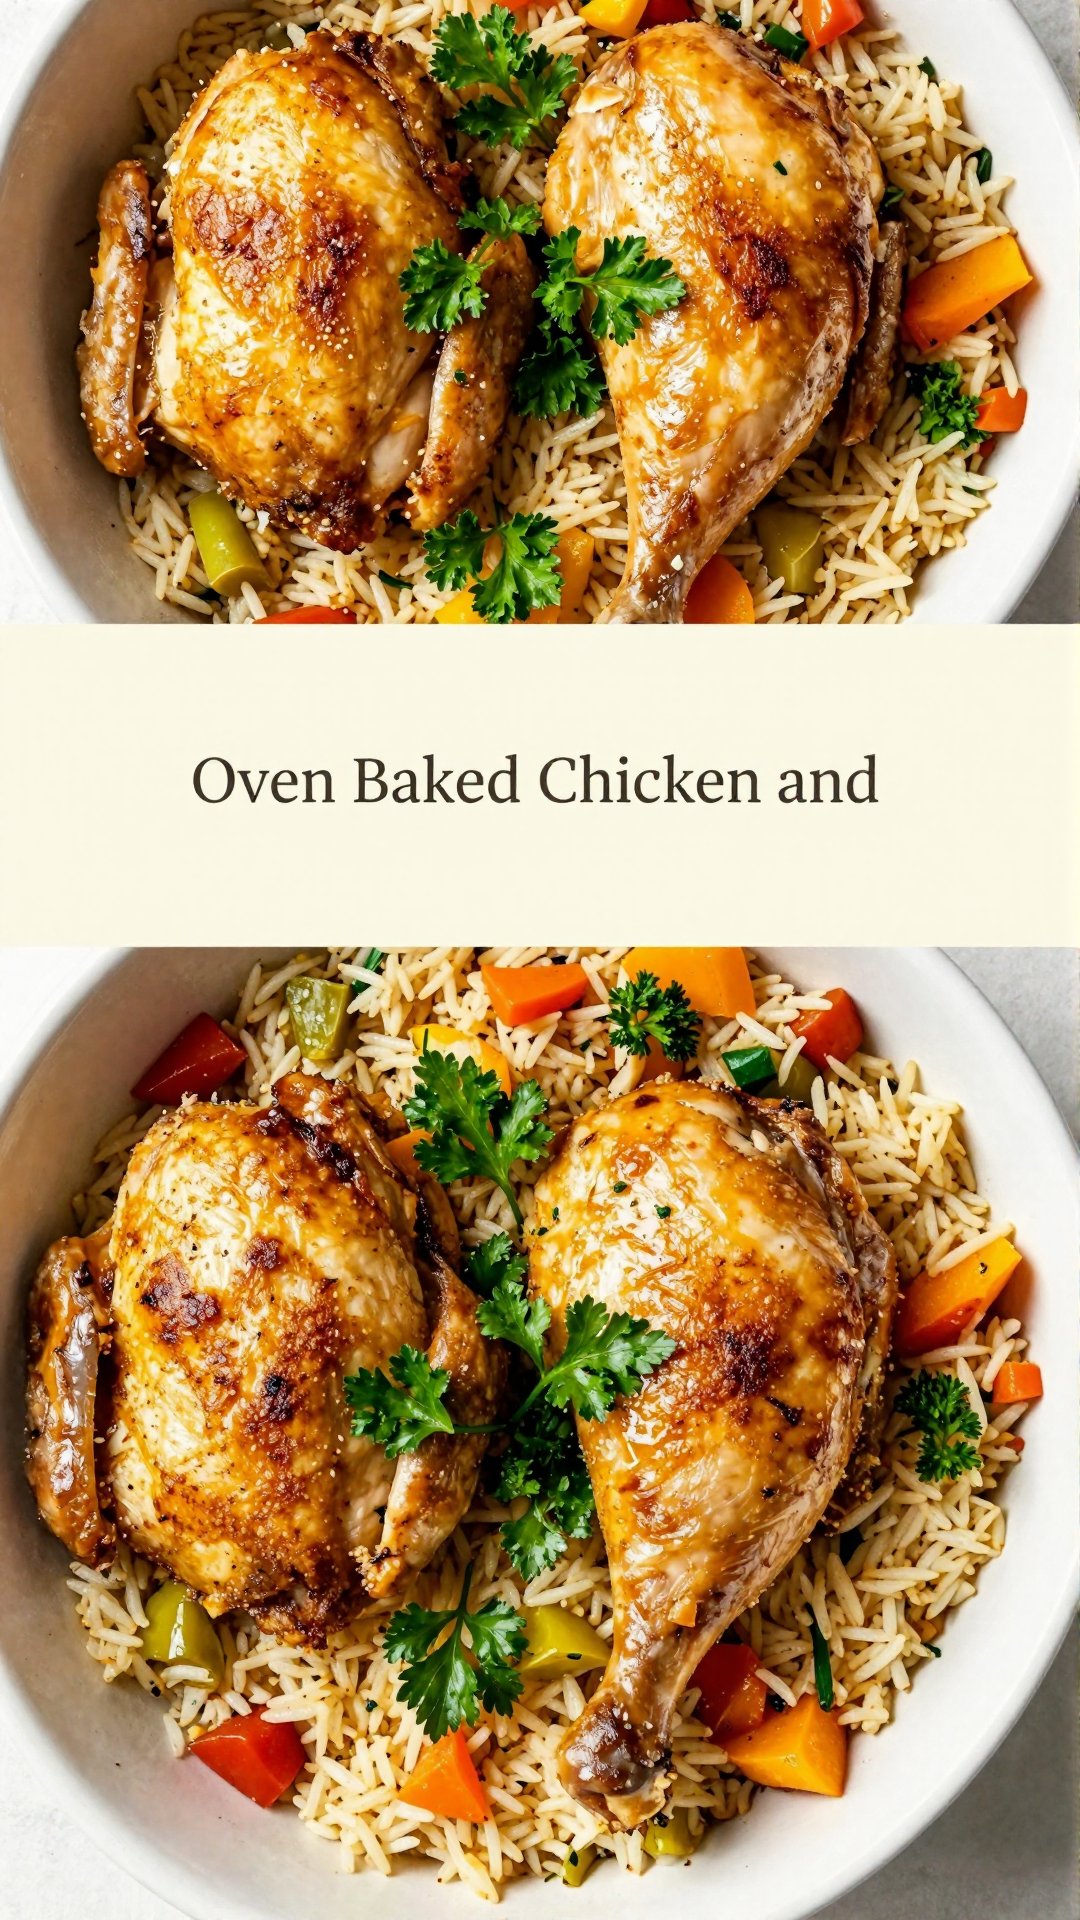
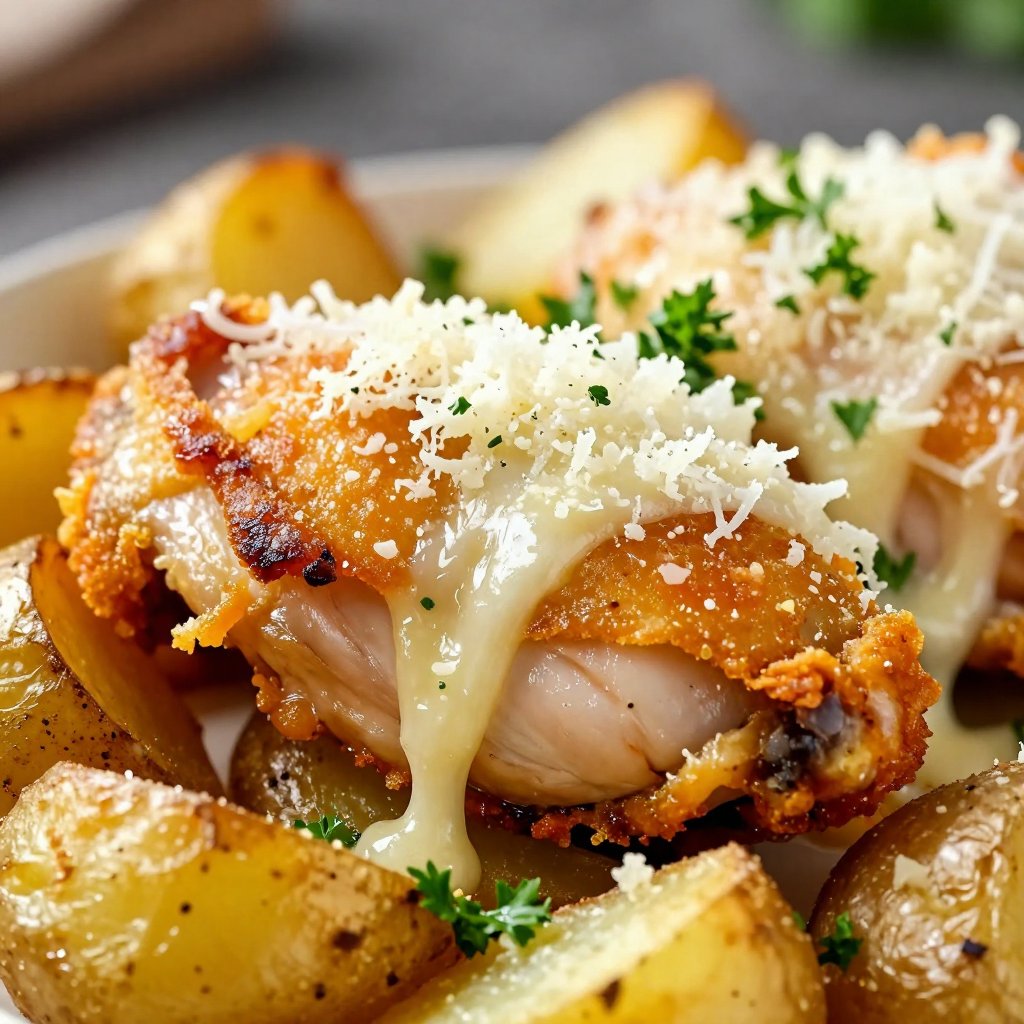
Easy Oven Baked Chicken and Rice Recipe: A Weeknight Winner
Hey there, friend! Ava here, back in my Seattle kitchen, and today I’m sharing a recipe that’s been a staple in my life since… well, since I could reach the oven! It’s my Easy Oven Baked Chicken and Rice. This isn’t just a meal; it’s a warm hug on a plate, perfect for busy weeknights or lazy weekends when you want something comforting without the fuss.
Growing up, my mom always had a version of this ready to go. It was the ultimate ‘I don’t know what to make for dinner’ solution, and it always delivered. Now, I’ve tweaked and perfected it over the years, adding my own little Ava-touch, and I’m so excited to share it with you.
Why You’ll Absolutely Love This Chicken and Rice Bake
Okay, let’s get real. There are a million chicken and rice recipes out there. So, why should you try this one? Here’s the deal:
- One-Pan Wonder: Less dishes mean more time for Netflix (or, you know, actual human interaction). Everything cooks together in one baking dish, making cleanup a breeze.
- Customizable: Veggies, spices, even the type of rice – this recipe is your oyster. Feel free to get creative and use what you have on hand.
- Comfort Food, Elevated: This isn’t your grandma’s bland chicken and rice. We’re talking perfectly cooked rice, juicy chicken, and a symphony of flavors that will make your taste buds sing.
- Effortless: Minimal prep time, maximum flavor. Seriously, you can throw this together in about 15 minutes.
I’m all about minimizing extra steps in my cooking routine. That’s why this recipe is so amazing. No need to pre-cook the rice or sear the chicken. Everything goes into the baking dish, and the oven does the rest of the work. This is a true dump-and-bake recipe!
The Ingredients: Your Shopping List Sorted
Here’s what you’ll need to create this masterpiece. Don’t worry, you probably already have most of it in your pantry!
- 1.5 lbs boneless, skinless chicken thighs or breasts, cut into 1-inch pieces
- 1 cup long-grain rice, rinsed
- 2 cups chicken broth
- 1 cup mixed vegetables (frozen or fresh)
- 1 tbsp olive oil
- 1 tsp garlic powder
- 1/2 tsp onion powder
- 1/4 tsp paprika
- Salt and pepper to taste
Let’s Get Cooking: Step-by-Step Instructions
Alright, gather your ingredients, put on your favorite playlist, and let’s get baking!
- Preheat & Prep: Preheat the oven to 375°F (190°C). This is crucial for even cooking.
- Combine Ingredients: In a 9×13 inch baking dish, combine the rice, chicken broth, mixed vegetables, garlic powder, onion powder, paprika, salt, and pepper. Make sure everything is well-mixed.
- Chicken Time: In a separate bowl, toss the chicken pieces with olive oil, salt, and pepper. This ensures that the chicken is flavorful and juicy.
- Arrange & Cover: Arrange the chicken evenly over the rice mixture. Cover the baking dish tightly with aluminum foil. This traps the steam and helps the rice cook perfectly.
- Bake: Bake for 45-50 minutes, or until the rice is cooked and the chicken is cooked through (internal temperature of 165°F or 74°C).
- Rest & Serve: Remove from the oven and let stand for 5-10 minutes before serving. This allows the rice to absorb any remaining liquid and the chicken to rest, resulting in a more tender and flavorful dish.
Ava’s Pro Tips for the Perfect Chicken and Rice
Over the years, I’ve picked up a few tricks to take this dish from good to *amazing*. Here are my secrets:
- Rinse the Rice: This removes excess starch and prevents the rice from becoming gummy. I usually rinse it under cold water for a minute or two until the water runs clear.
- Don’t Peek!: Resist the urge to lift the foil while the dish is baking. This releases the steam and can prolong the cooking time.
- Check the Chicken: Use a meat thermometer to ensure that the chicken is cooked to an internal temperature of 165°F (74°C). Nobody wants undercooked chicken!
- Fluff the Rice: Once the dish is done, fluff the rice with a fork to separate the grains and prevent them from sticking together.
- Bone-in Chicken Thighs: For even richer flavor, use bone-in, skin-on chicken thighs instead of boneless, skinless. You’ll need to increase the baking time slightly, usually for up to an hour.
When you’re using chicken thighs in the oven, remember they can handle the heat and stay juicy, whereas chicken breast can sometimes dry out if overcooked. That’s why I often prefer chicken thighs for this recipe.
Common Mistakes (and How to Avoid Them)
We’ve all been there – a recipe gone wrong. Here are a few common pitfalls to watch out for:
- Undercooked Rice: Make sure you use the correct ratio of rice to liquid. If the rice is still crunchy after 50 minutes, add a little more chicken broth and bake for another 10-15 minutes.
- Dry Chicken: Overcooking the chicken can result in a dry, tough dish. Use a meat thermometer to ensure that it’s cooked to the correct temperature.
- Bland Flavor: Don’t be afraid to season generously! Salt, pepper, garlic powder, and onion powder are your friends.
Variations: Make It Your Own!
This recipe is incredibly versatile. Here are a few ideas to get your creative juices flowing:
- Spice It Up: Add a pinch of red pepper flakes or a dash of hot sauce for a little kick.
- Mediterranean Twist: Use sun-dried tomatoes, olives, and feta cheese for a Mediterranean-inspired dish.
- Mushroom Magic: Sauté some mushrooms and add them to the rice mixture for an earthy flavor.
- Lemon Herb: Add lemon zest and fresh herbs like thyme and rosemary for a bright, aromatic dish.
- Vegetarian Version: Substitute the chicken with chickpeas or tofu for a vegetarian-friendly meal.
Instead of using chicken thighs, you can also use chicken legs or even a whole cut-up chicken. Just adjust the cooking time accordingly.
Storage and Reheating Tips
Got leftovers? Lucky you! Here’s how to store and reheat them:
- Storage: Store the chicken and rice in an airtight container in the refrigerator for up to 3-4 days.
- Reheating: Reheat in the microwave or oven until heated through. Add a splash of chicken broth to keep the rice from drying out.
- Freezing: For longer storage, you can freeze the chicken and rice in an airtight container for up to 2-3 months. Thaw overnight in the refrigerator before reheating.
Frequently Asked Questions
Got questions? I’ve got answers!
- Can I use brown rice instead of white rice? Yes, but you’ll need to increase the cooking time and the amount of liquid. Brown rice typically takes longer to cook than white rice. I’d suggest using up to 3 cups of chicken broth and baking for up to 60-70 minutes.
- Can I use different vegetables? Absolutely! Feel free to use whatever vegetables you have on hand. Broccoli, carrots, peas, and corn all work well in this recipe.
- Can I make this recipe ahead of time? Yes, you can assemble the dish ahead of time and store it in the refrigerator for up to 24 hours before baking. Just add a few extra minutes to the baking time.
- What kind of chicken broth should I use? I prefer to use low-sodium chicken broth so that I can control the amount of salt in the dish. You can also use homemade chicken broth for an even richer flavor.
Serving Suggestions: Complete the Meal
This chicken and rice dish is delicious on its own, but here are a few ideas to round out the meal:
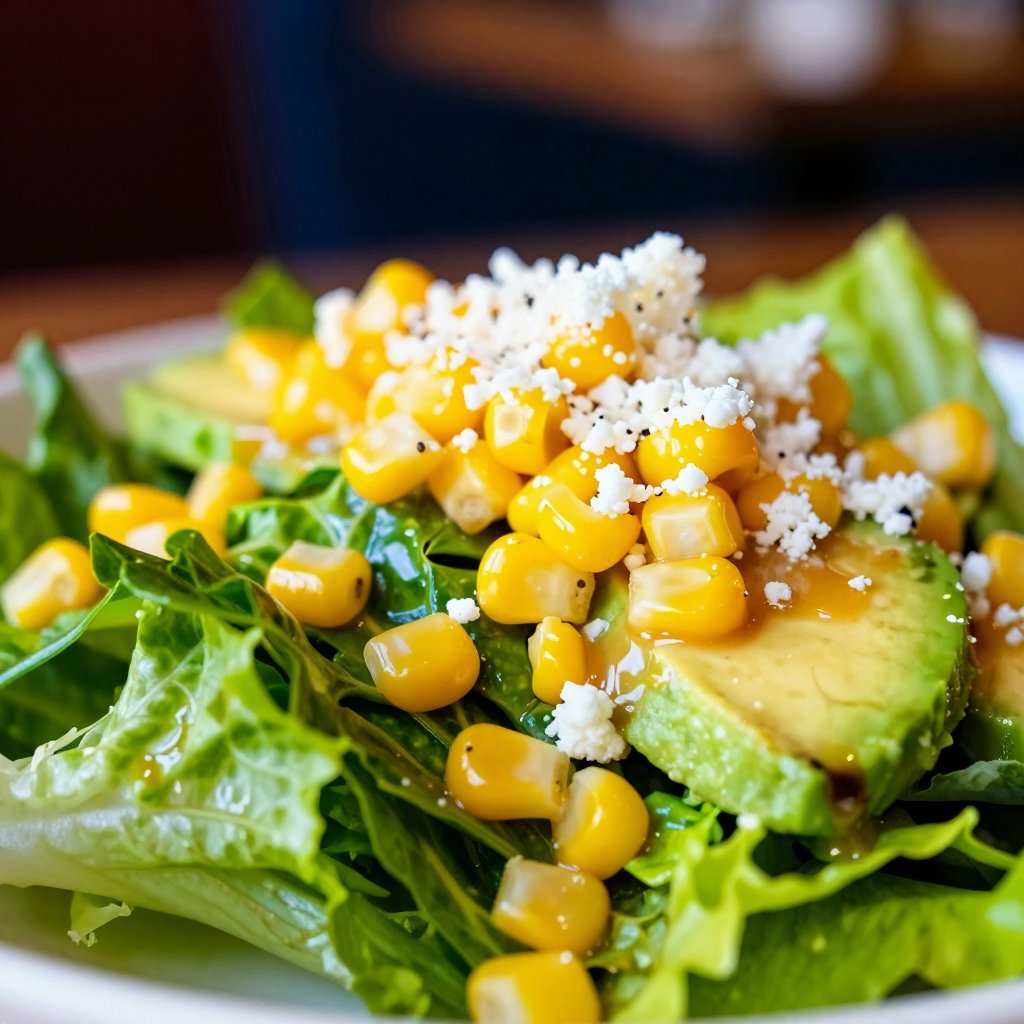
- Side Salad: A simple green salad with a vinaigrette dressing adds a refreshing contrast to the richness of the chicken and rice.
- Steamed Vegetables: Steamed broccoli, green beans, or asparagus are healthy and easy side dishes.
- Crusty Bread: Serve with a slice of crusty bread for soaking up all the delicious juices.
So there you have it – my Easy Oven Baked Chicken and Rice recipe. I hope you love it as much as I do! Remember, cooking is all about experimenting and having fun. Don’t be afraid to put your own spin on this recipe and make it your own. Happy cooking!
And remember, if you try it, let me know how it turns out! I’m always excited to hear from you guys.
Oven Baked Chicken and Rice
Ingredients
Ingredients
- 1.5 lbs boneless, skinless chicken thighs or breasts (cut into 1-inch pieces)
- 1 cup long-grain rice (rinsed)
- 2 cups chicken broth
- 1 cup mixed vegetables (frozen or fresh)
- 1 tbsp olive oil
- 1 tsp garlic powder
- 0.5 tsp onion powder
- 0.25 tsp paprika
- to taste Salt and pepper
Instructions
- Preheat oven to 375°F (190°C).
- Combine rice, broth, vegetables, garlic powder, onion powder, paprika, salt, and pepper in a baking dish.
- Stir well to combine.
- Toss chicken with olive oil, salt, and pepper in a separate bowl.
- Arrange chicken evenly over the rice mixture.
- Cover the baking dish tightly with aluminum foil.
- Bake for 45-50 minutes, or until rice and chicken are cooked through.
- Remove from oven and let stand for 5-10 minutes before serving.
Notes


")