This post contains affiliate links. As an Amazon Associate, I earn from qualifying purchases. This comes at no extra cost to you.
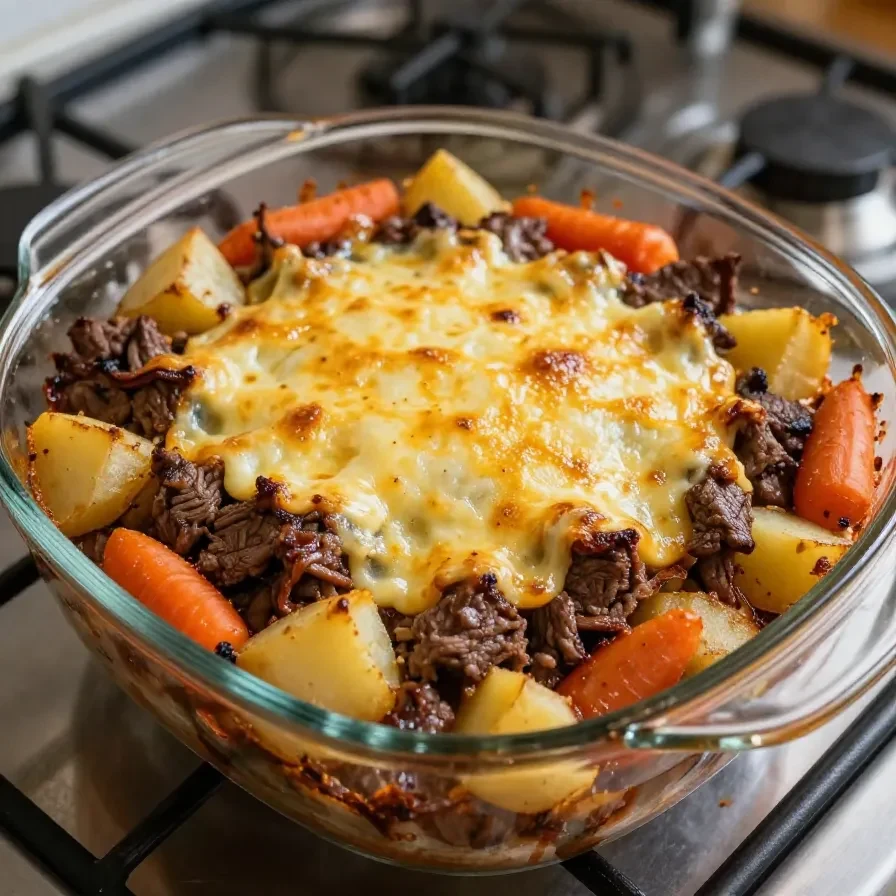
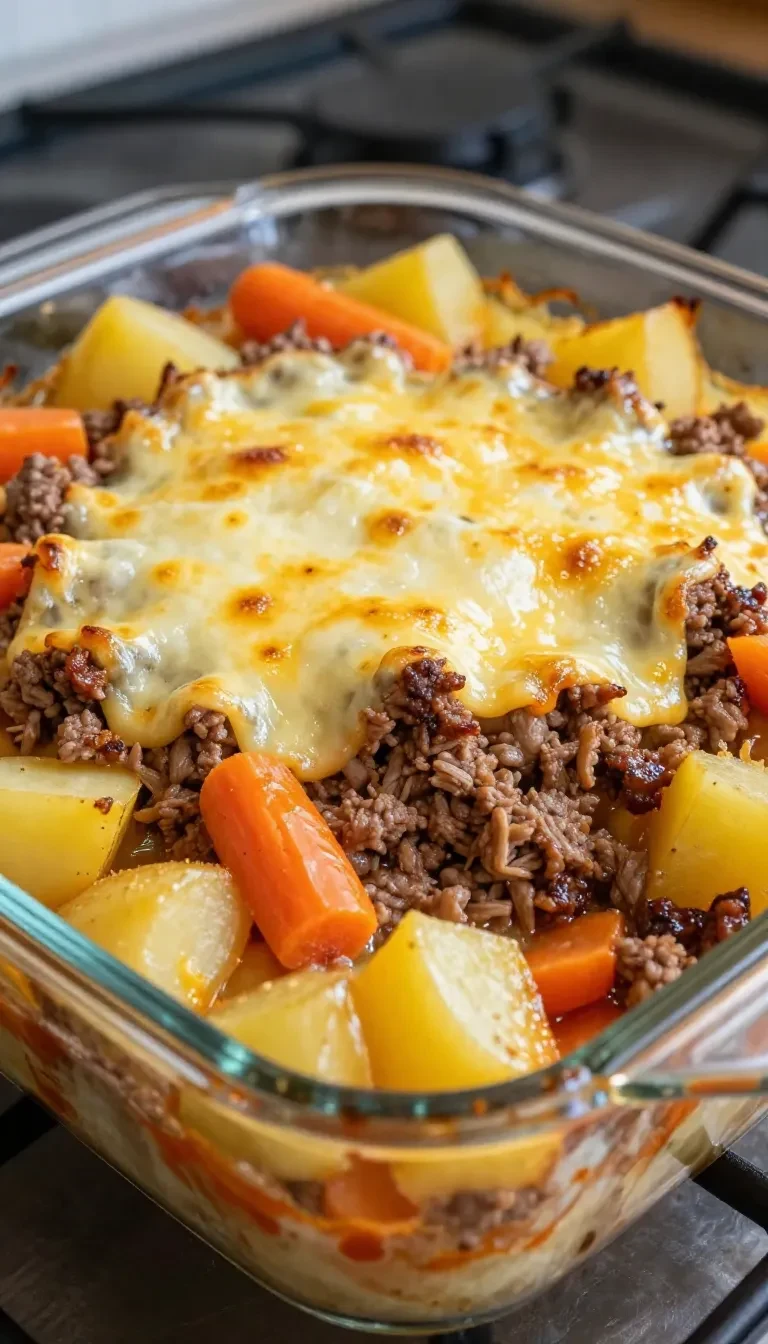
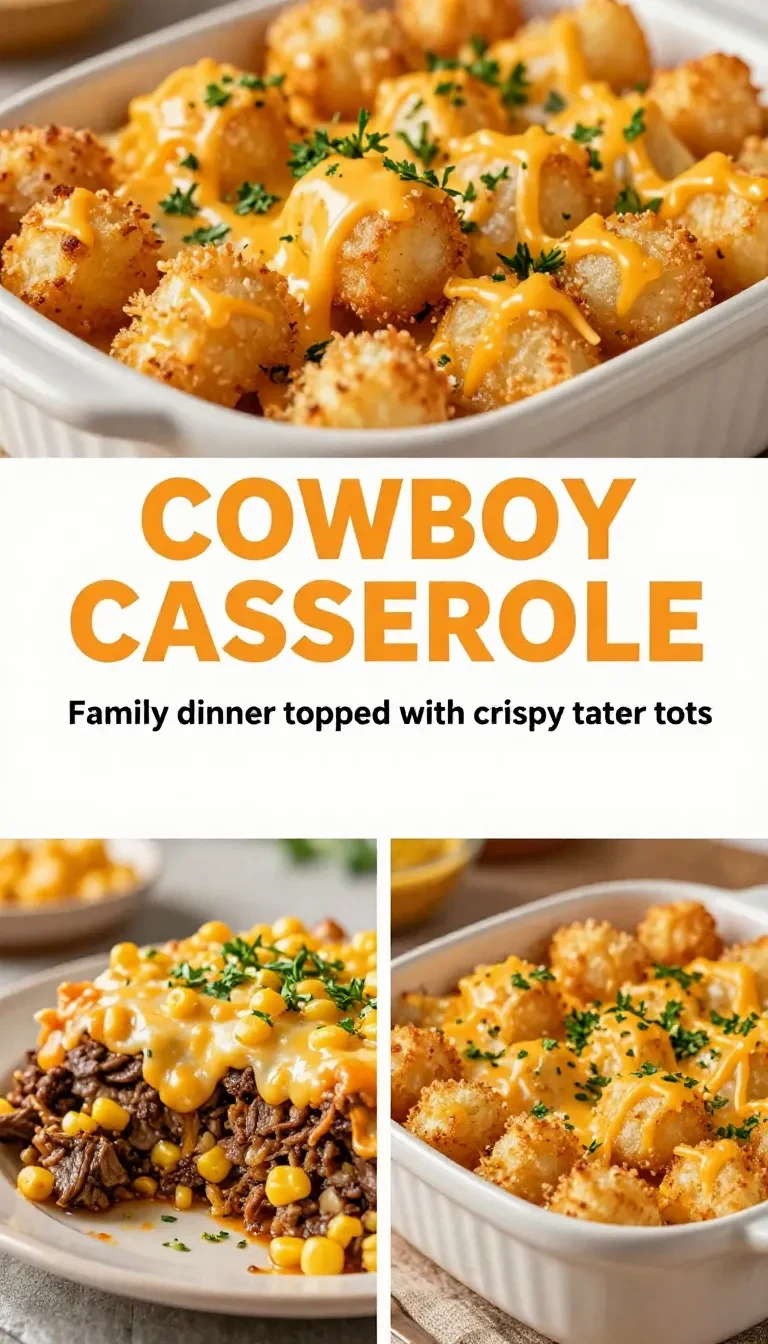
Cowboy Casserole is the perfect combination of savory ground meat, hearty beans, and crispy tater tots blanketed with melted cheddar cheese. This homestyle dish delivers layers of textures and bold flavors in every bite, thanks to the hint of spice from diced tomatoes with green chilies and a medley of classic seasonings. It’s a one-dish wonder that’s easy to prepare and even easier to devour.
Table of Contents
- Why This Cowboy Casserole Works for You
- Everything You Need for Cowboy Casserole
- How To Make Cowboy Casserole Step by Step
- Serving Ideas for Cowboy Casserole
- Common Mistakes to Avoid
- Expert Tips and Pro Shortcuts
- Common Questions About Cowboy Casserole
Why This Cowboy Casserole Works for You
- This dish is a crowd-friendly, no-fuss meal that satisfies cravings. The frozen tater tots bake to golden-brown perfection, delivering crunch on top of creamy, cheesy layers.
- It’s a one-pan dinner that simplifies cleanup. With everything baked in one casserole dish, you’ll save yourself from washing extra pots and pans.
- Cowboy Casserole is both hearty and customizable for dietary preferences. Whether you use ground beef or halal turkey, the flavors adapt beautifully to your needs.
- The ingredients are pantry-friendly and budget-conscious. Black beans, corn, and diced tomatoes are affordable staples that bring bold flavor without complexity.
Everything You Need for Cowboy Casserole
- 1 pound ground beef or halal ground turkey
- 1 medium onion, chopped
- 1 can (15 ounces) black beans, drained and rinsed
- 1 can (15 ounces) corn, drained
- 1 can (10.5 ounces) diced tomatoes with green chilies
- 1 teaspoon garlic powder
- 1 teaspoon chili powder
- 1 teaspoon cumin
- Salt and pepper, to taste
- 2 cups shredded cheddar cheese
- 1 package (2.5 pounds) frozen tater tots
- 1/2 cup halal chicken broth
The diced tomatoes with green chilies add a subtle heat that elevates the dish, while the frozen tater tots provide that signature crispy topping everyone loves.
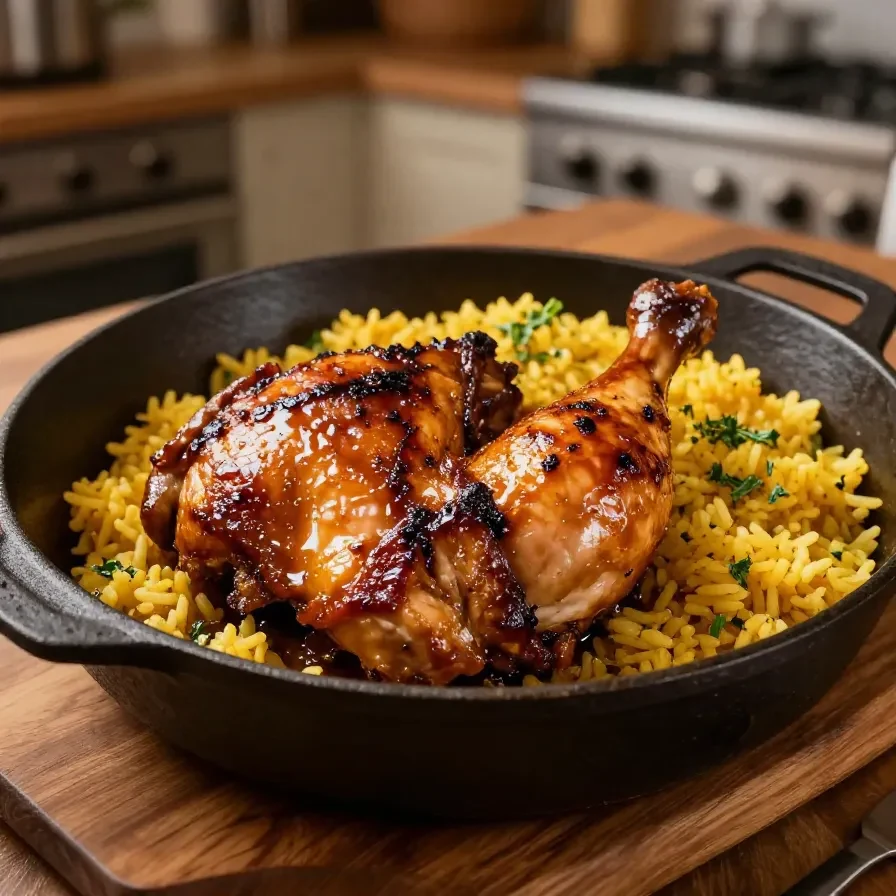
For more ideas, check out our chicken bubble biscuit bake casserole:.
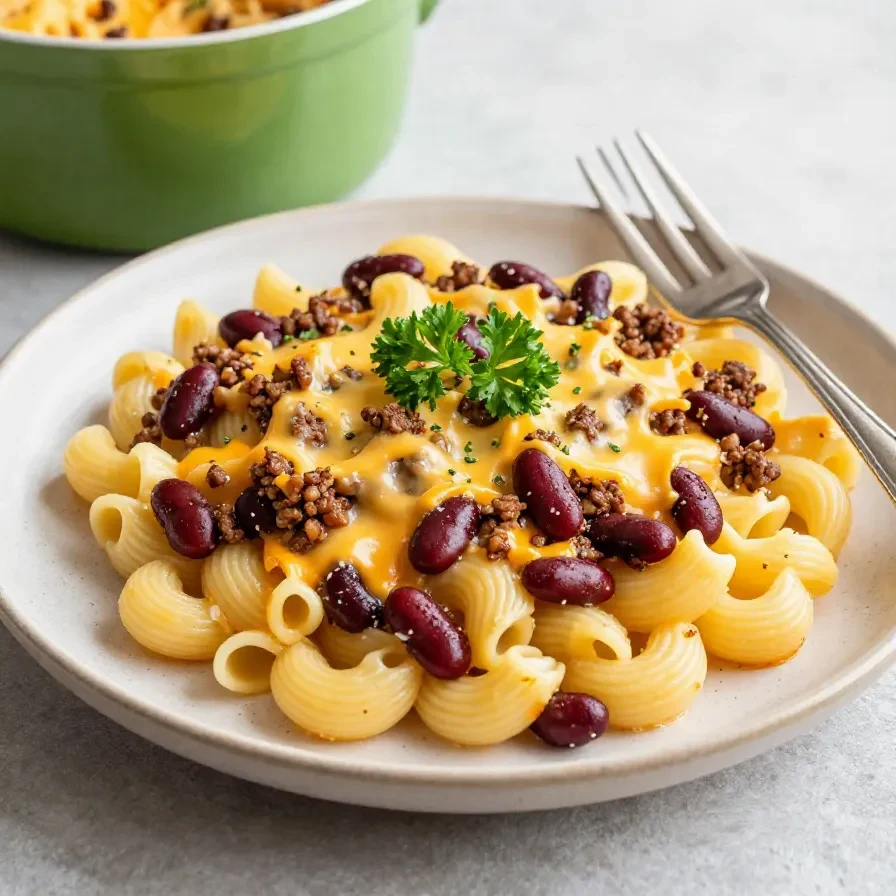
You might also enjoy our hobo casserole ground beef recipe easy.
How To Make Cowboy Casserole Step by Step
- Preheat your oven to 375°F (190°C).
- In a large skillet over medium heat, cook the ground beef or turkey with the chopped onion until fully cooked, breaking it apart with a spatula.
- Drain any excess fat from the skillet. Stir in the black beans, corn, diced tomatoes, garlic powder, chili powder, cumin, salt, and pepper. Mix well and let it cook for about 5 minutes to blend the flavors.
- In a large casserole dish, spread the meat and bean mixture evenly across the bottom.
- Pour the halal chicken broth over the mixture to add moisture and depth.
- Arrange the frozen tater tots in a single layer on top of the meat mixture.
- Sprinkle the shredded cheddar cheese evenly over the tater tots.
- Bake in the preheated oven for 30-35 minutes, or until the tater tots are golden brown and crispy.
- Remove from the oven and let the casserole cool for a few minutes before serving.


Great for preparing meals ahead of time, allowing flavors to meld beautifully.
Essential for mixing ingredients and easy to clean.
Serving Ideas for Cowboy Casserole
- Pair it with a simple green salad for a fresh contrast. The crisp lettuce and light vinaigrette balance the dish’s hearty qualities.
- Serve with warm cornbread to complement the Southwestern-inspired flavors. Its slightly sweet notes are a natural fit.
- Add a dollop of sour cream or guacamole on top for a creamy, tangy boost.
- Complete the meal with a side of roasted vegetables for a touch of extra nutrition and color.
Common Mistakes to Avoid
- Don’t skip draining the black beans and corn. Excess liquid can make the casserole too watery and interfere with the crispness of the tater tots.
- Be sure to arrange the tater tots in a single layer. Overlapping them can lead to uneven cooking and soggy spots.
- Avoid overbaking the casserole. Check at the 30-minute mark to ensure the tater tots are perfectly golden without burning.
Expert Tips and Pro Shortcuts
- Prep the meat mixture ahead of time and refrigerate it. This makes assembly quick and easy on busy weeknights.
- Use pre-shredded cheddar cheese to save time while still getting great melted texture.
- Slightly thaw the frozen tater tots for faster and more even cooking. This ensures they crisp up perfectly in the oven.
- Substitute Monterey Jack cheese for a milder flavor or pepper jack for a hint of spice, customizing the casserole to your taste.
Common Questions About Cowboy Casserole
- Can I use fresh vegetables instead of canned?
- Yes, but cook and season them beforehand to ensure they are tender and well-flavored.
- How do I store leftovers?
- Store in an airtight container in the refrigerator for up to 3 days. Reheat in the oven for the best texture.
- What can I use instead of tater tots?
- Hash browns or thinly sliced potatoes can work as a substitute, but adjust the baking time as needed.
Cowboy Casserole
Ingredients
- 1 pound ground beef or halal ground turkey
- 1 medium onion, chopped
- 1 can black beans, drained and rinsed (15 ounces)
- 1 can corn, drained (15 ounces)
- 1 can diced tomatoes with green chilies (10.5 ounces)
- 1 tsp garlic powder
- 1 tsp chili powder
- 1 tsp cumin
- salt and pepper (to taste)
- 2 cup shredded cheddar cheese
- 1 package frozen tater tots (2.5 pounds)
- 1/2 cup halal chicken broth
Instructions
- Preheat your oven to 375°F (190°C).
- In a large skillet over medium heat, cook the ground beef or turkey with the chopped onion until fully cooked, breaking it apart with a spatula.
- Drain any excess fat, then stir in the black beans, corn, diced tomatoes, garlic powder, chili powder, cumin, salt, and pepper. Mix well and let it cook for about 5 minutes.
- In a large casserole dish, spread the meat and bean mixture evenly across the bottom.
- Pour the halal chicken broth over the mixture for added moisture.
- Top the meat mixture with the frozen tater tots, arranging them in a single layer.
- Sprinkle the shredded cheddar cheese evenly on top of the tater tots.
- Bake in the preheated oven for 30-35 minutes, or until the tater tots are golden brown and crispy.
- Remove from the oven and let it cool for a few minutes before serving.
Notes
Loved this recipe? Save it to your favorite Pinterest board so you can easily find it later! ✨