This post contains affiliate links. As an Amazon Associate, I earn from qualifying purchases. This comes at no extra cost to you.
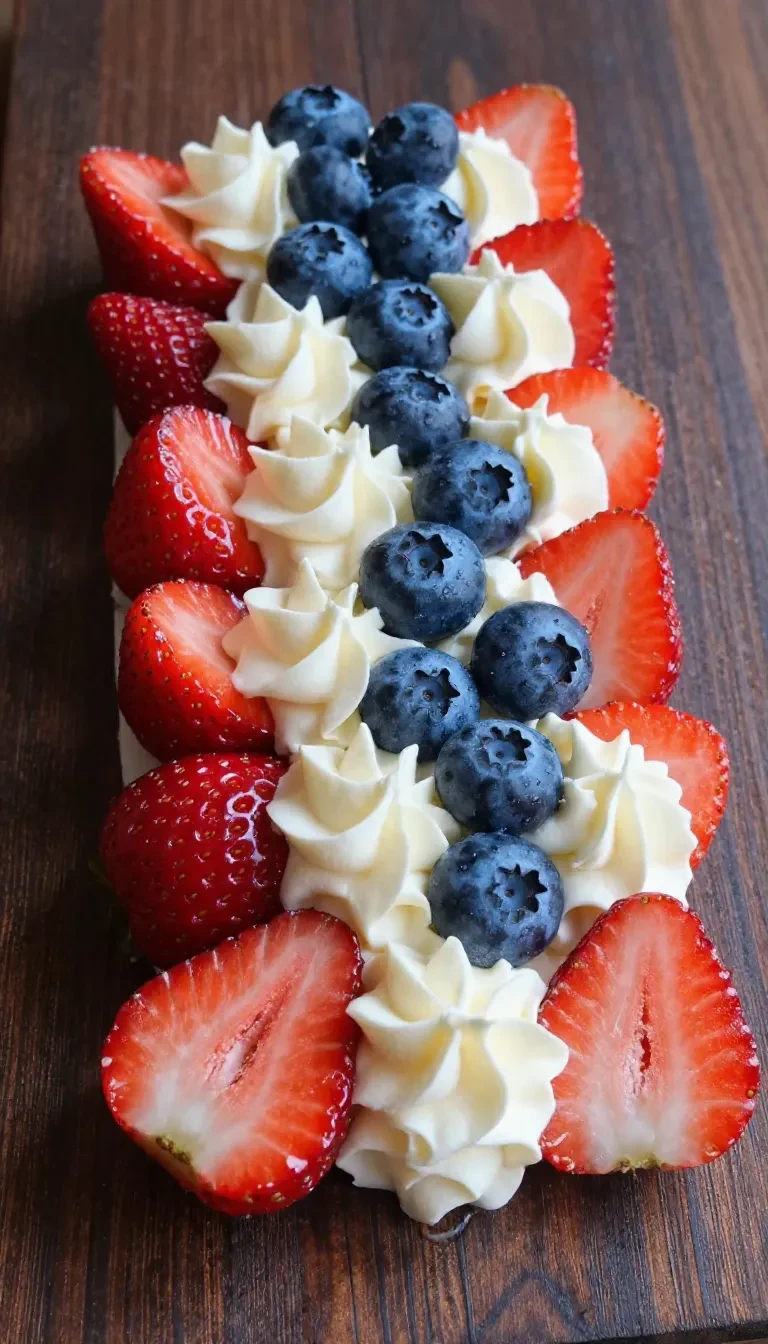
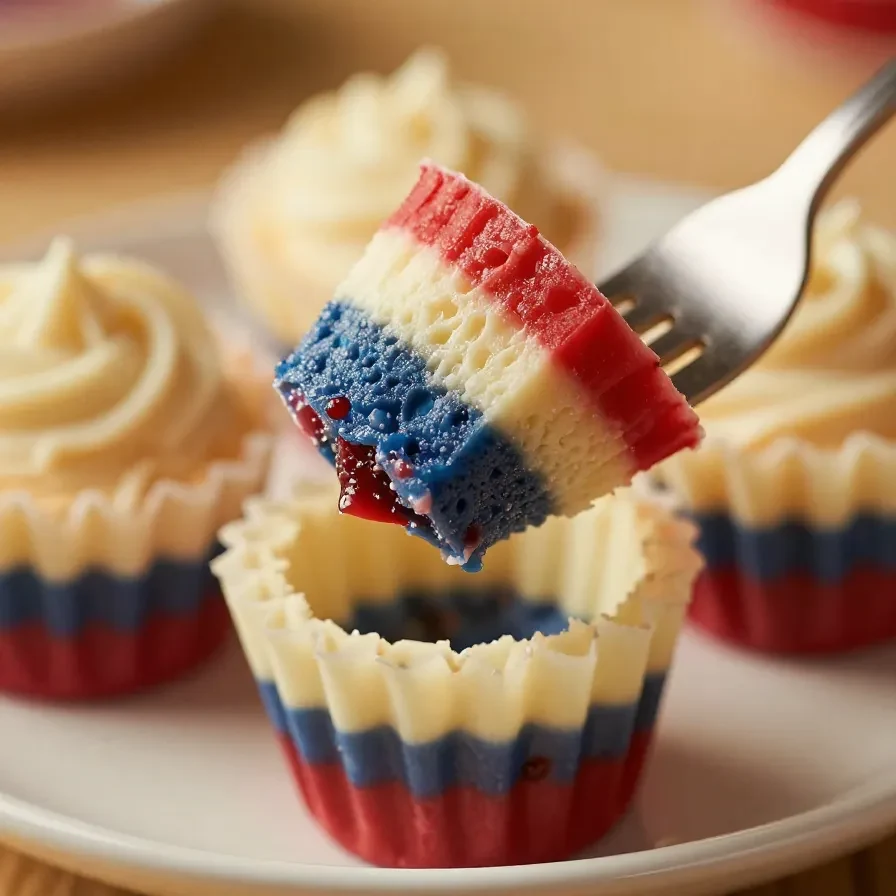
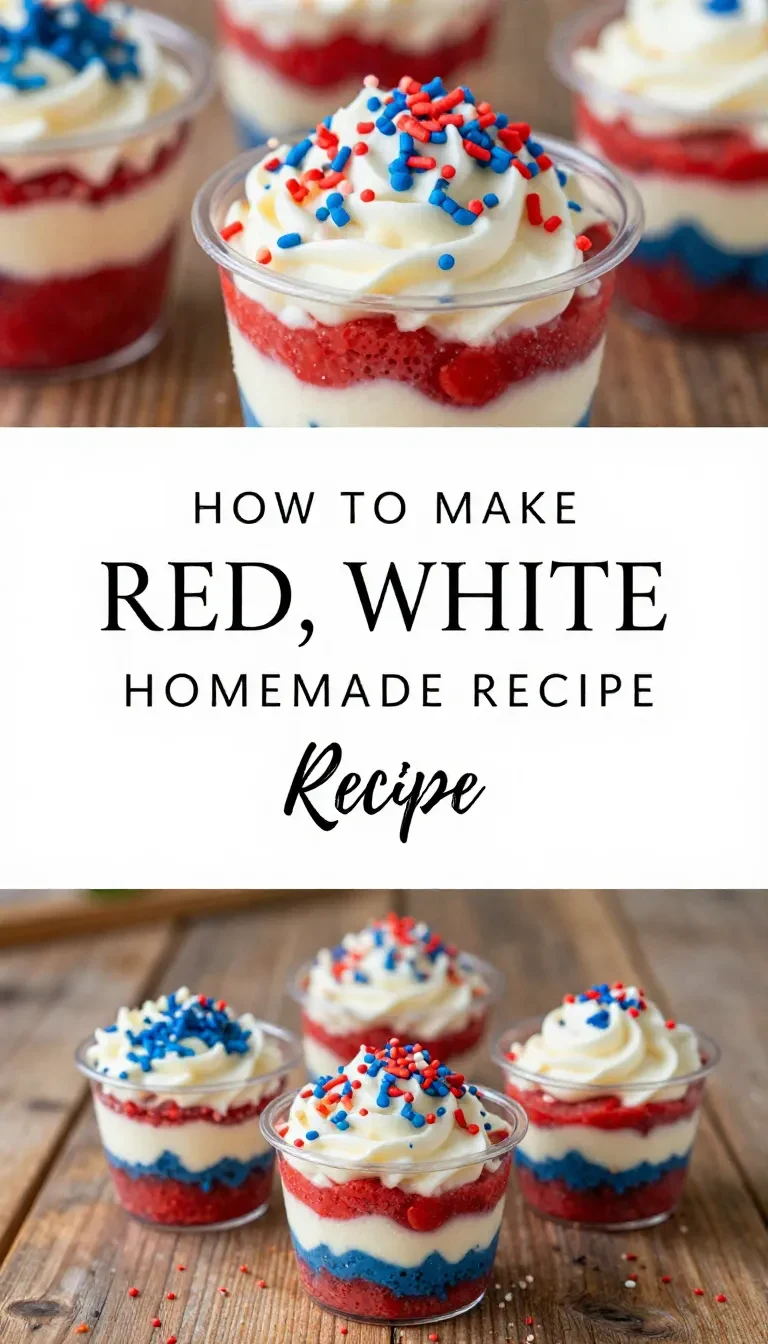
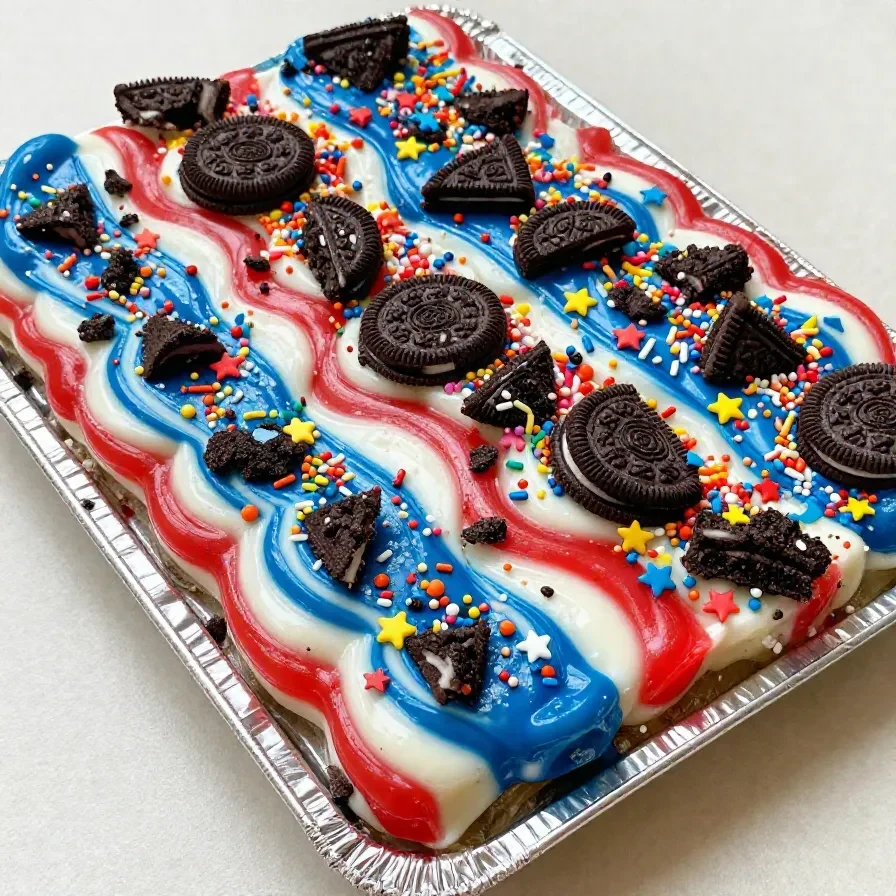
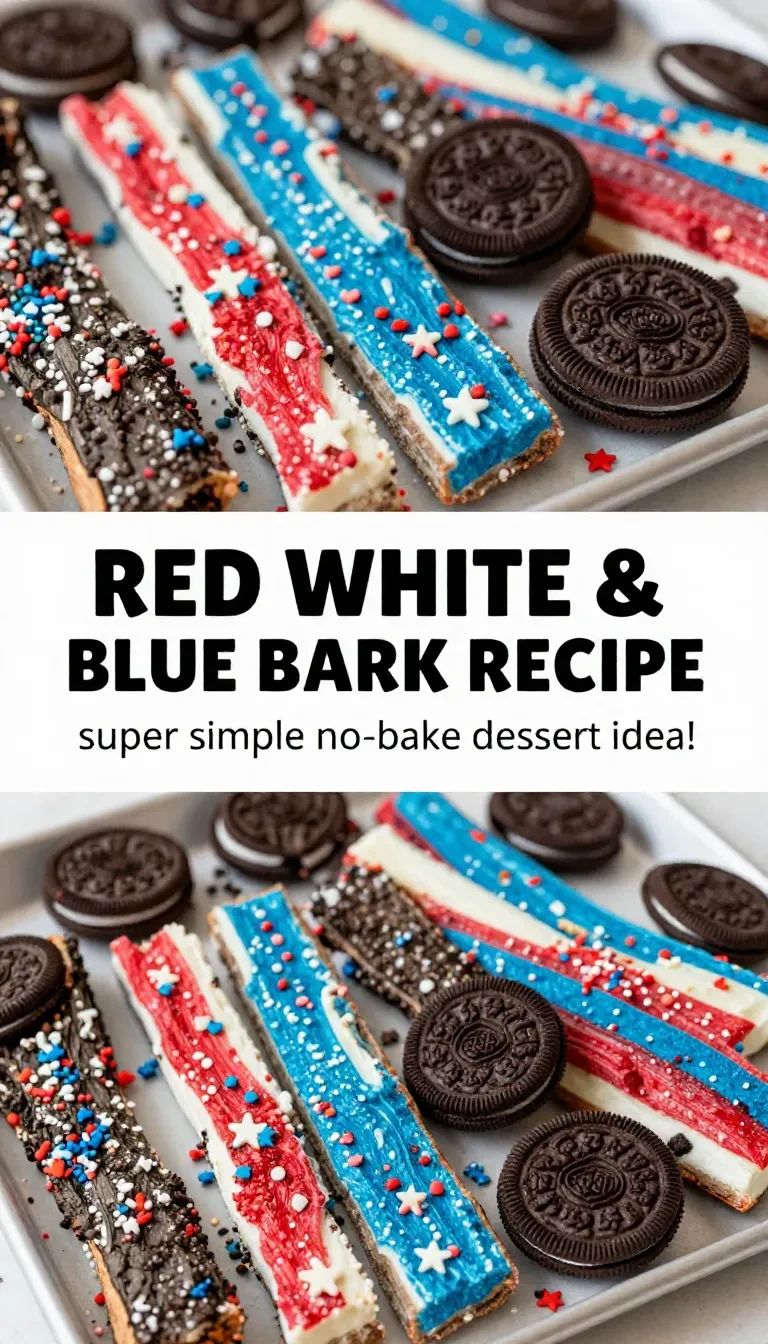
This Patriotic Oreo Balls Recipe combines the irresistible crunch of Oreo cookies with creamy, colorful white chocolate toppings that bring festive flair to any 4th of July celebration. These bite-sized treats are no-bake, fun to make, and perfectly chilled for summer gatherings. Add sprinkles for extra sparkle and make your dessert table the star of the show!
Table of Contents
- Why Patriotic Oreo Balls Are Perfect for Your Celebration
- Everything You Need for Patriotic Oreo Balls Recipe
- How To Make Patriotic Oreo Balls Recipe Step by Step
- How to Store and Prep Patriotic Oreo Balls
- Easy Swaps for Patriotic Oreo Balls Recipe
- Frequently Asked Questions About Patriotic Oreo Balls
- Avoid These Common Mistakes
Why Patriotic Oreo Balls Are Perfect for Your Celebration
- No-bake convenience: Skip the oven and keep your kitchen cool while preparing these festive treats. Perfect for busy party planners who need a quick dessert!
The red, white, and blue toppings make them ideal for patriotic celebrations. Add sprinkles or dye the chocolate to match your event theme. Once chilled, these Oreo balls hold their shape, so they’re great for picnics and outdoor gatherings. Pack them in a cool container and enjoy them anywhere! Get the whole family involved in rolling the balls and dipping them in colorful coatings. A fun way to spend time together while preparing for your celebration!
Everything You Need for Patriotic Oreo Balls Recipe
- 36 Oreo cookies (regular, not double-stuffed)
- 8 oz cream cheese, softened
- 12 oz white chocolate or white candy melts
- Red food coloring
- Blue food coloring
- Optional: Sprinkles in red, white, or blue for decoration
The softened cream cheese is the secret to achieving a smooth, dough-like consistency when combined with crushed Oreos. Using white chocolate as a base ensures vibrant, opaque colors when mixed with food coloring.
How To Make Patriotic Oreo Balls Recipe Step by Step
- Place the Oreo cookies in a food processor and pulse until they form fine crumbs.
- Add the softened cream cheese to the Oreo crumbs and process until fully combined, forming a dough-like consistency.
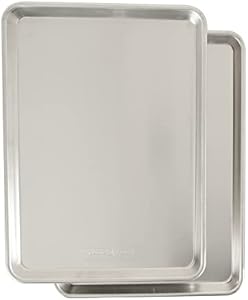
- Scoop out small portions of the mixture (about 1 to 1.5 tablespoons each) and roll them into balls. Place the balls on a baking sheet lined with parchment paper.
 Essential CookwareWilton Non-Stick Baking Sheet
Ideal for chilling Oreo balls — ensures easy release and mess-free preparation.
Kitchen ApplianceHamilton Beach Food Processor 10-CupEfficiently crush Oreos into fine crumbs for the recipe — a must-have for smooth dough consistency.
- Refrigerate the Oreo balls for at least 30 minutes to firm them up.
- Melt the white chocolate or white candy melts according to package instructions, stirring until smooth.
- Divide the melted white chocolate into three separate bowls. Leave one bowl plain (white), add red food coloring to the second bowl, and blue food coloring to the third bowl, stirring until the colors are evenly distributed.
- Dip each Oreo ball into one of the colored chocolates, using a fork to coat them completely. Gently tap off excess chocolate and place the coated ball back on the parchment-lined baking sheet.
- Optionally, add sprinkles in red, white, or blue while the chocolate is still wet for extra patriotic flair.
- Let the chocolate coating set completely by refrigerating the Oreo balls for another 15-20 minutes.
- Serve the Oreo balls chilled and enjoy!


How to Store and Prep Patriotic Oreo Balls
Store these Oreo balls in an airtight container in the refrigerator for up to one week. For longer storage, freeze them in a single layer on a baking sheet until firm, then transfer them to a freezer-safe container for up to three months.
To serve from frozen, let them thaw in the refrigerator for several hours before enjoying. Keep them chilled during outdoor events to maintain their shape and freshness.
You might also enjoy our easy oreo balls recipe: no-bake dessert!.
Easy Swaps for Patriotic Oreo Balls Recipe
If you’re out of white candy melts, use white almond bark for a smooth coating; it melts similarly and works just as well with food coloring. Substitute cream cheese with a vegan alternative to make these Oreo balls dairy-free, adjusting the consistency if needed.
For more ideas, check out our easy oreo balls recipe: no-bake dessert!.
You can also try gluten-free sandwich cookies in place of Oreos for a gluten-free version of this no-bake dessert. The texture will remain just as indulgent!
Frequently Asked Questions About Patriotic Oreo Balls
- Can I use double-stuffed Oreos? Double-stuffed Oreos will make the mixture too soft and difficult to roll into balls. Stick to regular Oreos for the best texture.
- Do I need a food processor? While a food processor makes quick work of crushing the Oreos, you can also place them in a sealed bag and crush them with a rolling pin for a similar result.
- Can I make this ahead of time? Absolutely! These Oreo balls can be made a day or two in advance and stored in the fridge until your event.
Avoid These Common Mistakes
- Skipping the refrigeration step: If the Oreo balls aren’t chilled before dipping, they may fall apart in the melted chocolate. Always chill them for at least 30 minutes.
- Using too much food coloring: Overloading the chocolate with food coloring can alter its texture. Add coloring gradually for vibrant yet smooth results.
- Over-melting the chocolate: Chocolate that’s overheated can seize and become grainy. Melt it slowly, following package instructions for best results.
Patriotic Oreo Balls Recipe
Ingredients
- 36 Oreo cookies (regular, not double-stuffed)
- 8 oz cream cheese (softened)
- 12 oz white chocolate or white candy melts
- red food coloring
- blue food coloring
- sprinkles (optional, in red, white, or blue for decoration)
Instructions
- Place the Oreo cookies in a food processor and pulse until they form fine crumbs.
- Add the softened cream cheese to the Oreo crumbs and process until fully combined, forming a dough-like consistency.
- Scoop out small portions of the mixture (about 1 to 1.5 tablespoons each) and roll them into balls. Place the balls on a baking sheet lined with parchment paper.
- Refrigerate the Oreo balls for at least 30 minutes to firm them up.
- Melt the white chocolate or white candy melts according to package instructions, stirring until smooth.
- Divide the melted white chocolate into three separate bowls. Leave one bowl plain (white), add red food coloring to the second bowl, and blue food coloring to the third bowl, stirring until the colors are evenly distributed.
- Dip each Oreo ball into one of the colored chocolates, using a fork to coat them completely. Gently tap off excess chocolate and place the coated ball back on the parchment-lined baking sheet.
- Optionally, add sprinkles in red, white, or blue while the chocolate is still wet for extra patriotic flair.
- Let the chocolate coating set completely by refrigerating the Oreo balls for another 15-20 minutes.
- Serve the Oreo balls chilled and enjoy!
Notes

Loved this recipe? Save it to your favorite Pinterest board so you can easily find it later! ✨


")