This post contains affiliate links. As an Amazon Associate, I earn from qualifying purchases. This comes at no extra cost to you.
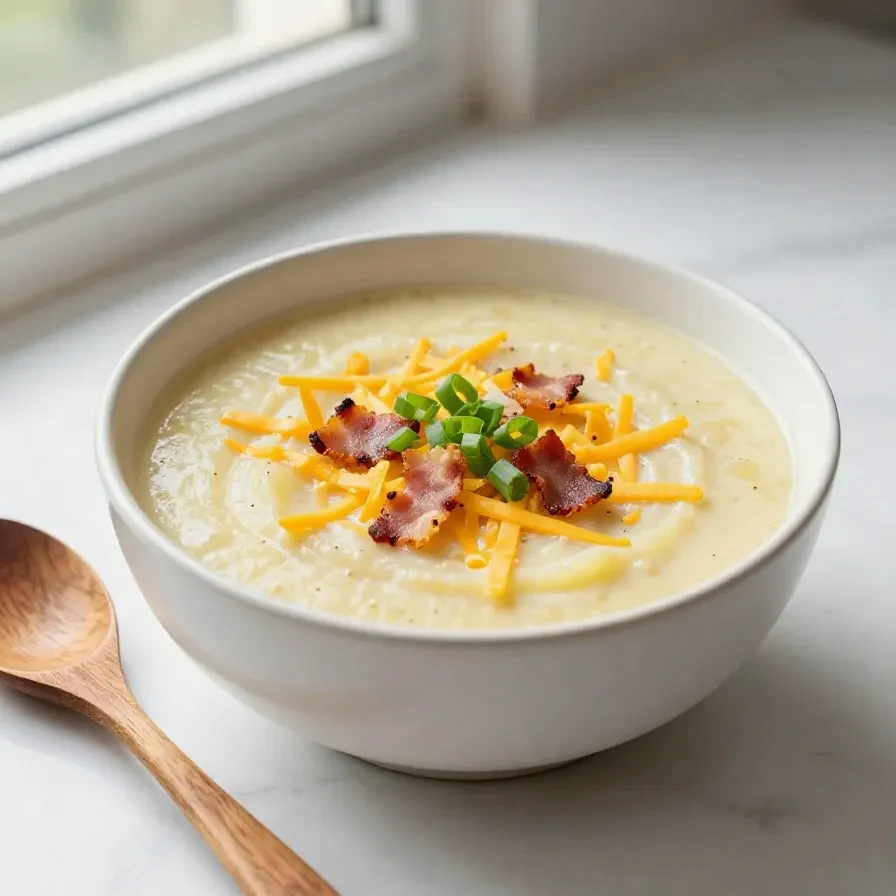
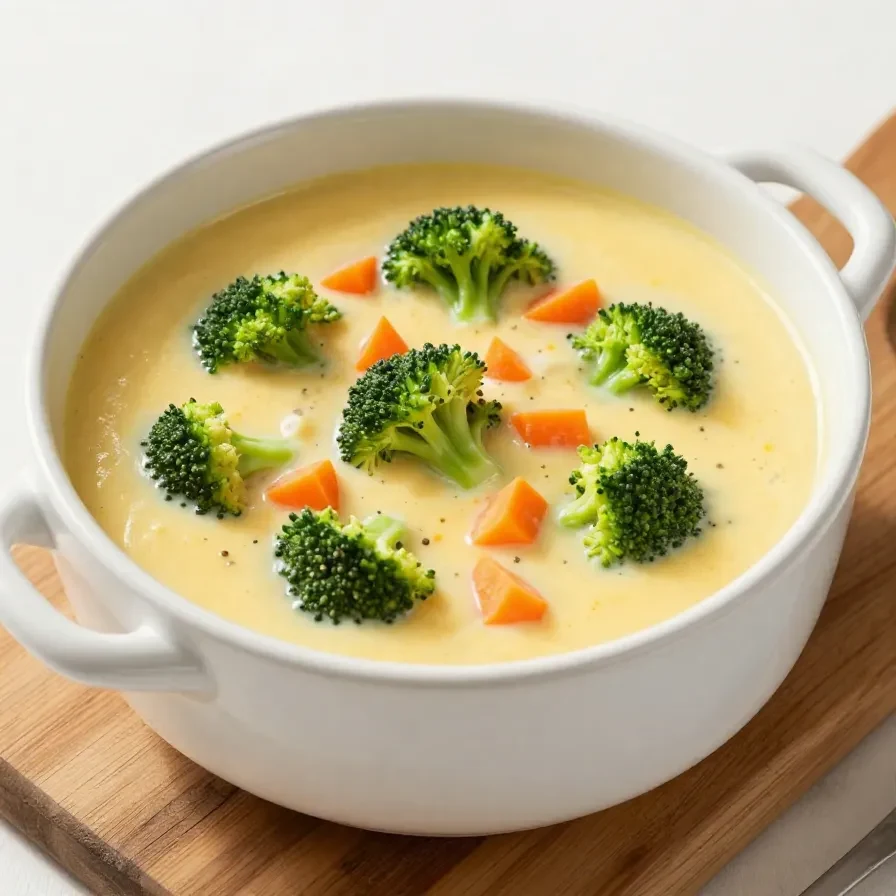
This high protein broccoli cheddar soup is a creamy, savory masterpiece that combines the earthy flavor of fresh broccoli with the rich tang of sharp cheddar cheese. It’s a comforting way to pack in protein, thanks to tender shredded chicken and the addition of nutritional yeast for a savory boost. Whether you’re craving a hearty lunch or a quick weeknight dinner, this soup delivers big on both flavor and nourishment.
Table of Contents
Why This High Protein Broccoli Cheddar Soup Works
- This soup is loaded with protein from both shredded chicken and cheddar cheese, perfect for those looking to hit their daily protein goals. It’s an easy way to stay satisfied and energized after a meal.
- The combination of almond milk and nutritional yeast adds creaminess without relying on heavy cream. This keeps it light but still indulgent and smooth.
- The broccoli florets provide a tender texture and add nutrient-packed greens to your diet. It’s a wholesome addition to a soup that feels rich and flavorful without being overly heavy.
- Simple, pantry-friendly ingredients come together in just 30 minutes. It’s a perfect option for busy days that still delivers a fresh, homemade taste.
Everything You Need for High Protein Broccoli Cheddar Soup
- 2 cups fresh broccoli florets
- 1 cup diced onion
- 2 cloves garlic, minced
- 3 tablespoons olive oil
- 4 cups low-sodium halal chicken broth
- 1 cup unsweetened almond milk
- 2 cups shredded sharp cheddar cheese (halal-certified)
- 1 cup cooked shredded chicken breast (halal)
- 1/4 cup nutritional yeast
- 1 teaspoon onion powder
- 1 teaspoon garlic powder
- Salt and pepper to taste
- 1 tablespoon cornstarch (optional, for thickening)
The nutritional yeast is a key ingredient, adding a complex, almost nutty flavor that enhances the cheese without overpowering it. The sharp cheddar brings richness, while the almond milk keeps the texture creamy and light.
Looking for something similar? Try our high protein ground beef and.
For more ideas, check out our high protein ground beef and.
You might also enjoy our high-protein honey garlic shrimp.
How To Make High Protein Broccoli Cheddar Soup Step by Step
- In a large pot, heat olive oil over medium heat. Add diced onion and sauté until translucent, about 5 minutes.
- Add minced garlic and cook for another minute until fragrant.
- Stir in the broccoli florets and sauté for an additional 3-4 minutes to soften slightly.
- Pour in the chicken broth and almond milk, then bring to a simmer over medium heat.
- Once the mixture is simmering, add the cooked shredded chicken, nutritional yeast, onion powder, garlic powder, salt, and pepper. Stir well to combine.
- Let the soup simmer gently for 15-20 minutes, or until the broccoli is tender and easily pierced with a fork.
- Using an immersion blender, blend the soup until smooth. Alternatively, transfer the soup to a blender in batches and blend to your desired consistency.
- If a thicker texture is preferred, mix cornstarch with a small amount of cold water to create a slurry. Stir it into the soup and cook for an additional 5 minutes until thickened.
- Remove the pot from heat and stir in the shredded sharp cheddar cheese. Mix until the cheese is fully melted and integrated into the soup.
- Serve the soup hot, garnished with additional cheese if desired, and enjoy!

This powerful blender is perfect for achieving a smooth soup texture, making it essential for this recipe.

This tool makes slicing and pitting avocados easy, perfect for adding fresh avocado to your soup.
Expert Tips for Perfect Soup Every Time
- For extra smoothness, strain the soup after blending to remove any broccoli fibers. This step is optional but great for a silky texture.
- Use freshly shredded cheddar instead of pre-packaged shreds for better melting and flavor. Pre-shredded cheese can have anti-caking agents that affect consistency.
- If you’re short on time, opt for frozen broccoli. Just thaw and pat it dry before adding it to the pot.
- Don’t skip the simmering step; it allows the flavors of the broth and seasonings to fully meld together, creating a richer taste.
Common Mistakes to Avoid
- Overcooking the broccoli can lead to a loss of its vibrant green color. Add it early but watch the cooking time to ensure it softens without breaking down completely.
- Skipping the blending step can leave the soup with uneven textures, so make sure to take the time to blend until smooth.
- Adding the cheese while the soup is too hot can cause it to separate. Let the soup cool slightly before stirring in the cheese to maintain its creamy, melt-in-your-mouth consistency.
Serving Ideas and What to Pair With This Dish
- A slice of whole-grain bread is perfect for dipping and complements the creamy texture of the soup.
- Pair it with a simple green salad dressed in a light vinaigrette for a fresh, balanced meal.
- Serve alongside roasted vegetables like carrots or cauliflower for an added boost of flavor and nutrients.
- Top the soup with crunchy croutons or crispy fried onions for a satisfying contrast in texture.
High Protein Broccoli Cheddar Soup
Ingredients
- 2 cup fresh broccoli florets
- 1 cup diced onion
- 2 cloves garlic, minced
- 3 tbsp olive oil
- 4 cup low-sodium halal chicken broth
- 1 cup unsweetened almond milk
- 2 cup shredded sharp cheddar cheese (halal-certified)
- 1 cup cooked shredded chicken breast (halal)
- 1/4 cup nutritional yeast
- 1 tsp onion powder
- 1 tsp garlic powder
- Salt and pepper (to taste)
- 1 tbsp cornstarch (optional, for thickening)
Instructions
- In a large pot, heat olive oil over medium heat. Add diced onion and sauté until translucent, about 5 minutes.
- Add minced garlic and cook for another minute until fragrant.
- Stir in the broccoli florets and sauté for an additional 3-4 minutes.
- Pour in the chicken broth and almond milk, then bring to a simmer.
- Once the mixture is simmering, add the cooked shredded chicken, nutritional yeast, onion powder, garlic powder, salt, and pepper.
- Let the soup simmer for 15-20 minutes, or until the broccoli is tender.
- Using an immersion blender, blend the soup until smooth, or transfer to a blender in batches and blend until desired consistency is reached.
- If you prefer a thicker soup, mix cornstarch with a little cold water to create a slurry and stir it into the soup, cooking for an additional 5 minutes.
- Remove from heat and stir in the shredded cheddar cheese until melted and well combined.
- Serve hot, garnished with extra cheese if desired.
Notes

Loved this recipe? Save it to your favorite Pinterest board so you can easily find it later! ✨