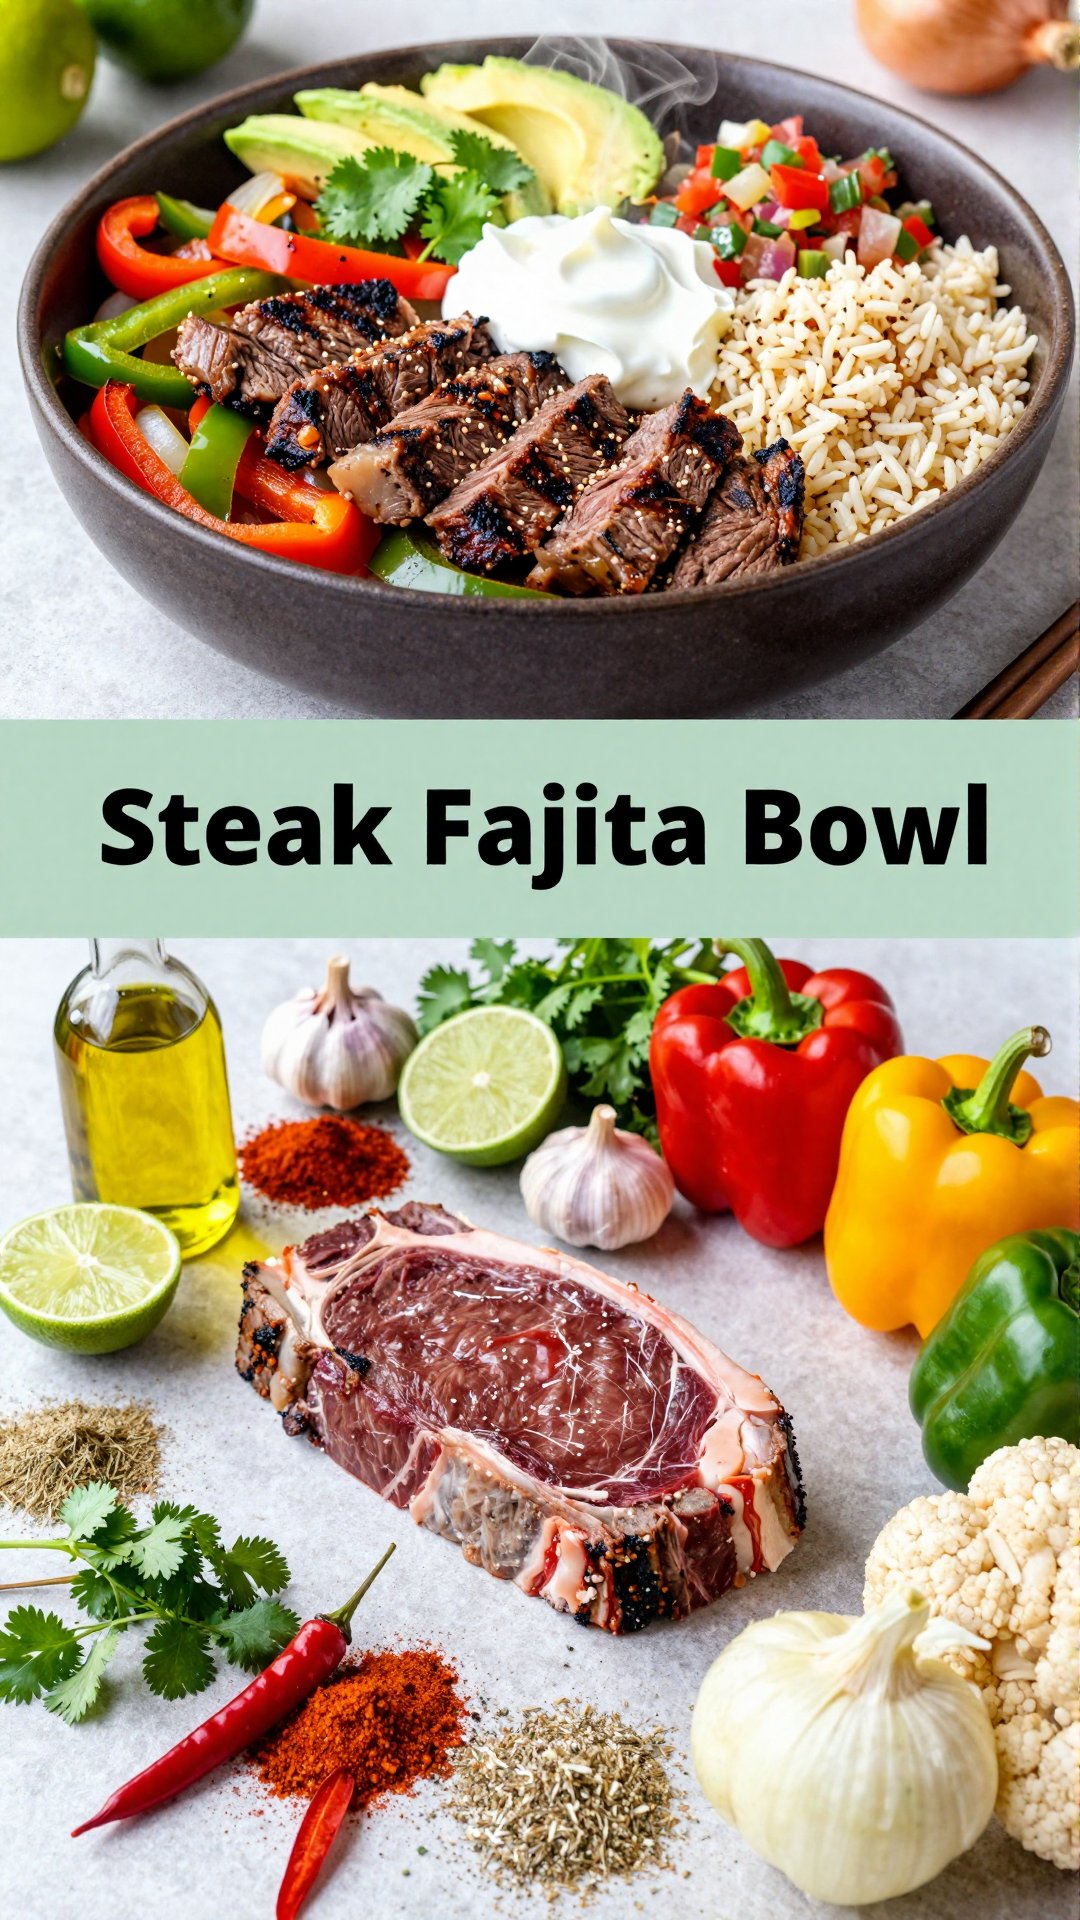
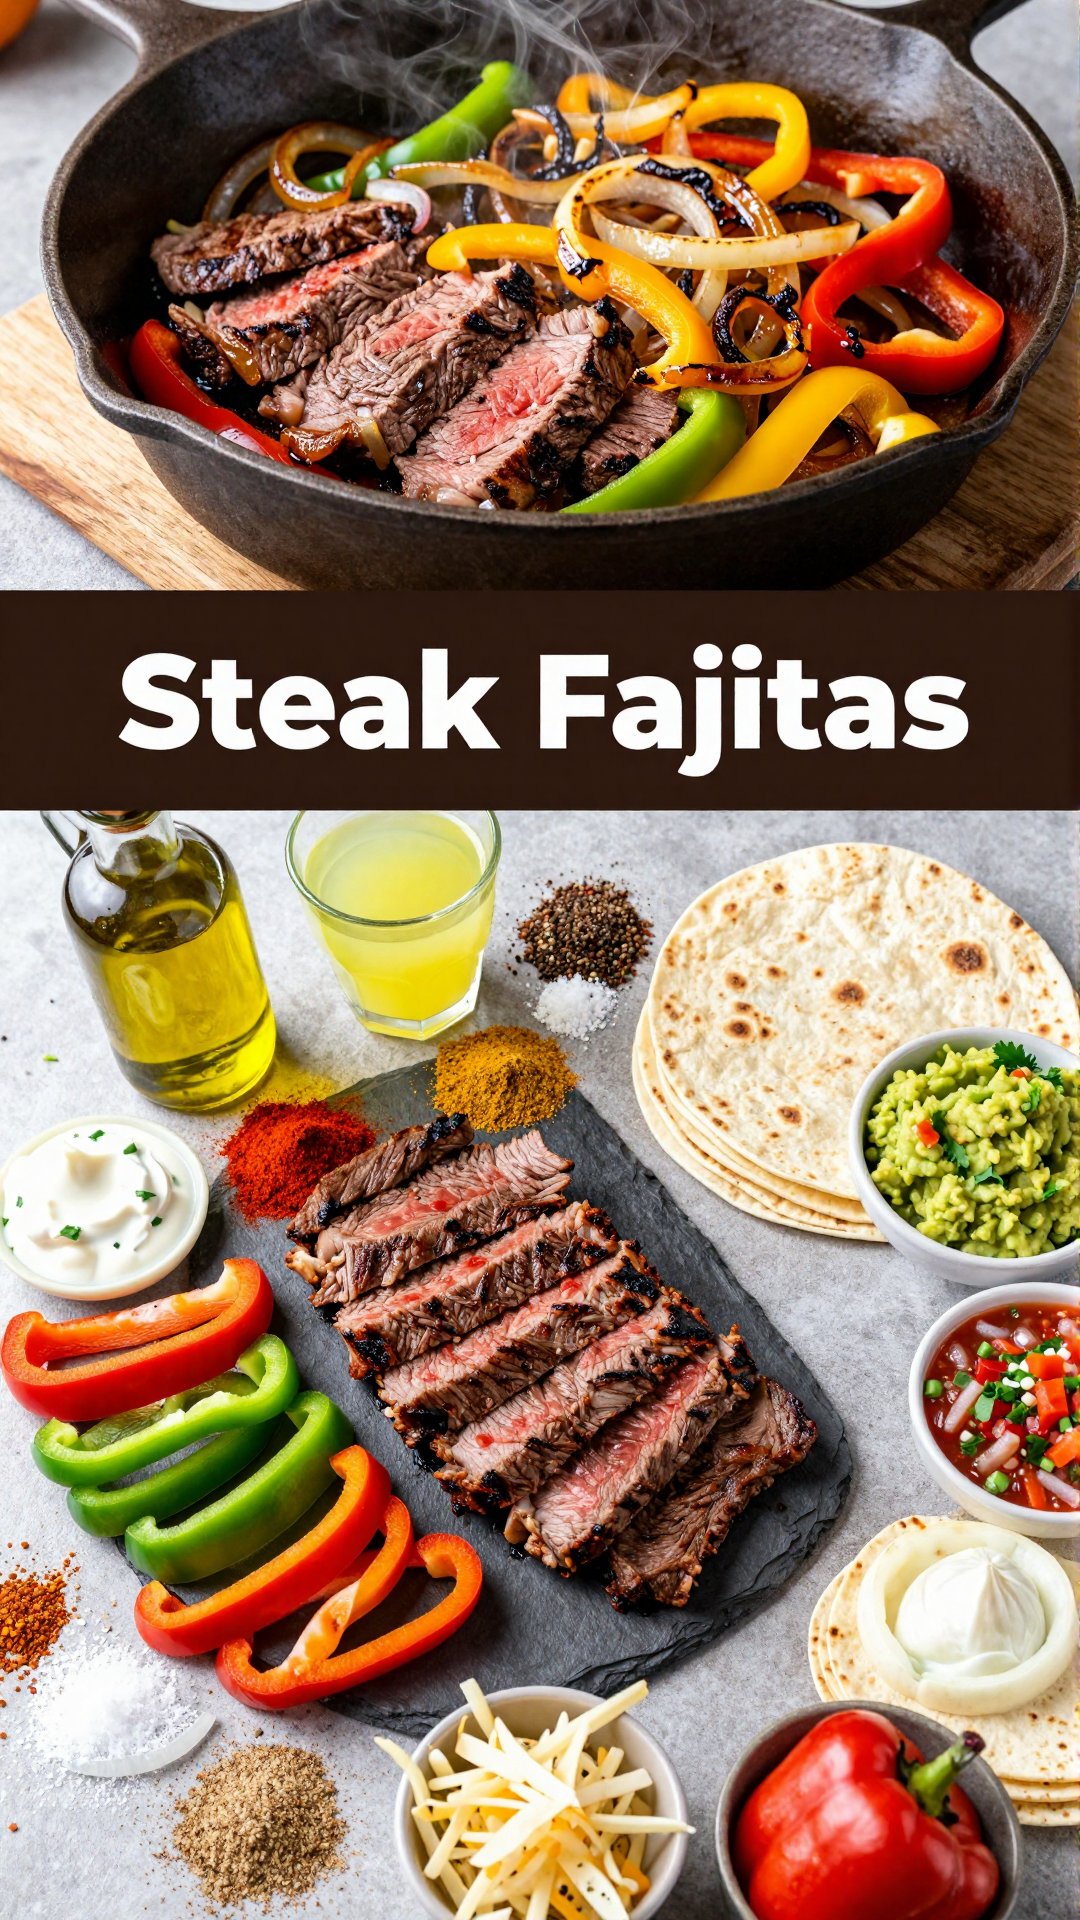
Hey, Ava here! And if you’re anything like me, you’re always on the lookout for meals that are both incredibly delicious and good for you. That’s why I’m beyond excited to share this Low Carb Steak Fajita Bowl recipe with you. It’s a vibrant, flavorful dish that’s perfect for anyone following a keto or low-carb lifestyle, or simply looking for a healthy and satisfying meal. This isn’t just another recipe; it’s a journey into a world of bold flavors and textures that will leave you craving more. It’s one of those recipes that makes you feel good from the inside out. So, let’s dive in and create some magic in the kitchen!
Growing up, fajitas were a staple in our household. The sizzling sound of the steak and peppers, the vibrant colors, and the explosion of flavors always made it a special occasion. But as I started exploring low-carb eating, I realized I needed to find a way to enjoy those same flavors without all the carbs. Enter the Low Carb Steak Fajita Bowl – a delicious twist on a classic that’s become a regular in my meal rotation.
Why You’ll Love This Low Carb Steak Fajita Bowl
This recipe isn’t just about cutting carbs; it’s about creating a meal that’s packed with flavor, nutrients, and satisfaction. Here’s why I think you’ll absolutely love it:
- Bold Flavors: The combination of tender steak, vibrant peppers and onions, and zesty lime juice creates a flavor explosion that will tantalize your taste buds.
- Healthy and Nutritious: Packed with protein, healthy fats, and essential vitamins, this bowl is a nutritional powerhouse.
- Quick and Easy: From start to finish, this recipe comes together in under 30 minutes, making it perfect for busy weeknights.
- Customizable: Whether you’re a fan of spicy food or prefer something milder, you can easily adjust the ingredients to suit your preferences.
- Perfect for Meal Prep: This recipe is ideal for meal prepping. Make a big batch on Sunday, and you’ll have delicious and healthy lunches or dinners ready to go for the week.
- It’s a crowd-pleaser: Even if you’re not following a low-carb diet, this bowl is sure to be a hit with everyone.
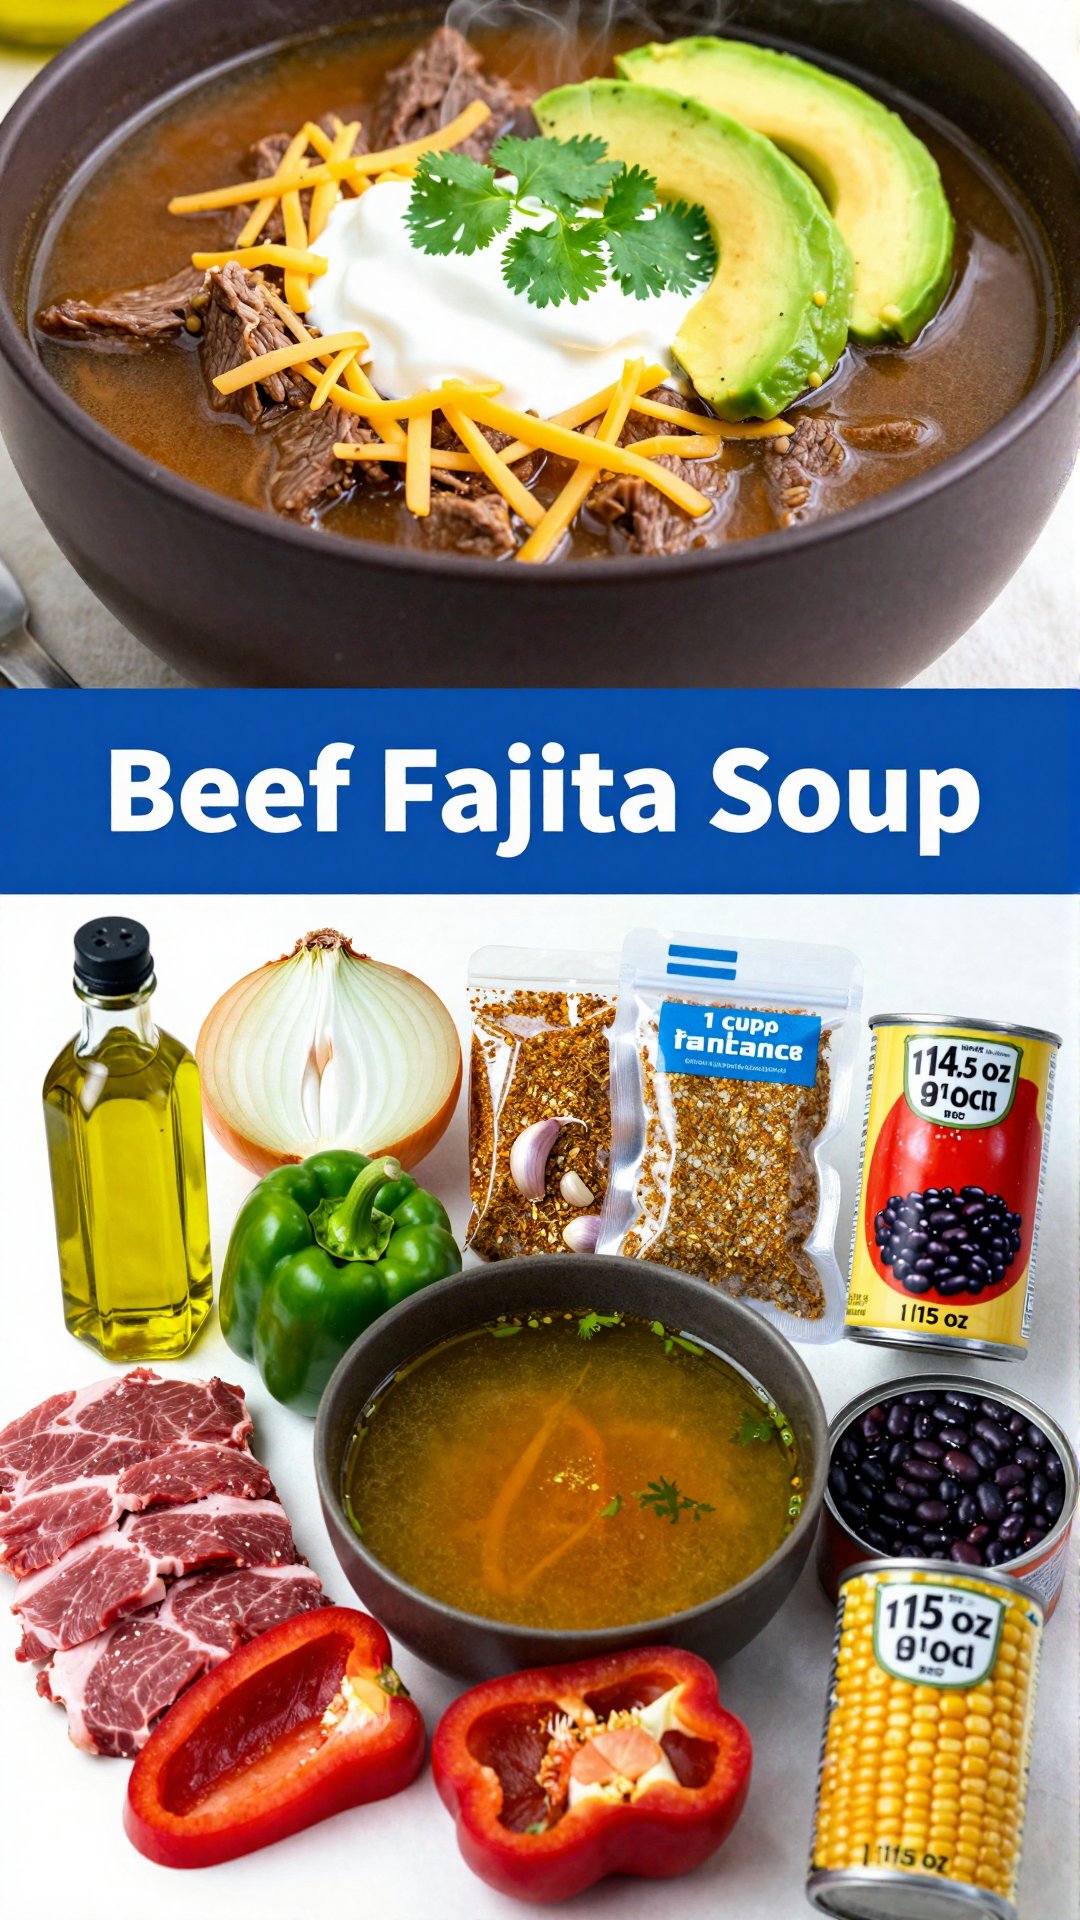
Ingredients You’ll Need
Here’s a list of everything you’ll need to create this amazing Low Carb Steak Fajita Bowl. Don’t worry, most of these ingredients are probably already in your pantry!
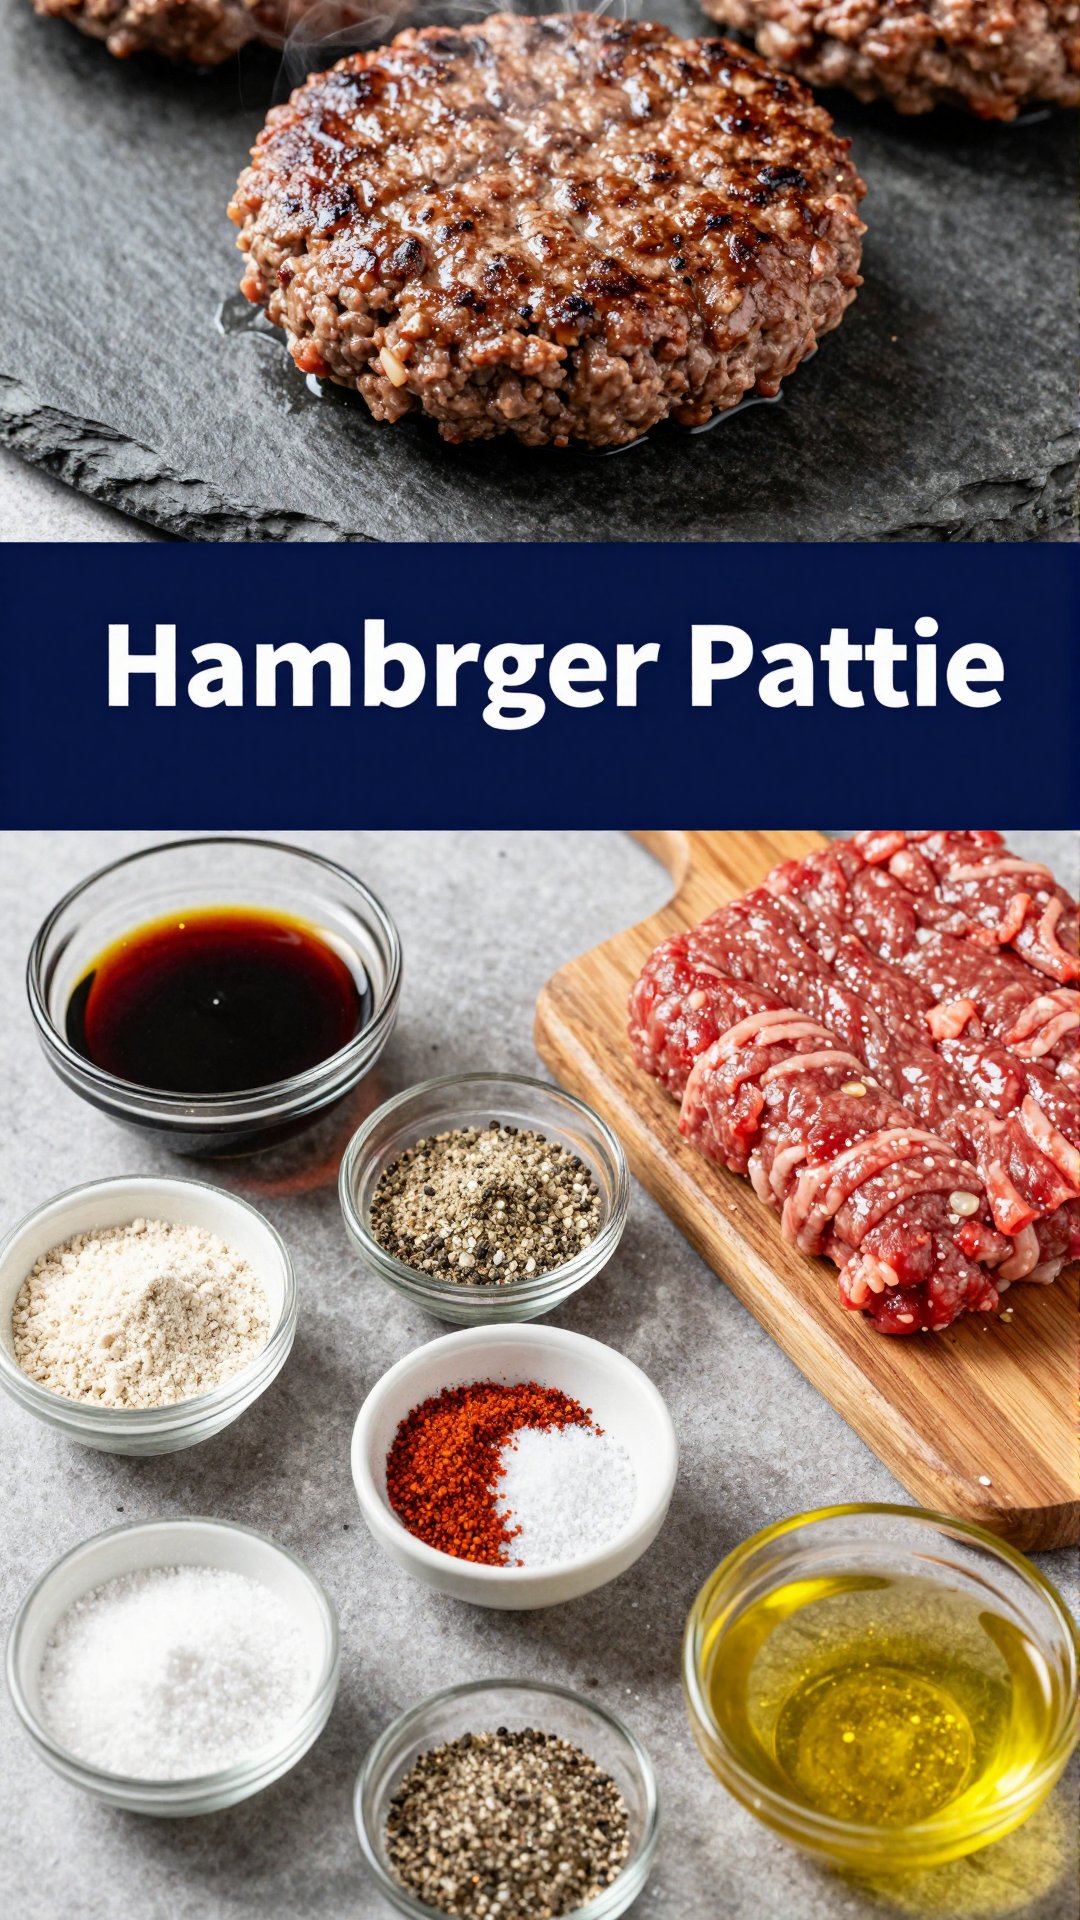
- 1 1/4 lbs Beef flank steak or skirt steak: The star of the show! Flank or skirt steak works best because they are flavorful and cook quickly.
- 3 tablespoons olive oil (for marinade): Olive oil helps to tenderize the steak and infuse it with flavor.
- 1 tablespoon olive oil (for cooking): For searing the steak to perfection.
- 1/3 cup lime juice (juice of 2 limes): Lime juice adds a zesty tang that complements the richness of the steak.
- 4 cloves garlic, minced: Garlic adds a pungent and aromatic flavor to the marinade.
- 1 teaspoon chili powder: For a touch of warmth and spice.
- 1/2 teaspoon ground cumin: Cumin adds an earthy and smoky flavor.
- 3/4 teaspoon fine sea salt: To enhance the flavors of all the ingredients.
- 1/4 teaspoon smoked paprika: Smoked paprika adds a smoky depth that elevates the marinade.
- 1/4 cup fresh cilantro leaves, chopped: Fresh cilantro adds a bright and herbaceous note.
- Sea salt to taste: Adjust the seasoning to your liking.
- 2 tablespoons olive oil (for veggies): For sautéing the peppers and onions.
- 3 bell peppers (various colors), sliced: Bell peppers add sweetness, color, and crunch.
- 1 large onion, sliced: Onions add a savory and aromatic flavor.
- 12 oz cauliflower rice (frozen or fresh): A low-carb alternative to traditional rice.
- Sea salt, to taste: To season the cauliflower rice.
- Fresh lime juice: A squeeze of fresh lime juice brightens up the cauliflower rice.
- Avocado or guacamole: Adds healthy fats and a creamy texture.
- Dairy-free sour cream: For a tangy and creamy topping.
- Fresh salsa: Adds a burst of freshness and flavor.
- Fresh cilantro: For garnish.
Step-by-Step Instructions
Now, let’s get cooking! Here’s how to make your own Low Carb Steak Fajita Bowl:
- Marinate the Steak: In a large bowl, whisk together 3 tablespoons of olive oil, lime juice, minced garlic, chili powder, cumin, salt, smoked paprika, and chopped cilantro. Add the steak and coat it well with the marinade. Cover the bowl and marinate in the refrigerator for at least 2 hours, or preferably overnight. The longer it marinates, the more flavorful it will be!
- Prepare the Steak: Remove the steak from the refrigerator about 20 minutes before cooking. This allows it to come closer to room temperature, which will help it cook more evenly. Pat the steak dry with paper towels and sprinkle it generously with sea salt.
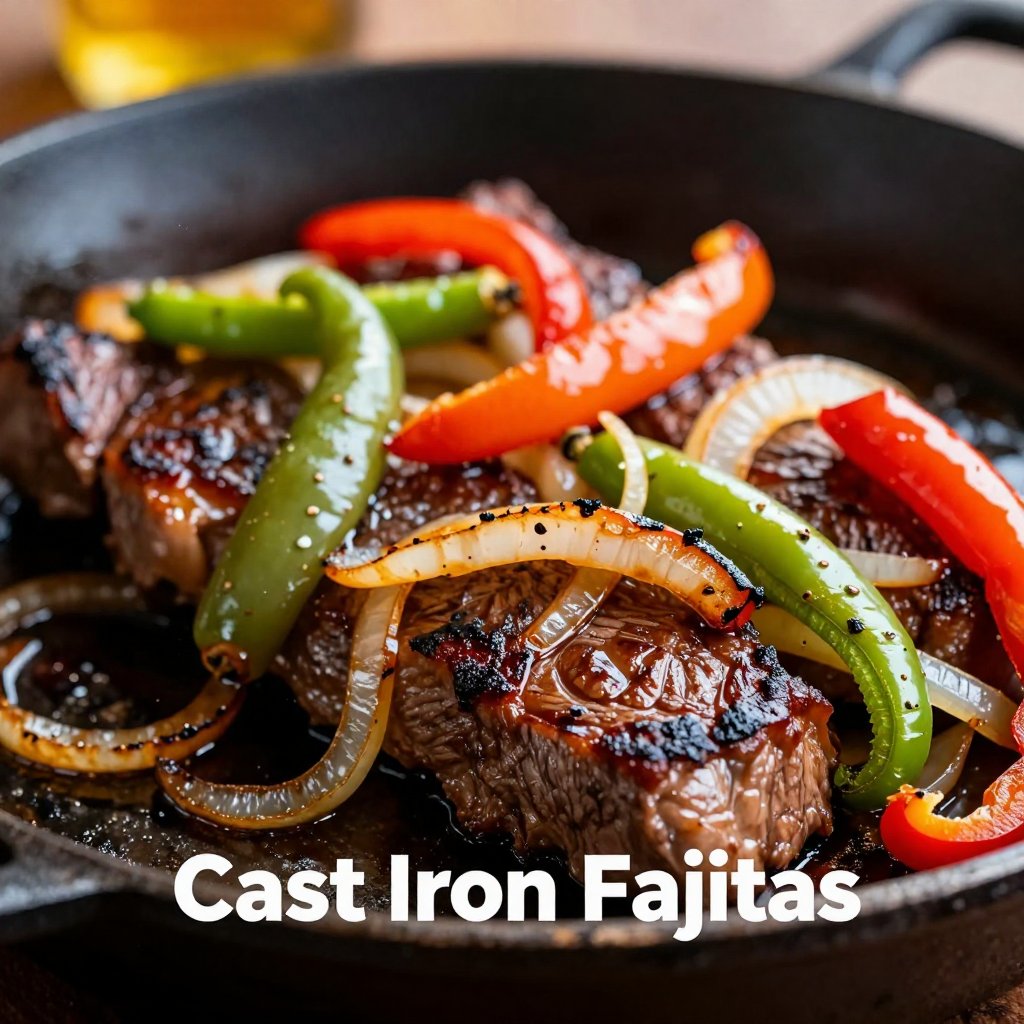
- Sear the Steak: Heat 1 tablespoon of olive oil in a cast iron skillet over high heat. Once the skillet is smoking hot, carefully place the steak in the skillet and sear for about 4 minutes per side for medium-rare. If you prefer your steak more well-done, cook it for a few minutes longer on each side. Use a meat thermometer to ensure it reaches your desired level of doneness.
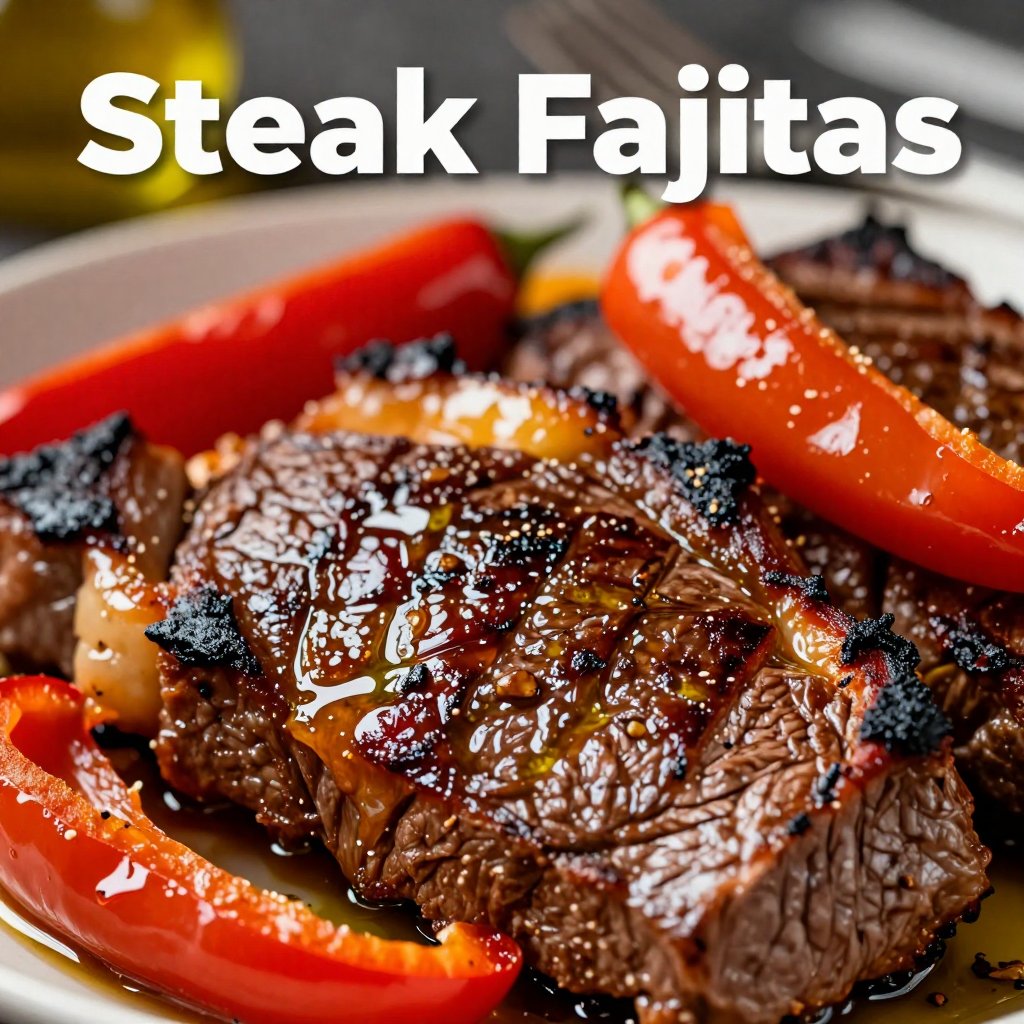
- Rest and Slice the Steak: Remove the steak from the skillet and place it on a cutting board. Cover it loosely with foil and let it rest for at least 10 minutes. This allows the juices to redistribute throughout the steak, resulting in a more tender and flavorful cut. After resting, slice the steak thinly against the grain. This will make it easier to chew and maximize its tenderness.
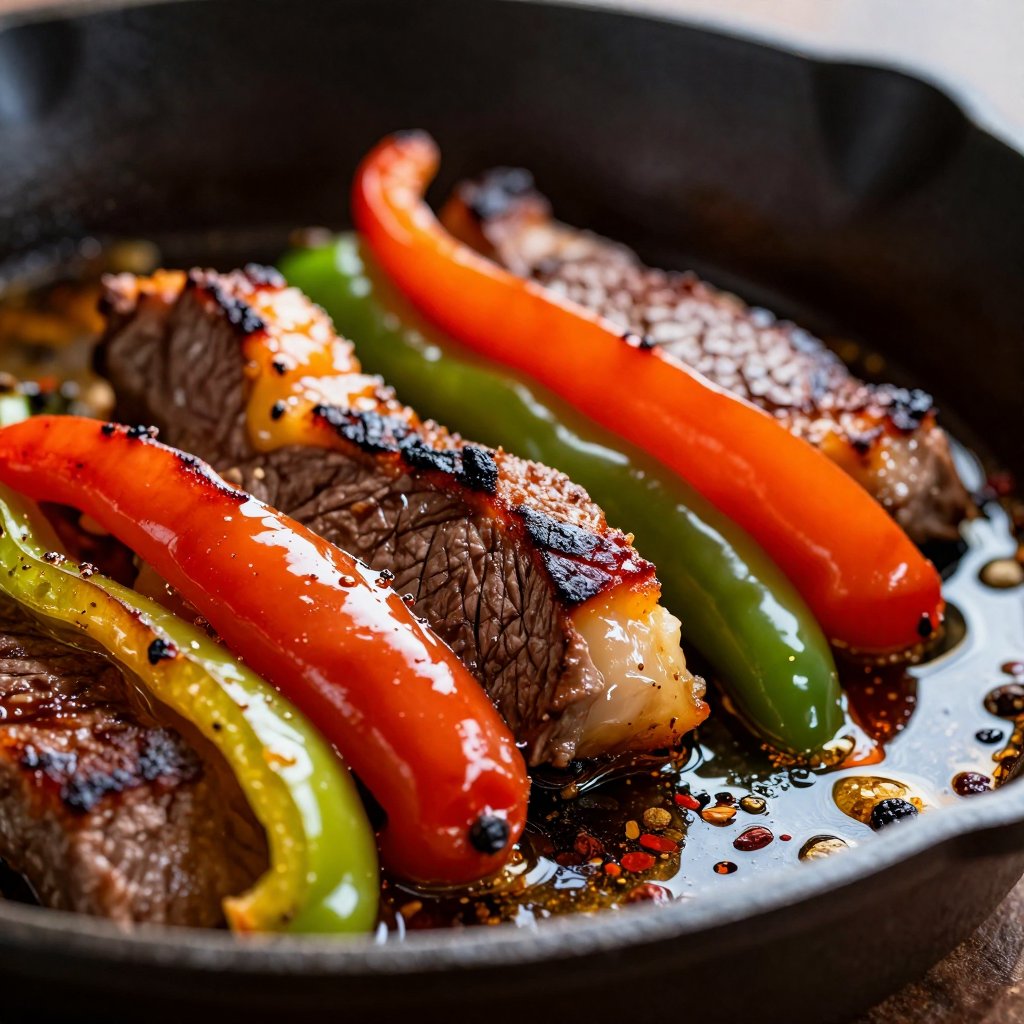
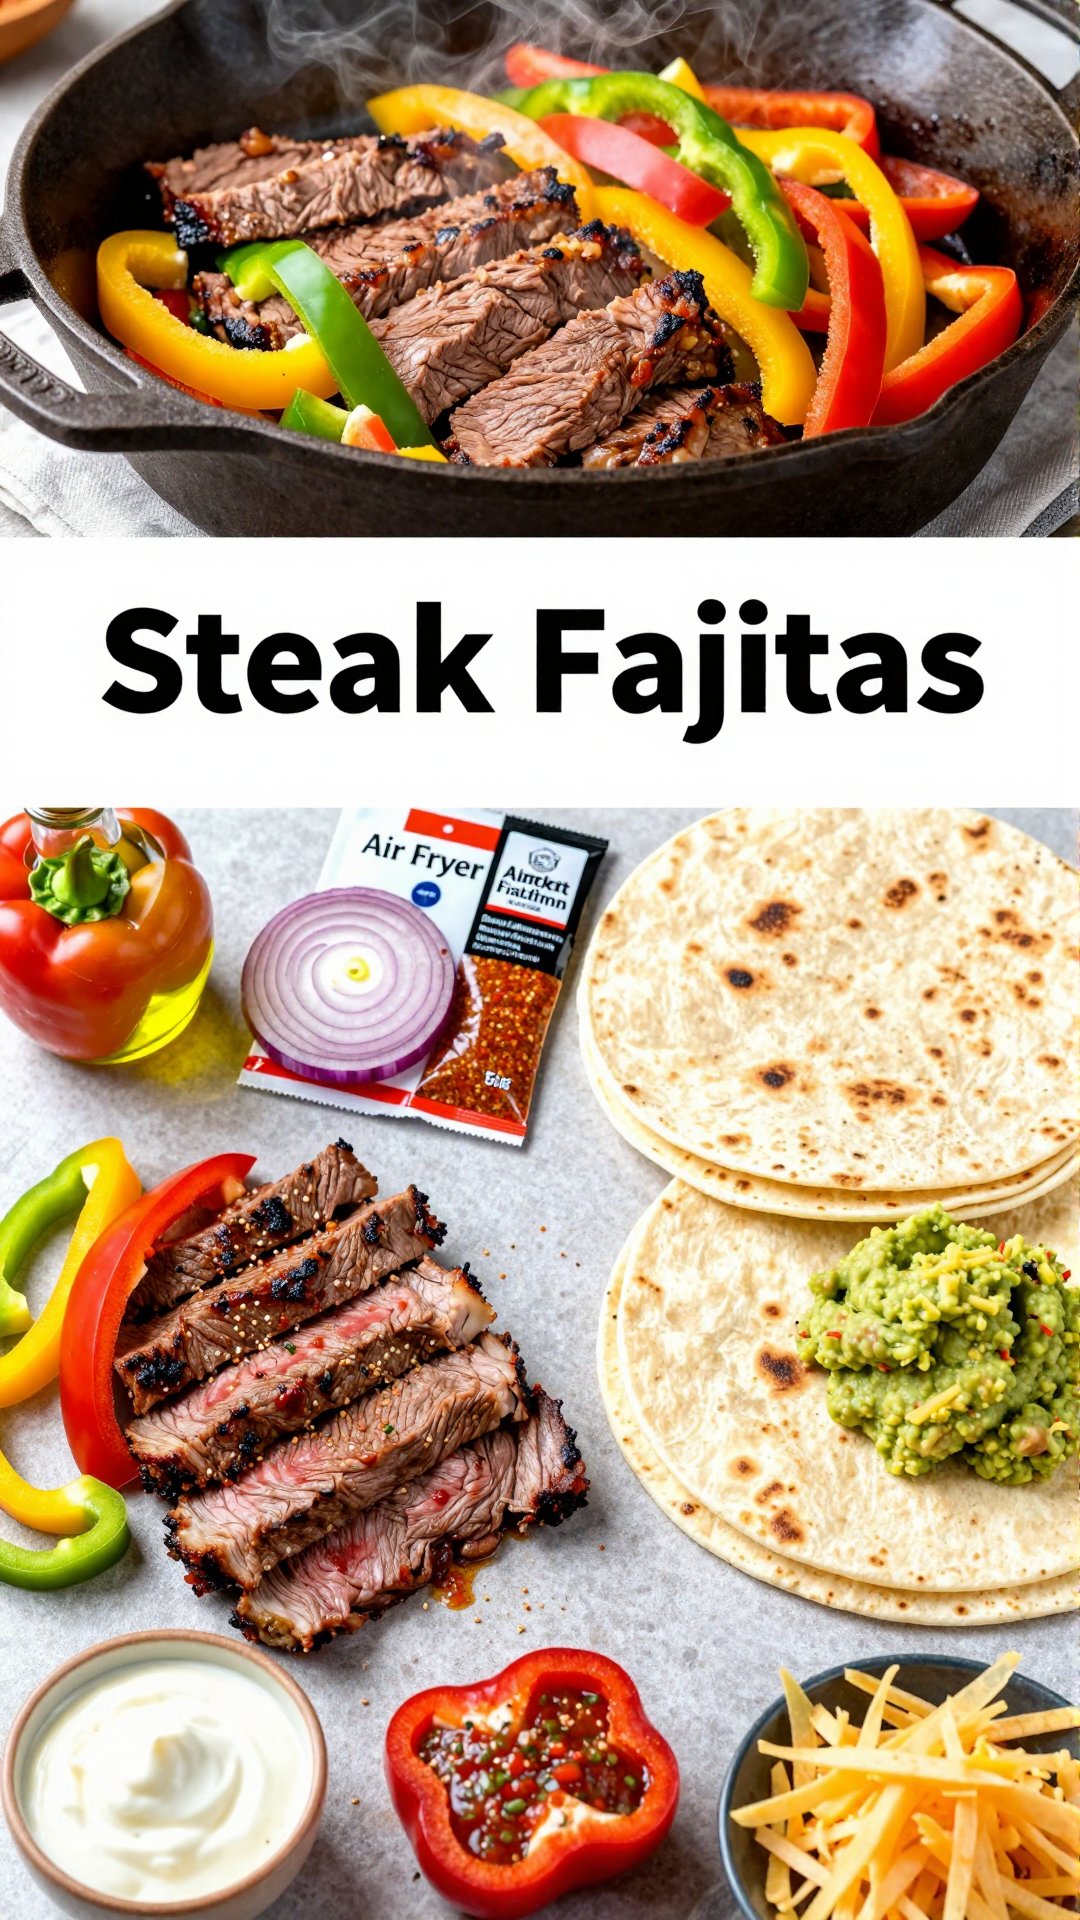
- Sauté the Peppers and Onions: In the same skillet, add 1 tablespoon of olive oil and sauté the sliced bell peppers and onions with a pinch of sea salt for about 5-7 minutes, or until they are tender-crisp.
- Cook the Cauliflower Rice: In another pan, heat 1 tablespoon of olive oil. Add the cauliflower rice and cook for about 5 minutes, or until it is heated through and slightly softened. Season with sea salt and a squeeze of fresh lime juice.
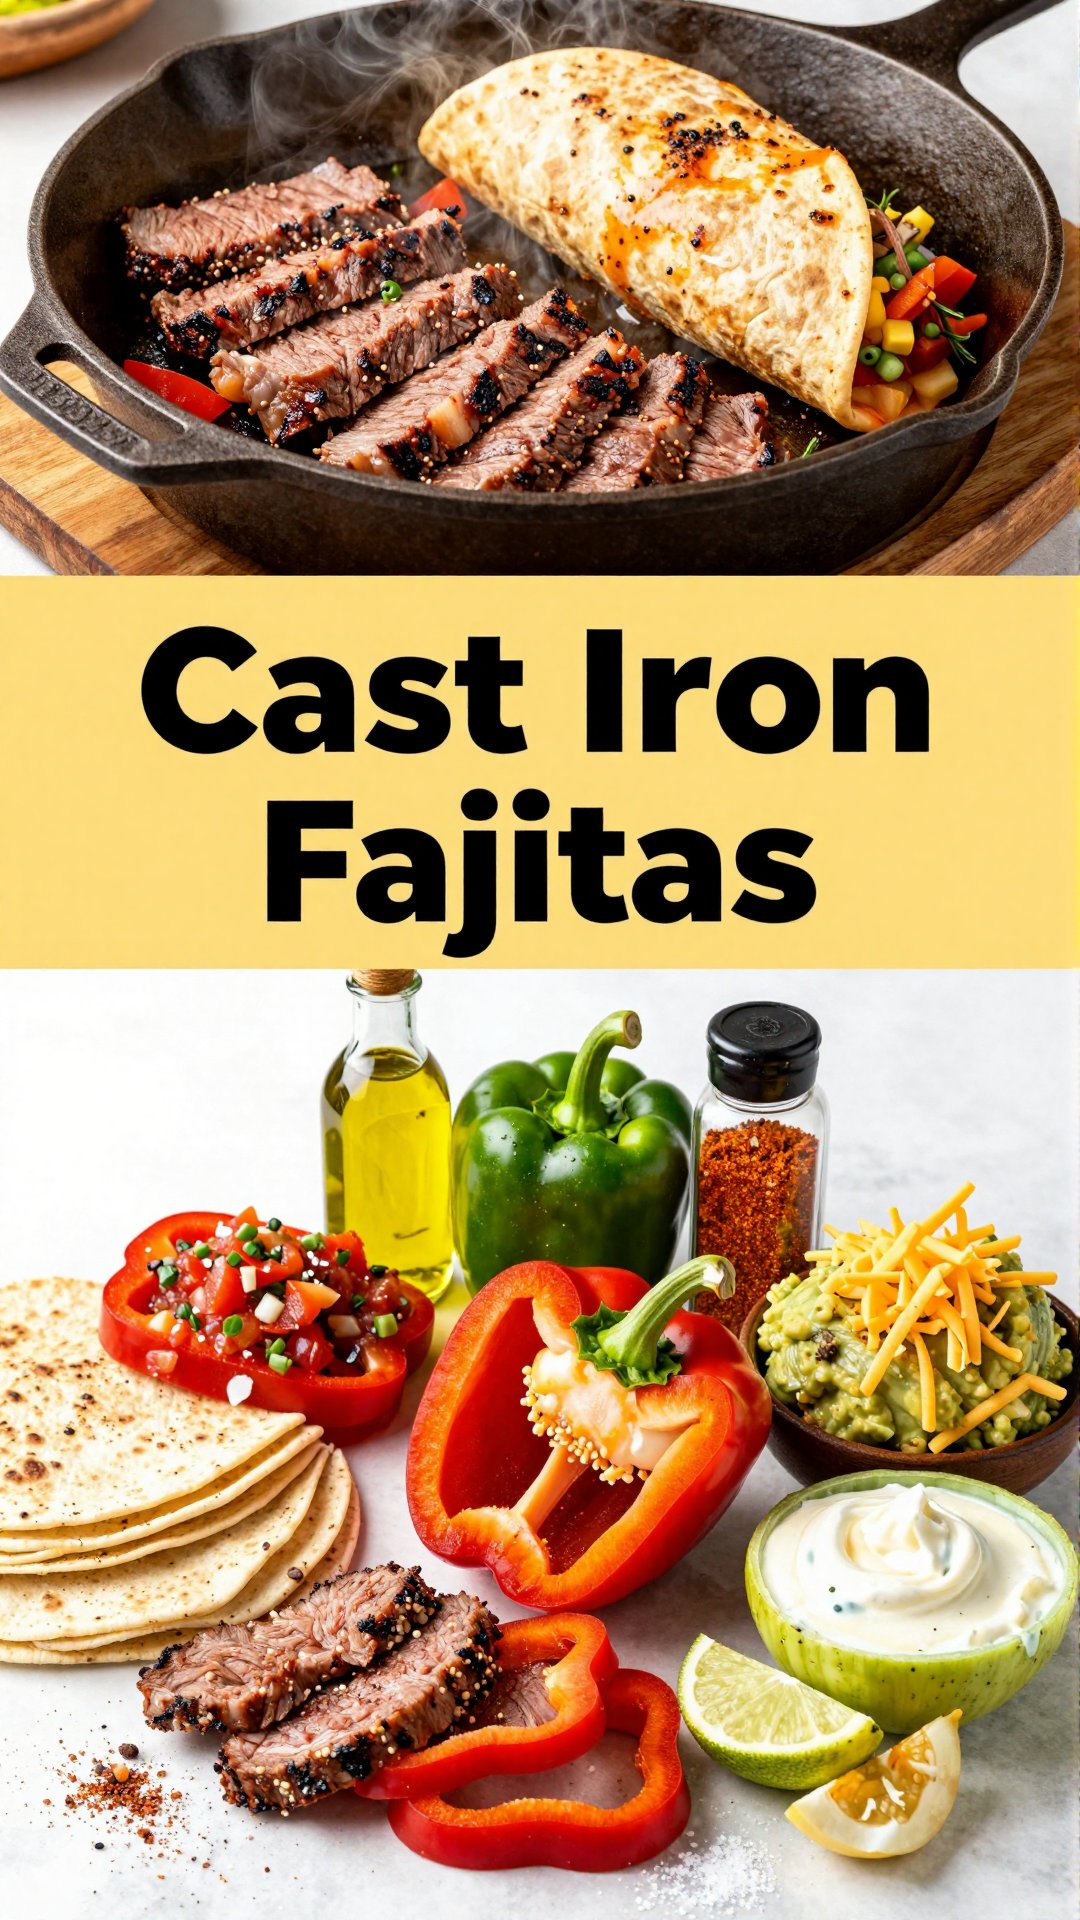
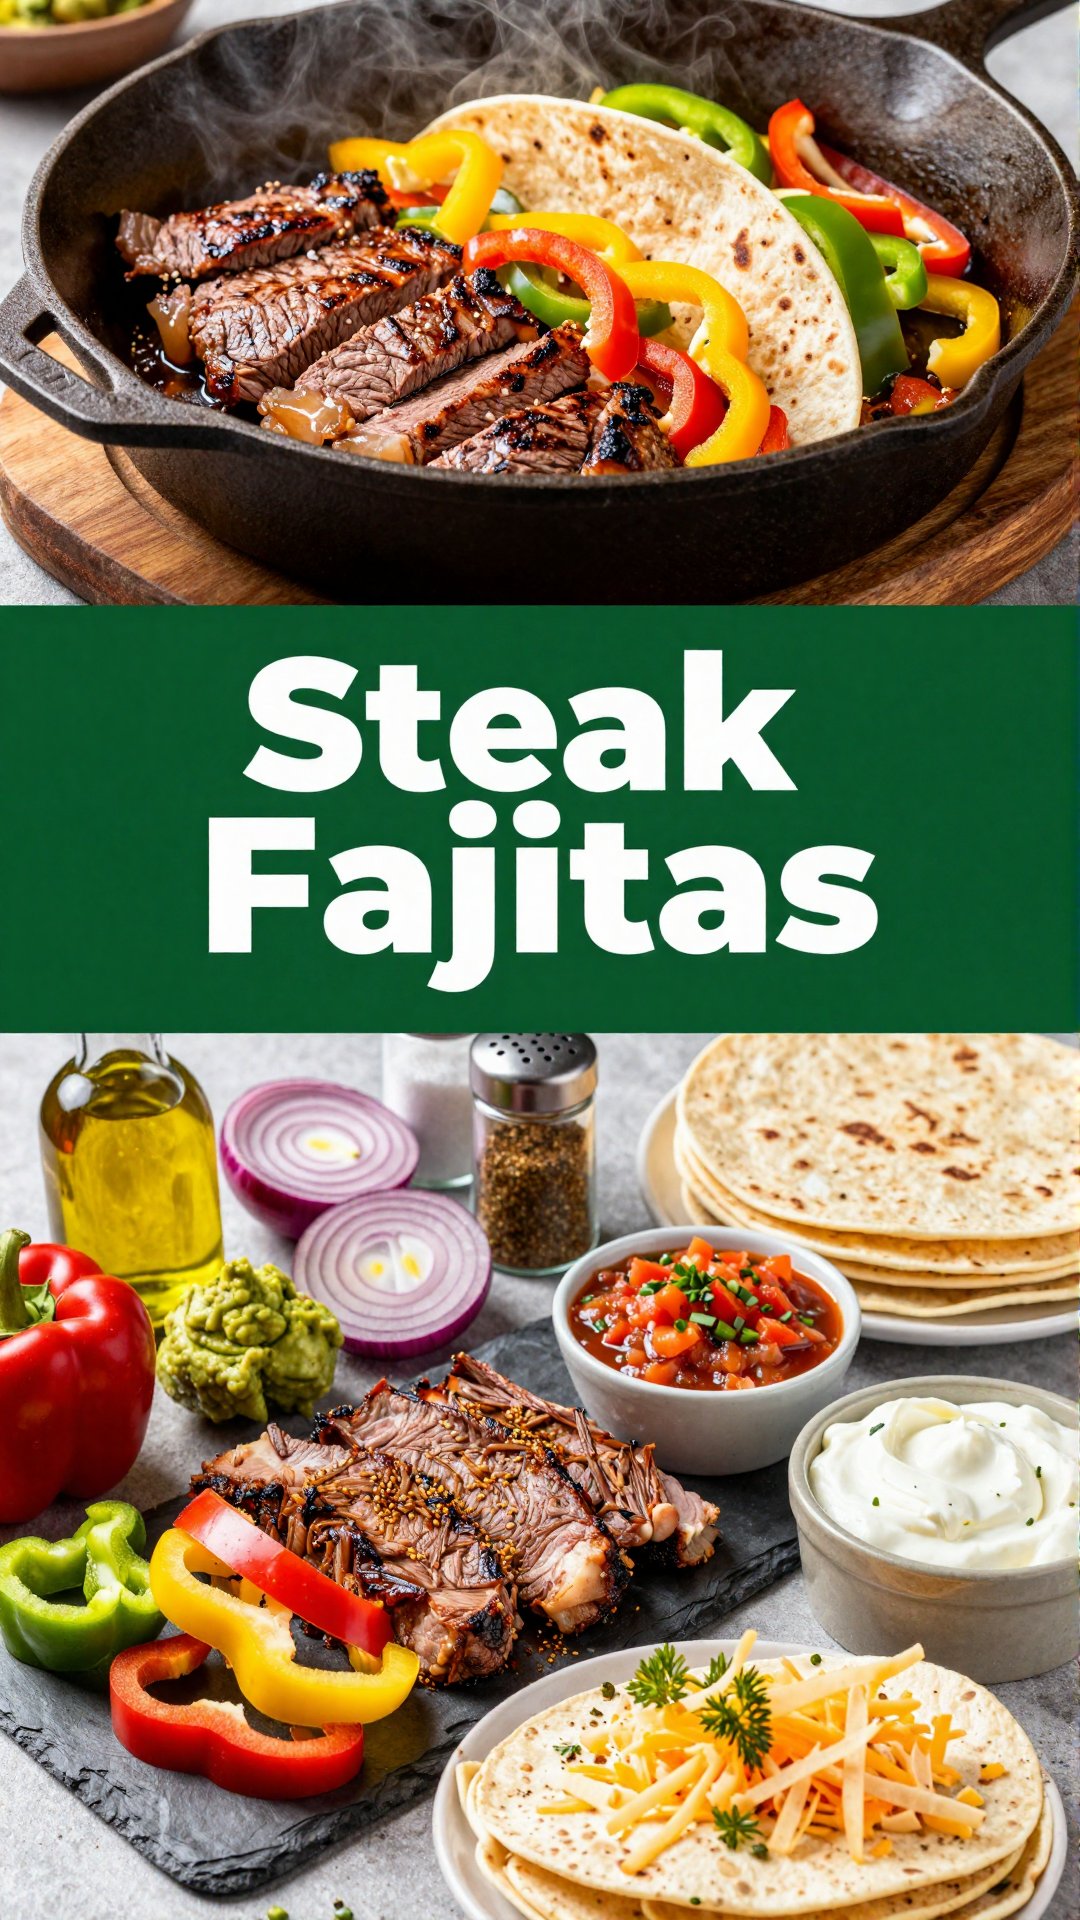
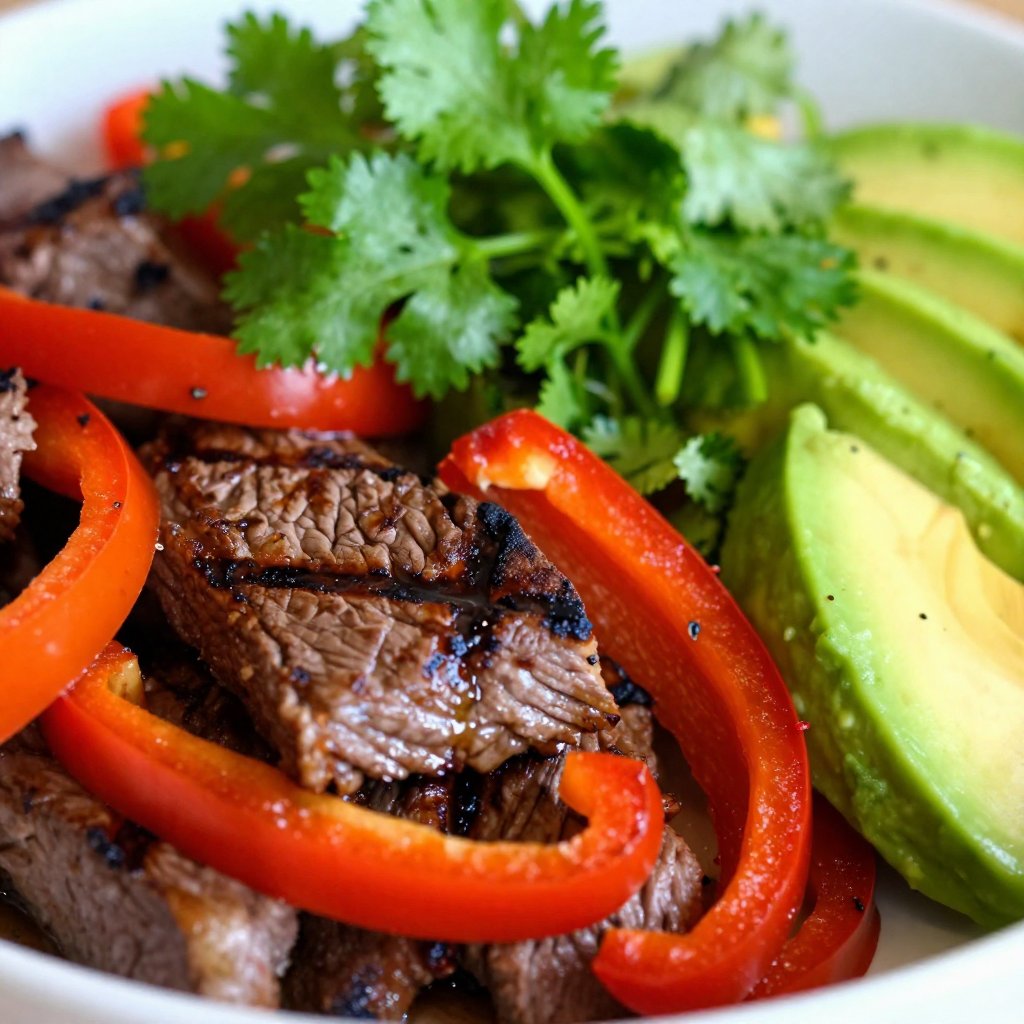
- Build Your Bowl: Now comes the fun part! Start by placing a generous portion of cauliflower rice in the bottom of each bowl. Top with sliced steak, sautéed peppers and onions, avocado or guacamole, dairy-free sour cream, fresh salsa, and a sprinkle of fresh cilantro.
And there you have it – a delicious and healthy Low Carb Steak Fajita Bowl that’s sure to become a new favorite! This recipe really lets you showcase your steak fajita skills! If you’re looking for a low carb steak meal or supper ideas healthy low carb, this fits the bill!
Pro Tips for the Perfect Steak Fajita Bowl
Here are a few tips and tricks to help you make the best Low Carb Steak Fajita Bowl ever:
- Choose the Right Cut of Steak: Flank steak and skirt steak are the best choices for fajitas because they are flavorful and cook quickly.
- Marinate the Steak: Don’t skip the marinating step! It’s essential for tenderizing the steak and infusing it with flavor. If you’re short on time, even a 30-minute marinade will make a difference.
- Use a Hot Skillet: A hot skillet is key to getting a good sear on the steak. Make sure the skillet is smoking hot before adding the steak.
- Don’t Overcook the Steak: Overcooked steak is tough and dry. Use a meat thermometer to ensure it reaches your desired level of doneness.
- Let the Steak Rest: Resting the steak after cooking allows the juices to redistribute, resulting in a more tender and flavorful cut.
- Slice Against the Grain: Slicing the steak against the grain makes it easier to chew and maximizes its tenderness.
- Customize Your Toppings: Feel free to get creative with your toppings! Add your favorite low-carb toppings, such as shredded cheese, chopped tomatoes, or jalapeños.
Common Mistakes to Avoid
Even the most experienced cooks make mistakes from time to time. Here are a few common mistakes to avoid when making Low Carb Steak Fajita Bowls:
- Not Marinating the Steak: Marinating the steak is crucial for tenderizing it and infusing it with flavor. Don’t skip this step!
- Overcooking the Steak: Overcooked steak is tough and dry. Use a meat thermometer to ensure it reaches your desired level of doneness.
- Not Using a Hot Skillet: A hot skillet is key to getting a good sear on the steak. Make sure the skillet is smoking hot before adding the steak.
- Not Resting the Steak: Resting the steak after cooking allows the juices to redistribute, resulting in a more tender and flavorful cut.
- Using the Wrong Cut of Steak: Flank steak and skirt steak are the best choices for fajitas. Avoid using tougher cuts of steak that require longer cooking times.
Variations and Add-Ins
One of the best things about this recipe is how easy it is to customize. Here are a few variations and add-ins to try:
- Spicy Version: Add a pinch of cayenne pepper or a few chopped jalapeños to the marinade for a spicy kick.
- Chicken Fajita Bowls: Swap the steak for chicken breast or thighs.
- Shrimp Fajita Bowls: Use shrimp instead of steak for a lighter option.
- Vegetarian Fajita Bowls: Omit the steak and add more vegetables, such as mushrooms, zucchini, or eggplant.
- Add Cheese: Sprinkle shredded cheddar cheese or Monterey Jack cheese over the bowls for a cheesy twist.
- Add Guacamole: Top the bowls with homemade guacamole for extra flavor and healthy fats.
- Add Pico de Gallo: Add fresh pico de gallo for a burst of flavor and freshness.
How to Store Leftovers
If you have any leftovers (which is unlikely!), you can store them in the refrigerator for up to 3 days. Store the steak, vegetables, and cauliflower rice separately to prevent them from becoming soggy. When you’re ready to eat, simply reheat the steak and vegetables in a skillet or microwave and assemble your bowl.
Frequently Asked Questions (FAQ)
Here are some frequently asked questions about this recipe:
- Can I use a different cut of steak? While flank steak and skirt steak are the best choices, you can use other cuts of steak, such as sirloin or ribeye. Just be sure to adjust the cooking time accordingly.
- Can I make this recipe ahead of time? Yes, you can marinate the steak and chop the vegetables ahead of time. Store them separately in the refrigerator until you’re ready to cook.
- Can I freeze the leftovers? Yes, you can freeze the steak and vegetables for up to 2 months. Store them in airtight containers or freezer bags.
- Is this recipe gluten-free? Yes, this recipe is naturally gluten-free.
- Is this recipe dairy-free? Yes, this recipe is dairy-free if you use dairy-free sour cream.
Serving Suggestions
This Low Carb Steak Fajita Bowl is a complete meal on its own, but here are a few serving suggestions to make it even more special:
- Serve with a Side Salad: A simple green salad with a light vinaigrette is the perfect complement to this hearty bowl.
- Serve with a Side of Guacamole: Homemade guacamole is always a crowd-pleaser.
- Serve with a Side of Salsa: Fresh salsa adds a burst of flavor and freshness.
- Serve with a Side of Tortilla Chips: If you’re not following a low-carb diet, serve with a side of tortilla chips for dipping.
Whether you’re looking for protein carb and veggie meals, steak fajita bowl meal prep ideas, or just fajita dinner recipes, this recipe is a fantastic option. If you’re searching for healthy meals for two low carb or complex carb meals, this fits the requirements perfectly. Don’t forget, you can always adjust the recipe to your liking. That’s the beauty of cooking – you’re the chef, and you’re in charge!
So there you have it! My Low Carb Steak Fajita Bowl recipe – a bold, flavorful, and healthy meal that’s sure to become a new favorite. I hope you enjoy making it as much as I do. Happy cooking!
Low Carb Steak Fajita Bowl
Ingredients
Steak Marinade
- 1 1/4 lbs Beef flank steak or skirt steak
- 3 tablespoons olive oil (for marinade)
- 1/3 cup lime juice (juice of 2 limes)
- 4 cloves garlic (minced)
- 1 teaspoon chili powder
- 1/2 teaspoon ground cumin
- 3/4 teaspoon fine sea salt
- 1/4 teaspoon smoked paprika
- 1/4 cup fresh cilantro leaves (chopped)
Fajita Bowl
- 1 tablespoon olive oil (for cooking)
- Sea salt
- 2 tablespoons olive oil (for veggies)
- 3 bell peppers (various colors, sliced)
- 1 large onion (sliced)
- 12 oz cauliflower rice (frozen or fresh)
- Sea salt (to taste)
- Fresh lime juice
- Avocado or guacamole
- Dairy-free sour cream
- Fresh salsa
- Fresh cilantro
Instructions
- Whisk oil, lime juice, garlic, chili powder, cumin, salt, paprika, and cilantro. Add steak and coat well. Marinate at least 2 hours or overnight.
- Take steak out of the fridge 20 minutes before cooking. Pat dry and sprinkle with sea salt.
- Heat oil in skillet over high heat. Sear steak 4 minutes per side for medium rare.
- Remove steak, cover with foil, and rest for 10 minutes. Then slice thinly across the grain.
- Add oil and sauté peppers and onions with salt for 5–7 minutes.
- Heat oil. Add cauliflower rice, cook for 5 minutes, season with salt and lime juice.
- Build your bowl: start with cauliflower rice, add steak and veggies, then top with avocado, salsa, sour cream, and cilantro.
Notes