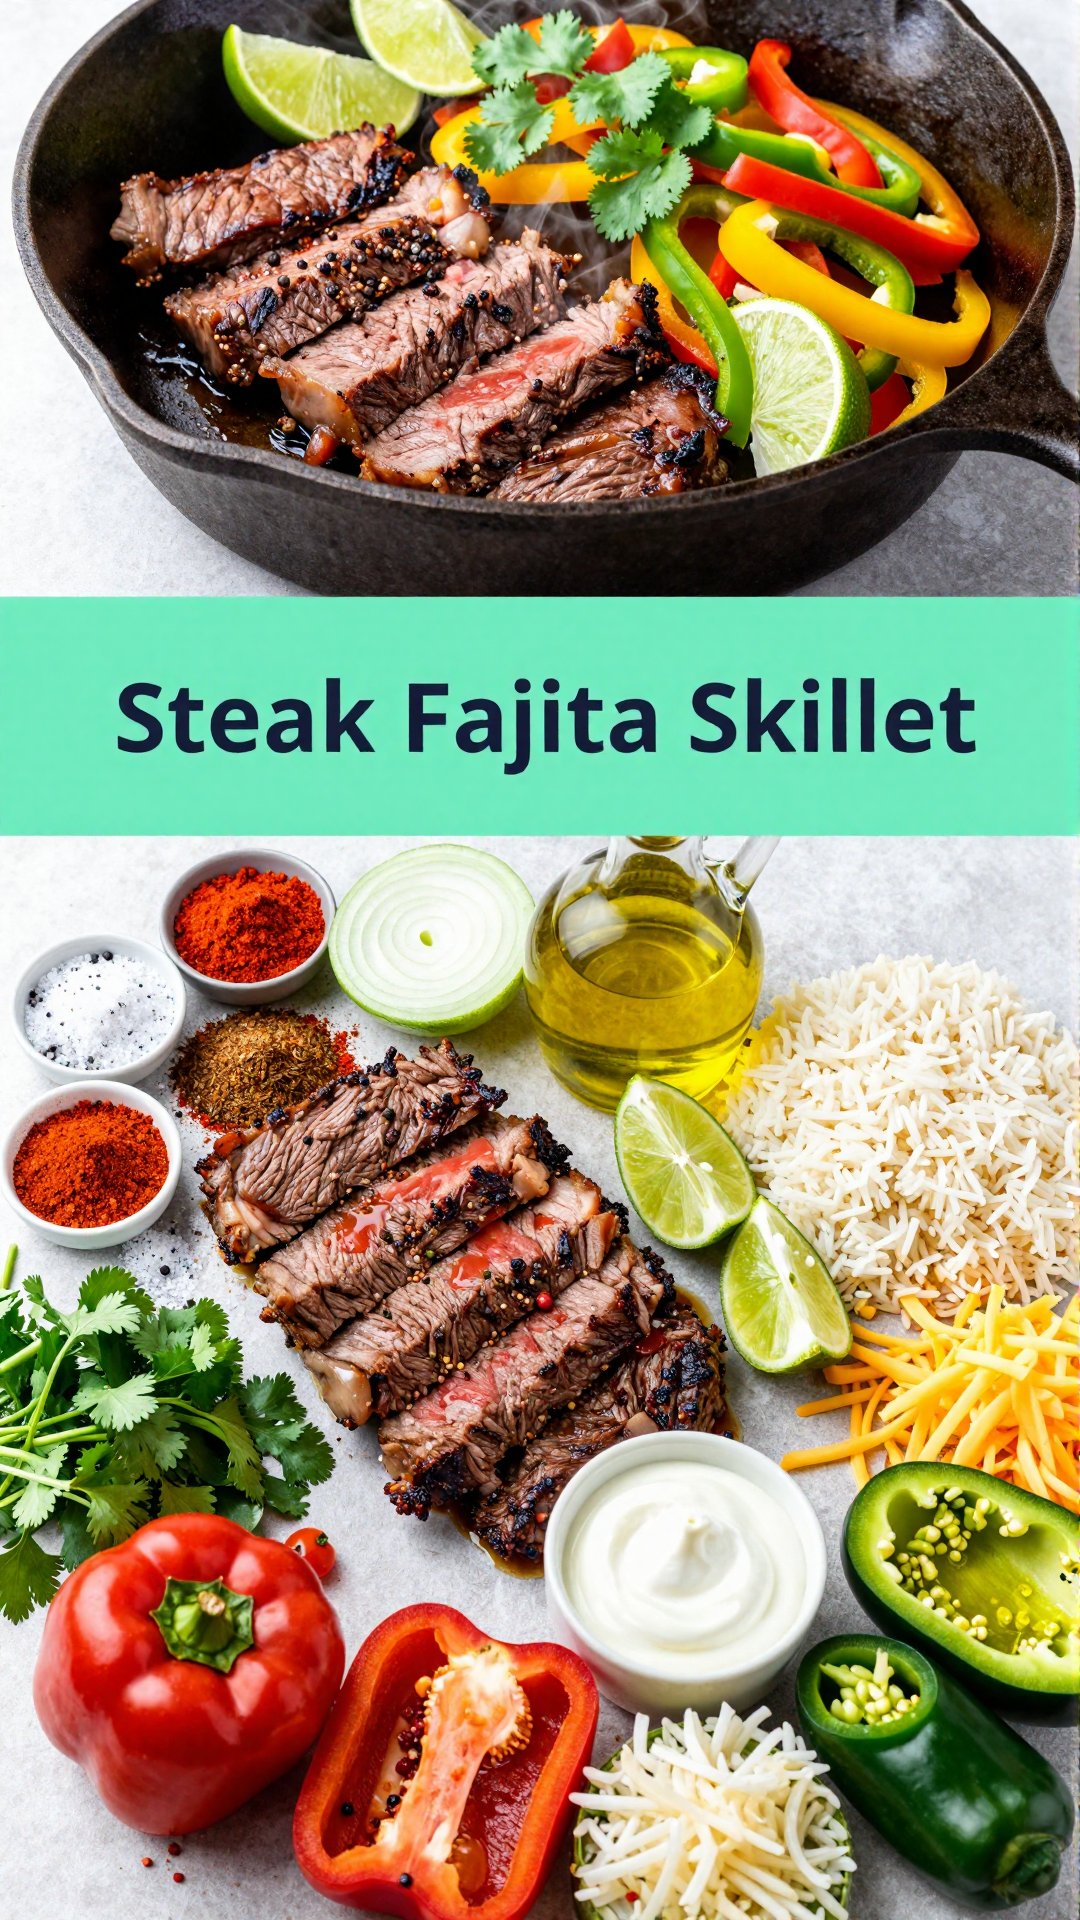
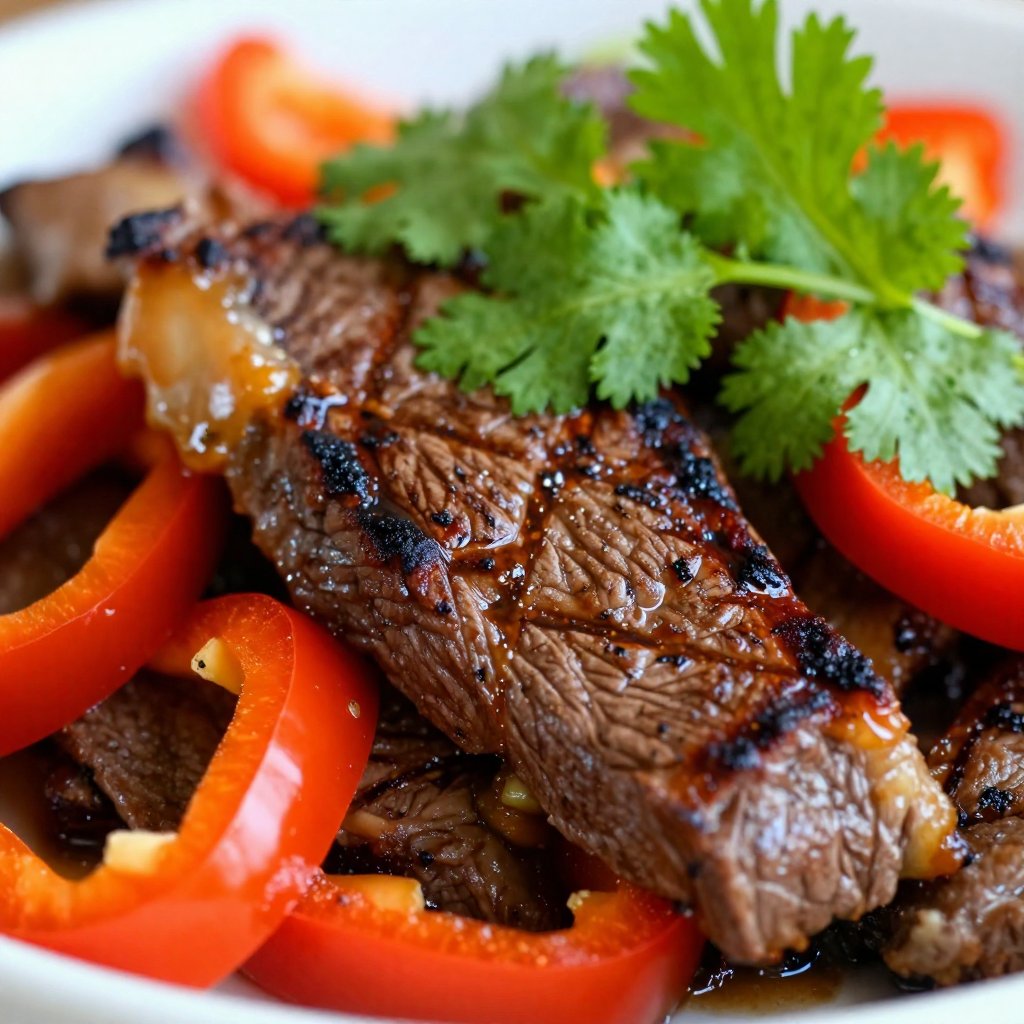
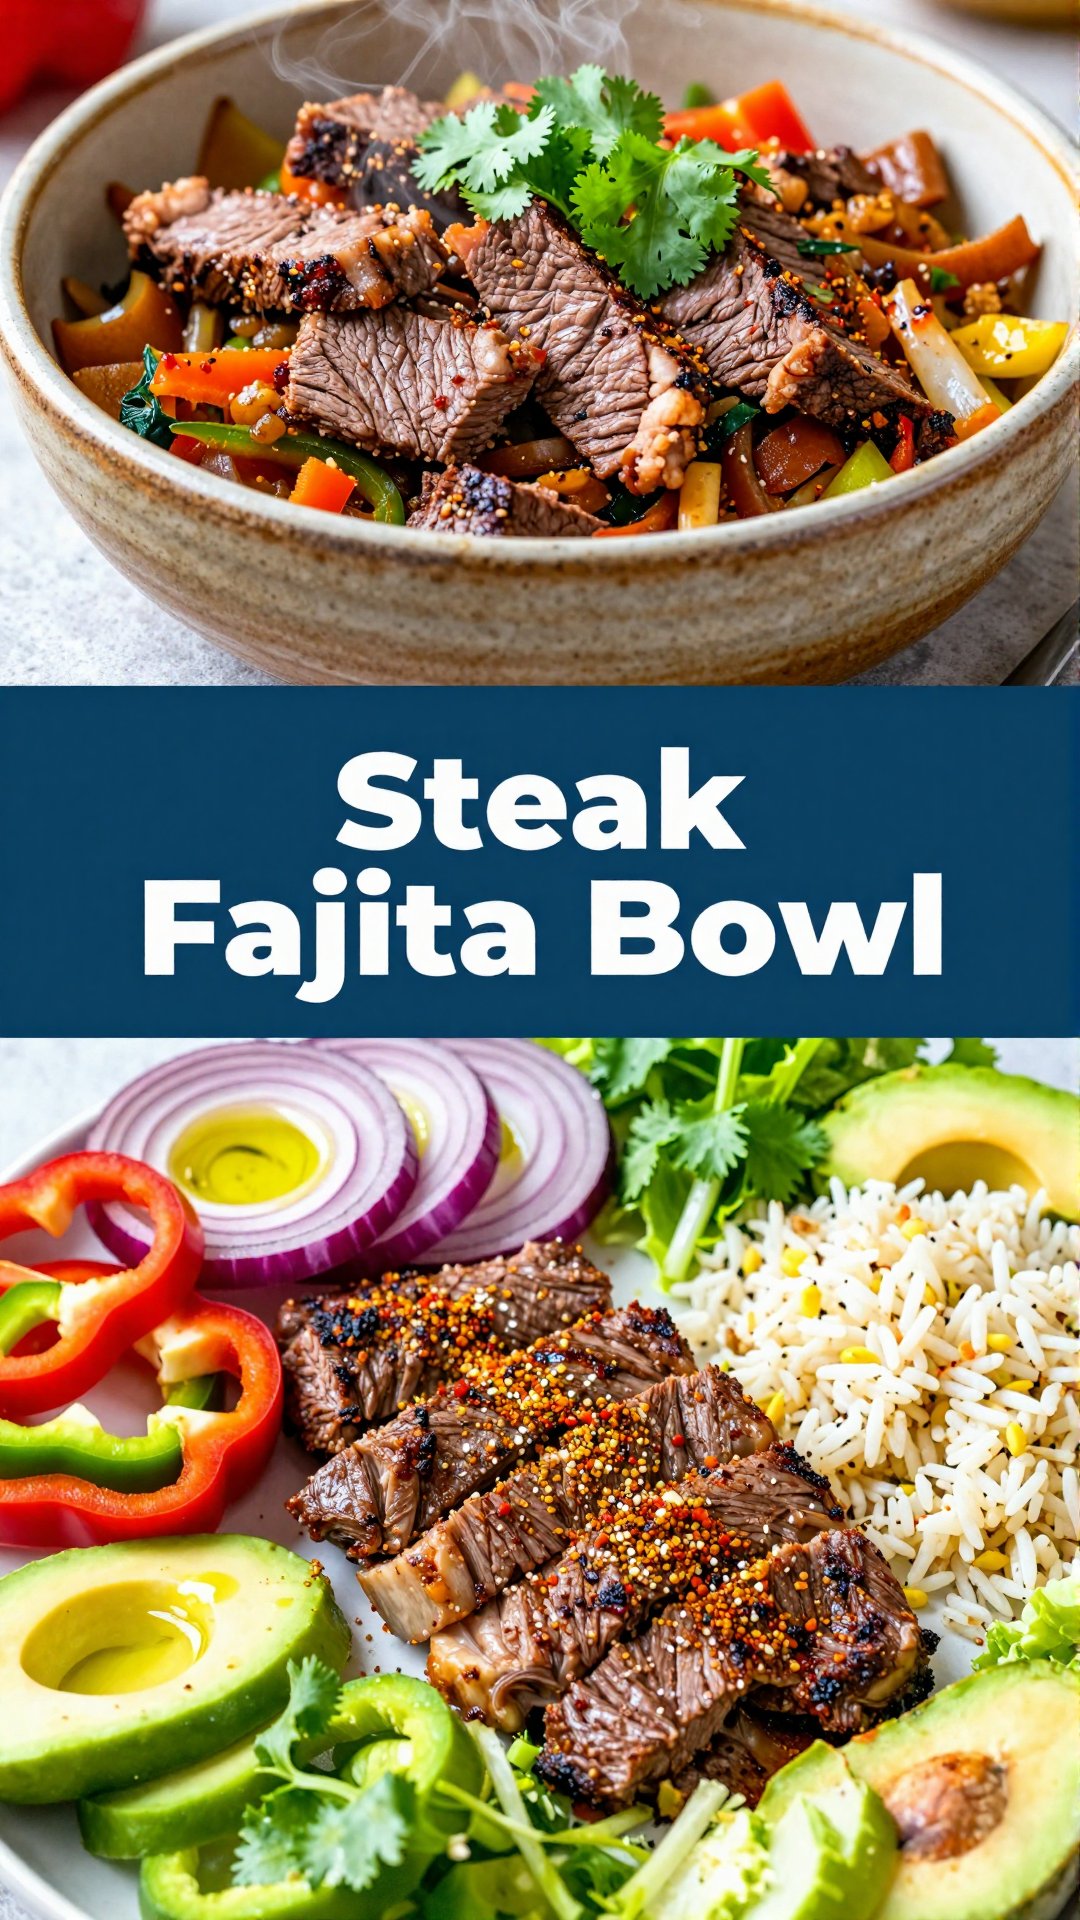
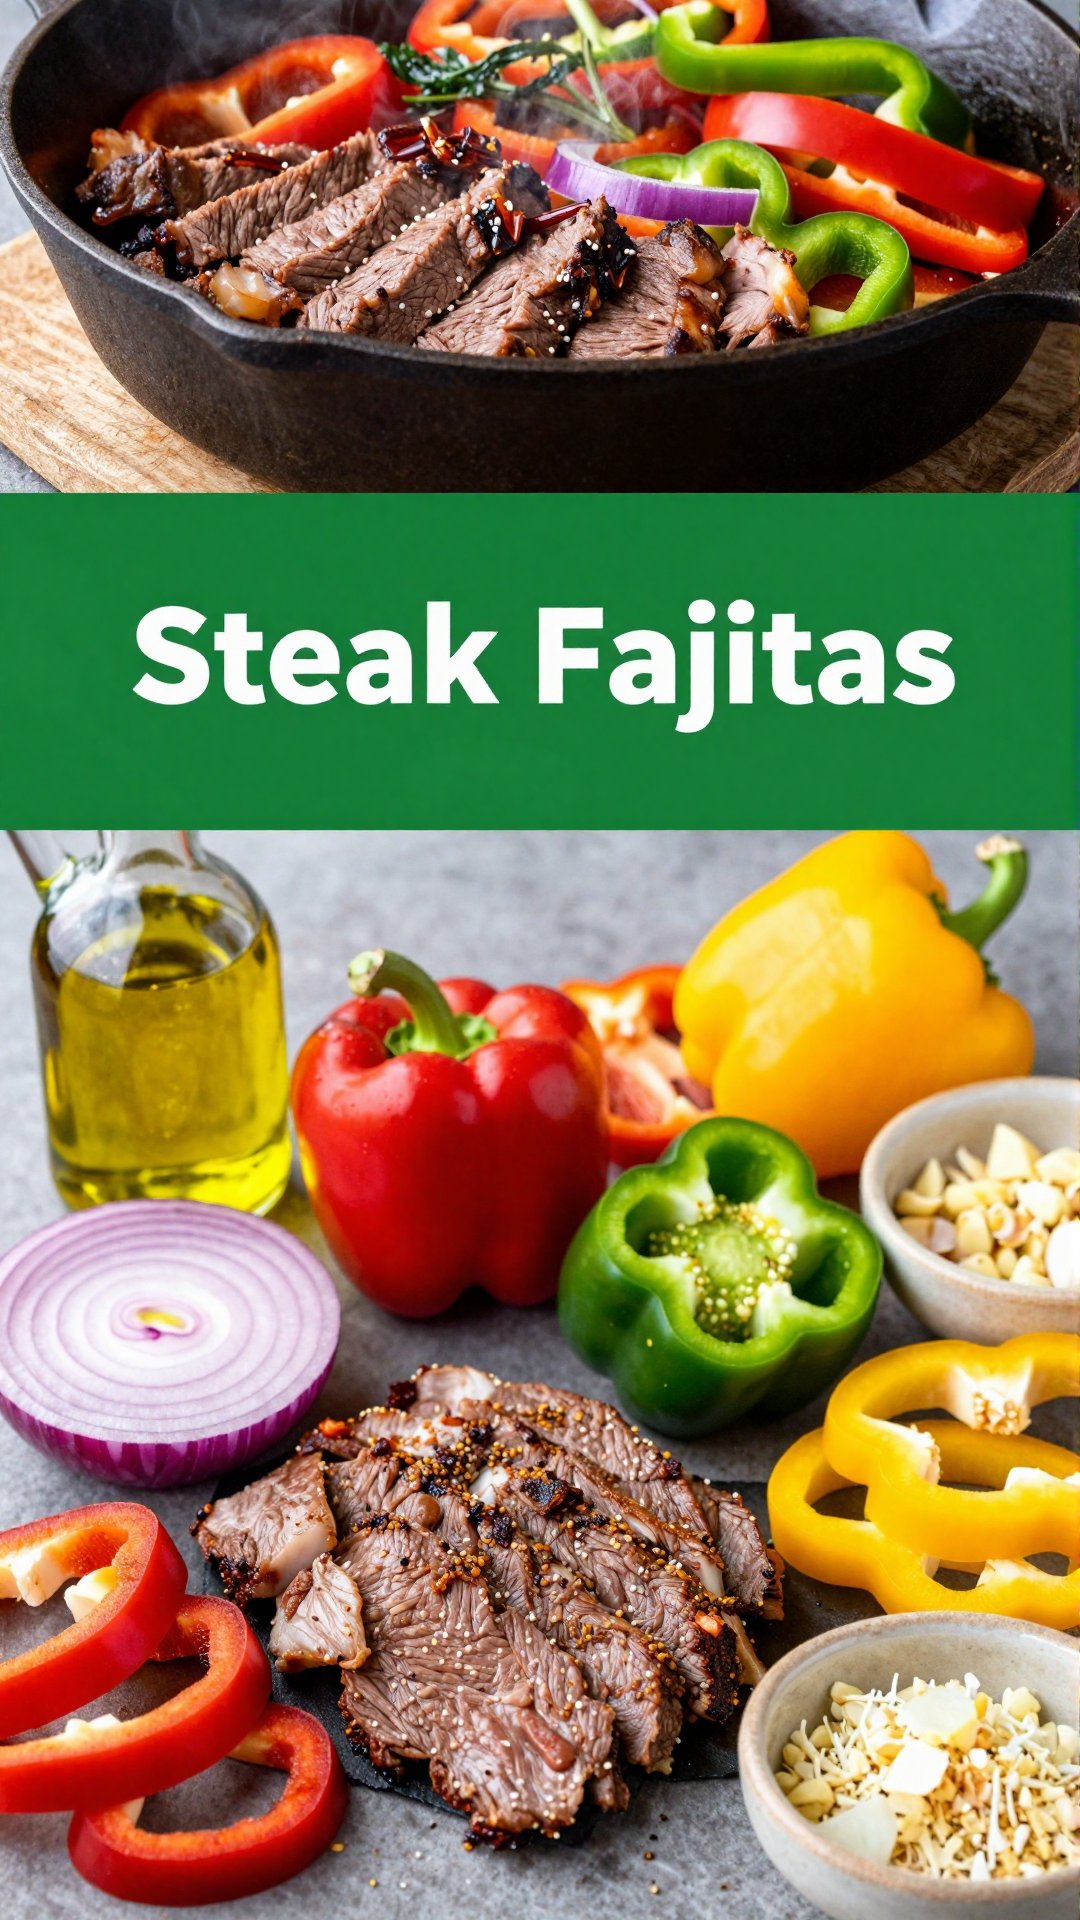
Hey there, friend! Ava here, back in my Seattle kitchen, ready to share one of those recipes that’s become a total staple in our household: Sizzling Steak Fajitas. Seriously, if you’re looking for a quick, flavorful, and crowd-pleasing meal, you’ve hit the jackpot. I’m talking about tender strips of marinated flank steak, vibrant bell peppers and onions, all sizzling together in a hot pan and piled high on warm tortillas. Top it off with a dollop of sour cream, a sprinkle of fresh cilantro, and a squeeze of lime, and you’ve got a fiesta in your mouth!
I remember the first time I made fajitas from scratch. I was intimidated! I thought it would be this huge, complicated ordeal. But guess what? It’s surprisingly easy, and the results are absolutely worth it. This recipe is all about big flavors and minimal fuss, perfect for a busy weeknight or a fun weekend gathering with friends.
Why You’ll Love This Steak Fajitas Recipe
Okay, let me count the ways you’re going to fall head-over-heels for these steak fajitas. This isn’t just another recipe; it’s a culinary hug on a plate!
- Speedy Gonzales Dinner: From fridge to table in under 30 minutes? Yes, please! This is a lifesaver on those nights when you’re short on time but craving something delicious.
- Flavor Explosion: The marinade is the secret weapon here. It infuses the flank steak with a smoky, savory, and slightly spicy flavor that’s absolutely irresistible.
- Customizable Fun: Fajitas are all about building your own perfect bite. Set out a variety of toppings – sour cream, salsa, guacamole, shredded cheese, the works! – and let everyone create their own masterpiece.
- Crowd-Pleasing Power: I’ve never met anyone who doesn’t love fajitas. They’re a guaranteed hit at parties, potlucks, or casual get-togethers.
- Versatile Veggies: Feel free to swap out the bell peppers and onions for other veggies you love. Mushrooms, zucchini, or even corn would be delicious additions.
Ingredients for the Best Steak Fajitas
Here’s what you’ll need to whip up a batch of these amazing steak fajitas. Don’t worry, it’s a pretty straightforward list, and you probably have many of these ingredients in your pantry already.
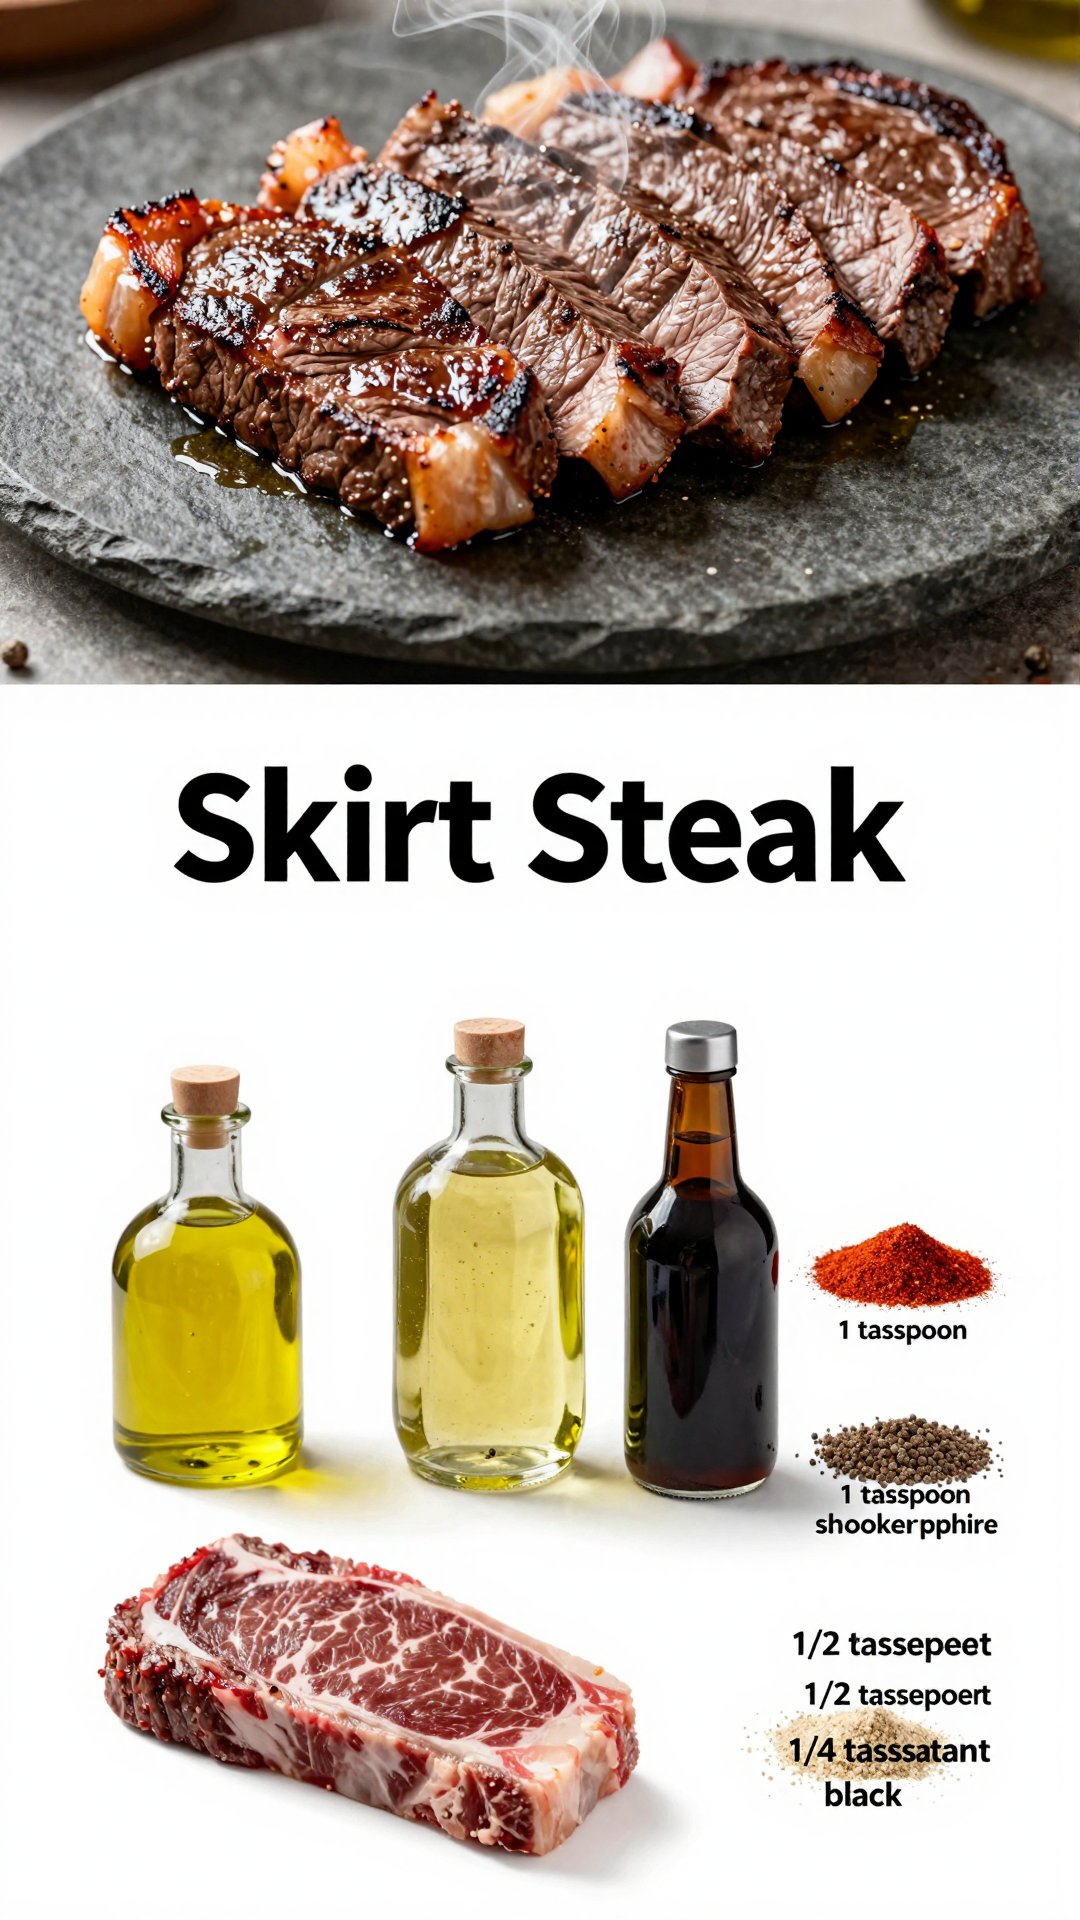
- 1 lb flank steak or skirt steak, sliced into thin strips
- 2 tbsp olive oil
- 2 tbsp lime juice (about 1 lime)
- 2 cloves garlic, minced
- 1 tsp ground cumin
- 1 tsp smoked paprika
- ½ tsp chili powder
- ½ tsp salt
- ¼ tsp black pepper
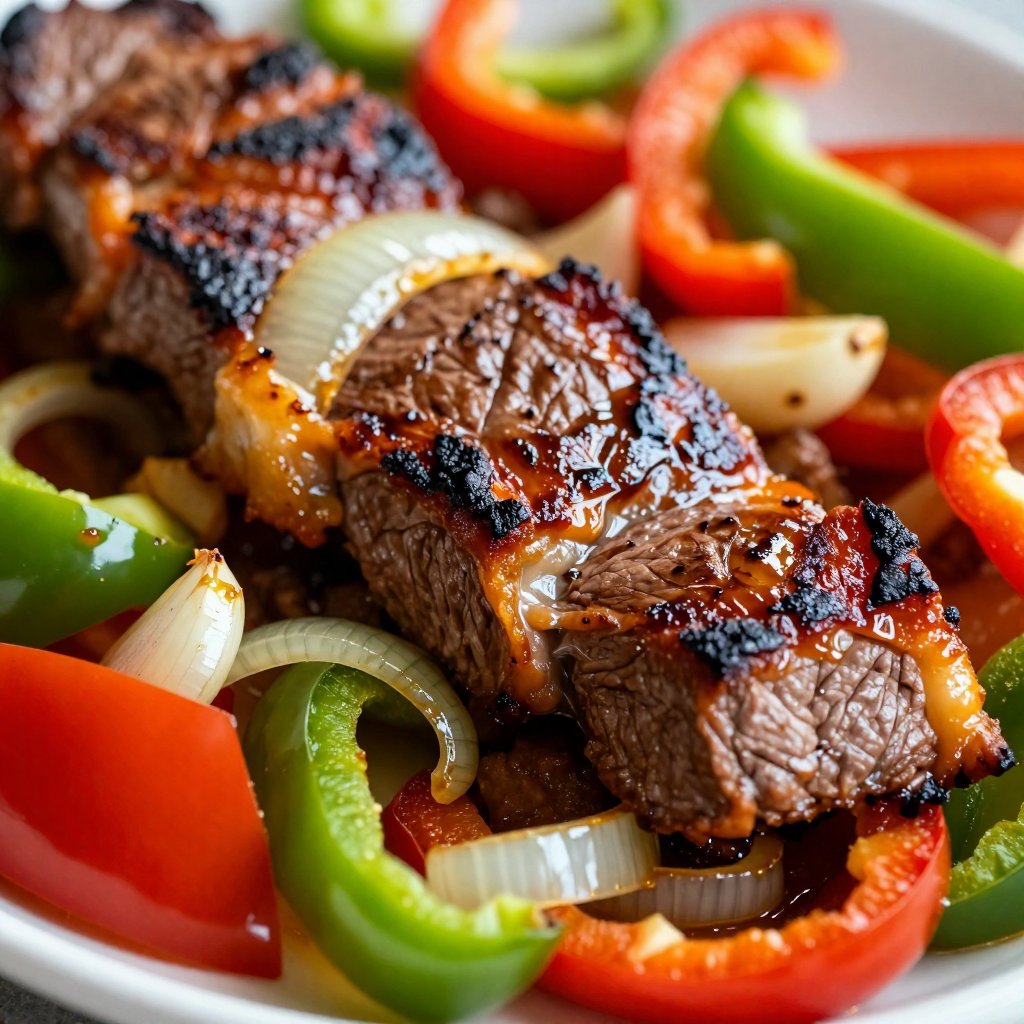
- 1 red bell pepper, sliced
- 1 yellow bell pepper, sliced
- 1 green bell pepper, sliced
- 1 large onion, sliced
- 2 tbsp olive oil
- 8 small flour or corn tortillas, warmed
- Sour cream (optional)
- Salsa (optional)
- Fresh cilantro, chopped (optional)
- Lime wedges (optional)
- Sliced avocado or guacamole (optional)
- Shredded cheese (optional)

How to Make Sizzling Steak Fajitas: Step-by-Step
Alright, let’s get cooking! Here’s a breakdown of the steps involved in making these mouthwatering steak fajitas. Don’t be intimidated; it’s easier than you think!
- Marinate the Steak: Whisk together olive oil, lime juice, garlic, cumin, smoked paprika, chili powder, salt, and black pepper in a medium bowl. Add steak strips and toss to coat thoroughly. Marinate for at least 15 minutes, or refrigerate up to 2 hours for enhanced flavor penetration. The longer it marinates, the more flavorful the meat will be!
- Sear the Steak: Heat 1 tablespoon olive oil in a large skillet over medium-high heat until shimmering. Arrange marinated steak strips in a single layer without overcrowding. Sear for 2 to 3 minutes per side until well-browned and cooked through. Transfer the steak to a plate and cover it loosely with foil to retain the heat. We want that steak nice and juicy!
- Sauté the Veggies: Add the remaining 1 tablespoon olive oil to the same skillet. Introduce the sliced bell peppers and onion, stirring frequently. Sauté for 5 to 7 minutes until the vegetables are softened and the edges develop a slight char. The slightly charred edges add a delicious smoky flavor.
- Combine and Sizzle: Return the seared steak to the skillet with the vegetables. Toss everything together and heat for 1 to 2 minutes until the mixture is sizzling hot. This is where the magic happens!
- Serve and Enjoy: Transfer the sizzling steak and vegetable mixture to a serving platter. Serve immediately with warm tortillas and your desired toppings. Get ready for some serious yumminess!
Pro Tips for the Best Steak Fajitas Ever
Want to take your steak fajitas to the next level? Here are a few of my tried-and-true tips for achieving fajita perfection:
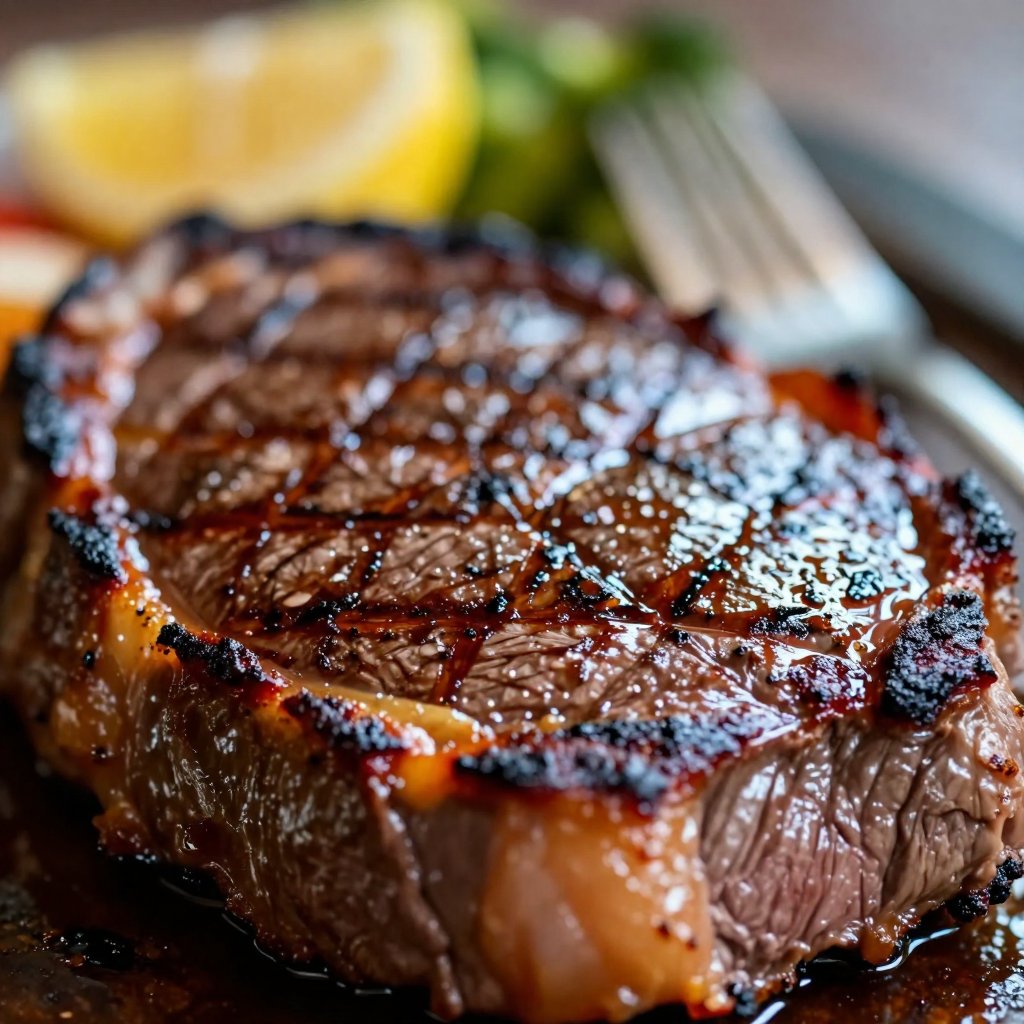
- Choose the Right Cut of Meat: Flank steak or skirt steak are ideal for fajitas because they’re thin and cook quickly. Make sure to slice the meat against the grain for maximum tenderness.
- Don’t Overcrowd the Pan: When searing the steak, work in batches to avoid overcrowding the pan. Overcrowding lowers the temperature of the pan and results in steamed, rather than seared, meat.
- Use High Heat: High heat is essential for achieving a good sear on the steak and charring the vegetables. Just be careful not to burn anything!
- Warm Your Tortillas: Warm tortillas are a must! You can warm them in a dry skillet, in the microwave, or in the oven. I like to wrap them in a clean kitchen towel to keep them warm and pliable.
- Don’t Be Afraid to Experiment with Toppings: The possibilities are endless when it comes to toppings. Get creative and try different combinations to find your favorites.
- Marinate for Maximum Flavor: While 15 minutes is enough for a quick marinade, letting the steak sit in the marinade for up to 2 hours will result in even more intense flavor. The lime juice in the marinade also helps to tenderize the meat.
- Rest the Meat: After searing the steak, let it rest for a few minutes before slicing. This allows the juices to redistribute, resulting in a more tender and flavorful steak.
Common Mistakes to Avoid When Making Steak Fajitas
Even though this recipe is pretty straightforward, there are a few common pitfalls to watch out for. Here’s what not to do:
- Overcooking the Steak: Overcooked steak is tough and dry. Aim for medium-rare to medium for the most tender and juicy results. Use a meat thermometer to ensure accuracy.
- Using Dull Knives: Slicing the steak thinly and evenly is crucial for even cooking. A sharp knife will make this task much easier.
- Skipping the Marinade: The marinade is what infuses the steak with flavor and helps to tenderize it. Don’t skip this step!
- Burning the Vegetables: Keep a close eye on the vegetables while they’re sautéing to prevent them from burning. Stir them frequently and adjust the heat as needed.
- Using Cold Tortillas: Cold tortillas are stiff and unappetizing. Warm them up before serving for a much better experience.
Flavor Variations to Spice Things Up
Want to put your own spin on these steak fajitas? Here are a few ideas to get your creative juices flowing:
- Spicy Fajitas: Add a pinch of cayenne pepper or a diced jalapeño to the marinade for a fiery kick.
- Citrus Fajitas: Use a combination of lime and orange juice in the marinade for a bright and zesty flavor.
- Mushroom Fajitas: Add sliced mushrooms to the skillet with the bell peppers and onions for an earthy twist.
- Pineapple Fajitas: Grill some pineapple slices and add them to the fajitas for a sweet and tangy flavor.
- Shrimp Fajitas: Substitute the steak with shrimp for a delicious seafood option. Just be sure not to overcook the shrimp!
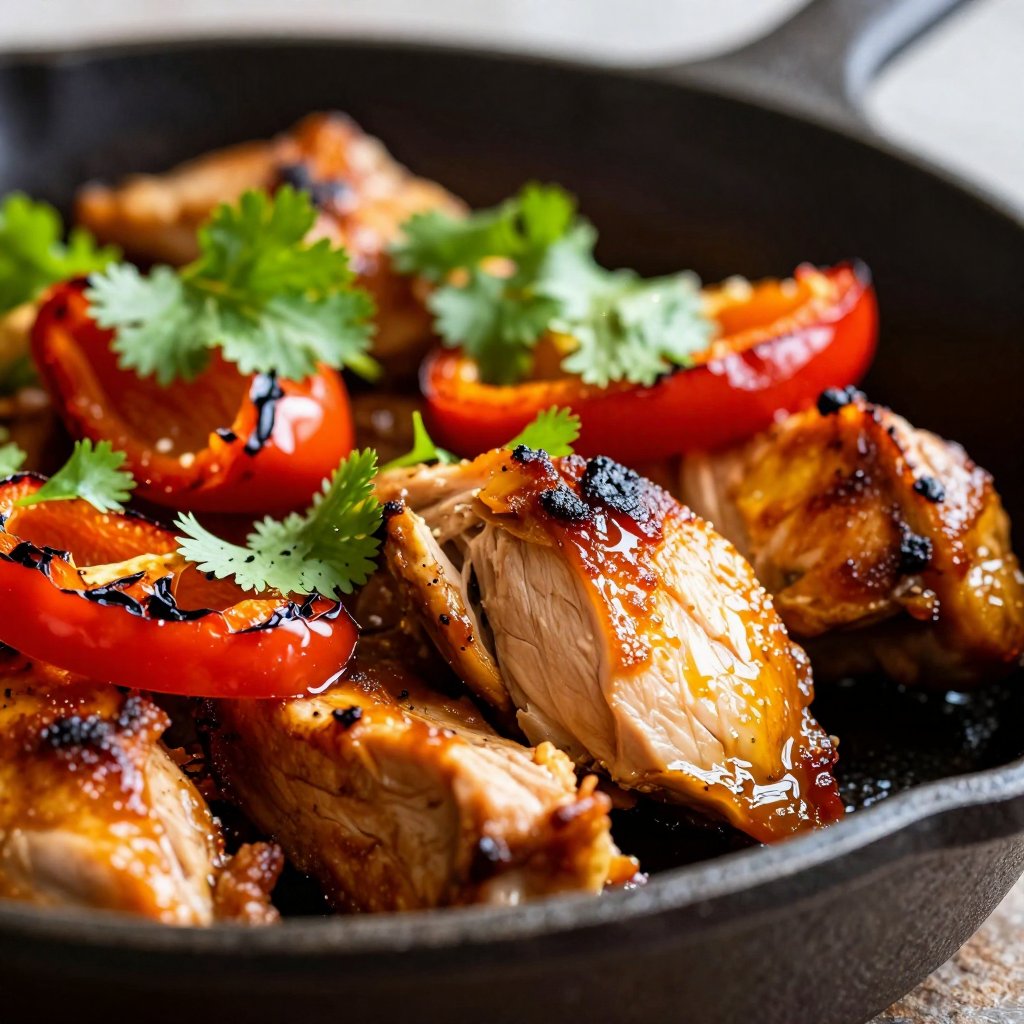
- Chicken Fajitas: You can easily substitute the flank steak with chicken breast or chicken thighs, sliced into strips. The marinade works wonderfully with chicken too!
How to Store and Reheat Leftover Steak Fajitas
If you happen to have any leftovers (which is rare in my house!), here’s how to store and reheat them properly:
- Storage: Store the steak and vegetables separately in airtight containers in the refrigerator for up to 3 days.
- Reheating: Reheat the steak and vegetables in a skillet over medium heat until warmed through. You can also microwave them, but they may not be as flavorful.
- Reheating Tortillas: Wrap the tortillas in a damp paper towel and microwave them for a few seconds until warm and pliable.
Frequently Asked Questions About Steak Fajitas
Got questions? I’ve got answers! Here are some of the most common questions I get asked about steak fajitas:
- Can I use a different cut of steak? While flank steak and skirt steak are the best choices, you can also use sirloin steak or even thinly sliced ribeye.
- Can I make the marinade ahead of time? Absolutely! The marinade can be made up to 24 hours in advance and stored in the refrigerator.
- Can I grill the steak and vegetables? Yes! Grilling adds a delicious smoky flavor to the fajitas. Just be sure to watch them carefully to prevent burning.
- What are the best toppings for fajitas? The possibilities are endless! Some of my favorites include sour cream, salsa, guacamole, shredded cheese, fresh cilantro, lime wedges, and diced tomatoes.
- Can I freeze leftover fajitas? While you can freeze leftover steak and vegetables, the texture may change slightly upon thawing. Store them in an airtight container for up to 2 months.
Serving Suggestions: Complete the Fiesta!
These steak fajitas are delicious on their own, but here are a few serving suggestions to complete the meal and make it a true fiesta:
- Rice and Beans: Serve the fajitas with a side of Mexican rice and refried beans for a classic combination.
- Guacamole and Chips: Start the meal with some homemade guacamole and tortilla chips for a fun and festive appetizer.
- Mexican Street Corn Salad: This vibrant and flavorful salad is the perfect complement to the rich and savory fajitas.
- Margaritas: No fiesta is complete without margaritas! Whip up a batch of classic margaritas or try a fun flavor variation like strawberry or mango.
- Dessert: Finish the meal with a sweet treat like churros, flan, or tres leches cake.
So there you have it – my go-to recipe for Sizzling Steak Fajitas. I hope you love them as much as we do! Now go forth and create some kitchen magic. And don’t forget to invite me over for dinner! Enjoy the process, trust your instincts, and remember that cooking should be fun. Until next time, happy cooking!
These steak fajitas are truly the best! Using flank steak ensures a tender result. The key is slicing the steak thinly against the grain. It’s important to use high heat when searing the meat. Don’t forget the peppers and onions for that classic fajita flavor. Serve with warm tortillas and your favorite toppings like sour cream and fresh cilantro. The marinade, with olive oil, lime juice, and spices, can be left up to 2 hours. Cook for to minutes on each side for perfect doneness. These steak fajitas are perfect to share with friends. The beef is cooked until slightly charred on a hot pan. The vegetables, with colorful bell peppers, add a nice contrast. Remember to let the steak rest up to hours before slicing. Enjoy these delicious steak fajitas with warm toppings.
Sizzling Steak Fajitas
Ingredients
Steak Marinade
- 1 lb flank steak or skirt steak (sliced into thin strips)
- 2 tbsp olive oil
- 2 tbsp lime juice (about 1 lime)
- 2 cloves garlic (minced)
- 1 tsp ground cumin
- 1 tsp smoked paprika
- 0.5 tsp chili powder
- 0.5 tsp salt
- 0.25 tsp black pepper
Vegetables
- 1 red bell pepper (sliced)
- 1 yellow bell pepper (sliced)
- 1 green bell pepper (sliced)
- 1 large onion (sliced)
- 2 tbsp olive oil
Serving
- 8 small flour or corn tortillas (warmed)
- Sour cream (optional)
- Salsa (optional)
- Fresh cilantro (chopped (optional))
- Lime wedges (optional)
- Sliced avocado or guacamole (optional)
- Shredded cheese (optional)
Instructions
- Marinate steak strips in a mixture of olive oil, lime juice, garlic, cumin, smoked paprika, chili powder, salt, and pepper for at least 15 minutes.
- Sear steak strips in a skillet over medium-high heat for 2-3 minutes per side. Transfer to a plate and cover.
- Sauté sliced bell peppers and onion in the same skillet for 5-7 minutes until softened.
- Return steak to the skillet with vegetables. Toss and heat for 1-2 minutes. Serve with warm tortillas and desired toppings.
Notes