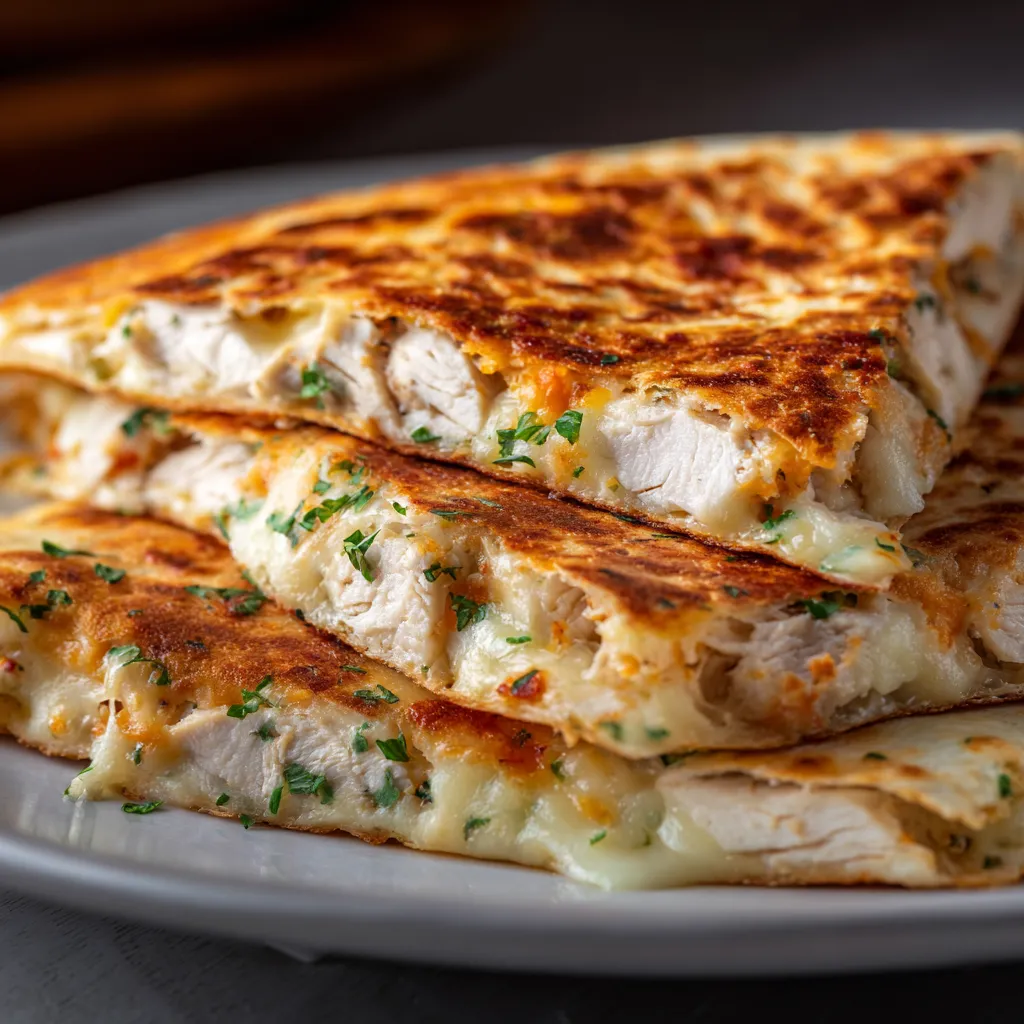
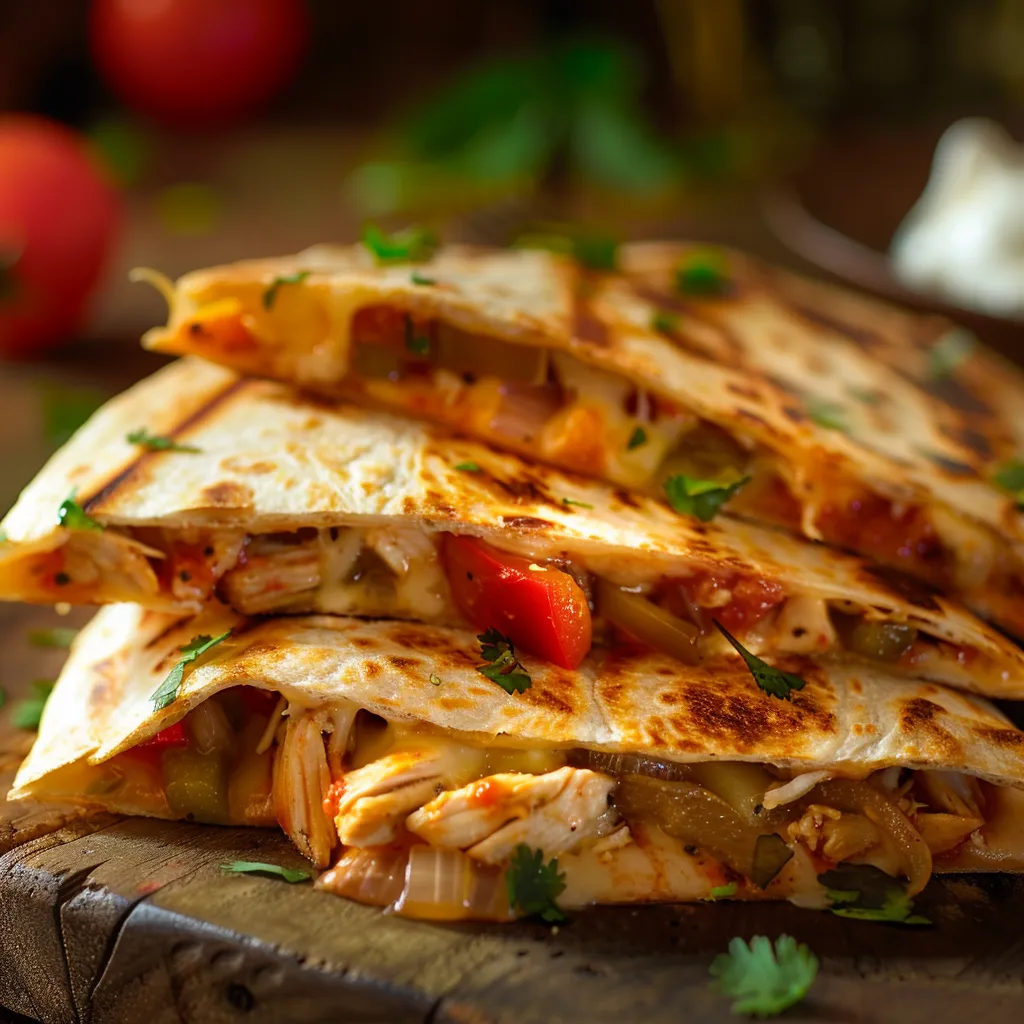
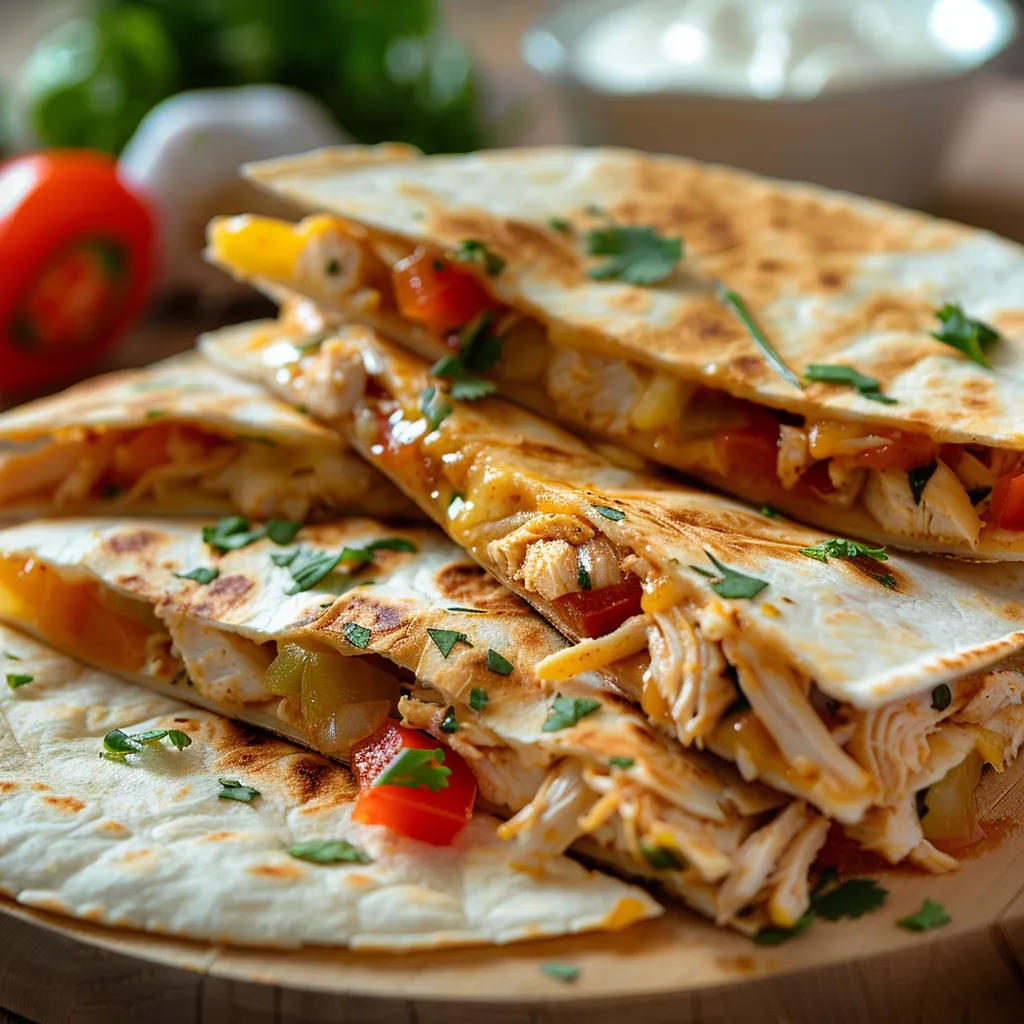
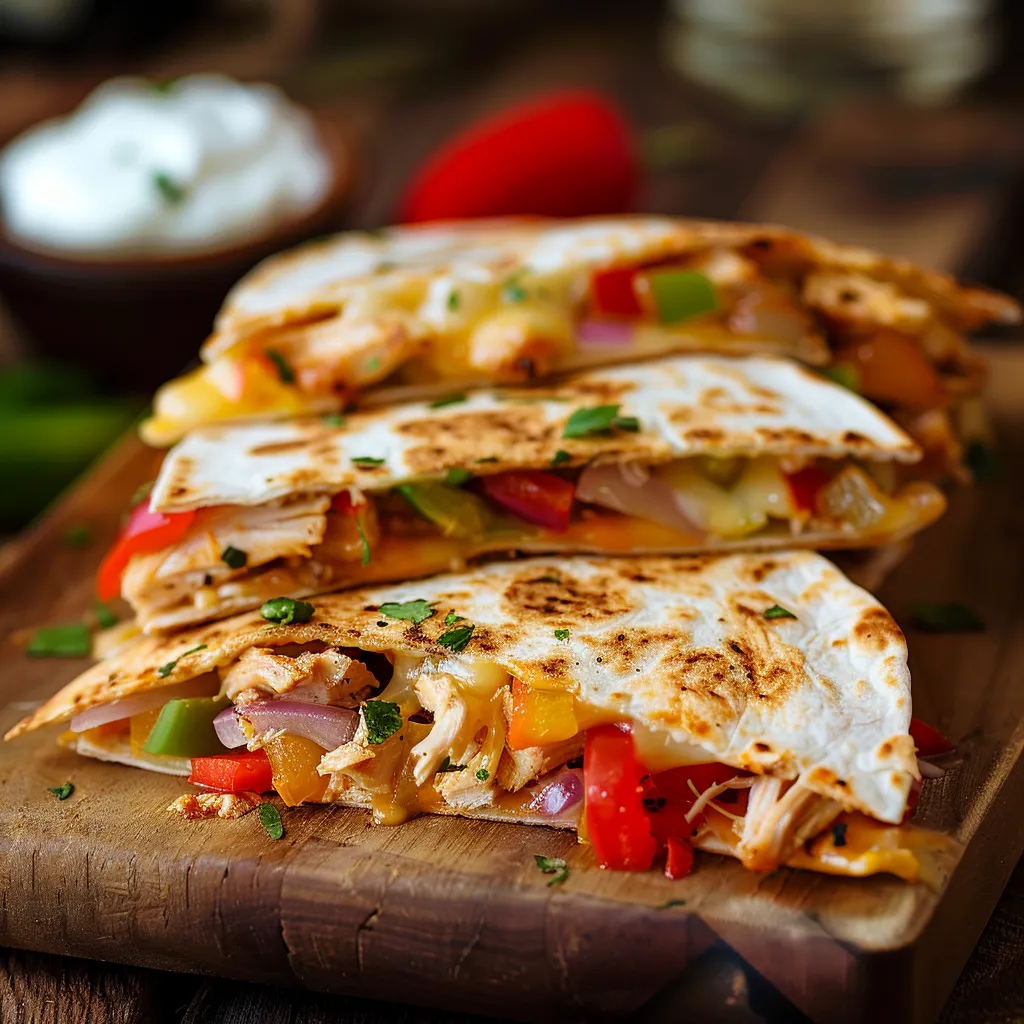
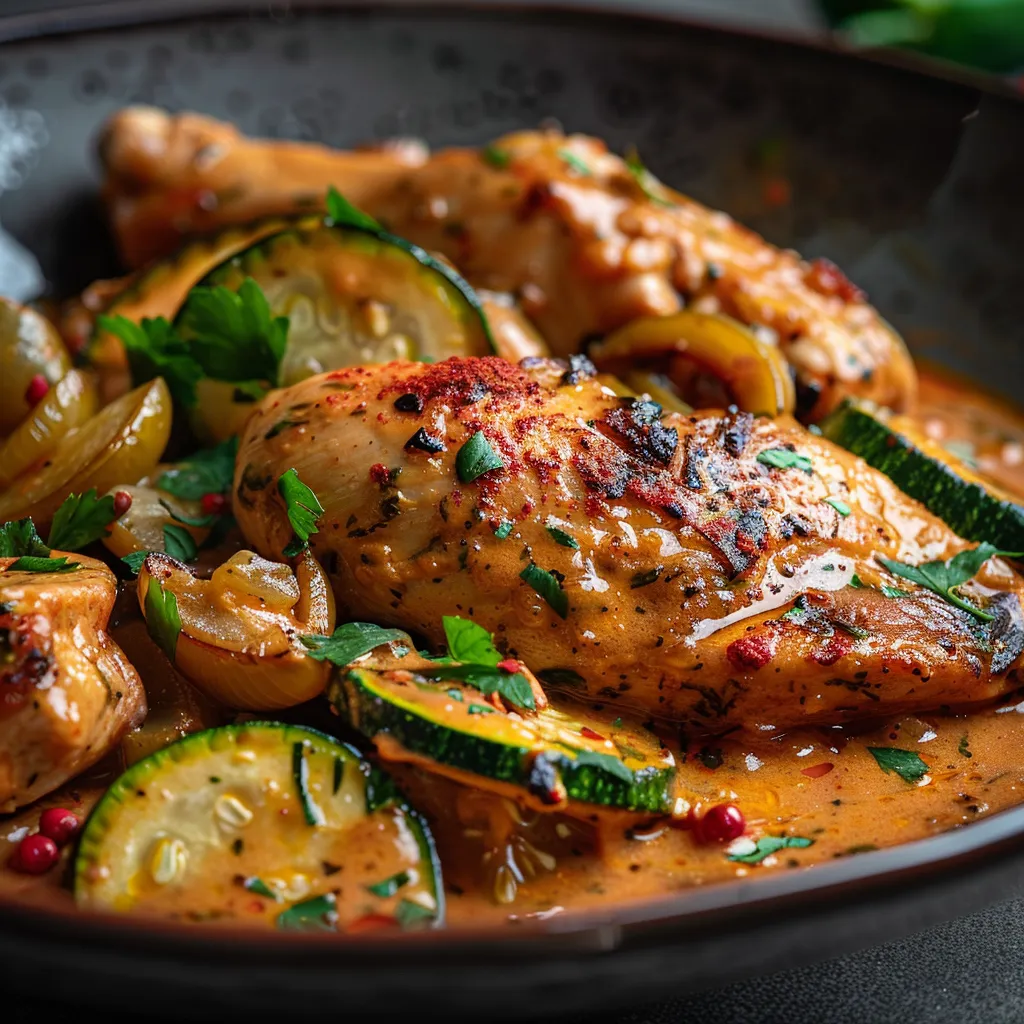
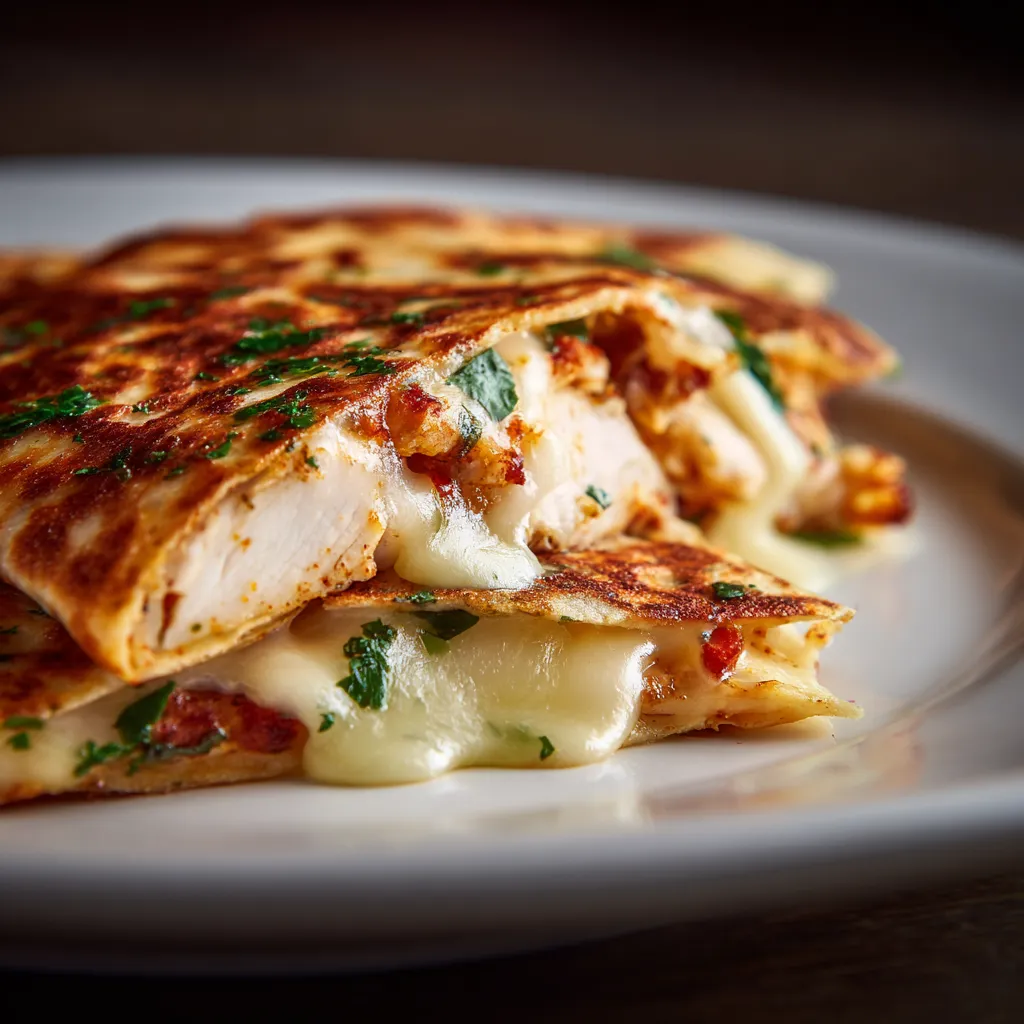
Unleash the Flavor: The Cheesy Garlic Chicken Wrap Journey
Welcome to my kitchen, where every recipe is a little adventure! Today, I’m thrilled to share with you my Cheesy Garlic Chicken Wraps—a dish that’s not just a meal but a warm embrace of flavor. These wraps are loaded with tender chicken, gooey cheese, and a delightful garlicky punch. Perfect for busy weeknights or a late-night snack, they’ll quickly become a family favorite. So grab your spatula and let’s dive into a culinary experience that’s both comforting and delicious!
Why You’ll Love This Recipe
Let’s face it, the kitchen can sometimes feel like a battleground, but this recipe is your secret weapon. Here’s why you’ll fall head over heels for these wraps:
- Quick and Easy: Whip these up in under 30 minutes, making them perfect for those hectic nights when you just want to eat!
- Customizable: Tailor these wraps to your liking—swap the chicken for turkey, add in your favorite veggies, or switch up the cheese blend!
- Kid Approved: With their cheesy goodness and fun wrap format, even the pickiest eaters will be asking for seconds.
- Meal Prep Friendly: Make a double batch and store leftovers for easy lunches throughout the week—just reheat and enjoy!
- Perfect for Any Occasion: Whether it’s a cozy family dinner or a party with friends, these wraps are sure to impress!
Ingredient Breakdown: What You Need
Before we get cooking, let’s gather our ingredients. Here’s what you’ll need for these Cheesy Garlic Chicken Wraps:
- 2 cups cooked chicken: Shredded or diced, you can use rotisserie chicken for a quick shortcut!
- 1 cup shredded cheese: Cheddar, mozzarella, or a blend—whatever melts your heart!
- 4 large flour tortillas: Soft and pliable, perfect for wrapping all that goodness inside.
- 4 cloves garlic: Minced, because garlic makes everything better!
- 1/4 cup cream cheese: For that creamy texture that binds everything together.
- 1/4 cup sour cream: Adds a tangy richness to the filling.
- 1 tablespoon olive oil: For sautéing; feel free to swap with butter for extra flavor.
- 1 teaspoon paprika: A dash of smokiness to elevate the flavor profile.
- Salt and pepper: To taste, always important!
- Fresh parsley: Chopped, for a pop of color and freshness at the end.
Step-by-Step Instructions to Deliciousness
Now that we have our ingredients ready, let’s jump into the cooking process. Follow these simple steps to create your Cheesy Garlic Chicken Wraps:
- In a large bowl, combine the shredded chicken, minced garlic, cream cheese, sour cream, paprika, salt, and pepper. Mix well until everything is thoroughly combined.
- Heat the olive oil in a skillet over medium heat. Add the chicken mixture and cook it for about 5-7 minutes, or until heated through.
- Remove the skillet from the heat and stir in the shredded cheese until it melts and creates a gooey filling.
- Warm the flour tortillas in a separate skillet or microwave until they are soft and pliable.
- Spoon the cheesy garlic chicken mixture onto the center of each tortilla.
- Fold in the sides of the tortilla and roll it up tightly from the bottom to the top.
- Optional: Place the wraps seam-side down in the skillet for 2-3 minutes to crisp the outside.
- Slice in half, garnish with fresh parsley, and serve hot!
Pro Tips for Perfect Wraps
To elevate your wrap game, keep these expert tips in mind:
- Don’t Overfill: Less is more! Overstuffing can lead to messy wraps. Aim for about 1/2 cup of filling per tortilla.
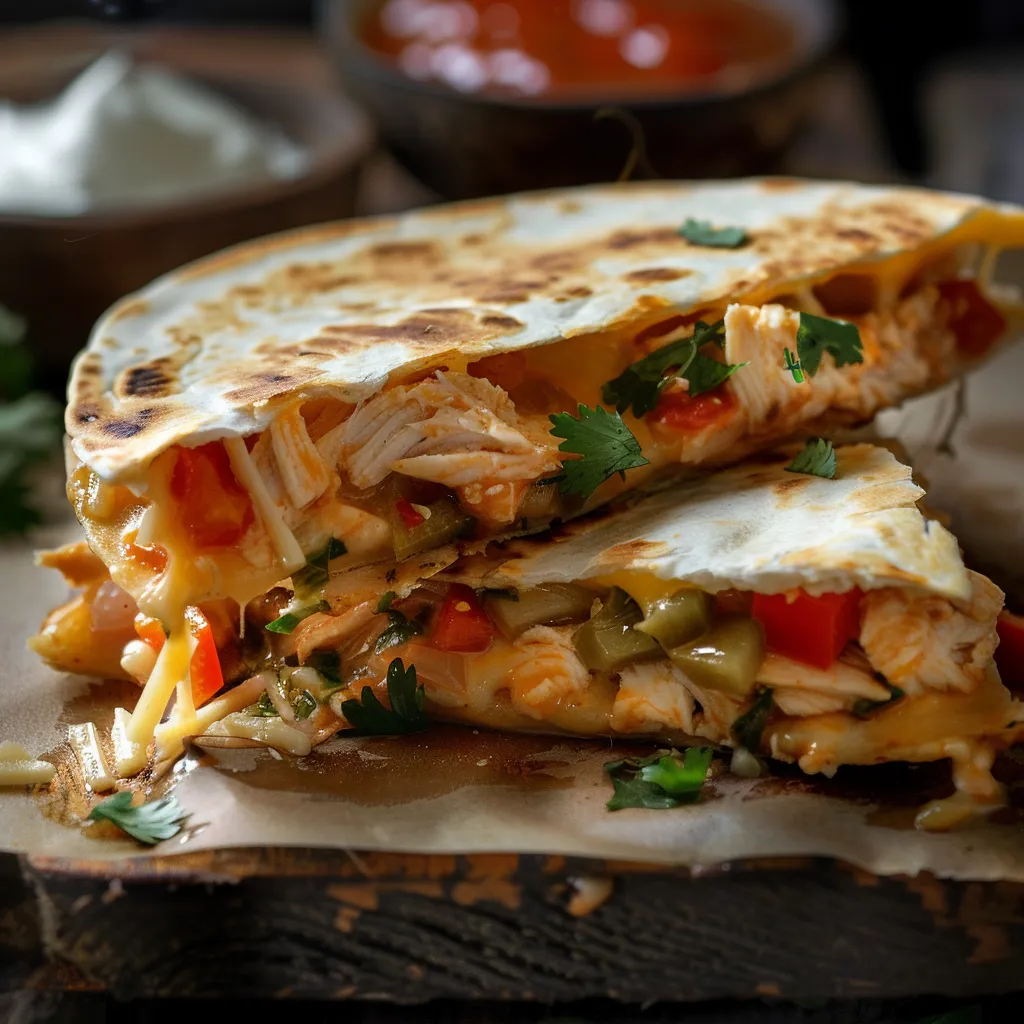
- Add Veggies: Sneak in some sautéed bell peppers, spinach, or mushrooms for extra nutrition and flavor.
- Grate Your Own Cheese: Pre-shredded cheese often has anti-caking agents that affect melting. Grate your own for that ooey-gooey texture!
- Let It Rest: After cooking, let your wraps sit for a minute before slicing. This helps the filling set and reduces spillage.
- Experiment with Flavors: Try adding hot sauce to the filling or mixing in some taco seasoning for a kick!
- Storage Tips: Store leftovers in an airtight container in the fridge for up to 3 days. Reheat in the oven or skillet for best results.
- Make Ahead: Prepare the filling a day in advance and assemble the wraps right before cooking.
- Freezing: These wraps freeze beautifully! Wrap in foil and store in a freezer-safe bag for up to 3 months. Reheat directly from the freezer.
Common Mistakes and Troubleshooting
Even seasoned chefs can face hiccups in the kitchen. Here are some common mistakes to avoid:
- Using Cold Ingredients: Ensure your cream cheese is softened to combine smoothly. Let it sit out for about 30 minutes before using.
- Skipping the Seasoning: Don’t forget to season your filling. A little salt and pepper go a long way in enhancing the flavors.
- Not Toasting the Tortillas: Warming the tortillas is crucial for flexibility. Cold tortillas can crack when you try to wrap them.
- Overcooking the Chicken: If you’re using raw chicken, be sure not to overcook it to keep it moist and tender.
Creative Variations to Try
Feel like mixing things up? Here are some delicious variations you can try:
- Buffalo Chicken Wraps: Add buffalo sauce for a spicy twist and top with blue cheese crumbles!
- Veggie Lovers Wrap: Replace the chicken with roasted veggies like zucchini, bell peppers, and mushrooms.
- BBQ Chicken Wraps: Mix in BBQ sauce and some diced red onion for a smoky flavor.
- Breakfast Wrap: Use scrambled eggs, bacon, and cheddar cheese for a hearty breakfast option!
Storage and Make-Ahead Instructions
These wraps are not just delicious on the day they’re made; they also hold up beautifully for future meals. Here’s how to store and prepare them:
- Refrigerate: Store any leftovers in an airtight container in the fridge for up to 3 days.
- Freeze: Wrap each individual wrap in foil and then place them in a freezer-safe bag. They can be frozen for up to 3 months.
- Make Ahead: Prepare the filling ahead of time and assemble the wraps just before cooking for a fresh taste.
Frequently Asked Questions
Got questions? I’ve got answers! Here are some FAQs about these Cheesy Garlic Chicken Wraps:
- Can I use raw chicken? Yes! Just cook it thoroughly before mixing it with the other ingredients.
- What if I don’t have cream cheese? You can substitute with Greek yogurt or ricotta cheese for a similar texture.
- Can I make these wraps vegetarian? Absolutely! Replace chicken with beans or tofu and add your favorite veggies.
- How do I reheat these wraps? Reheat in an oven at 350°F for about 10-15 minutes or in a skillet over medium heat until warmed through.
- What kind of tortillas should I use? Flour tortillas work best, but you can also use whole wheat or corn tortillas if you prefer.
- Can I add more garlic? If you’re a garlic lover, feel free to add an extra clove or two!
- How do I make these gluten-free? Simply use gluten-free tortillas and ensure all other ingredients are gluten-free.
- How long do leftovers last? Store in the fridge for up to 3 days, or freeze for up to 3 months.
Nutritional Information and Dietary Adaptations
These Cheesy Garlic Chicken Wraps can fit into various dietary needs. Here are some nutrition tips and adaptations:
- Low-Carb: Use lettuce wraps instead of tortillas for a low-carb option.
- Dairy-Free: Substitute cream cheese and sour cream with dairy-free alternatives.
- High-Protein: Load up on chicken or add protein-rich beans to the filling.
- Low-Calorie: Use less cheese, or opt for lower-fat cheese options to reduce calories.
Essential Equipment for Making Wraps
To ensure your cooking experience is smooth and enjoyable, consider having the following equipment on hand:
- Large Mixing Bowl: For mixing the filling ingredients.
- Skillet: A non-stick skillet is ideal for sautéing and warming tortillas.
- Spatula: For stirring and flipping your wraps.
- Knife and Cutting Board: For chopping ingredients and slicing your wraps.
Serving Suggestions to Wow Your Guests
Once you’ve crafted these delectable wraps, it’s time to serve them with style! Consider these serving suggestions:
- Pair with Dips: Serve with ranch, guacamole, or salsa for extra flavor.
- Add a Side Salad: A fresh garden salad complements the richness of the wraps beautifully.
- Garnish: Sprinkle additional parsley or even some chili flakes on top for a pop of color and flavor.
- Offer a Variety: Make a platter of different wraps to cater to different tastes—variety is the spice of life!
So there you have it—my ultimate guide to making mouthwatering Cheesy Garlic Chicken Wraps. I hope you find joy in the process and love every bite of these delicious wraps. Remember, cooking is all about having fun and creating memories. Until next time, happy cooking!
Cheesy Garlic Chicken Wraps – The Ultimate Flavor Explosion!
Ingredients
Protein
- 2 cups cooked chicken, shredded
- 1 cup shredded cheese (cheddar, mozzarella, or a blend)
Dairy
- 1/4 cup cream cheese, softened
- 1/4 cup sour cream
Other ingredients
- 4 cloves garlic, minced
- 1 tablespoon olive oil
- 1 teaspoon paprika
- salt and pepper to taste salt and pepper
- 4 large flour tortillas
Garnish
- to taste fresh parsley, chopped
Instructions
- Mix shredded chicken, garlic, cream cheese, sour cream, paprika, salt, and pepper.
- Heat olive oil and cook the chicken mixture for 5-7 minutes.
- Stir in shredded cheese until melted.
- Warm tortillas and fill with the chicken mixture.
- Roll up the wraps, optionally crisp in skillet, garnish with parsley, and serve.
Notes
Loved this recipe? Save it to your favorite Pinterest board so you can easily find it later! It’s the perfect way to keep all your sweet ideas in one place. ✨