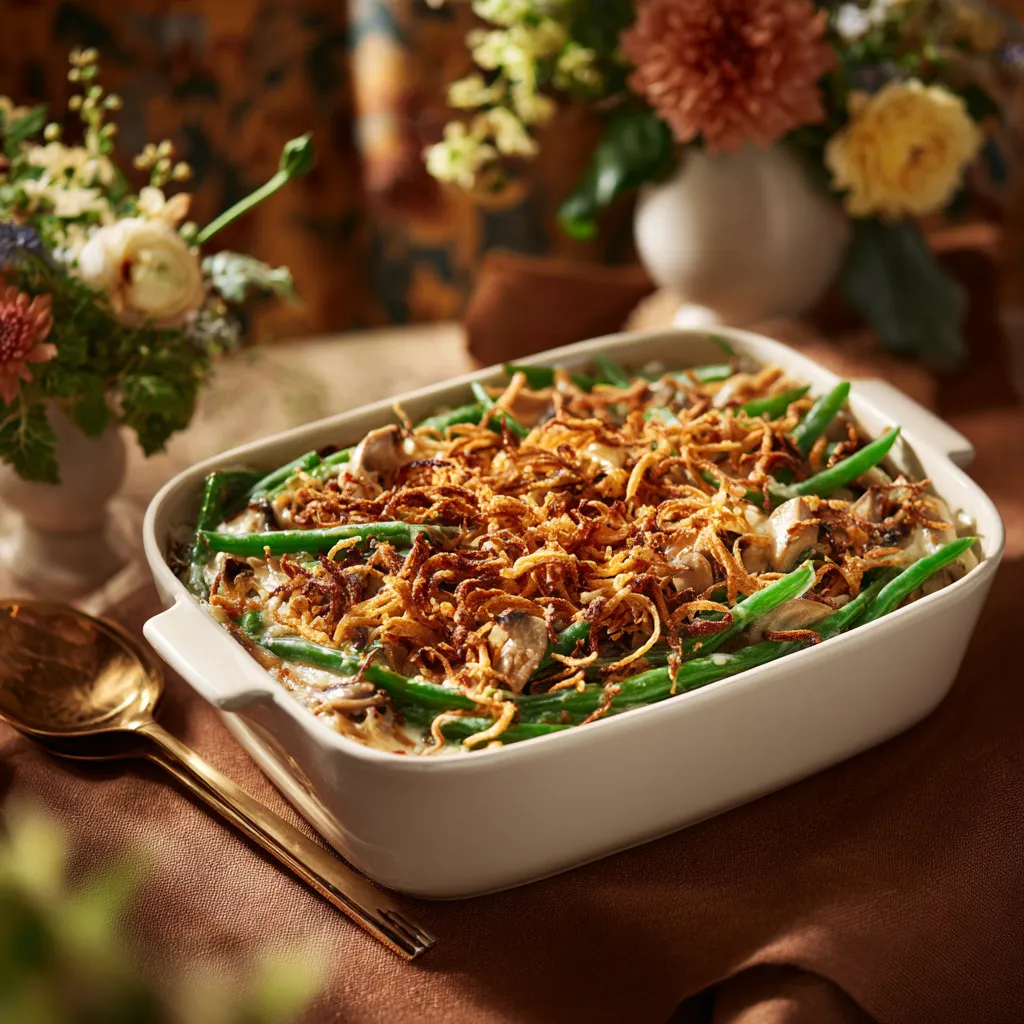
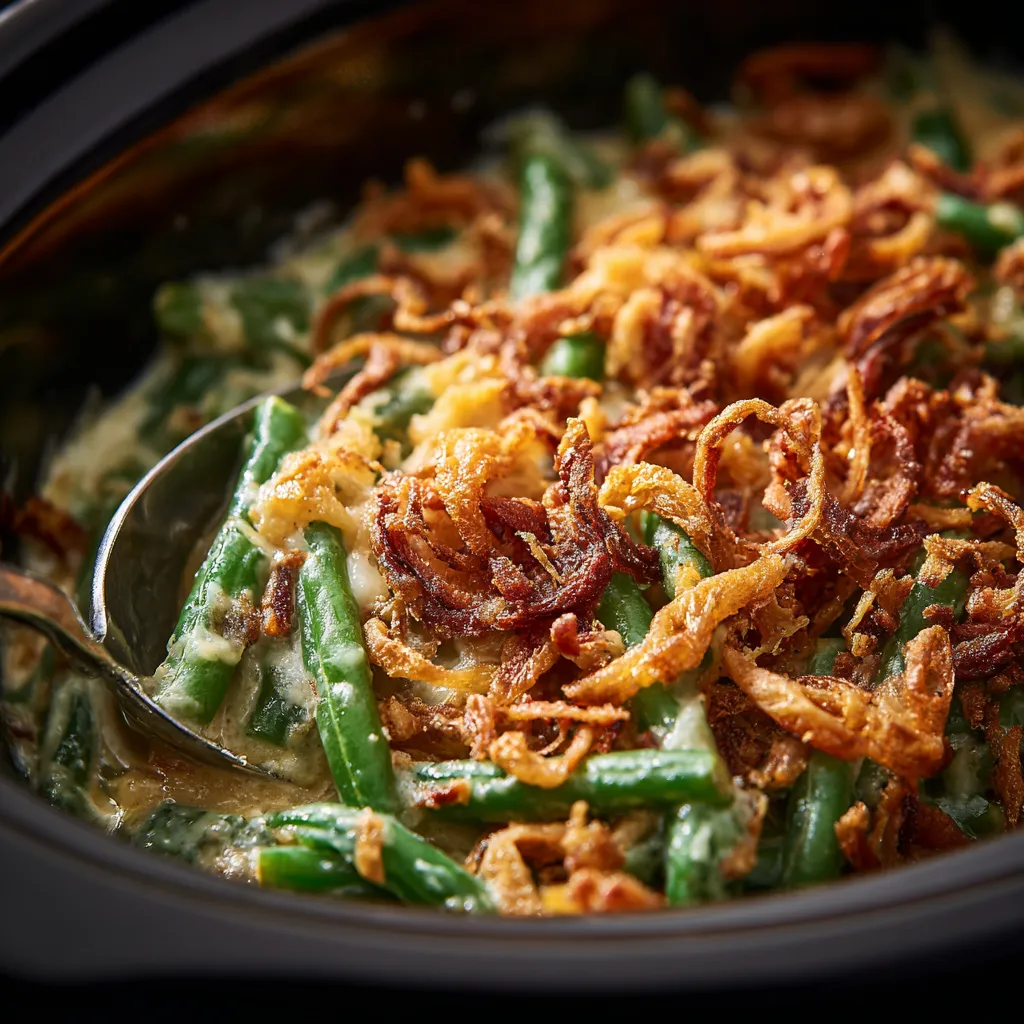
Welcome to the Heart of Comfort Food: Your New Go-To Green Bean Casserole
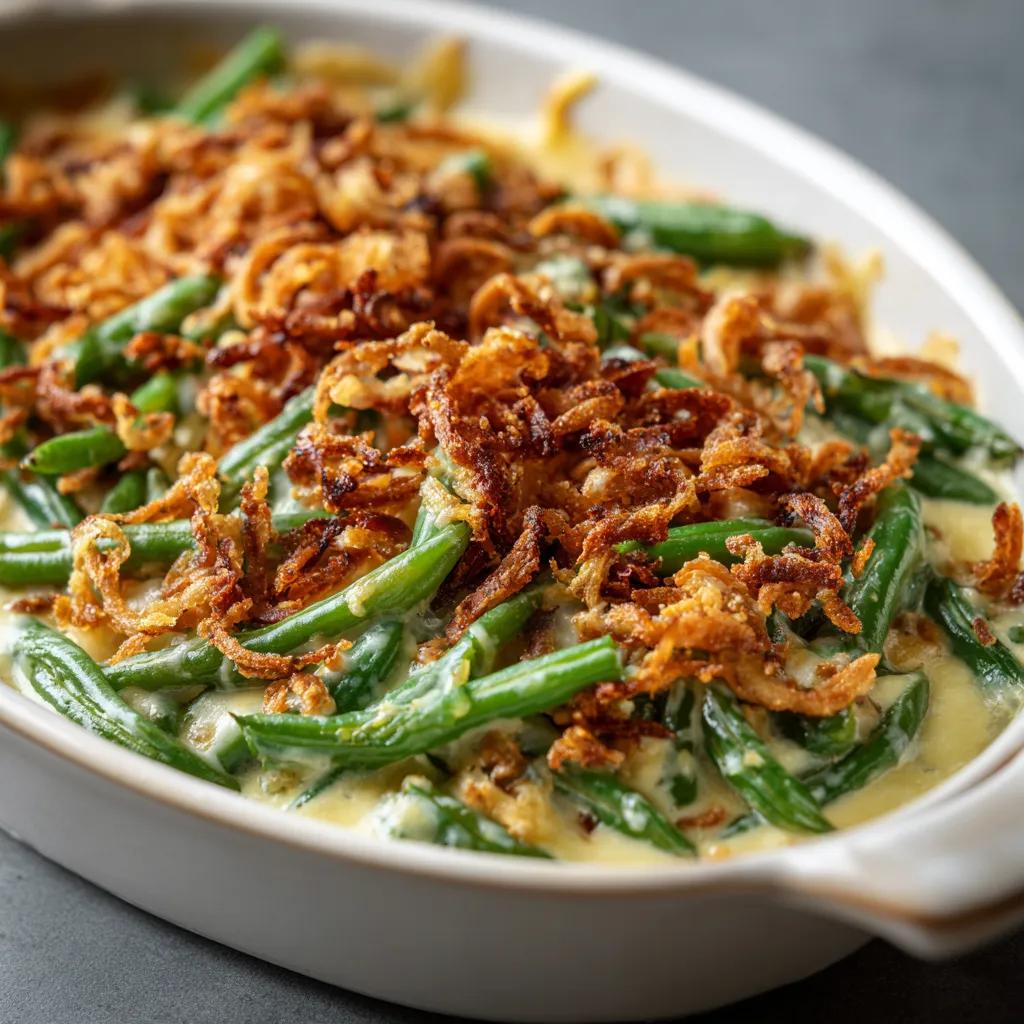
Ah, the aroma of a freshly baked casserole wafting through the kitchen—there’s nothing quite like it! This Green Bean Casserole is not just a dish; it’s a tradition, a celebration, and a comforting hug on a plate. Whether you’re gathering with family for the holidays or just want to elevate a weeknight dinner, this recipe is the one that will make everyone pause mid-bite and say, ‘Wow!’ With its creamy texture, crispy onions, and vibrant green beans, it’s truly irresistible. Let’s dive into the magic of this classic dish that has graced countless tables and created countless memories.
Why You’ll Love This Green Bean Casserole
This isn’t just any casserole; it’s a dish that brings warmth and joy to every occasion. Here are a few reasons why this recipe will become a staple in your kitchen:
- Easy to Make: With just a handful of ingredients, you can whip this up in no time—perfect for busy weeknights or holiday feasts!
- Comforting Flavor: The combination of creamy mushroom soup and crispy fried onions creates a flavor profile that feels like home.
- Versatile Dish: Great for Thanksgiving, Christmas, or any family gathering, this casserole adapts beautifully to any occasion.
- Make-Ahead Friendly: Prepare it in advance and pop it in the oven right before serving, so you can enjoy the company instead of spending all your time in the kitchen.
- Kid-Approved: This dish appeals to all ages, making it an easy way to get everyone to eat their veggies!
Ingredient Breakdown: What You’ll Need
Let’s talk about the ingredients that come together to create this heavenly casserole. Here’s what you’ll need:
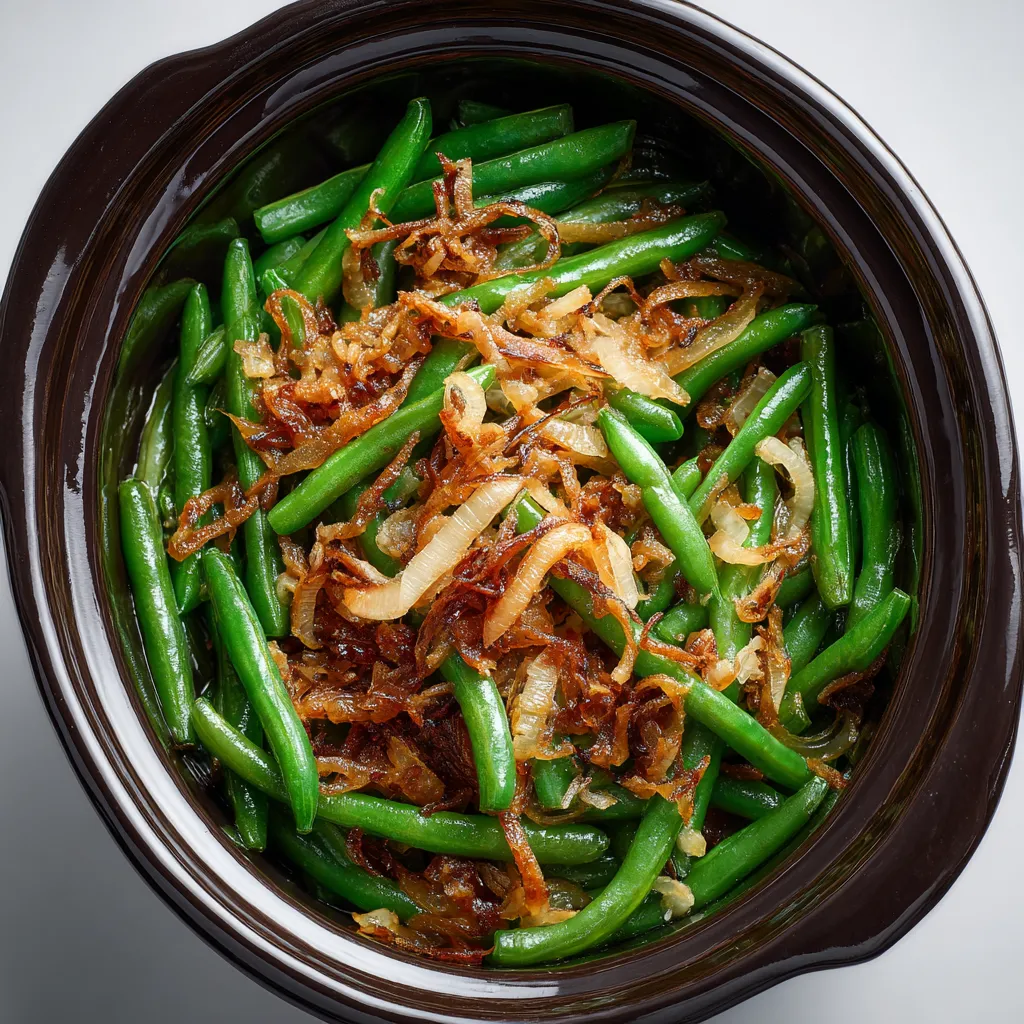
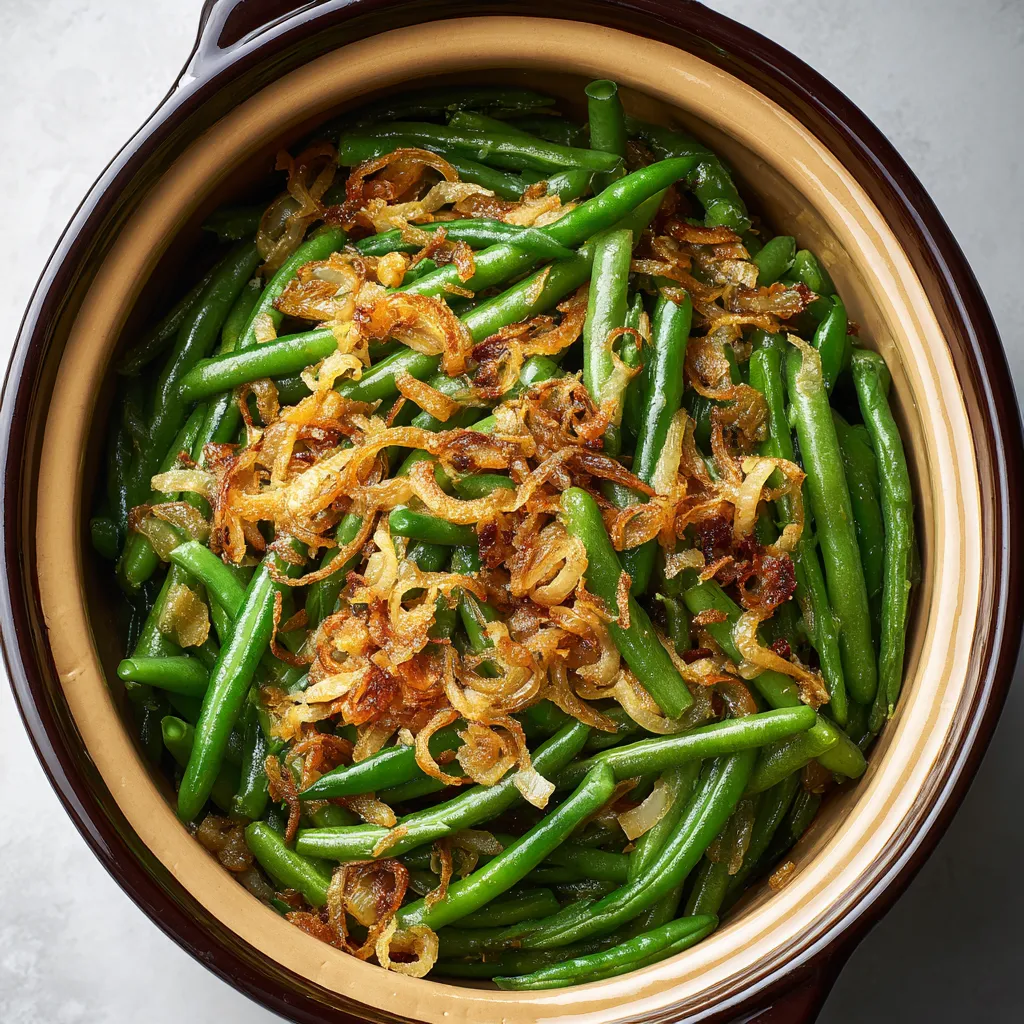
- Green Beans: 2 cans (14.5 oz each), drained. You can also use fresh or frozen green beans if you prefer a fresher taste.
- Cream of Mushroom Soup: 1 can (10.5 oz). This is the creamy base that holds everything together. You can substitute with cream of celery or make your own if you’re feeling adventurous!
- Milk: 1/2 cup. Use regular milk or a plant-based alternative for a dairy-free version.
- French Fried Onions: 1 1/2 cups. These add the perfect crunch! Feel free to use gluten-free options if necessary.
- Soy Sauce: 1/2 teaspoon. This adds a lovely umami flavor; just be cautious of the salt levels in your casserole.
- Salt and Pepper: To taste. Season it to your liking!
Instructions: How to Craft the Perfect Casserole
Ready to roll up your sleeves? Here’s how to bring your casserole to life:
- Preheat the oven to 350°F (175°C).
- In a large mixing bowl, combine the drained green beans, cream of mushroom soup, milk, soy sauce, and salt and pepper.
- Stir in 1 cup of the French fried onions, making sure they’re well distributed.
- Transfer the mixture to a 1.5-quart casserole dish, spreading it evenly.
- Bake in the preheated oven for 25 minutes.
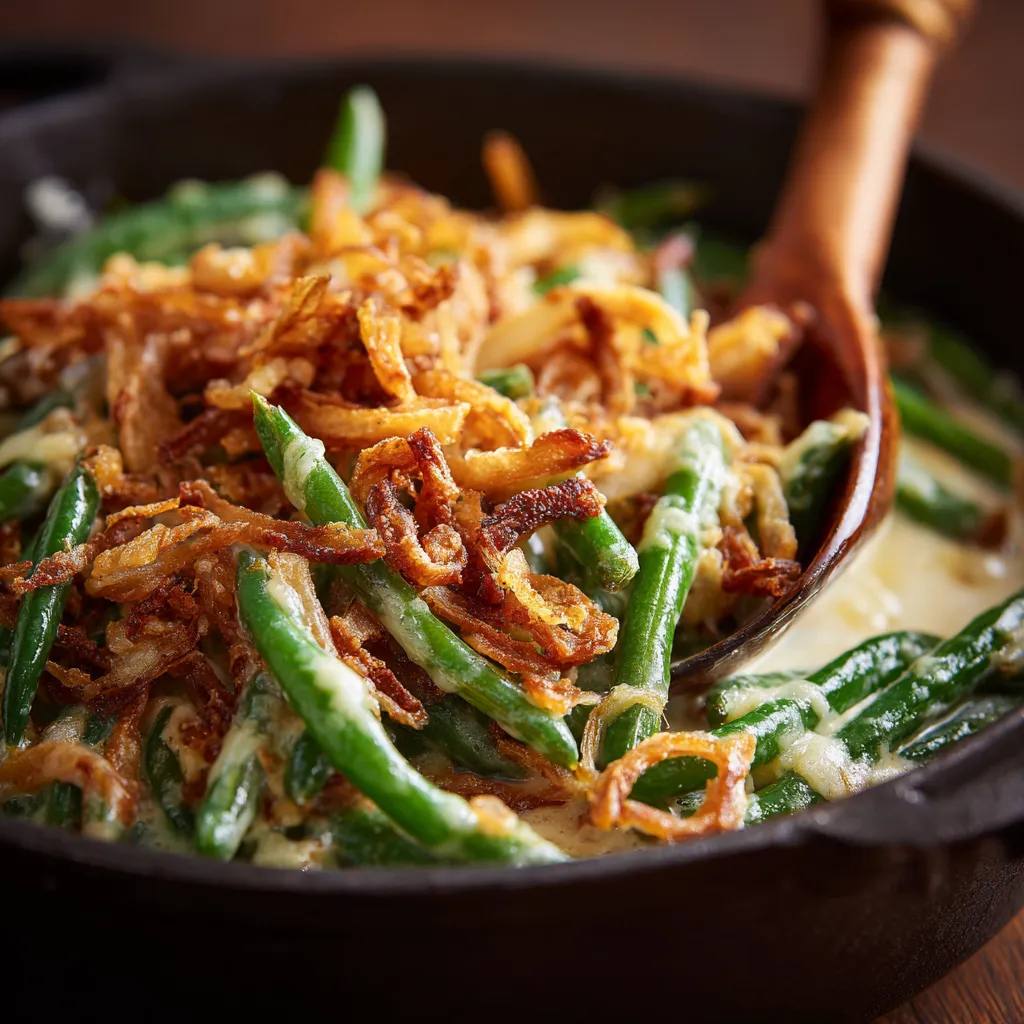
- Remove from the oven and top with the remaining 1/2 cup of French fried onions.
- Return to the oven and bake for an additional 5-10 minutes, until the onions are golden brown and crispy.
- Serve warm and enjoy the compliments!
Pro Tips for Casserole Success
Want to ensure your casserole is the talk of the table? Here are some expert insights:
- Choose Fresh Ingredients: Whenever possible, opt for fresh green beans instead of canned for a vibrant flavor and crisp texture.
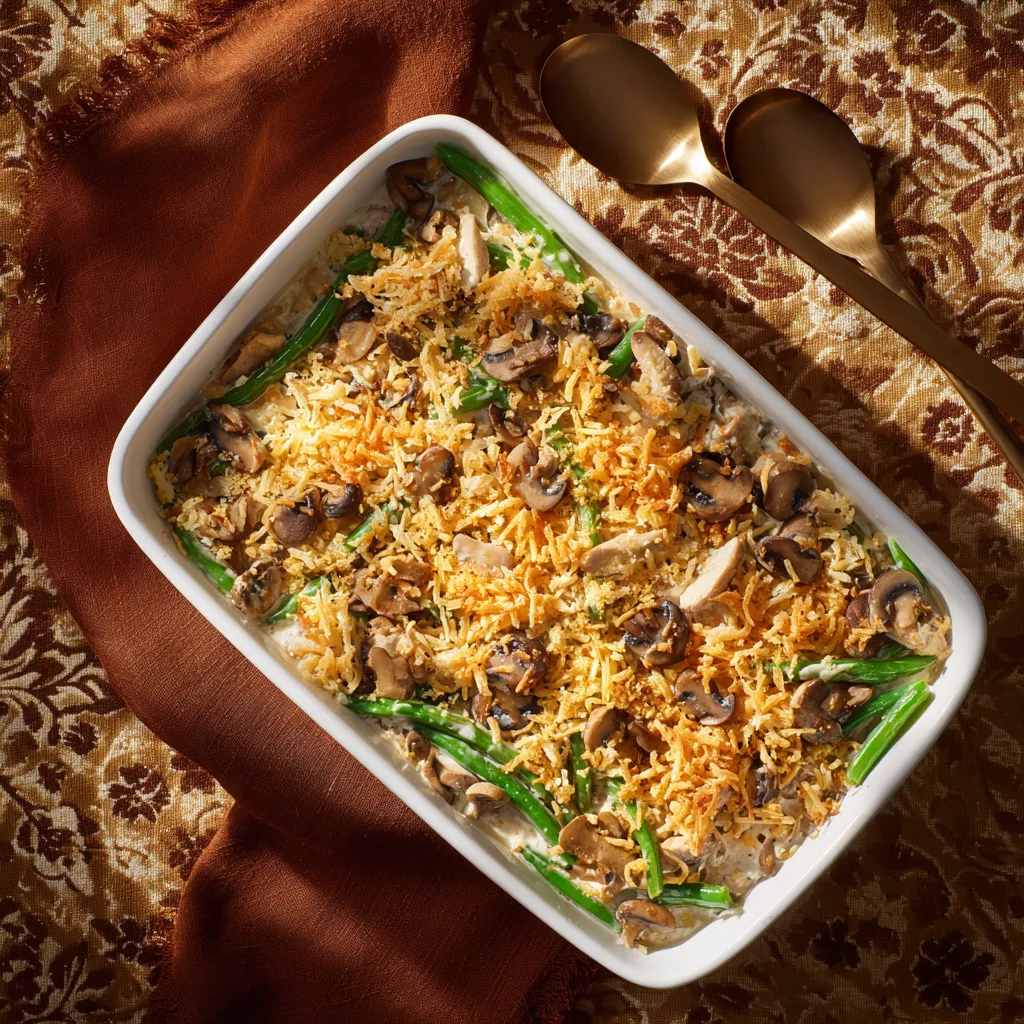
- Customize It: Add sautéed mushrooms or even some shredded cheese for an extra layer of flavor!
- Don’t Overbake: Keep an eye on the casserole during the last minutes to avoid sogginess in the beans or burning the onions.
- Use a Deep Dish: This allows for even cooking and prevents any overflow during baking.
- Let It Rest: Allow the casserole to sit for a few minutes after baking. This helps the flavors meld together beautifully.
Common Mistakes and Troubleshooting
Even the best cooks can run into hiccups. Here’s how to avoid some common pitfalls:
- Soggy Beans: If using frozen green beans, thaw them and pat dry before adding to the casserole to avoid excess moisture.
- Too Salty: If your soup is already salty, taste before adding additional salt; you can always add more later!
- Burnt Onions: If you notice the onions browning too quickly, cover the casserole with foil for part of the baking time.
Delicious Variations to Try
Feel like switching things up? Here are some fun variations:
- Cheesy Green Bean Casserole: Add 1 cup of shredded cheddar cheese to the mixture before baking for a rich, cheesy twist.
- Spicy Kick: Incorporate diced jalapeños or a splash of hot sauce for a spicy version that will please your adventurous eaters.
- Vegetarian Delight: Use vegetable broth in place of the soy sauce and opt for vegetable cream soup to keep it meat-free.
- Nutty Crunch: Sprinkle chopped pecans or slivered almonds on top along with the fried onions for an added crunch and nutty flavor.
Storage and Make-Ahead Instructions
Planning ahead? Here’s how to keep your casserole fresh:
- Make Ahead: Assemble the casserole a day in advance, cover it tightly, and store it in the refrigerator. Just bake it when you’re ready to serve!
- Storing Leftovers: Keep any leftovers in an airtight container in the fridge for up to 3 days. Reheat in the oven for best results.
- Freezing: This casserole can be frozen before baking. Just thaw it in the fridge overnight before baking as directed.
Frequently Asked Questions
Got questions? I’ve got answers!
- Can you make this casserole ahead of time? Yes! You can assemble it and refrigerate or freeze it until you’re ready to bake.
- Can you use fresh green beans? Absolutely! Fresh green beans will give you a wonderful texture and flavor.
- What can I use instead of cream of mushroom soup? Cream of celery soup or a homemade creamy sauce can work well as substitutes.
- Is this casserole gluten-free? It can be! Use gluten-free French fried onions and check your soup labels.
- How long can I store leftovers? Leftovers can be stored in the refrigerator for up to 3 days.
- Can I add meat to this casserole? Yes, diced cooked chicken or ham can be added for a heartier version.
- What’s the best way to reheat the casserole? Reheat in the oven at 350°F until warmed through for the best texture.
- Can I use another type of onion instead of fried onions? Yes! Sautéed onions can be a great alternative for those looking for a less crunchy texture.
Nutritional Tips and Dietary Adaptations
Want to make this dish healthier? Here are some tips:
- Reduce Calories: Use low-fat cream of mushroom soup and skim milk to cut down on calories without sacrificing flavor.
- Vegan Option: Substitute the cream of mushroom soup with a plant-based cream and use almond or soy milk.
- Low Sodium: Choose low-sodium versions of the soup and soy sauce to keep the dish heart-healthy.
Essential Equipment for Casserole Success
Before you start, make sure you have the right tools:
- Casserole Dish: A 1.5-quart dish works perfectly for this recipe.
- Mixing Bowl: A large bowl for combining your ingredients.
- Measuring Cups and Spoons: Essential for accurate measurements and consistent results.
- Spatula: To mix and serve your delicious creation!
Serving Suggestions
Wondering what to pair with your casserole? Here are some delightful suggestions:
- Roasted Turkey: A classic pairing for the holidays and a perfect complement to this dish.
- Garlic Mashed Potatoes: Creamy potatoes will balance the textures beautifully.
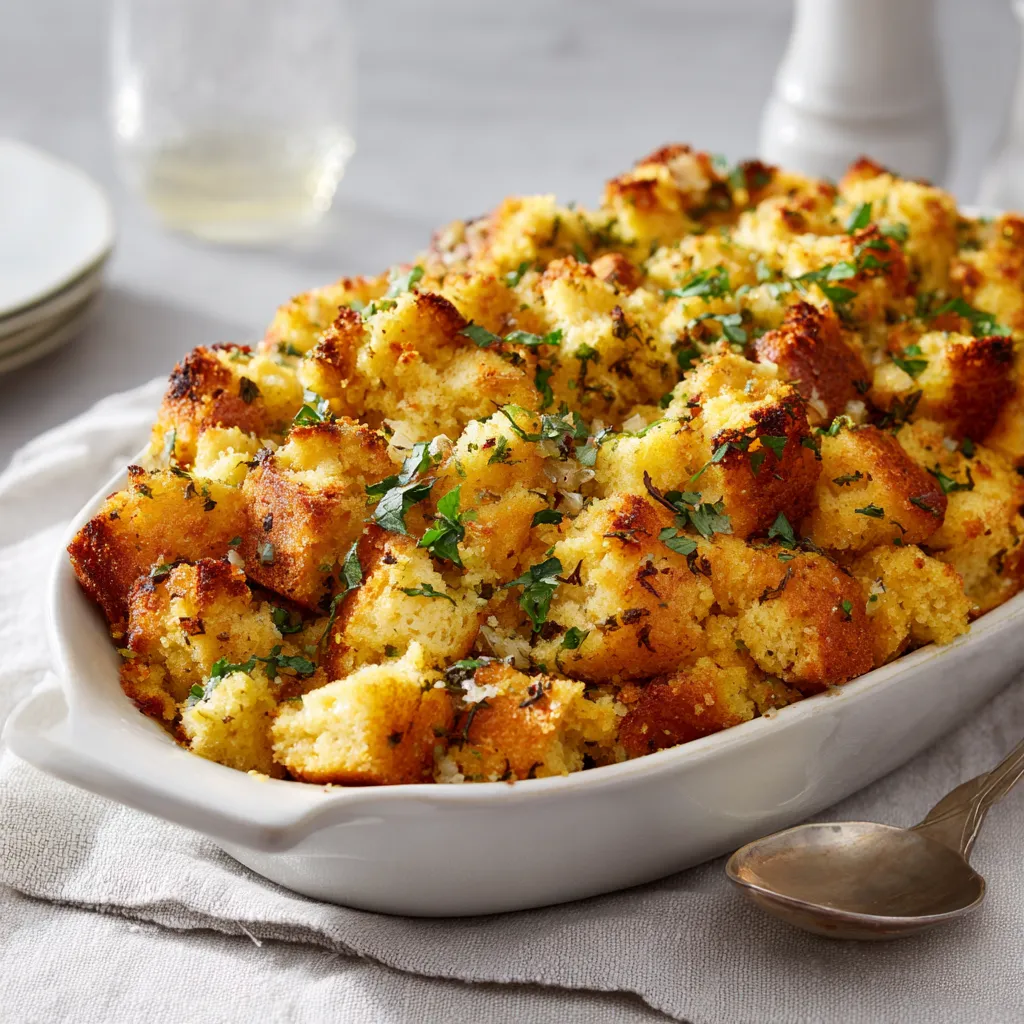
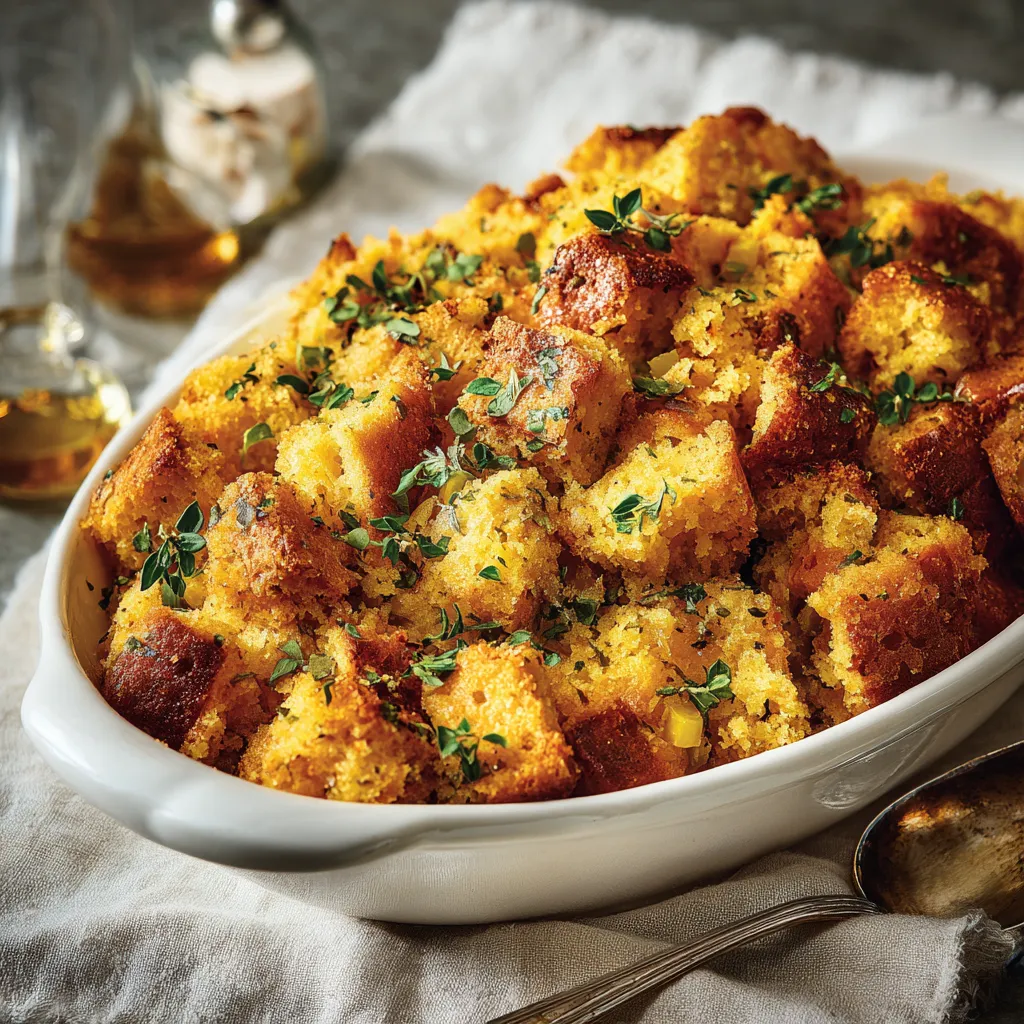
- Homemade Dinner Rolls: Soft rolls are perfect for soaking up any leftover sauce!
So there you have it—the ultimate Green Bean Casserole recipe that not only tastes incredible but also evokes the warmth of home and tradition. I hope you find joy in every step of making this dish, and may it become a beloved favorite in your household. Now, grab your apron, gather your ingredients, and let’s create some kitchen magic together!
Green Bean Casserole Recipe: Easiest Holiday Side Ever!
Ingredients
Green Beans
- 2 cans green beans, drained
- 1 can cream of mushroom soup
- 1/2 cup milk
- 1 1/2 cups french fried onions
- 1/2 teaspoon soy sauce
- to taste salt and pepper
Instructions
- Preheat oven to 350°F (175°C).
- Mix green beans, mushroom soup, milk, soy sauce, salt, and pepper.
- Stir in 1 cup of fried onions and transfer to a casserole dish.
- Bake for 25 minutes, then top with remaining onions and bake 5-10 more minutes.
Notes
Loved this recipe? Save it to your favorite Pinterest board so you can easily find it later! It’s the perfect way to keep all your sweet ideas in one place. ✨