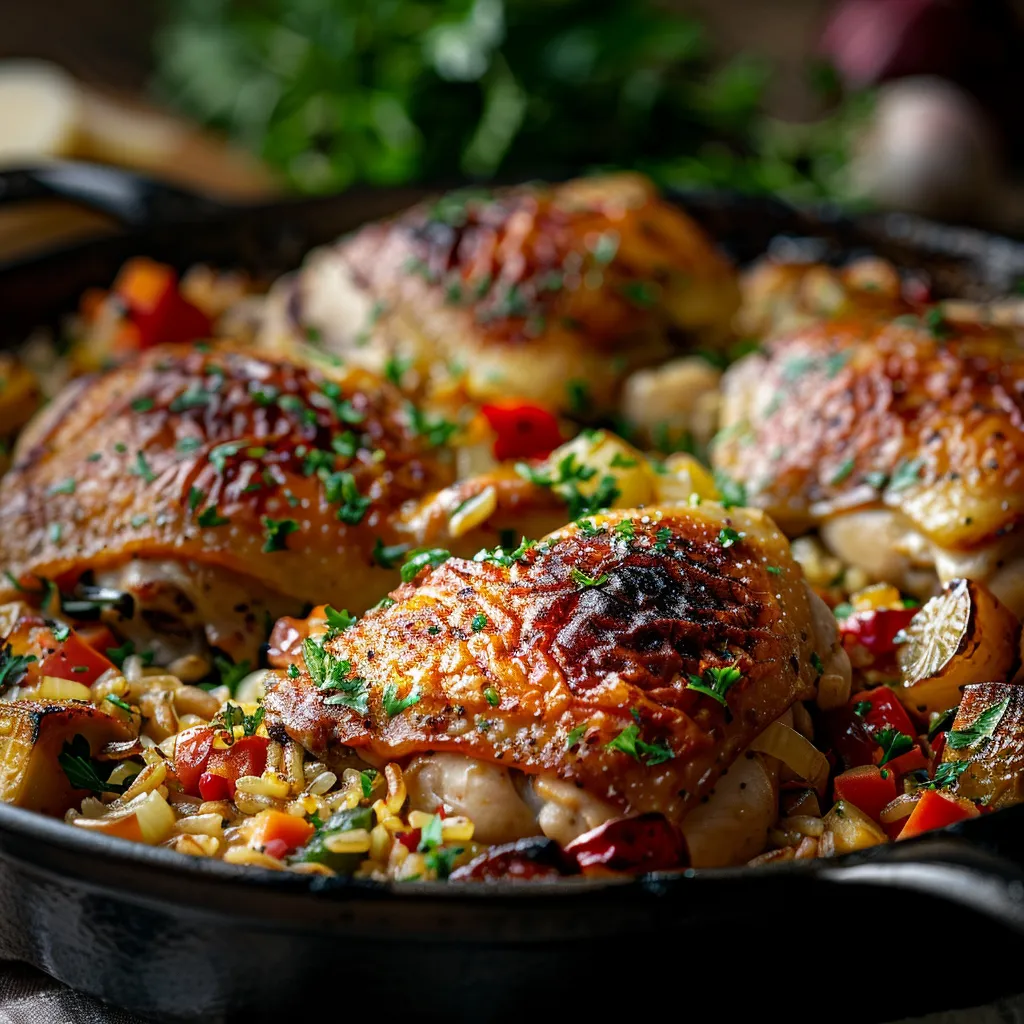
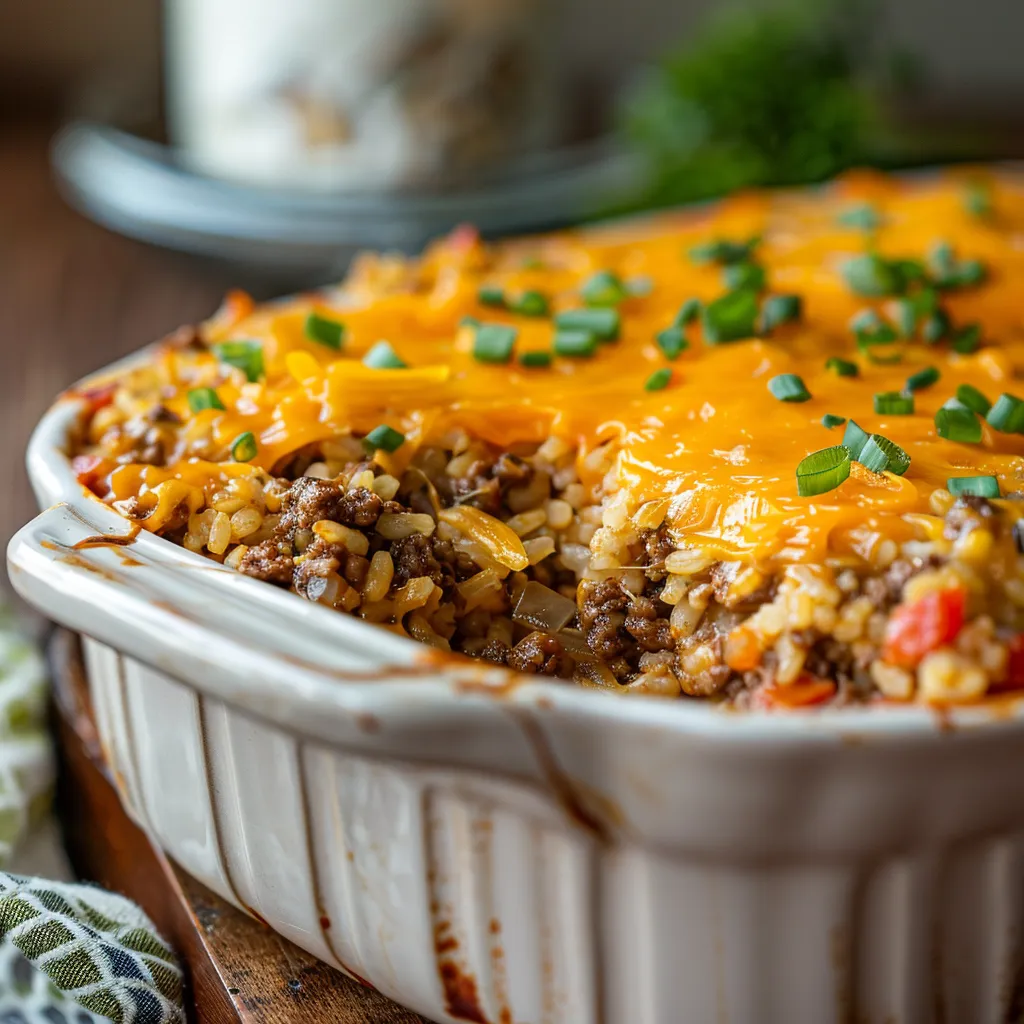
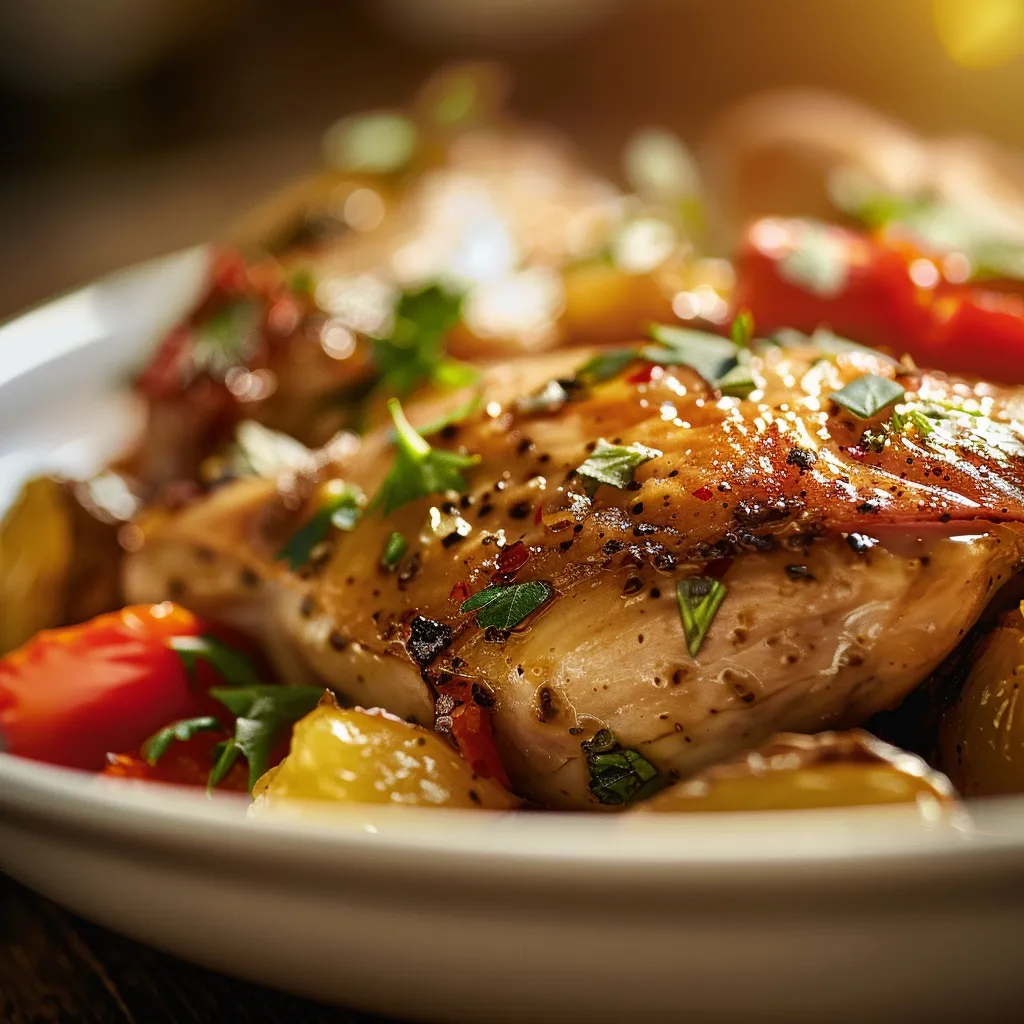
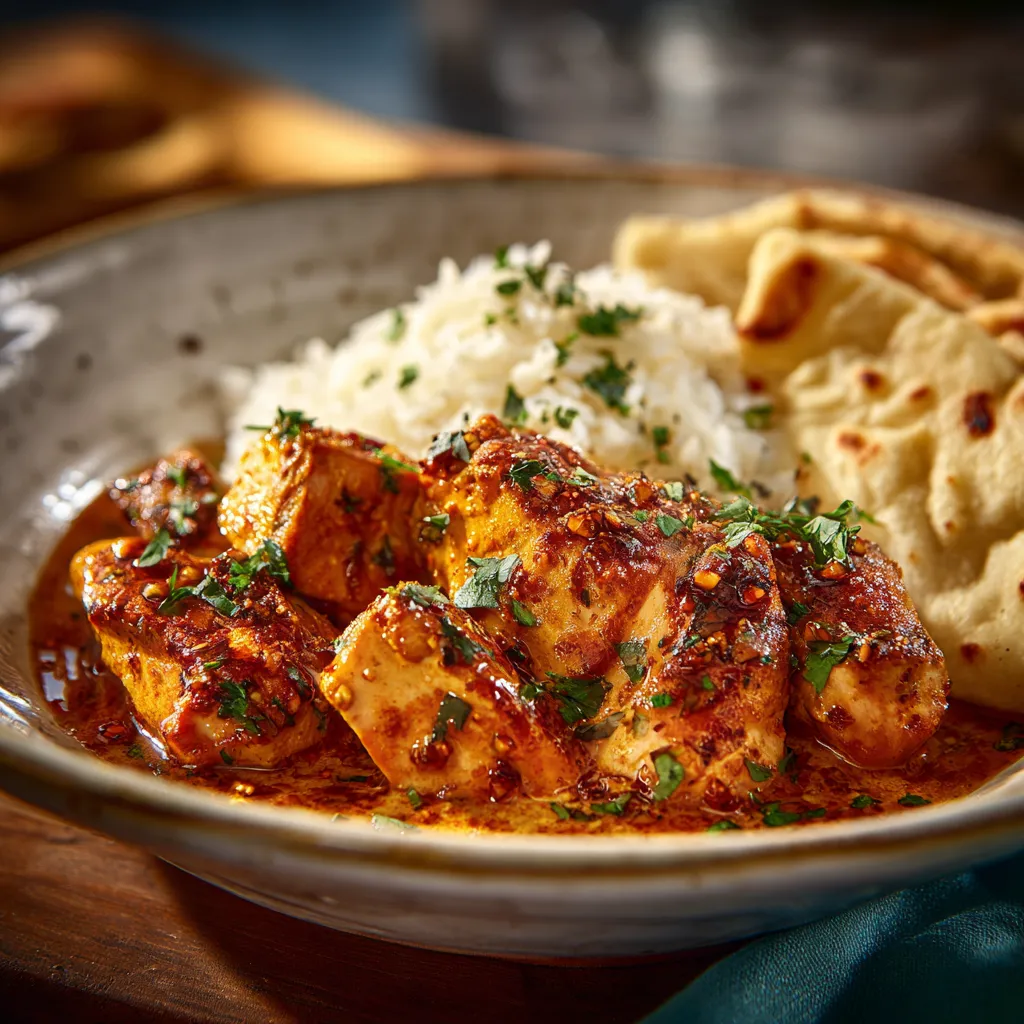
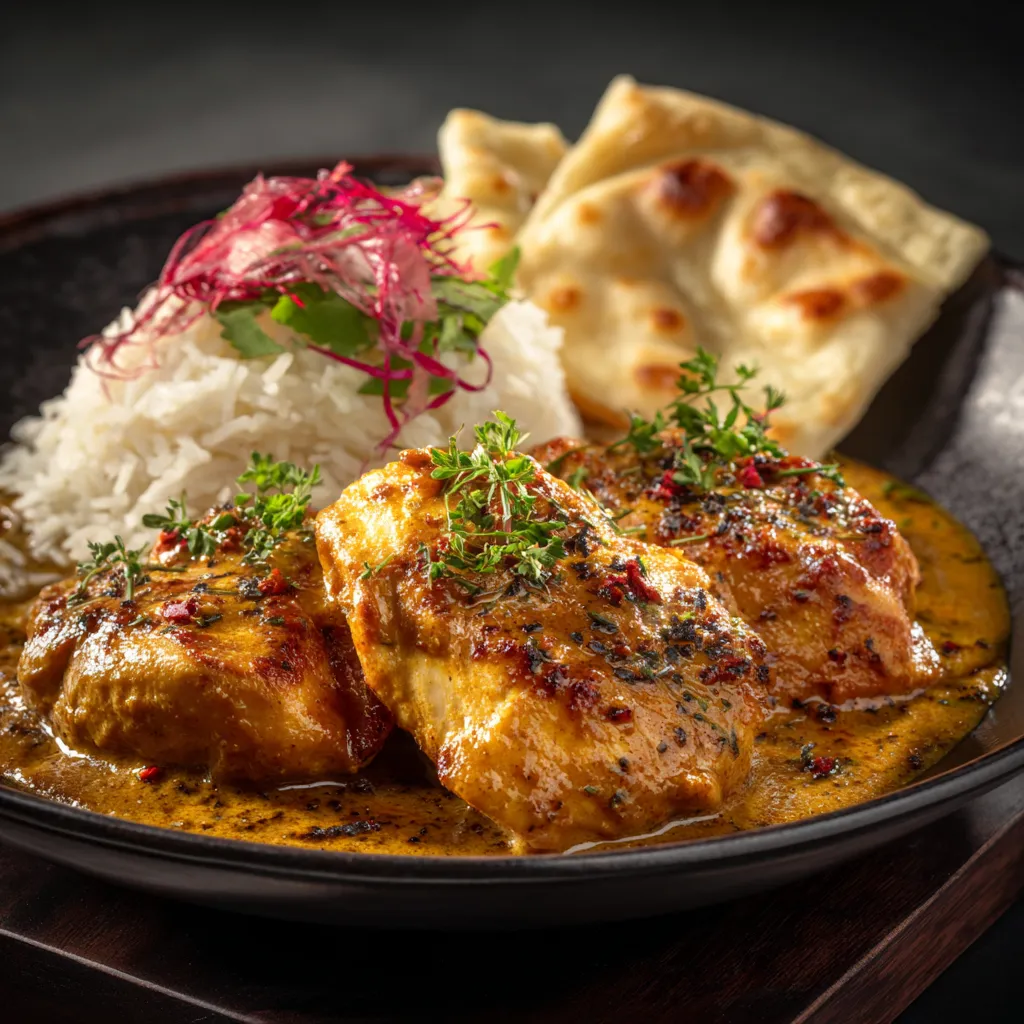
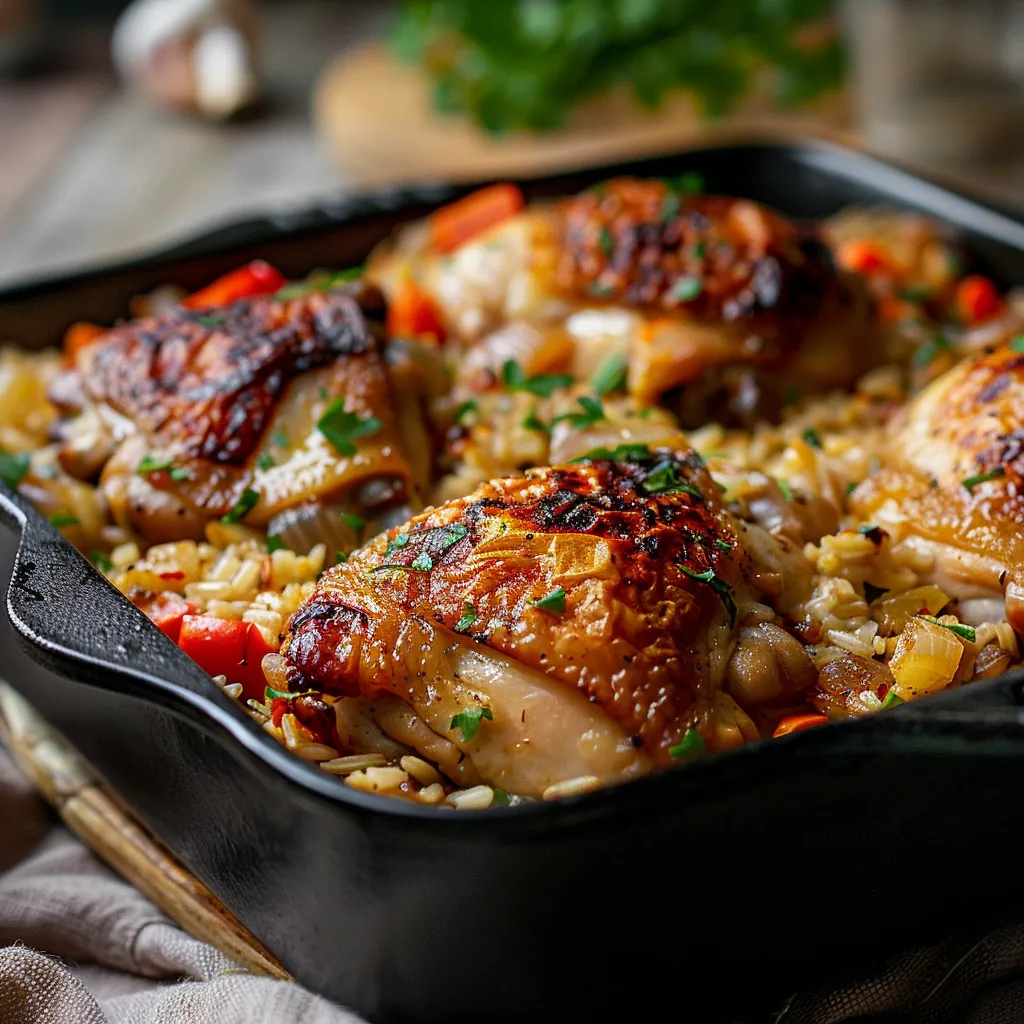
Discover the Magic of One-Pan Chicken and Rice Bake
Welcome to your new favorite weeknight dinner: the One-Pan Chicken and Rice Bake! If you’re like me, juggling a busy schedule while trying to whip up something delicious can feel like a high-wire act. This recipe is here to save the day—melding simple ingredients into a delightful dish that will make your family stop mid-bite to savor the flavor. The best part? It’s all made in one pan, which means less time cleaning and more time enjoying.
Why You’ll Love This Recipe
Let’s talk about why this One-Pan Chicken and Rice Bake is a must-try:
- Effortless Cleanup: With everything cooked in one pan, you’ll save time on washing dishes, giving you more moments to relax.
- Flavor Explosion: The combination of chicken, rice, and spices creates a meal that’s bursting with flavor—perfect for impressing friends or family.
- Customizable: Add your favorite veggies or spices to make this dish your own! It’s versatile enough to suit everyone’s tastes.
- Nutritious and Wholesome: Packed with protein and veggies, this meal is not just delicious but also good for you.
- Kid-Approved: Kids love chicken and rice! This recipe is sure to become a family favorite.
Ingredients Breakdown
Here’s what you’ll need to create this culinary delight:
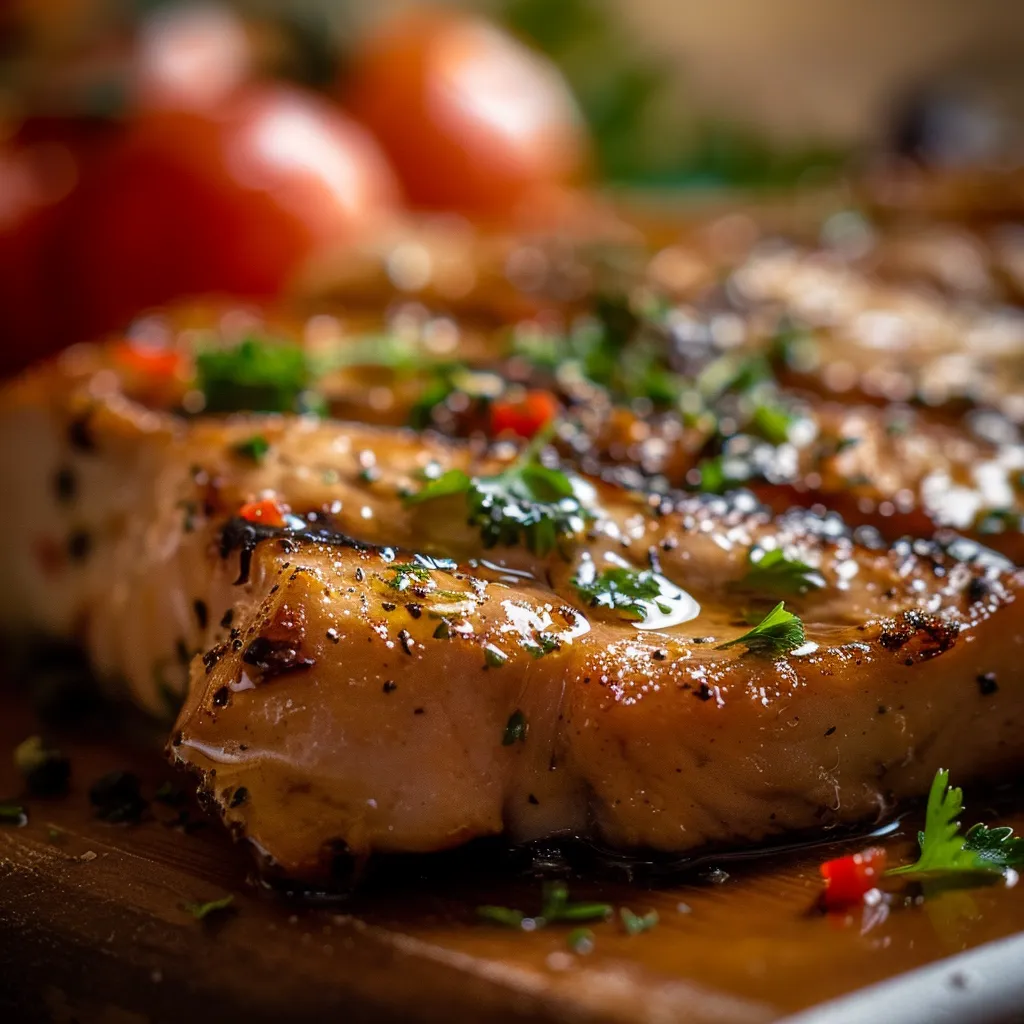
- Chicken Thighs: 4 bone-in, skin-on chicken thighs for juicy flavor. You can substitute with boneless thighs or breasts for a leaner option.
- Rice: 1 cup of long-grain white rice is perfect. Brown rice can be used, but adjust the cooking time accordingly.
- Chicken Broth: 2 cups give the dish a rich flavor. Feel free to use vegetable broth for a vegetarian twist.
- Frozen Mixed Vegetables: 1 cup adds color and nutrition without the prep work. Fresh veggies can be swapped in if you prefer.
- Onion and Garlic: Essential for flavor. A shallot can substitute for onion if desired.
- Spices: 1 teaspoon of paprika and oregano adds depth. Experiment with herbs like thyme or rosemary for a different flavor profile.
- Salt and Pepper: To taste, enhancing the overall flavor.
- Olive Oil: 2 tablespoons for searing the chicken, but any cooking oil works.
- Fresh Parsley: For garnish, adding a pop of color and freshness.
Step-by-Step Instructions
Let’s get cooking! Follow these simple steps to create your One-Pan Chicken and Rice Bake:
- Preheat the Oven: Set your oven to 375°F (190°C) to prepare for baking.
- Prep the Chicken: In a large oven-safe skillet, heat olive oil over medium heat. Season the chicken thighs with salt, pepper, paprika, and oregano. Sear them for 5-7 minutes on each side until golden brown, then remove from the pan.
- Sauté the Aromatics: In the same pan, add chopped onion and cook until translucent (about 3-4 minutes). Stir in minced garlic and cook for an additional minute.
- Incorporate the Rice: Add the rice to the pan and stir to coat it in the oil, ensuring each grain is flavored.
- Add the Liquid: Pour in the chicken broth and bring to a simmer. This is where the magic starts to happen!
- Mix in the Vegetables: Stir in the frozen mixed vegetables for added nutrition and flavor.
- Return the Chicken: Nestle the seared chicken thighs on top of the rice mixture.
- Cover and Bake: Cover the pan with a lid or aluminum foil and transfer it to the preheated oven. Bake for 30-35 minutes, or until the rice is tender and the chicken is cooked through.
- Rest and Serve: Once done, remove from the oven and let it sit for 5 minutes. Garnish with fresh parsley and enjoy!
Pro Tips for Perfect Results
Want to elevate your dish? Here are some tips from my kitchen to yours!
- Use a Meat Thermometer: Ensure your chicken thighs reach an internal temperature of 165°F (75°C) for safety and juiciness.
- Let it Rest: Allowing the dish to sit before serving helps the flavors meld beautifully.
- Experiment with Spices: Don’t hesitate to adjust spices—cumin or chili powder can add a delightful kick.
- Try Different Grains: Substitute quinoa or couscous for a unique twist on texture and flavor.
- Add Fresh Herbs: Stir in fresh herbs like basil or thyme just before serving for a burst of freshness.
- Make it Cheesy: Top with shredded cheese before baking for a gooey, delightful finish.
- Batch Cooking: Make a double batch and freeze half for a quick meal later.
- Check Liquid Levels: If using brown rice, you may need to increase the liquid and cooking time.
- Adjust Cooking Time: Every oven is different; keep an eye on your dish as it bakes.
- Garnish Creatively: Experiment with toppings—try toasted nuts or seeds for added crunch!
Common Mistakes and Troubleshooting
Even the best chefs have off days! Here’s how to avoid common pitfalls:
- Dry Chicken: Avoid overcooking by checking the temperature early.
- Burnt Rice: If the rice seems dry before the cooking time is up, add a splash of broth.
- Undercooked Rice: If the rice is still hard, cover and bake for an additional 5-10 minutes.
- Too Salty: If you over-season, balance it out with a splash of lemon juice or vinegar.
- Sticking to the Pan: Use a non-stick skillet or ensure your pan is well-oiled before cooking.
Delicious Variations
Want to switch things up? Here are some delightful variations:
- Mediterranean Twist: Add olives, feta cheese, and sun-dried tomatoes for a Mediterranean flair.
- Spicy Kick: Incorporate jalapeños or hot sauce for a spicy version.
- Vegetarian Delight: Use chickpeas instead of chicken for a hearty vegetarian option.
- Asian-Inspired: Swap out the spices for soy sauce, ginger, and sesame oil, adding broccoli and bell peppers.
Storage and Make-Ahead Instructions
Planning ahead? Here’s how to store your One-Pan Chicken and Rice Bake:
- Make Ahead: Prepare everything except for the baking part a day in advance, then pop it in the oven when you’re ready to eat.
- Storage: Store leftovers in an airtight container in the fridge for up to 3 days.
- Freezing: This dish freezes well! Just ensure it cools completely before transferring to a freezer-friendly container. It will last for up to 3 months.
- Reheating: Reheat in the oven or microwave until heated through.
Frequently Asked Questions
Curious minds often have questions! Here are some FAQs about the One-Pan Chicken and Rice Bake:
- Can I use brown rice instead of white? Yes, but increase the cooking time and liquid since brown rice takes longer to cook.
- What can I substitute for chicken thighs? Boneless chicken breasts or drumsticks work well, but adjust cooking times accordingly.
- Can I make this in a slow cooker? Absolutely! Follow the same steps and cook on low for 6-8 hours.
- Is this recipe gluten-free? Yes, if you ensure your broth and any added ingredients are gluten-free.
- How can I make this dish spicier? Add your favorite hot sauce or diced peppers for a flavor punch!
- Can I use fresh vegetables instead of frozen? Yes, just make sure they are prepped and cut into bite-sized pieces.
- What’s the best way to reheat leftovers? The oven is best for even heating, but the microwave works in a pinch.
- Can I add cheese to the recipe? Definitely! Sprinkle cheese on top during the last 5 minutes of baking for a melty finish.
Nutrition Tips and Dietary Adaptations
Here are some tips to make this dish even healthier:
- Lower Fat Content: Opt for skinless chicken or turkey for a leaner protein option.
- Boost Fiber: Add a variety of colorful vegetables—like bell peppers, spinach, or kale—for extra nutrients.
- Whole Grains: Consider using quinoa or farro for added fiber and protein.
- Reduce Sodium: Use low-sodium broth and limit added salt to control sodium intake.
Essential Equipment
To make this recipe, you’ll need:
- Oven-Safe Skillet: A good quality skillet that can go from stovetop to oven is essential.
- Meat Thermometer: To ensure your chicken is cooked perfectly every time.
- Measuring Cups and Spoons: For accurate ingredient measurements.
- Cutting Board and Knife: For chopping vegetables and prepping ingredients.
Serving Suggestions
Pair your One-Pan Chicken and Rice Bake with:
- Fresh Salad: A light green salad with a citrus vinaigrette complements the rich flavors of the dish.
- Garlic Bread: Perfect for soaking up any leftover juices!
- Roasted Vegetables: Add a side of seasonal roasted veggies for extra color and crunch.
- Wine Pairing: A crisp white wine like Sauvignon Blanc makes a lovely accompaniment.
Conclusion
And there you have it—the One-Pan Chicken and Rice Bake that’s bound to become a staple in your kitchen. It’s simple, satisfying, and downright magical on those busy weeknights! Whether for a family dinner or a gathering with friends, this dish is sure to impress. So roll up your sleeves, embrace the joy of cooking, and let your kitchen fill with delicious aromas. Happy cooking, my friend!
One-Pan Chicken and Rice Bake
Ingredients
Meat
- 4 pieces bone-in, skin-on chicken thighs
Grains
- 1 cup long-grain white rice
Broth & Liquids
- 2 cups chicken broth
Vegetables
- 1 cup frozen mixed vegetables
Aromatics & Spices
- 1 medium onion, chopped
- 3 cloves garlic, minced
- 1 teaspoon paprika
- 1 teaspoon dried oregano
- to taste salt and pepper
Oils & Fats
- 2 tablespoons olive oil
Garnish
- fresh parsley for garnish
Instructions
- Preheat oven to 375°F (190°C).
- Season chicken with salt, pepper, paprika, and oregano. Sear in a skillet with olive oil until golden, then set aside.
- Cook onion until translucent, add garlic, then stir in rice and broth. Add vegetables, nestle chicken on top, cover, and bake for 30-35 minutes.
- Let sit for 5 minutes, garnish with parsley, and serve.
Notes
Loved this recipe? Save it to your favorite Pinterest board so you can easily find it later! It’s the perfect way to keep all your sweet ideas in one place. ✨