The Ultimate Cozy Dinner for Any Night
Welcome to my kitchen! If you’re here, it’s likely because you’re on the hunt for that perfect dinner recipe—the kind that wraps you in warmth and comfort, much like a cozy blanket on a chilly evening. Today, I’m sharing my go-to recipe that not only satisfies your cravings but also brings a smile to everyone around the table. Let’s dive into a delightful meal that’s simple yet absolutely delicious!
Whether it’s a busy weeknight or a weekend gathering, this recipe is designed to be your trusty ally in the kitchen. With a blend of fresh ingredients and easy preparation, you’ll find yourself saying, “What should I make for dinner tonight?” less often. So grab your apron, and let’s get cooking!
Why You’ll Love This Recipe
- Time-Saving: Ready in just 30 minutes, perfect for those busy nights when you want something delicious without the fuss.
- Flavorful: Bursting with fresh veggies and savory ingredients, this dish is a flavor explosion that’ll leave you wanting more.
- Customizable: Feel free to swap ingredients based on what you have on hand or your dietary preferences—this recipe is versatile!
- Kid-Friendly: With its comforting flavors and appealing presentation, it’s a hit with both kids and adults.
- Meal Prep Friendly: Make a batch ahead of time for easy lunches or dinners throughout the week. Just reheat and enjoy!
Ingredient Breakdown
Let’s talk ingredients! Here’s what you’ll need for this cozy dinner dish:
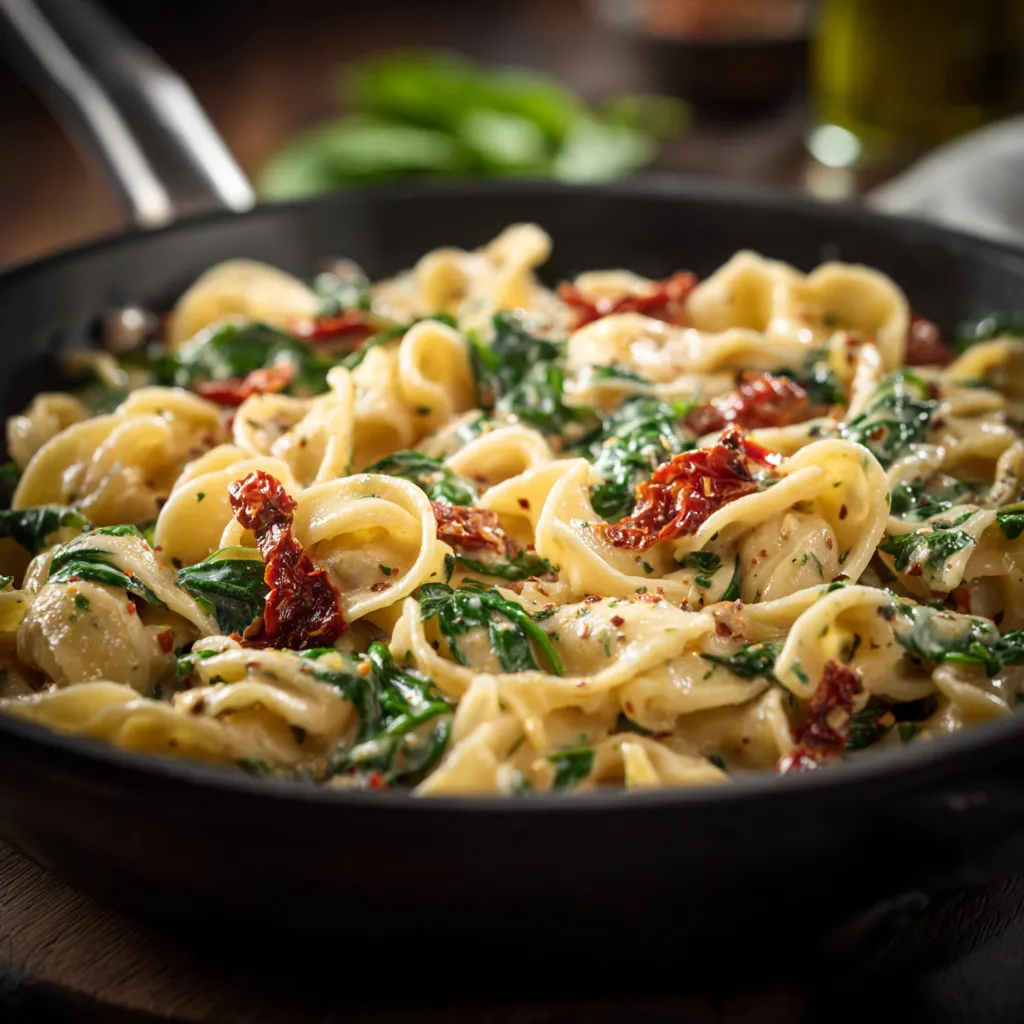
- 2 cups of cooked pasta (any kind you love—penne, fusilli, or spaghetti all work beautifully)
- 1 cup of cherry tomatoes, halved (sweet and juicy, they add a burst of flavor)
- 1 cup of fresh spinach (or any leafy green you have on hand, like kale or arugula)
- 1/2 cup of grated Parmesan cheese (because everything is better with cheese!)
- 2 tablespoons of olive oil (for sautéing and flavor)
- 2 cloves of garlic, minced (the aromatic base of many great dishes)
- Salt and pepper to taste (don’t skip this for enhanced flavor)
- 1 teaspoon of Italian seasoning (a perfect blend of herbs that adds depth)
Ingredient Substitutions
Cooking is all about flexibility! Here are some easy substitutions:
- Pasta: Use whole wheat or gluten-free pasta for dietary needs.
- Cheese: Swap Parmesan for feta or mozzarella for a different flavor profile.
- Spinach: Try broccoli or zucchini for a veggie twist.
- Olive Oil: You can also use butter for a richer taste.
Pro Tips for Cooking Success
To ensure your dinner turns out perfectly, here are some valuable tips:
- Don’t overcook the pasta: Aim for al dente; it’ll cook a bit more when mixed with the other ingredients.
- Sauté garlic until fragrant: This step enhances its flavor—just don’t let it burn!
- Use fresh ingredients: Fresh veggies and herbs elevate the dish, making it vibrant and flavorful.
- Taste as you go: Adjust salt, pepper, and seasoning to your preference.
- Save some cheese: Reserve a bit of Parmesan to sprinkle on top before serving for a beautiful finish.
Common Mistakes & Troubleshooting
Even the best cooks make mistakes. Here’s how to avoid common pitfalls:
- Overcooking spinach: Add it last and cook just until wilted to maintain its vibrant color and nutrients.
- Too dry: If your pasta seems dry, add a splash of pasta water or extra olive oil to loosen it up.
- Flavorless dish: Don’t skimp on seasoning! A pinch of red pepper flakes can add a delightful kick.
Variations to Try
Feeling adventurous? Here are some variations to spice things up:
- Add protein: Toss in cooked chicken, shrimp, or chickpeas for a heartier meal.
- Spicy twist: Incorporate jalapeños or crushed red pepper for some heat.
- Creamy version: Stir in a splash of heavy cream or a dollop of cream cheese for a richer sauce.
- Herb focus: Experiment with different herbs, such as basil or thyme, to change up the flavor profile.
Storage & Make-Ahead Instructions
This dish is perfect for meal prep! Here’s how to store it:
- Refrigerate: Store leftovers in an airtight container for up to 3 days.
- Freeze: You can freeze it for up to 2 months. Just thaw before reheating.
- Reheat: Warm in the microwave or on the stovetop, adding a splash of water or olive oil if needed.
Frequently Asked Questions
Got questions? I’ve got answers!
- Can I use frozen vegetables? Yes, frozen spinach and peas work well in this dish.
- What can I serve with this? A crisp salad or garlic bread makes a great side!
- Can I make this vegan? Absolutely! Use plant-based cheese and omit any animal products.
- What pasta is best? Any type works, but choose one that holds sauce well, like rotini.
- Can I double the recipe? Yes, just ensure your skillet is large enough to accommodate everything.
- Is it suitable for leftovers? Yes, it reheats beautifully and tastes just as good the next day!
- Can I add more vegetables? Definitely! Bell peppers, zucchini, or mushrooms are excellent additions.
- What if I don’t have Italian seasoning? You can mix oregano, basil, and thyme as a substitute.
Nutrition Tips & Dietary Adaptations
Here’s how to adapt this recipe for various dietary needs:
- Gluten-Free: Use gluten-free pasta to make this dish accessible.
- Low-Carb: Substitute pasta with zucchini noodles or cauliflower rice.
- High-Protein: Add beans or chicken to boost protein content.
Equipment Recommendations
Here’s what you’ll need:
- Large skillet: A non-stick or cast iron skillet works best for even cooking.
- Pasta pot: A large pot for boiling pasta efficiently.
- Cutting board and knives: Sharp knives make chopping veggies a breeze!
Serving Suggestions
How do you present this cozy dish? Here are my top tips:
- Garnish: Sprinkle with extra Parmesan and fresh herbs before serving.
- Pair: Serve with a side of crusty bread and a simple salad for a complete meal.
- Plate: Use colorful plates to make the dish pop—it’s all about the presentation!
So there you have it! This cozy dinner recipe is not just a meal; it’s a warm embrace after a long day, a celebration of flavors, and a way to bring loved ones together. I hope you enjoy making it as much as I do. Remember, every time you cook, you’re creating a little bit of magic in your kitchen. Happy cooking, my friends!
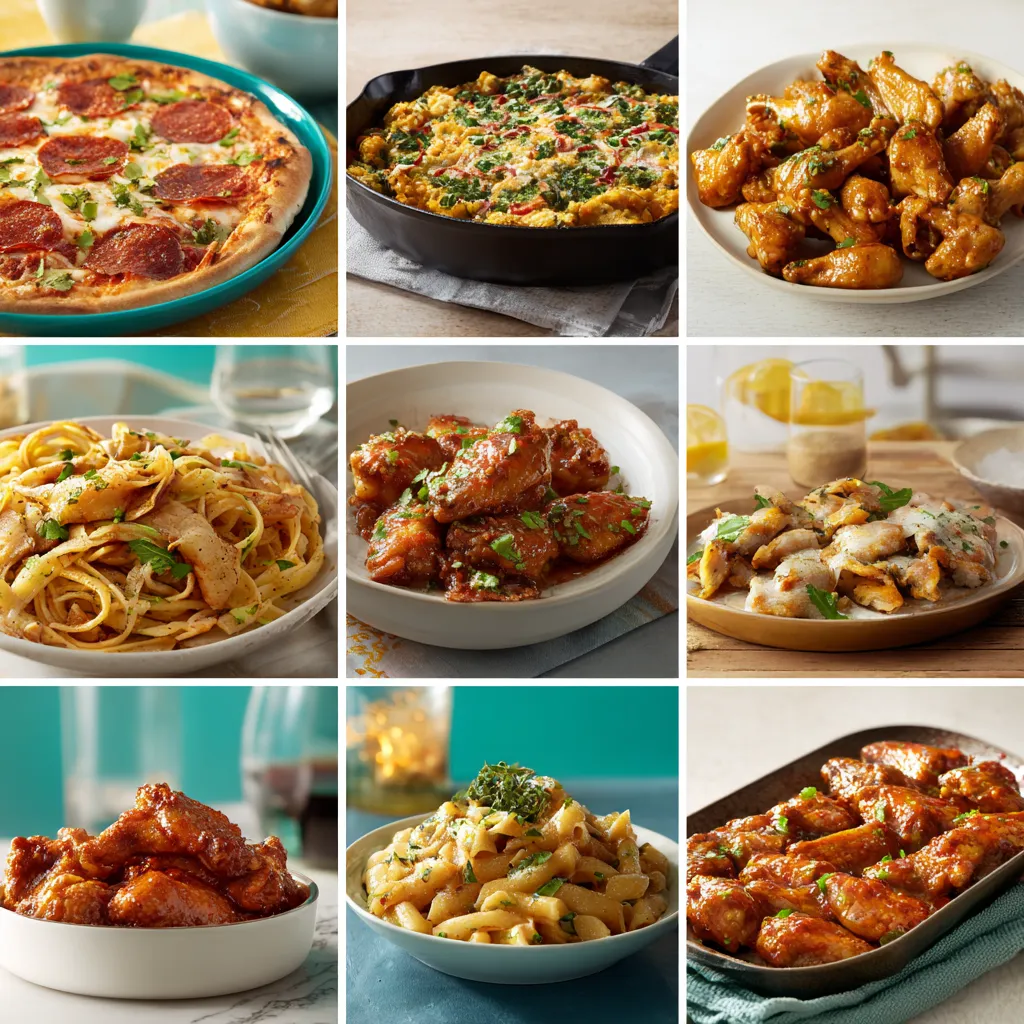
What To Cook For Dinner Tonight?
Ingredients
Pasta
- 2 cups cooked pasta
- 1 cup cherry tomatoes, halved
- 1 cup spinach, fresh
- 1/2 cup grated parmesan cheese
- 2 tablespoons olive oil
- 2 cloves garlic, minced
- to taste salt and pepper
- 1 teaspoon italian seasoning
Instructions
- Heat olive oil in a skillet over medium heat.
- Cook minced garlic for 1 minute until fragrant.
- Add cherry tomatoes and cook for 3-4 minutes until soft.
- Stir in spinach and cook until wilted.
- Add cooked pasta, Italian seasoning, salt, and pepper. Toss to combine.
- Remove from heat and sprinkle with Parmesan cheese before serving.
Notes
Loved this recipe? Save it to your favorite Pinterest board so you can easily find it later! It’s the perfect way to keep all your sweet ideas in one place. ✨