Welcome to Your New Favorite One-Pan Wonder!
Hey there, fellow food lovers! If you’re on the hunt for a quick, delicious, and satisfying meal that’s perfect for busy weeknights, you’ve landed in the right spot. This One-Pan Ground Turkey Taco Skillet is not just another recipe; it’s a flavorful fiesta that combines the heartiness of ground turkey with vibrant veggies and spices, all in one convenient skillet. Trust me, after trying this recipe, you’ll be hearing a lot of ‘Wow!’ at the dinner table!
In just about 30 minutes, you can whip up this delightful dish that’s not only easy on the eyes but also a feast for the taste buds. Whether you’re cooking for your family or prepping meals for the week, this turkey taco skillet is versatile enough to cater to all your cravings. Let’s dive into why you’ll love this recipe and how to make it your own!
Why You’ll Love This Recipe
- Quick and Easy: Ready in just 30 minutes, this meal is perfect for busy evenings!
- One-Pan Clean-Up: Less mess means more time enjoying your meal and less time scrubbing pots and pans.
- Flavor-Packed: The combination of spices, veggies, and ground turkey ensures each bite is bursting with flavor.
- Flexible Ingredients: Customize with your favorite veggies or swap proteins to suit your taste.
- Family-Approved: Even picky eaters will love this dish; it’s a hit with adults and kids alike!
Ingredients You’ll Need
Here’s what you’ll need to create your taco skillet magic:
- 1 tablespoon olive oil: For sautéing and adding healthy fats.
- 1 pound ground turkey: I recommend 93% lean for the best balance of flavor and health.
- 1 packet taco seasoning: Or make your own with spices you have at home!
- 1 small yellow onion (diced): Adds sweetness and depth to the dish.
- 1 bell pepper (any color, diced): For crunch and color; use your favorite variety!
- 1 cup canned corn (drained): Sweet and tender, it complements the other flavors perfectly.
- 1 cup black beans (rinsed and drained): Packed with protein and fiber, they make this dish hearty.
- 1 can (14.5 oz) diced tomatoes: Use those with green chilies for an extra kick!
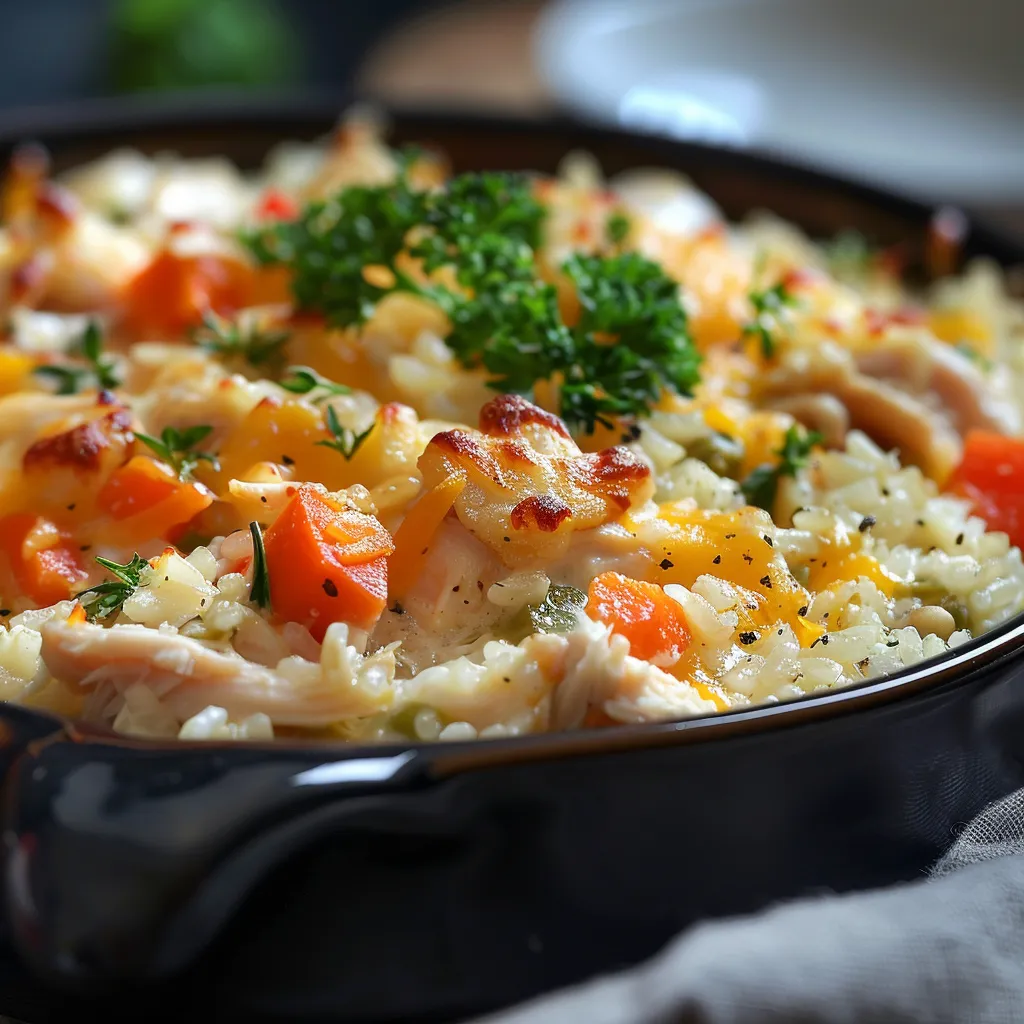
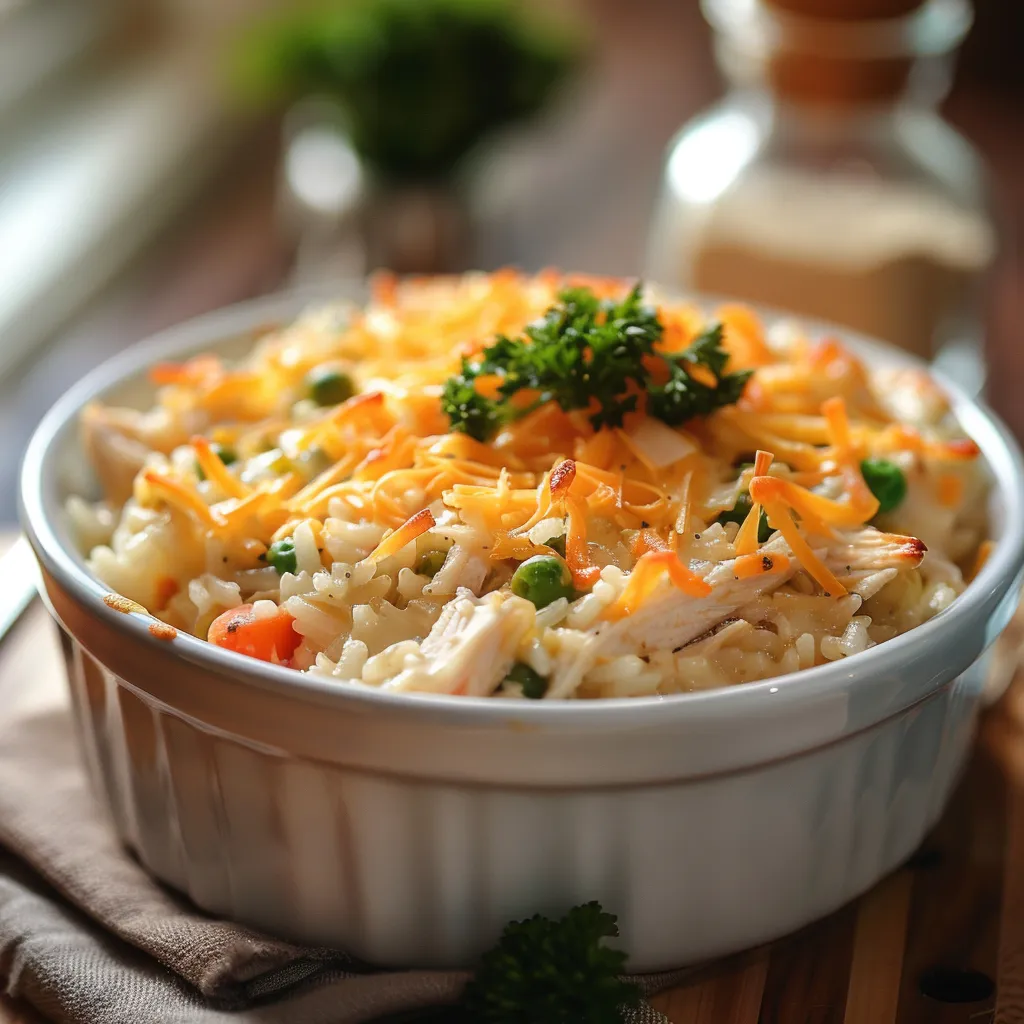
- 1 cup cooked rice or cauliflower rice (optional): For a filling base, if you like.
- 1/2 cup shredded cheddar cheese (optional topping): Because who doesn’t love cheese?
- Sour cream, chopped cilantro, sliced jalapeños, avocado: All optional toppings that add freshness!
Pro Tips for Perfecting Your Skillet

To help you create the most delicious turkey taco skillet possible, here are some expert insights:
- Don’t overcook the turkey: Cook until just browned to keep it juicy—no one likes dry meat!
- Customize your spice level: If you love heat, add diced jalapeños or a pinch of cayenne pepper.
- Experiment with veggies: Feel free to throw in zucchini, spinach, or any leftover veggies you have on hand.
- Make it a meal prep hero: Double the batch and portion it out for easy lunches throughout the week.
- Use fresh herbs: They can elevate the dish! Garnish with cilantro or parsley just before serving.
- Balance flavors: Taste as you go! A squeeze of lime juice can brighten up the whole dish.
- Serve it up: This skillet can be enjoyed on its own or with tortillas, rice, or even lettuce wraps.
- Leftover magic: This dish keeps well! Use leftovers in burritos, salads, or quesadillas.
Common Mistakes & Troubleshooting
If you encounter challenges while making your skillet, don’t fret! Here’s how to troubleshoot:
- Too salty: If your dish turns out too salty, add a splash of vinegar or a little sugar to balance it out.
- Dry turkey: Ensure not to overcook; keep it on medium heat and stir frequently.
- Too watery: If you find it too soupy, let it simmer without a lid to reduce excess liquid.
- Not enough flavor: Always taste and adjust seasoning! A little extra taco seasoning can go a long way.
Delicious Variations
Make this dish your own with these fun variations:
- Southwestern Twist: Add black olives and corn for a classic southwestern flair.
- Vegetarian Option: Substitute ground turkey with lentils or chickpeas for a plant-based twist.
- Cheesy Taco Skillet: Stir in cream cheese for a creamy texture and extra richness.
- Spicy Taco Skillet: Incorporate chipotle peppers in adobo for smoky heat.
Storage and Make-Ahead Instructions
This skillet is perfect for meal prep!
- Refrigerating: Store leftovers in an airtight container for up to 4 days.
- Freezing: This dish freezes well! Store in freezer-safe containers for up to 3 months.
- Reheating: Reheat on the stove over medium heat or in the microwave until heated through.
Frequently Asked Questions
Got questions? I’ve got answers!
- Can I make this dish ahead of time? Absolutely! This meal reheats beautifully.
- Can I freeze the leftovers? Yes! Just let it cool completely before freezing.
- What can I use instead of ground turkey? Ground chicken, beef, or even plant-based meat alternatives work great!
- Can I use fresh vegetables? Yes, just adjust cooking times to ensure they don’t become mushy.
- How can I make this dish spicier? Add more taco seasoning, fresh jalapeños, or a dash of hot sauce.
- Is this taco skillet healthy? Yes! It’s packed with lean protein, low in carbs, and full of veggies.
- What if I don’t have taco seasoning? You can make your own with chili powder, cumin, garlic powder, and paprika.
- Can I serve this dish with tortillas? Definitely! It’s fantastic served in warm tortillas or over rice.
Nutritional Tips and Dietary Adaptations
This taco skillet is not only delicious but also a healthy choice. Here are some tips for making it fit your dietary needs:
- Low-Carb: Skip the rice and serve it with lettuce wraps instead.
- Gluten-Free: Ensure your taco seasoning is gluten-free; many brands offer this option.
- Dairy-Free: Omit cheese and sour cream, or use dairy-free alternatives.
- Protein-Rich: Add more beans or use a higher protein ground turkey for an extra boost.
Kitchen Equipment Recommendations
To make cooking easy and enjoyable, here are some essential tools:
- Skillet: A large non-stick skillet or cast iron skillet works best for even cooking.
- Spatula: A sturdy spatula for stirring and serving.
- Measuring Cups & Spoons: For accurate ingredient measurements.
- Can Opener: Handy for opening canned goods like beans and tomatoes.
Serving Suggestions
To make your meal even more delightful, consider these serving ideas:
- Top with Fresh Ingredients: Garnish with diced avocado, cilantro, and a dollop of sour cream.
- Serve with Tortillas: Warm corn or flour tortillas make for a great side.
- Pair with Rice: Serve over fluffy rice or cauliflower rice for a filling meal.
- Enjoy with a Salad: A fresh green salad on the side can balance out the richness of the skillet.
So there you have it—your comprehensive guide to making the most delicious One-Pan Ground Turkey Taco Skillet! I hope this recipe brings a little magic to your kitchen and lots of joy to your dining table. Now, pull up a chair, grab a spatula, and let’s make something unforgettable together!
Easy Ground Turkey Taco Skillet (One-Pan Meal)
Ingredients
Main Ingredients
- 1 tablespoon olive oil
- 1 pound ground turkey (93% lean recommended)
- 1 packet taco seasoning (or 2 tablespoons homemade)
- 1 small yellow onion (diced)
- 1 bell pepper any color, diced
- 1 cup canned corn (drained)
- 1 cup black beans (rinsed and drained)
- 1 can (14.5 oz) diced tomatoes (with green chilies if desired)
- 1 cup cooked rice or cauliflower rice (optional, for serving or mixing in)
- 1/2 cup shredded cheddar cheese (optional topping)
- sour cream, chopped cilantro, sliced jalapeños, avocado
Instructions
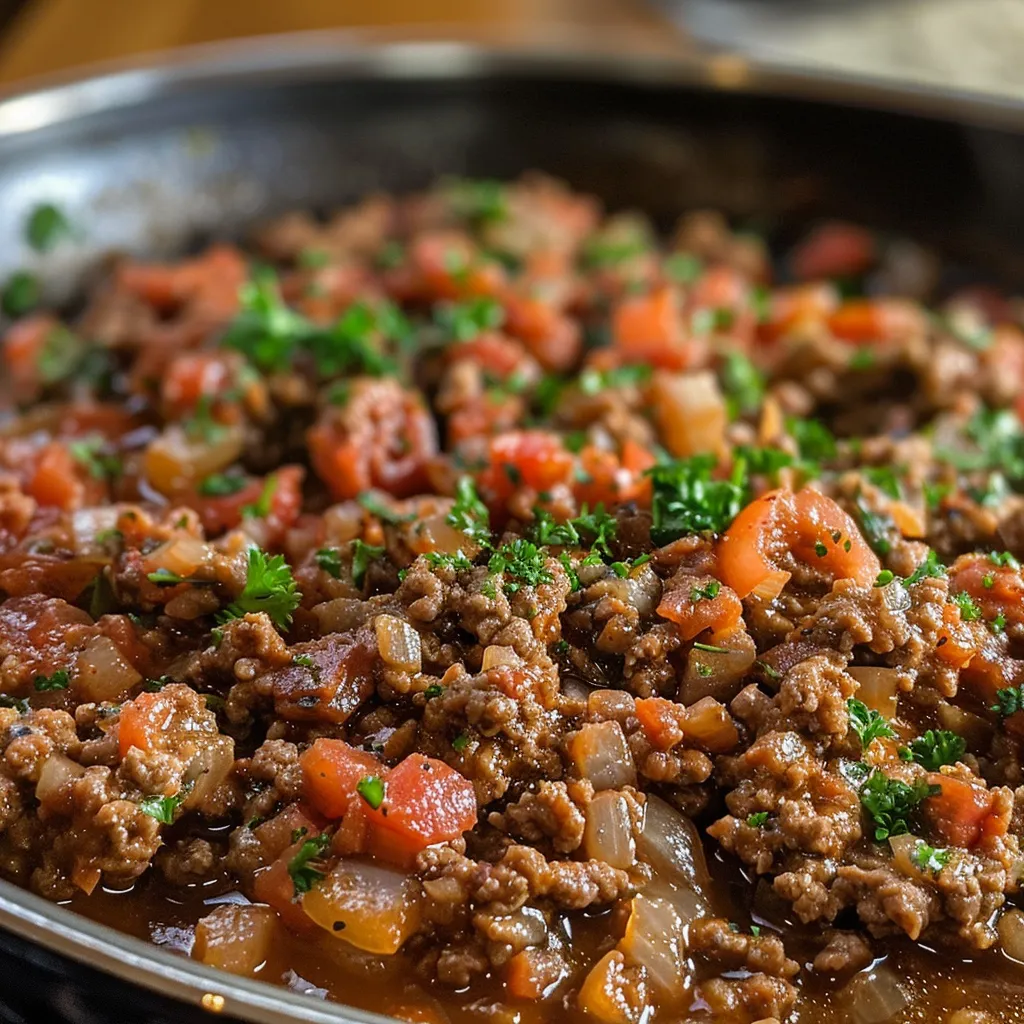
- Heat olive oil in a large skillet over medium heat. Add diced onion and bell pepper; cook until softened, about 3-4 minutes.
- Add ground turkey to the skillet; cook until browned, about 5-6 minutes, breaking it apart with a spoon.
- Stir in taco seasoning and diced tomatoes; simmer for 5 minutes to combine flavors.
- Add corn and black beans; cook for another 2-3 minutes until heated through.
- Serve over cooked rice or cauliflower rice, topped with shredded cheese, sour cream, cilantro, jalapeños, and avocado as desired.