Welcome to a Cozy Culinary Adventure
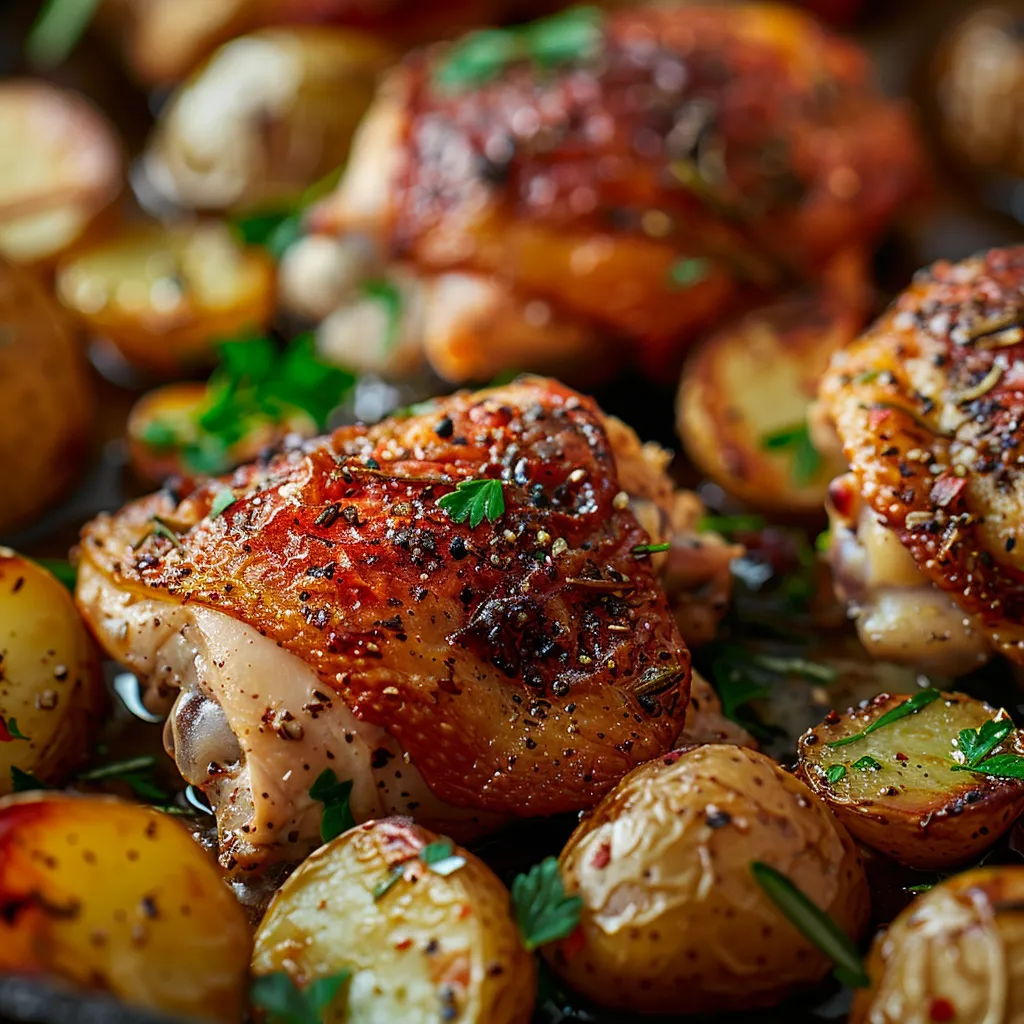
Hey there, friend! I’m so glad you’ve decided to join me today in my kitchen. If you’re looking for a recipe that wraps you in warmth and flavor like your favorite blanket, then you’re in the right place. Today, we’re diving into the world of Garlic Butter Chicken and Rice Casserole. This dish is not just a meal; it’s a hug in a bowl, a reminder of home-cooked goodness, and the perfect way to gather your loved ones around the dinner table. It’s the kind of comfort food that makes you pause mid-bite and say, ‘Wow, this is good.’
Why You’ll Love This Recipe
Before we dive into the nitty-gritty of the recipe, let’s talk about why this Garlic Butter Chicken and Rice Casserole is bound to become a staple in your home:
- One-Pan Wonder: Everything cooks together, saving you time on cleanup and allowing all those flavors to meld beautifully.
- Rich & Flavorful: The garlic butter infuses the chicken and rice with a comforting, aromatic taste that’s simply irresistible.
- Family-Friendly: This casserole is a hit with kids and adults alike, making it a fantastic choice for family dinners.
- Versatile Ingredients: You can easily swap out ingredients based on what you have on hand—this recipe is as flexible as your schedule!
- Make-Ahead Friendly: Prep it in advance and pop it in the oven when you’re ready. It’s perfect for busy weeknights!
Let’s Gather Our Ingredients

Here’s what you’ll need to whip up this delicious casserole:
- 2 cups cooked rice: Any type you like—white, brown, or even cauliflower rice for a low-carb option.
- 1 lb boneless, skinless chicken breasts, cubed: For quick cooking; feel free to use thighs for extra juiciness!
- 1/2 cup unsalted butter: The star of our garlic butter sauce.
- 4 cloves garlic, minced: Because what’s garlic butter without garlic?
- 1 cup chicken broth: This adds moisture and depth.
- 1 cup shredded cheddar cheese: For that ooey-gooey cheesy goodness.
- 1 teaspoon dried thyme: Adds a lovely herbal note.
- 1 teaspoon onion powder: For a hint of sweetness.
- Salt and pepper to taste: Essential for seasoning.
- 1/4 cup chopped fresh parsley: For garnish and a pop of color.
Now, if you find yourself missing an ingredient or two, don’t worry! Here are some quick substitutions:
- Chicken: Use rotisserie chicken for a faster option.
- Rice: Quinoa or farro can be great alternatives.
- Cheese: Feel free to mix it up with mozzarella or a spicy pepper jack.
- Butter: Olive oil can be used for a lighter option.
Step-by-Step Instructions to Casserole Perfection
Ready to dive into the cooking? Let’s get started!
- Preheat the Oven: Set your oven to 350°F (175°C) to get it nice and toasty while we prepare the casserole.
- Make the Garlic Butter Sauce: In a large skillet over medium heat, melt the butter. Add the minced garlic and sauté for about 1 minute until fragrant, but be careful not to burn it!
- Cook the Chicken: Toss in the cubed chicken, seasoning with salt, pepper, thyme, and onion powder. Cook for about 5-7 minutes or until the chicken is browned and cooked through.
- Combine Ingredients: In a large mixing bowl, combine the cooked rice, the delicious garlic butter chicken mixture, and chicken broth. Stir until everything is well blended.
- Transfer to Baking Dish: Grease a 9×13 inch casserole dish and pour the mixture in, spreading it out evenly.
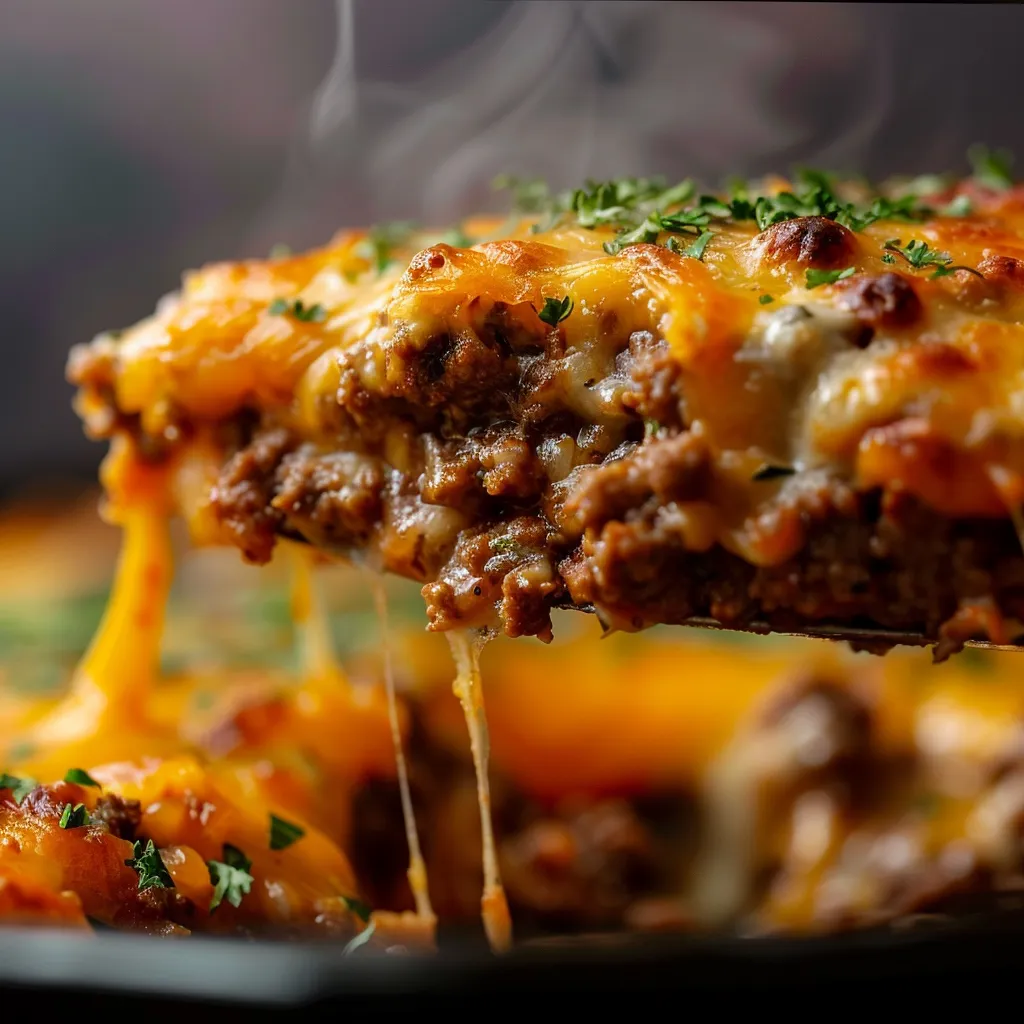
- Add Cheese: Sprinkle the shredded cheddar cheese generously over the top. Yes, please!
- Cover and Bake: Cover the dish with aluminum foil and bake in the preheated oven for 25 minutes.
- Uncover and Broil: Remove the foil and bake for another 10 minutes until the cheese is bubbly and golden.
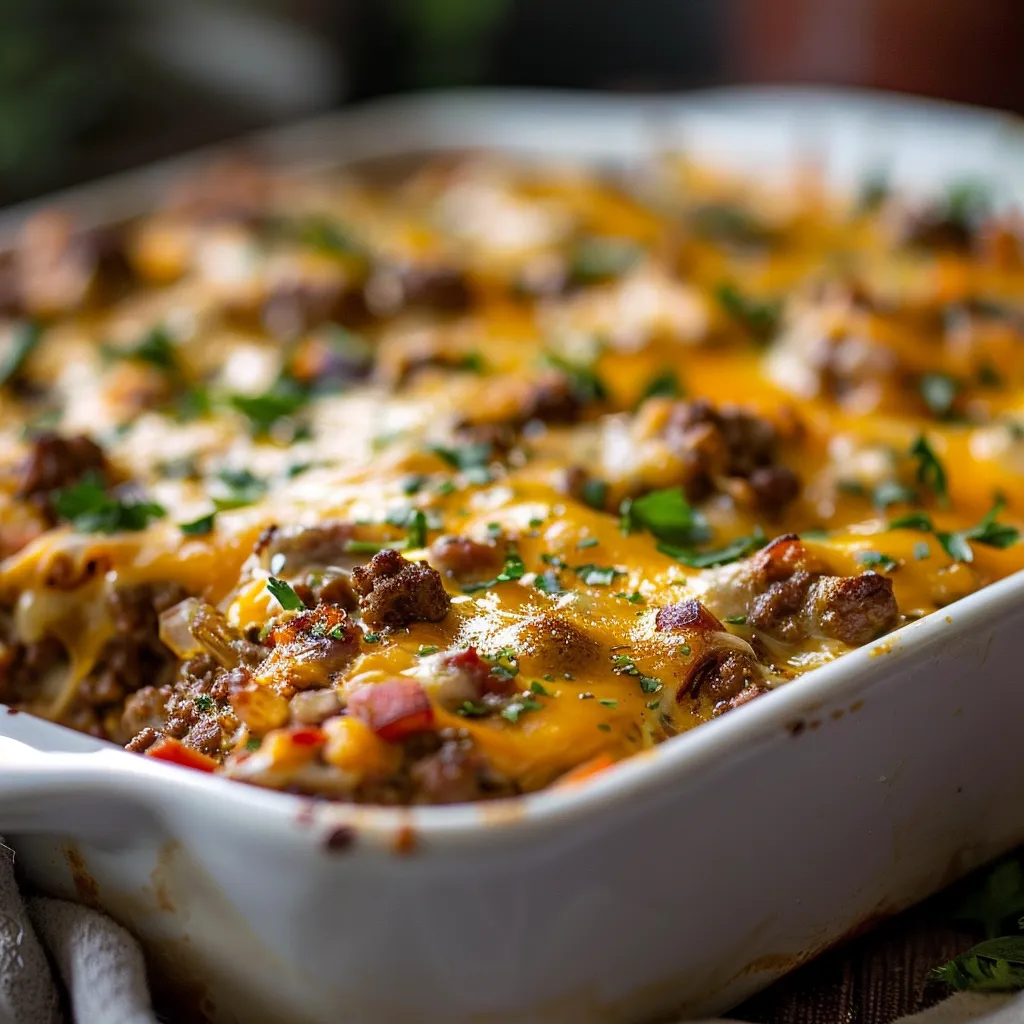
- Garnish and Serve: Once out of the oven, sprinkle with chopped fresh parsley, dish it out, and enjoy!
Pro Tips for the Perfect Casserole
Want to elevate your casserole game? Here are some expert insights:
- Timing is Key: Make sure your chicken is cooked through before mixing; no one wants raw chicken in their casserole!
- Brown Your Chicken: Searing the chicken before adding it to the casserole enhances flavor and texture.
- Don’t Rush the Baking: Let it bake with the foil for the first half to keep moisture in.
- Experiment with Spices: Feel free to add paprika or Italian seasoning for a flavor twist.
- Cheese Options: Mix different cheeses for a complex flavor profile—try gouda or feta!
- Use Fresh Herbs: Fresh thyme or rosemary can elevate the dish further.
- Leftover Rice: This is a perfect recipe for using up leftover rice.
- Meal Prep: Assemble the casserole up to a day in advance, cover it, and refrigerate until you’re ready to bake!
Avoid Common Mistakes
Let’s make sure you don’t run into any hiccups:
- Overcooking the Chicken: This can lead to dry chicken—aim for juicy!
- Not Adding Enough Liquid: Your casserole needs moisture; don’t skip the broth!
- Skipping the Cheese: We all know that cheese is a must for a satisfying casserole.
- Under-Seasoning: Don’t be shy! Taste as you go to ensure it’s flavorful.
Delicious Variations to Try
Feeling adventurous? Here are some fun twists on the classic recipe:
- Vegetable Delight: Incorporate your favorite veggies like spinach, bell peppers, or broccoli for added nutrition.
- Spicy Kick: Add diced jalapeños or a dash of cayenne pepper for a spicy version.
- Herbaceous Twist: Mix in fresh basil or cilantro for a fresh flavor.
- Buffalo Chicken Style: Swap out the garlic butter for buffalo sauce for a zesty kick!
Storage and Make-Ahead Instructions
This casserole is perfect for leftovers! Here’s how to store it:
- Refrigerate: Store in an airtight container for up to 3 days.
- Freeze: You can freeze the unbaked casserole for up to 2 months. Just thaw overnight in the fridge before baking.
- Reheat: Warm it in the oven at 350°F until heated through or microwave individual portions.
Your FAQ Guide
Got questions? Let’s tackle some common ones:
- Can I use brown rice instead of white? Absolutely! Just increase the cooking time slightly.
- What if I don’t have chicken broth? Water can work in a pinch, but broth adds more flavor.
- Can I make this vegetarian? Yes! Use vegetable broth and substitute chicken with mushrooms or chickpeas.
- How long can I store leftovers? Up to 3 days in the refrigerator or 2 months in the freezer.
- Can I make this ahead of time? Yes! Assemble and refrigerate until you’re ready to bake.
- What other cheeses work well? Mozzarella or gouda are great options!
- Is this recipe spicy? Not unless you choose to add spicy ingredients!
- What do I serve with this casserole? A simple green salad or steamed vegetables complement it beautifully.
Nutritional Tips and Dietary Adaptations
This Garlic Butter Chicken and Rice Casserole can be modified for various dietary needs:
- Low-Carb: Substitute rice with cauliflower rice.
- Dairy-Free: Use vegan butter and a dairy-free cheese alternative.
- Gluten-Free: Ensure your chicken broth is gluten-free, and you’re good to go!
Essential Equipment Recommendations
Here are a few kitchen tools that will make your cooking experience smoother:
- 9×13 inch Baking Dish: Perfect for casseroles of all kinds.
- Large Skillet: For sautéing and mixing ingredients.
- Mixing Bowls: A set of various sizes is always handy.
- Measuring Cups and Spoons: Essential for accuracy in cooking.
Serving Suggestions to Elevate Your Meal
To make your dinner even more special, try serving this casserole with:
- Fresh Bread: A loaf of crusty bread is perfect for soaking up the delicious sauce.
- Seasonal Veggies: Roasted or steamed vegetables bring color and nutrition to your plate.
- Simple Salad: A light salad with vinaigrette pairs wonderfully.
- Fruit Compote: Something sweet, like a fruit compote, can be a refreshing contrast.
Wrapping Up Our Culinary Journey
And there you have it! A cozy, deliciously satisfying Garlic Butter Chicken and Rice Casserole that’s sure to impress. I hope you found this recipe as delightful as I do, and that it warms your heart and your home. Remember, cooking should be fun and filled with love. So go ahead, make it your own, and enjoy every bite. Happy cooking, my friend!
Irresistible Garlic Butter Chicken and Rice Casserole
Ingredients
Main Ingredients
- 2 cups cooked rice
- 1 lb boneless, skinless chicken breasts, cubed
- 1/2 cup unsalted butter
- 4 cloves garlic, minced
- 1 cup chicken broth
- 1 cup shredded cheddar cheese
- 1 teaspoon dried thyme
- 1 teaspoon onion powder
- to taste salt and pepper
- 1/4 cup chopped fresh parsley (for garnish)
Instructions
- Preheat oven to 350°F (175°C).
- Melt butter in a skillet, sauté garlic until fragrant, then cook chicken with seasonings until browned.
- Mix cooked rice, chicken, and broth; transfer to a greased casserole dish.
- Top with shredded cheese, cover, and bake for 25 minutes; uncover and bake 10 more minutes until bubbly.
- Garnish with parsley and serve warm.
Notes
Loved this recipe? Save it to your favorite Pinterest board so you can easily find it later! It’s the perfect way to keep all your sweet ideas in one place. ✨