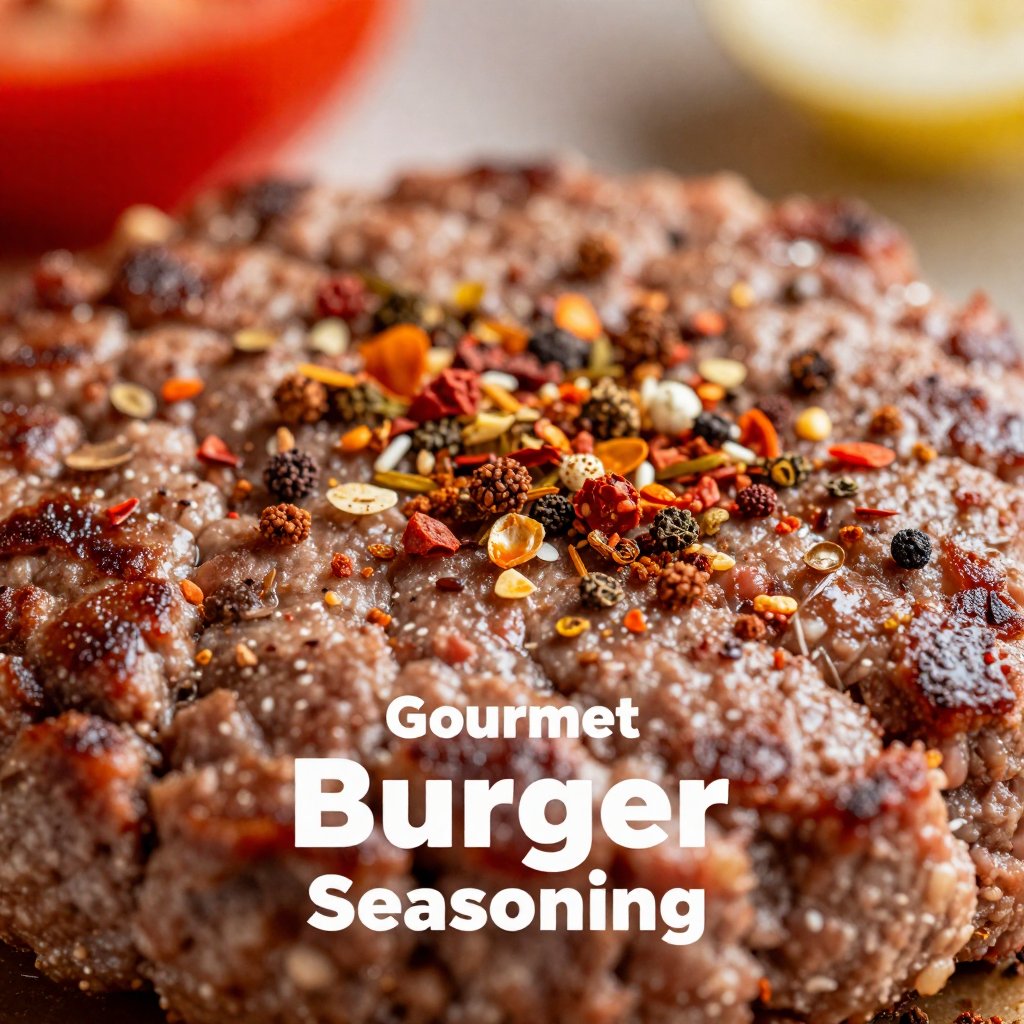
Hey there, burger aficionados! Ava here, straight from my Seattle kitchen, ready to spill the beans (or should I say, the spices?) on creating the *best burger seasoning* you’ve ever tasted. If you’ve ever bitten into a burger and thought, ‘This is good, but it could be *great*,’ you’re in the right place. We’re not just talking about slapping some salt and pepper on a patty; we’re diving deep into the art of crafting a gourmet burger experience right in your own backyard. Remember that time I tried to make a ‘simple’ weeknight dinner and ended up setting off the smoke alarm? Well, trust me, this recipe is infinitely easier and far more rewarding!
I grew up watching my mom transform simple ingredients into extraordinary meals, and I’ve always believed that the secret to truly amazing food lies in the details. And when it comes to burgers, the seasoning is everything. It’s the soul of the patty, the flavor explosion that makes you close your eyes and savor every single bite. So, let’s get started on making some magic!
Why You’ll Love This Burger Seasoning
Okay, so why should you bother making your own burger seasoning when you can just grab a pre-made blend from the store? Let me tell you, there are so many reasons! For starters, you have complete control over the ingredients. No weird additives, no excessive salt, just pure, delicious flavor.
- Flavor Control: You’re in charge! Adjust the spices to your liking, whether you prefer a smoky kick, a touch of sweetness, or a fiery heat.
- Freshness: Homemade seasoning is always fresher than store-bought. The spices haven’t been sitting on a shelf for months, losing their potency.
- Cost-Effective: Buying spices in bulk and making your own seasoning blend is often cheaper than buying pre-made mixes.
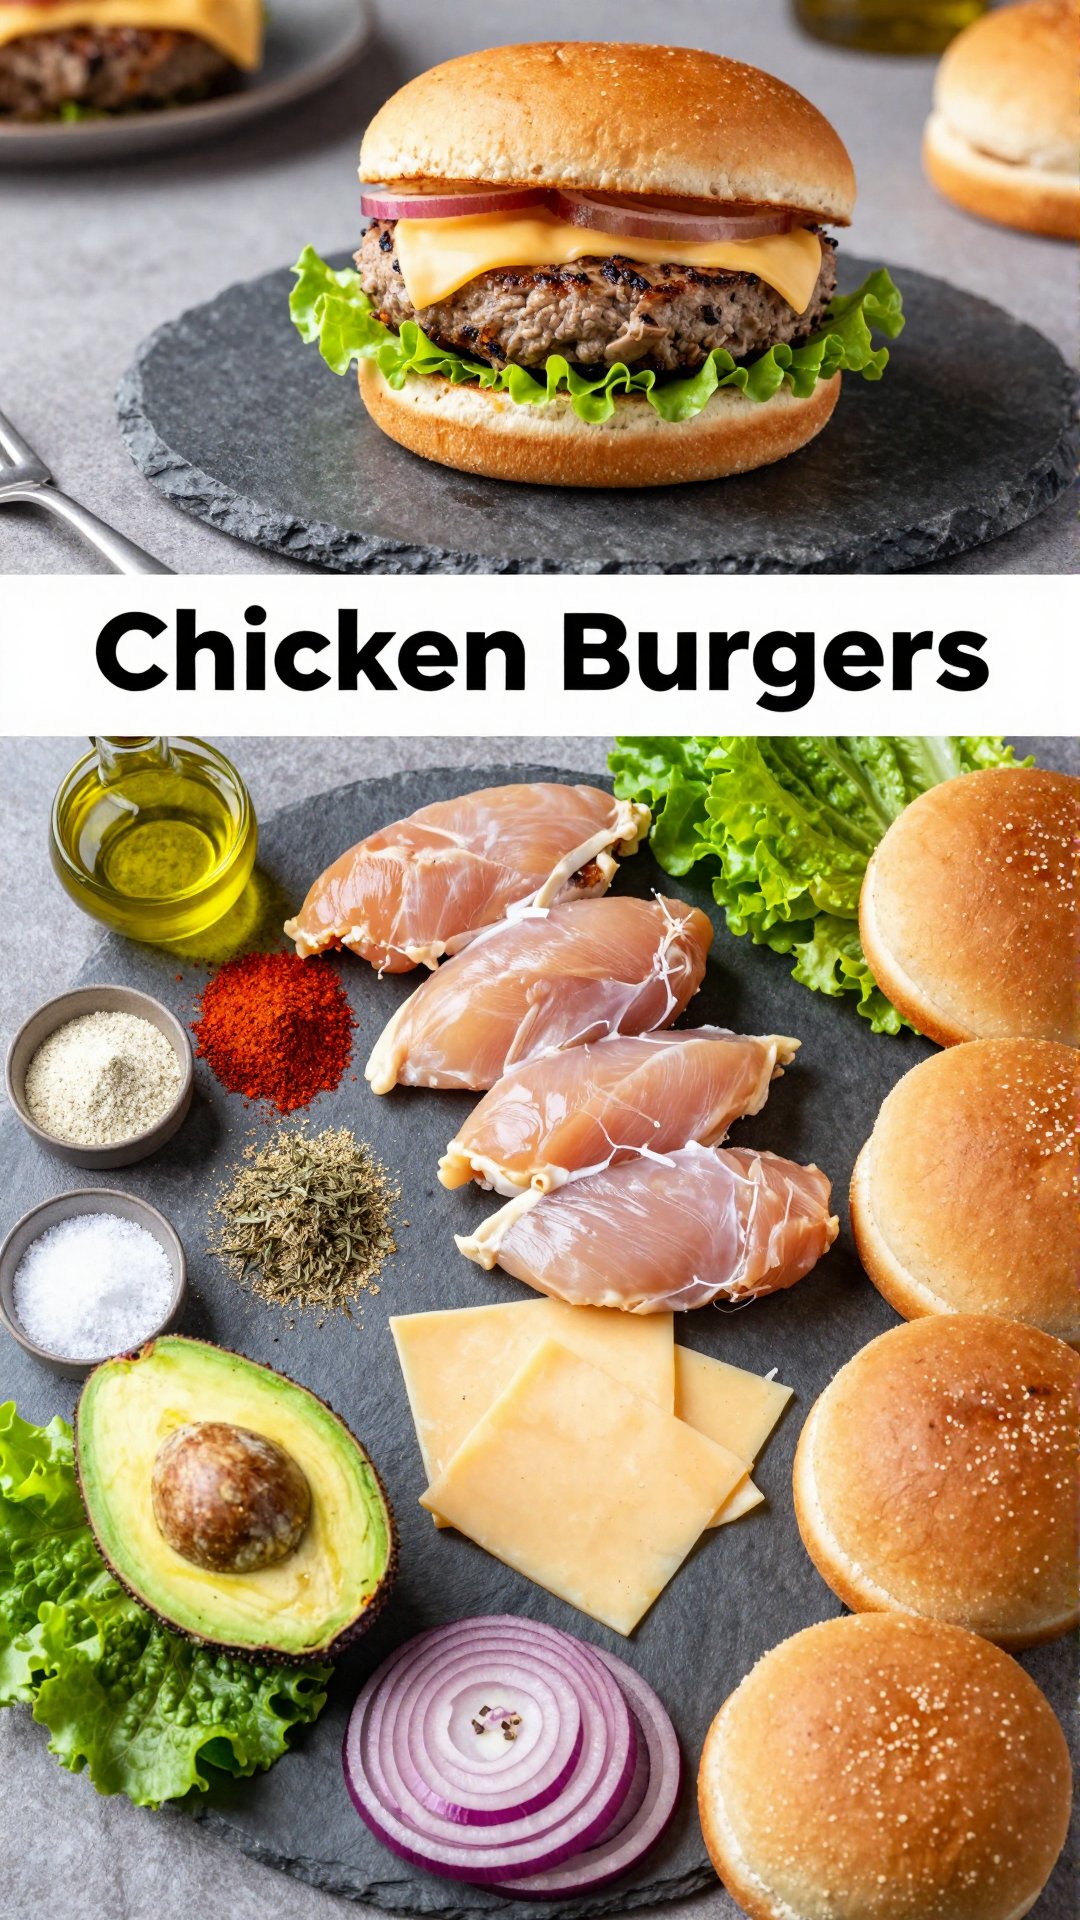
- Customization: You can easily adapt this recipe to suit different types of burgers, from beef to chicken to veggie.
Plus, there’s a certain satisfaction that comes from creating something special from scratch. It’s like adding a little bit of yourself to every burger you make. And believe me, your friends and family will taste the difference!
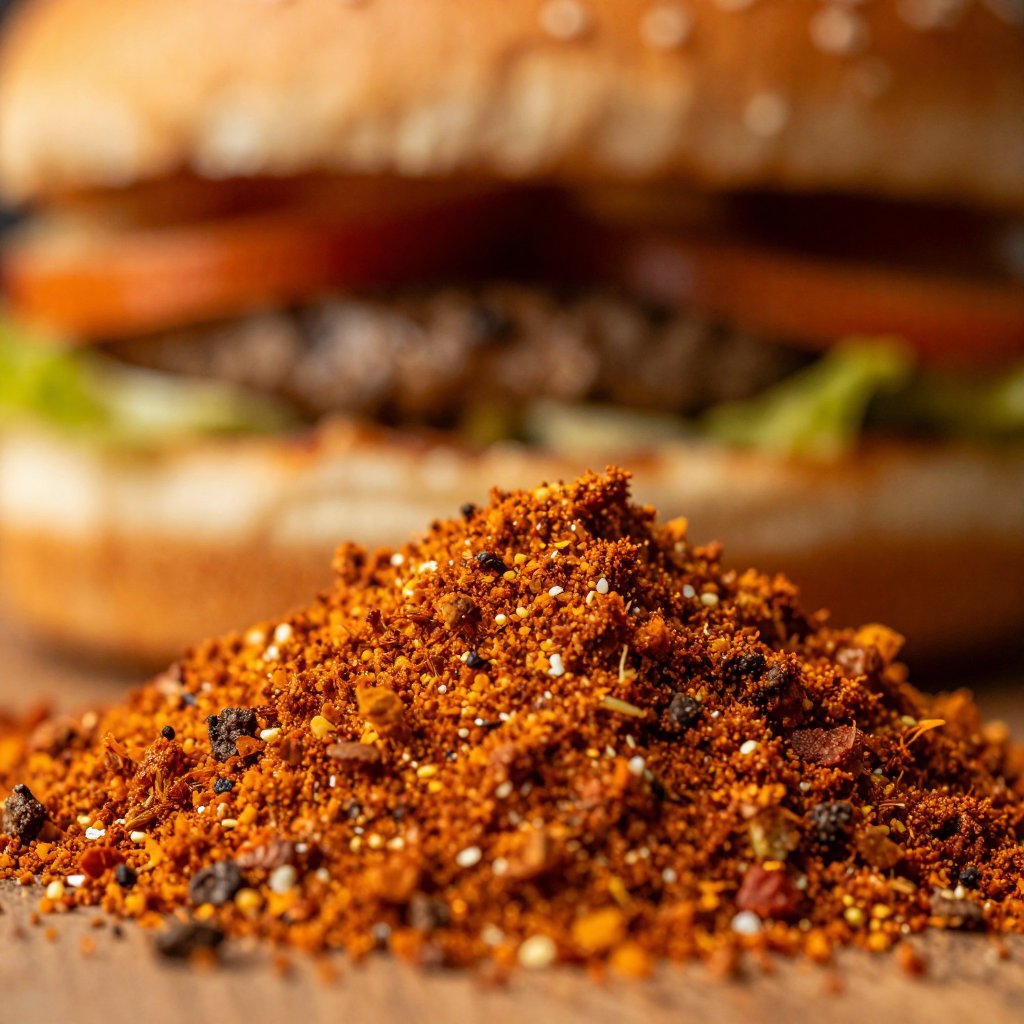
Gourmet Burger Seasoning Recipe
Alright, let’s get down to business. Here’s what you’ll need to create the *best burger seasoning* blend:
Ingredients:
- 1 Tablespoon paprika
- 1 Tablespoon garlic powder
- 1 Tablespoon onion powder
- 1 teaspoon brown sugar
- 2 teaspoons kosher salt
- 1 teaspoons black pepper
- 1/4 teaspoon cayenne pepper (optional)
How To Make The Burger Seasoning
This is the easy part! Follow these simple steps, and *you’re* well on *your* way to burger bliss:
- In a small bowl, whisk together all the ingredients. Make sure there aren’t any clumps.
- Store the seasoning blend in an airtight container.
- When you’re ready to grill, sprinkle each burger patty with about ½ teaspoon of seasoning. Adjust to taste.
See? I told you it was easy! Now, let’s talk about some pro tips to take your burger game to the next level.
Pro Tips for the Best Burgers
These aren’t just any tips, these are *the secret* tips that separate the good burgers from the truly unforgettable ones. I’ve learned these over years of experimenting *in your* kitchen, so trust me on this.
- Use High-Quality Meat: Start with the best ground beef you can find. Look for a blend that’s around 80% lean and 20% fat for optimal flavor and juiciness.
- Don’t Overmix: Overworking the meat can result in tough burgers. Gently mix the seasoning into the ground beef until just combined.
- Make a Thumbprint: Before grilling, make a small indentation in the center of each patty. This helps prevent the burgers from puffing up and becoming rounded.
- Chill Out: Let the seasoned patties chill in the refrigerator for at least 30 minutes before grilling. This allows the flavors to meld together and helps the burgers hold their shape.
- Get Your Grill Hot: Preheat your grill to medium-high heat. A hot grill sears the outside of the burgers, locking in the juices.
- Don’t Press Down: Resist the urge to press down on the burgers while they’re grilling. This squeezes out the juices and results in dry, sad burgers.
- Use a Thermometer: The best way to ensure your burgers are cooked to perfection is to use a meat thermometer. Aim for an internal temperature of 160°F (71°C) for medium doneness.
- Let It Rest: After grilling, let the burgers rest for a few minutes before serving. This allows the juices to redistribute, resulting in a more flavorful and tender burger.
Common Mistakes to Avoid
We all make mistakes, but the key is to learn from them! Here are a few common burger-making blunders to watch out for:
- Using Too Much Salt: Salt can dry out the meat, so be careful not to overdo it. Remember, *you can* always add more, but you can’t take it away.
- Overcooking the Burgers: Dry, overcooked burgers are a crime against humanity. Use a meat thermometer and aim for medium doneness.
- Using Cold Meat: Cold ground beef doesn’t cook evenly. Let it sit at room temperature for about 15-20 minutes before grilling.
- Ignoring the Bun: The bun is just as important as the patty! Choose a high-quality bun that can stand up to the juiciness of the burger. Toast it lightly for added flavor and texture.
Burger Seasoning Variations
One of the best things about making your own burger seasoning is that *you’re* free to experiment! Here are a few variations to try:
- Spicy Burger Seasoning: Add more cayenne pepper or a pinch of chili flakes for a fiery kick.
- Smoky Burger Seasoning: Add a teaspoon of smoked paprika for a smoky flavor.
- Herby Burger Seasoning: Add a tablespoon of dried herbs like oregano, thyme, or rosemary.
- Sweet and Savory Burger Seasoning: Add a teaspoon of maple syrup or honey for a touch of sweetness.
- Homemade Cajun Seasoning: Combine paprika, cayenne pepper, garlic powder, onion powder, black pepper, white pepper, dried oregano, and dried thyme.
How to Store Your Burger Seasoning
To keep your burger seasoning fresh and flavorful, *store the* seasoning blend in an *airtight container* in a cool, dark place. A spice cabinet or pantry works well. Properly stored, your seasoning should last for up to 6 months. Just *sure to* check for potency before using. If the aroma has faded, it might be time to make a new batch.
Frequently Asked Questions (FAQ)
Got questions? I’ve got answers! Here are some of the most common questions I get about burger seasoning:
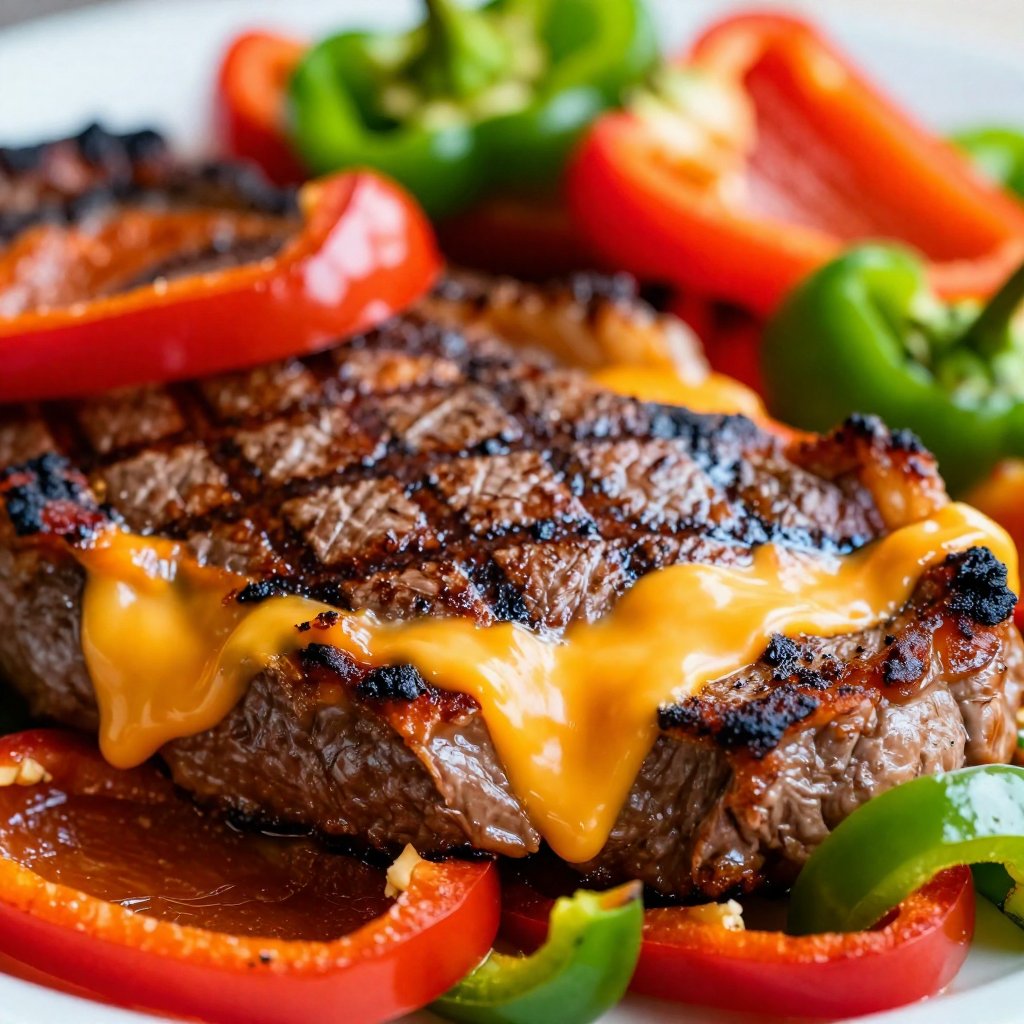
- Can I use this seasoning on other meats? Absolutely! This seasoning is delicious on chicken, pork, and even fish. It also works great as *chicken wing seasoning*.
- Can I make this seasoning in advance? Yes! In fact, I recommend making a big batch and keeping it on hand for whenever the burger craving strikes.
- Can I use fresh herbs instead of dried herbs? Sure, but keep in mind that fresh herbs have a higher moisture content. You may need to adjust the amount of seasoning you use.
- What’s the best way to apply the seasoning to the burgers? I like to sprinkle it evenly over the patties, then gently pat it in.
- Can I add other ingredients to the seasoning blend? Of course! Feel free to experiment with different spices and herbs to create your own signature blend.
Serving Suggestions
Now that you’ve got the perfect burger seasoning, it’s time to build the ultimate burger! Here are a few serving suggestions:
- Classic Burger: Serve your seasoned burger on a toasted bun with lettuce, tomato, onion, and your favorite condiments.
- Gourmet Burger: Top your burger with caramelized onions, sautéed mushrooms, and a slice of Gruyere cheese.
- BBQ Burger: Brush your burger with barbecue sauce during the last few minutes of grilling, then top with crispy bacon and cheddar cheese.
- Spicy Burger: Add a dollop of sriracha mayo or some pickled jalapeños for a spicy kick.
- Veggie Burger: This seasoning works wonders on veggie burgers too! Just mix it into the patty mixture before grilling.
And there you have it! The *ultimate* guide to *gourmet burger seasoning*. I hope *this recipe* inspires you to get creative in *your* kitchen and create some truly amazing burgers. Happy grilling!
P.S. Don’t forget to subscribe to *my email address* below *to get* more delicious recipes and cooking tips delivered straight *to your email* inbox! And be *sure to* check out the rest of *this site* for more culinary adventures. Until next time, happy cooking!
Gourmet Burger Seasoning
Ingredients
Seasoning
- 1 Tablespoon paprika
- 1 Tablespoon garlic powder
- 1 Tablespoon onion powder
- 1 teaspoon brown sugar
- 2 teaspoons kosher salt
- 1 teaspoon black pepper
- 1/4 teaspoon cayenne pepper ((optional))
Instructions
- Whisk together all ingredients in a small bowl.
- Sprinkle each burger patty with about ½ teaspoon of seasoning.
Notes