Easy Crockpot Mexican Beef Birria: A Flavorful Fiesta in Your Kitchen
Hey there, kitchen adventurers! Ava here, ready to share a recipe that’s become a staple in my Seattle kitchen: Easy Crockpot Mexican Beef Birria. If you’re craving tender, flavorful beef that practically melts in your mouth, and all with minimal effort, you’ve come to the right place. This is one of those recipes that fills the house with an irresistible aroma, promising a taste of Mexico with every bite. Trust me; this will become your go-to for taco night or any time you need a comforting, satisfying meal.
Growing up, my mom always had something delicious simmering away. This recipe reminds me of those slow-cooked meals, infused with love and patience. But don’t worry, you don’t need to spend all day in the kitchen to achieve that level of flavor. The beauty of the slow cooker is that it does all the hard work for you! This beef birria is packed with authentic Mexican flavors, making it perfect for tacos, quesadillas, or even served over rice. Let’s get cooking!
Why You’ll Love This Crockpot Birria Recipe
Okay, so you might be wondering, “Ava, what makes *this* birria recipe so special?” Well, let me tell you! This isn’t just any beef recipe; it’s a flavor explosion waiting to happen. Here’s why you’ll be obsessed:
- Effortless Flavor: The slow cooker does all the work, infusing the beef with rich, complex flavors over hours of gentle cooking.
- Minimal Ingredients: You don’t need a million different spices or hard-to-find ingredients. This recipe uses simple, pantry-friendly items to create an authentic taste.
- Versatile: Use it for tacos, quesadillas, burritos, or even as a hearty stew. The possibilities are endless!
- Crowd-Pleaser: Everyone loves tender, flavorful beef, and this birria is guaranteed to be a hit at your next gathering. It’s s perfect for potlucks and parties!
- Freezer-Friendly: Make a big batch and freeze leftovers for a quick and easy meal on busy weeknights.
It’s also very easy to make it spicy and flavorful. So, are you ready to learn how to make this incredible dish? Let’s dive in!
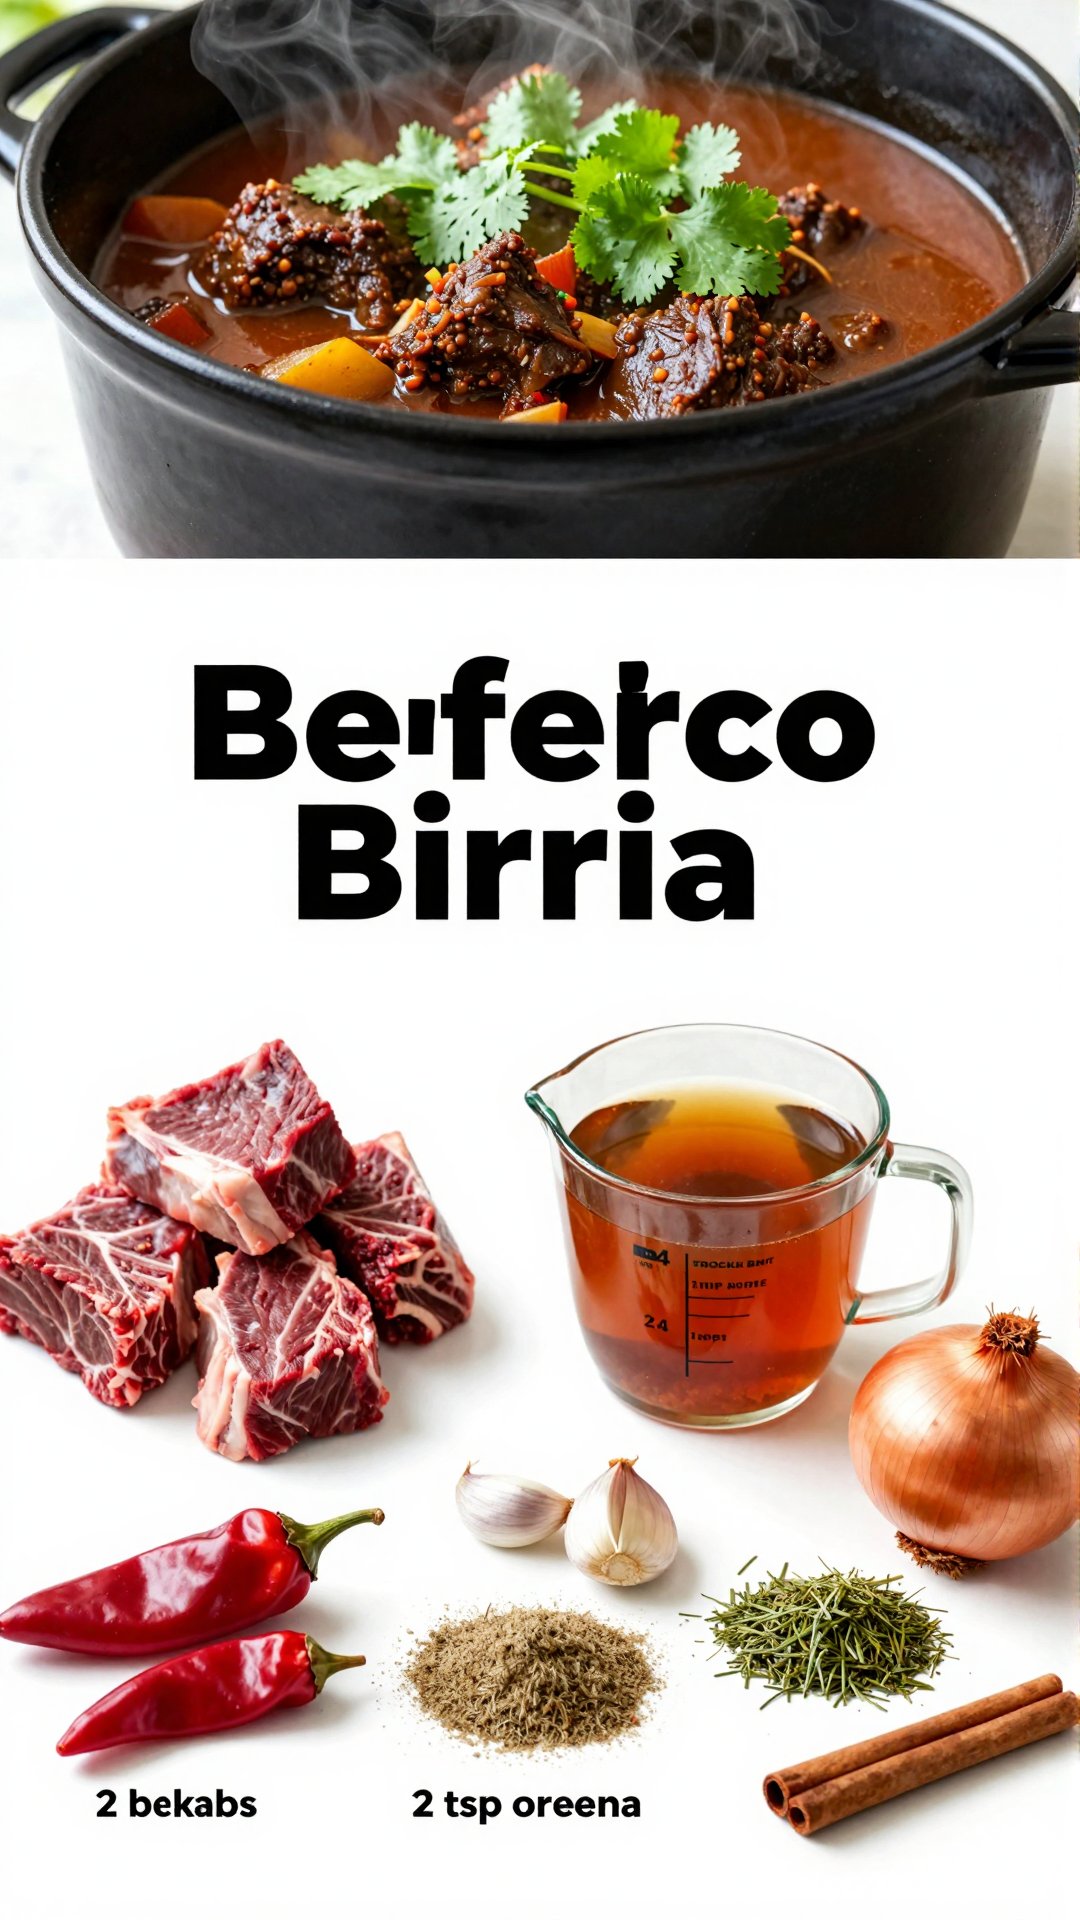
Ingredients for the Best Crockpot Birria
Here’s what you’ll need to gather. Don’t worry, most of these items are probably already in your pantry!
- 2 lbs beef chuck roast, cut into chunks
- 2 dried guajillo chiles, seeded
- 2 dried ancho chiles, seeded
- 4 cups beef broth
- 1 onion, chopped
- 4 garlic cloves
- 2 tsp cumin
- 2 tsp oregano
- 1 cinnamon stick
How to Make Crockpot Mexican Beef Birria: Step-by-Step
Alright, let’s get down to business. Here’s how to make this amazing birria in your crockpot:
- Combine Ingredients: Add the beef chuck roast chunks, seeded guajillo chiles, seeded ancho chiles, beef broth, chopped onion, garlic cloves, cumin, oregano, and cinnamon stick to the slow cooker.
- Slow Cook: Cook on low for 8 hours, or until the beef is incredibly tender and easily shreds with a fork.
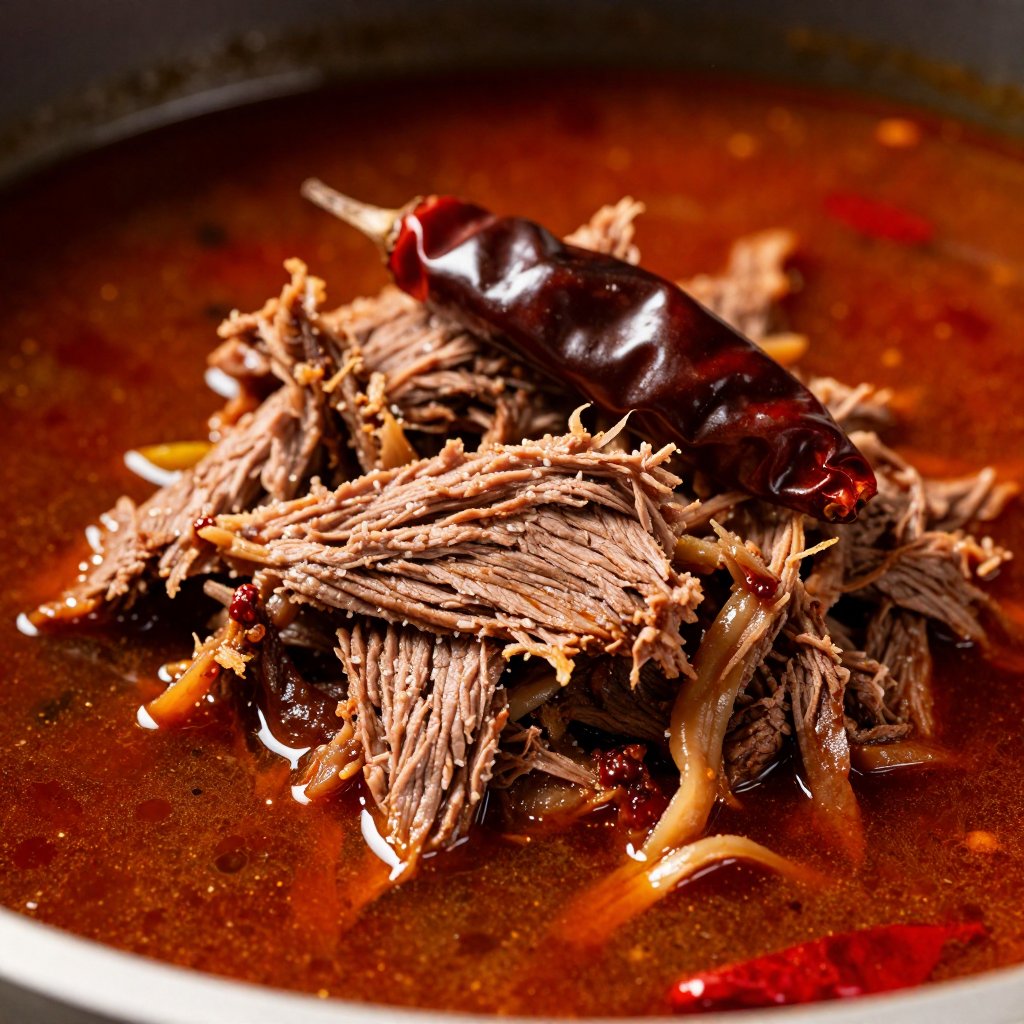
- Shred and Serve: Once the beef is cooked, remove it from the crockpot and shred it using two forks. Return the shredded beef to the crockpot to soak up all those delicious juices.
- Enjoy: Serve the birria with warm tortillas for tacos, or get creative and use it in quesadillas, burritos, or over rice.
That’s it! Seriously, it’s that easy. This crockpot Mexican beef birria is perfect for a weeknight dinner or a weekend fiesta.
Pro Tips for Perfect Crockpot Birria
Want to take your birria to the next level? Here are a few of my favorite pro tips:
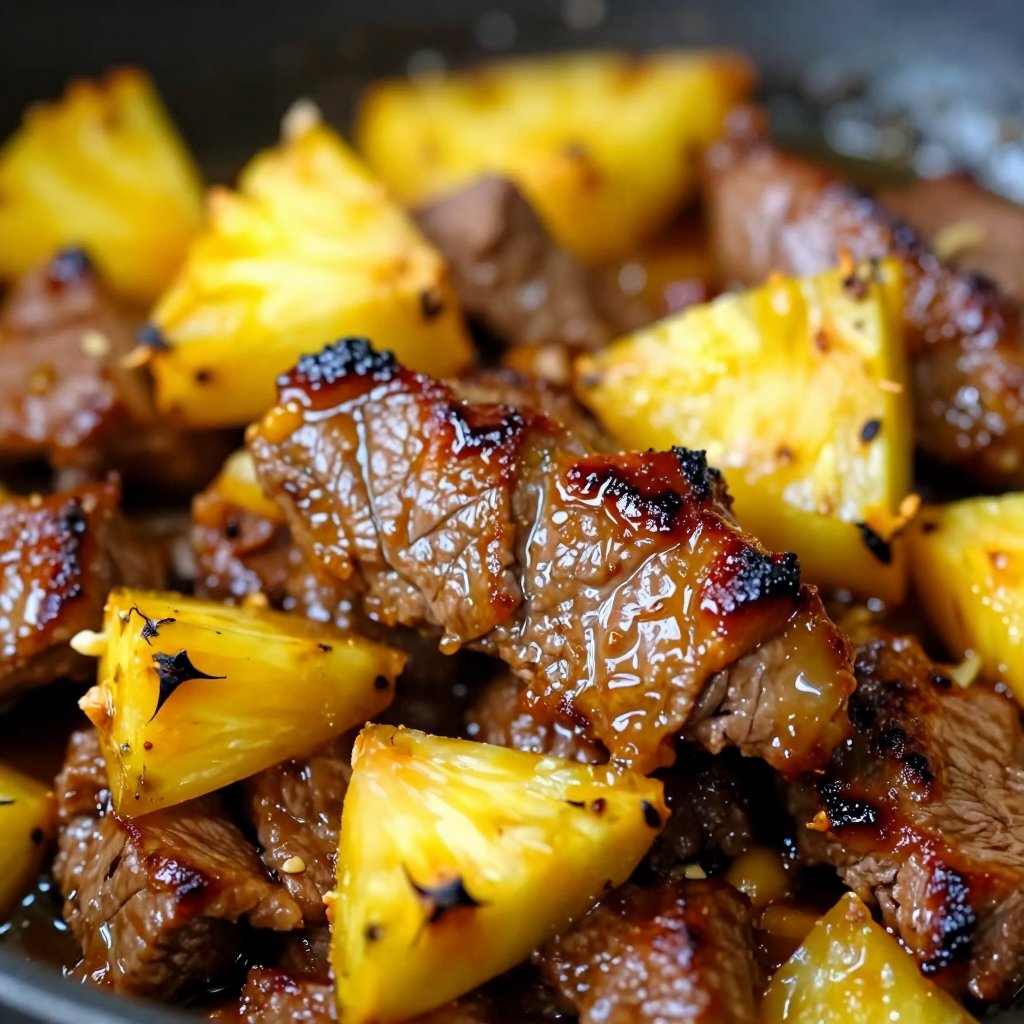
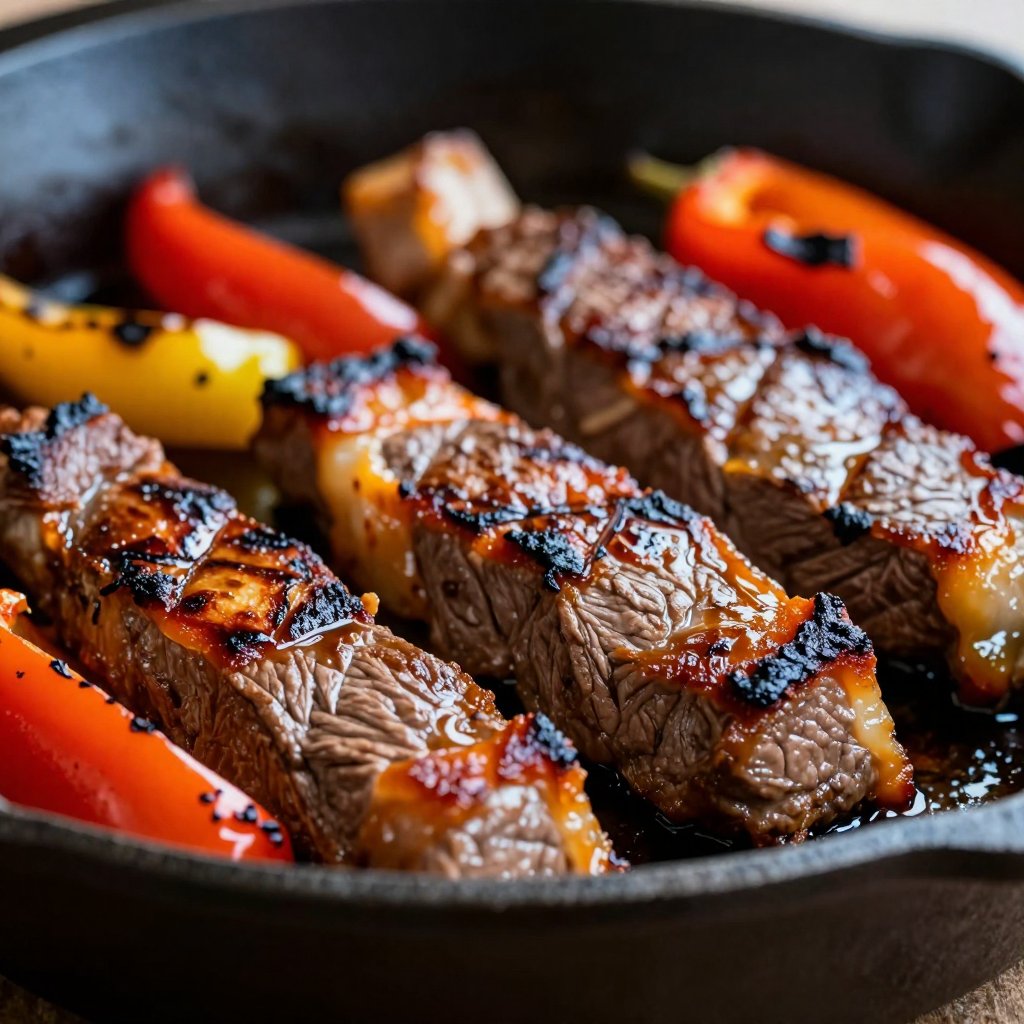
- Sear the Beef: For an extra layer of flavor, sear the beef chuck roast in a hot skillet before adding it to the slow cooker. This creates a beautiful crust and adds depth to the final dish.
- Toast the Chiles: Lightly toast the dried chiles in a dry skillet for a few minutes before adding them to the crockpot. This intensifies their flavor and adds a smoky note to the birria.
- Adjust the Spice Level: If you like your birria with a kick, add a pinch of cayenne pepper or a chopped jalapeño to the slow cooker.
- Skim the Fat: After the birria has cooked, skim off any excess fat from the surface of the liquid for a healthier dish.
- Don’t Skip the Cinnamon Stick: It might seem like an unusual ingredient, but the cinnamon stick adds a subtle warmth and complexity to the birria that you won’t want to miss. It’s a s perfect complement to the other spices.
These little tweaks can make a big difference in the overall flavor and texture of your birria. Trust me; they’re worth the extra effort!
Common Mistakes to Avoid
We all make mistakes in the kitchen, but here are a few common pitfalls to avoid when making crockpot birria:
- Not Seeding the Chiles: Dried chiles can be quite spicy, so be sure to remove the seeds and membranes before adding them to the crockpot.
- Overcooking the Beef: While it’s important to cook the beef until it’s tender, overcooking can result in dry, stringy meat. Keep an eye on it and shred it as soon as it’s easily pulled apart.
- Adding Too Much Liquid: The beef will release its own juices as it cooks, so you don’t need to add a ton of extra liquid. Too much liquid can result in a watery, less flavorful birria.
- Forgetting to Season: Don’t be afraid to season the beef and broth generously with salt and pepper. This is key to bringing out all the delicious flavors.
Learning from these mistakes will help you create the perfect crockpot birria every time. Remember, even if you do make a mistake, it’s just an opportunity to learn and improve!
Variations on This Crockpot Birria Recipe
Want to mix things up a bit? Here are a few fun variations on this classic recipe:
- Spicy Birria: Add a few chopped chipotle peppers in adobo sauce to the slow cooker for a smoky, spicy kick.
- Birria with Beer: Substitute one cup of the beef broth with a dark Mexican beer for a richer, more complex flavor.
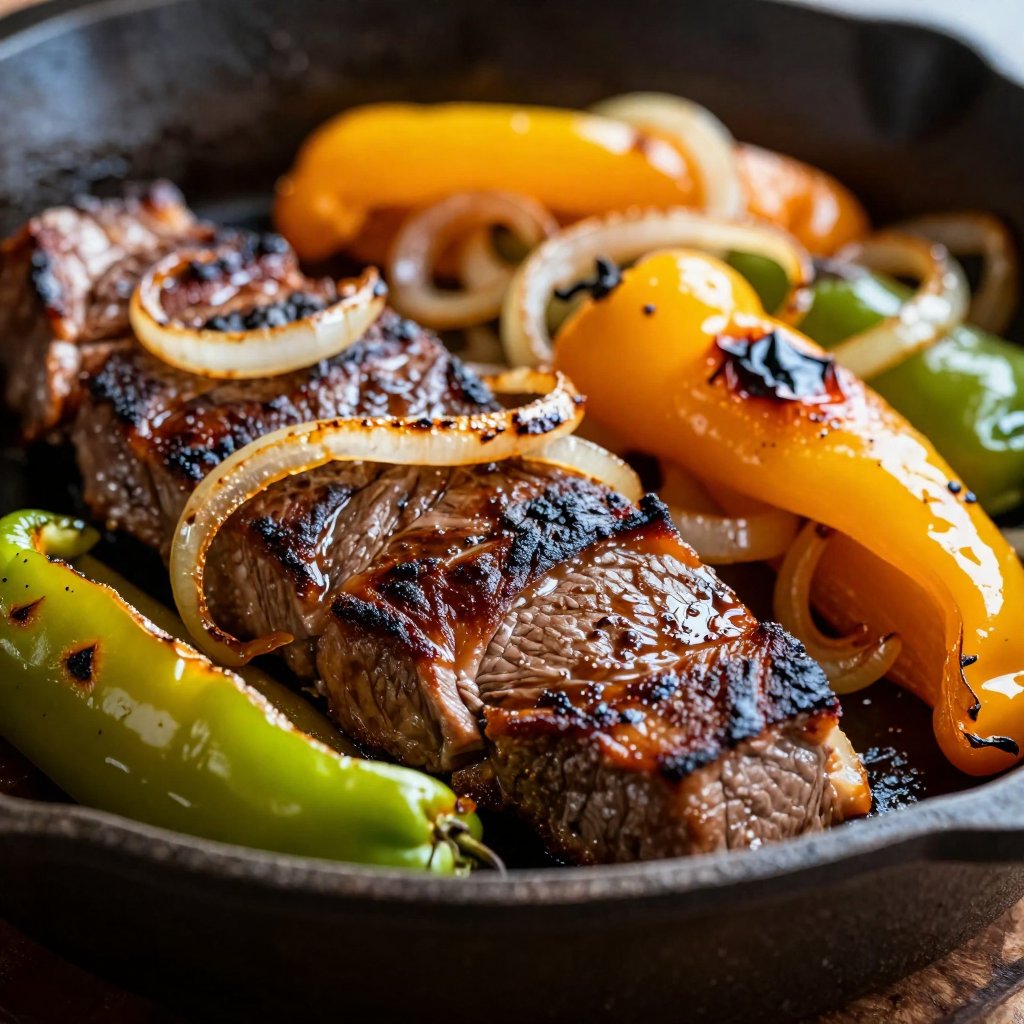
- Birria with Vegetables: Add some chopped carrots, potatoes, or celery to the slow cooker for a heartier, more nutritious meal.
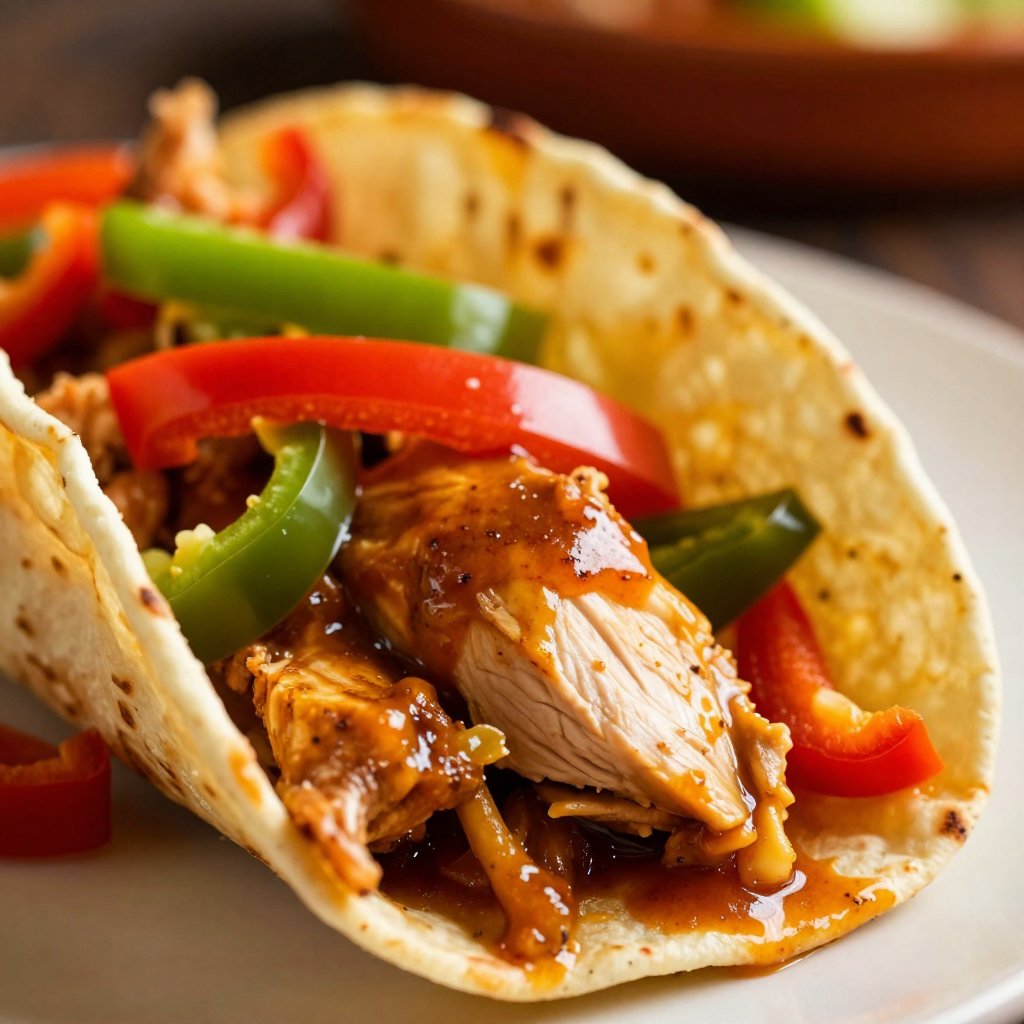
- Chicken Birria: Substitute the beef chuck roast with chicken thighs for a lighter, leaner version of this recipe.
- Instant Pot Birria: If you’re short on time, you can make this birria in an Instant Pot. Simply cook on high pressure for 45 minutes, followed by a 15-minute natural pressure release.
Feel free to experiment and create your own unique version of this delicious dish! That’s the fun of to make new things. If you love a good filet crockpot recipes, this is sure to be a hit.
How to Store Leftover Birria
If you happen to have any leftover birria (which is unlikely, because it’s so good!), here’s how to store it properly:
- Refrigerate: Store the birria in an airtight container in the refrigerator for up to 3-4 days.
- Freeze: For longer storage, freeze the birria in a freezer-safe container for up to 2-3 months. Thaw it in the refrigerator overnight before reheating.
Reheat the birria in a saucepan over medium heat, or in the microwave. Add a splash of beef broth if it seems dry. Leftover birria is also great in tacos, quesadillas, or burritos!
Frequently Asked Questions (FAQ)
Got questions? I’ve got answers! Here are some of the most common questions I get asked about this recipe:
- Can I use a different cut of beef? Yes, you can use other cuts of beef, such as beef brisket or short ribs. Just be sure to adjust the cooking time accordingly.
- Can I make this recipe without dried chiles? While the dried chiles are essential for the authentic flavor of birria, you can substitute them with 2-3 tablespoons of chili powder in a pinch.
- Can I add other spices? Absolutely! Feel free to add other spices, such as smoked paprika, coriander, or bay leaf, to customize the flavor of your birria.
- Can I make this recipe in advance? Yes, this recipe is perfect for making in advance. In fact, the flavors often improve after a day or two in the refrigerator.
- Is this recipe gluten-free? Yes, this recipe is naturally gluten-free. Just be sure to use gluten-free tortillas or serving options.
If you have any other questions, feel free to leave a comment below! I’m always happy to help.
Serving Suggestions for Your Crockpot Birria
Now that you’ve made this amazing birria, it’s time to serve it up! Here are a few of my favorite serving suggestions:
- Tacos: Serve the birria in warm tortillas with your favorite toppings, such as chopped cilantro, diced onion, and a squeeze of lime juice.
- Quesadillas: Load up tortillas with shredded birria and cheese, then grill or pan-fry until golden brown and melty.
- Burritos: Wrap the birria in a large tortilla with rice, beans, cheese, and your favorite salsa.
- Birria Ramen: Use the flavorful birria broth as a base for a delicious and comforting ramen soup.
- Over Rice: Serve the birria over a bed of fluffy rice for a hearty and satisfying meal.
No matter how you choose to serve it, this crockpot Mexican beef birria is guaranteed to be a hit. It’s flavorful and and perfect for any occasion. Enjoy!
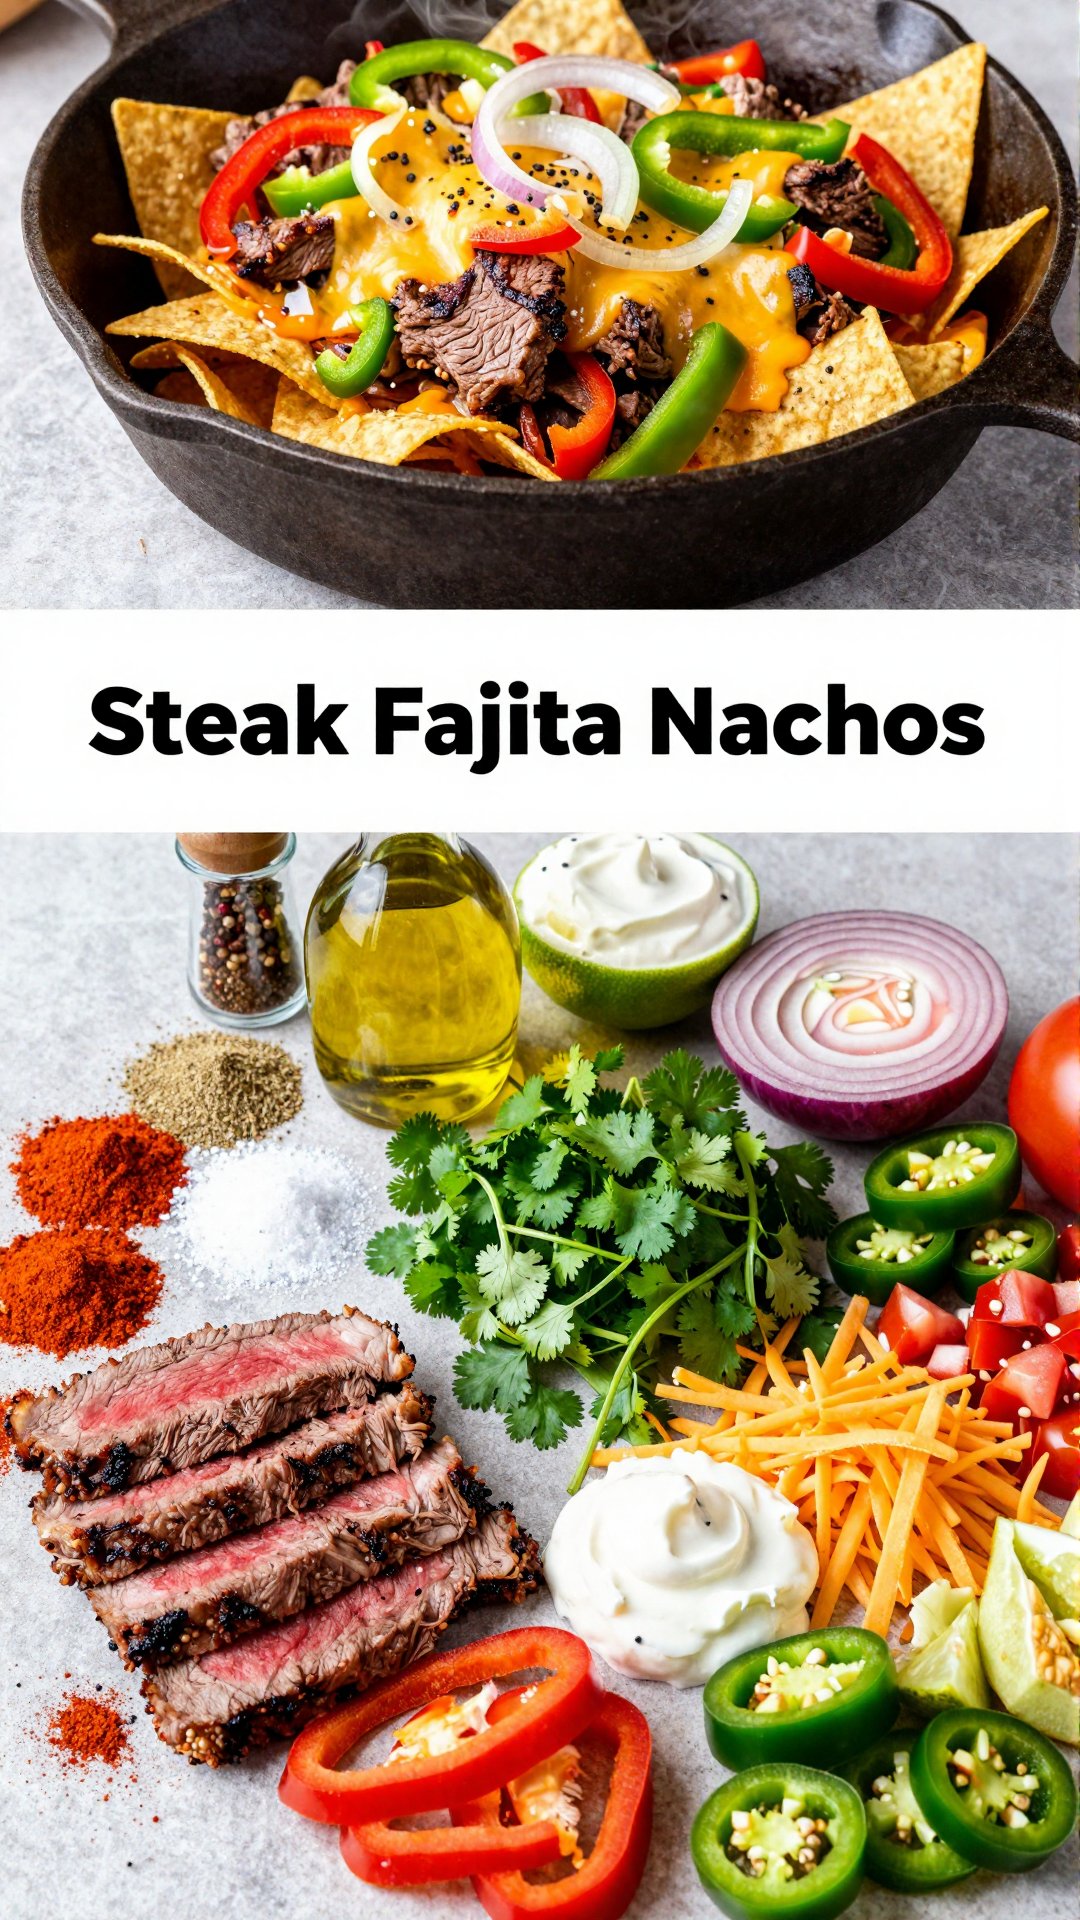
And there you have it! Easy Crockpot Mexican Beef Birria that’s sure to impress. This recipe is all about bringing people together, sharing good food, and making memories. So gather your loved ones, fire up that slow cooker, and get ready for a flavor adventure. Happy cooking! This stew meat fajitas recipe is also great!
Crockpot Mexican Beef Birria
Ingredients
Ingredients
- 2 lbs beef chuck roast (cut into chunks)
- 2 dried guajillo chiles (seeded)
- 2 dried ancho chiles (seeded)
- 4 cups beef broth
- 1 onion (chopped)
- 4 garlic cloves
- 2 tsp cumin
- 2 tsp oregano
- 1 cinnamon stick
Instructions
- Add beef, chiles, beef broth, onion, garlic, cumin, oregano, and cinnamon stick to the crockpot.
- Cook on low for 8 hours until the beef is tender.
- Shred the beef and serve with tortillas or in tacos.
Notes