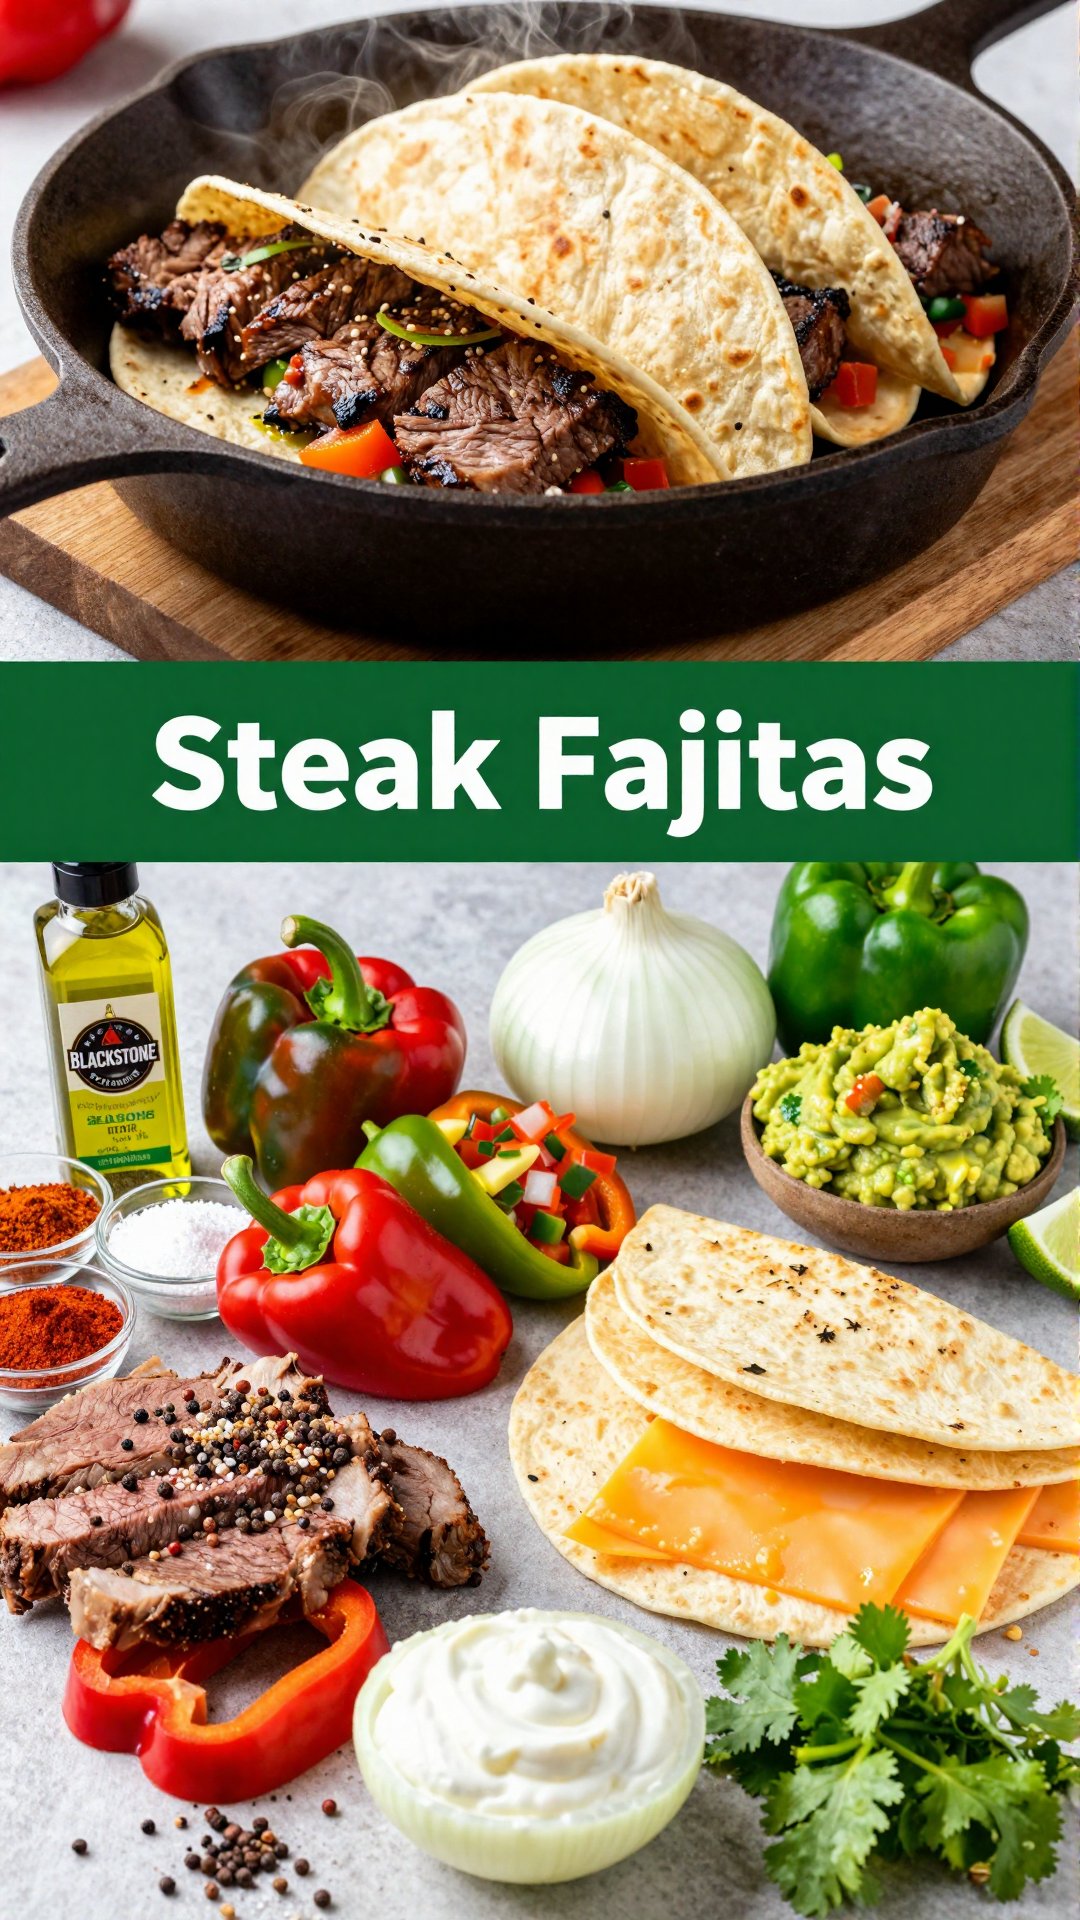
Hey there, fellow food lovers! Ava here, back from my little corner of Seattle to share a recipe that’s become a weeknight staple in my kitchen: Easy Blackstone Steak Fajitas. If you’ve been following my culinary adventures, you know I’m all about dishes that are big on flavor but easy on effort. And trust me, these fajitas deliver on both fronts. Growing up, my mom always said the best meals were the ones shared around the table, filled with laughter and good conversation. These fajitas? They’re perfect for that.
I remember as a child, the sizzle of fajitas was always cause for excitement. It meant a fun, interactive meal where everyone could customize their own little masterpiece. Now, with my trusty Blackstone griddle, I’ve streamlined the process to make it even easier to enjoy that same deliciousness at home. The Blackstone gives these fajitas that perfect sear and smoky flavor that you just can’t replicate on a regular stovetop. Trust me, once you try these, you’ll be hooked!
Why You’ll Love This
Okay, let’s get real. Why should you spend your precious time making these fajitas? Here’s why:
- Quick & Easy: From prep to plate, these fajitas come together in under 30 minutes. Seriously, it’s faster than ordering takeout.
- Flavor Explosion: The combination of marinated steak, charred veggies, and your favorite toppings is a party in your mouth.
- Customizable: Whether you’re a sour cream fanatic or a guacamole guru, these fajitas are a blank canvas for your culinary creativity.
- Griddle Magic: The Blackstone griddle gives the steak and veggies that irresistible smoky char that takes these fajitas to the next level.
- Crowd-Pleaser: Perfect for family dinners, casual get-togethers, or even a solo feast (no judgment here!).
Honestly, I’ve made these fajitas so many times that I could probably do it in my sleep. And every time, they’re a hit. There’s just something about the sizzle, the aroma, and the sheer deliciousness that makes everyone happy. If you want to impress your family or friends with minimal effort, these fajitas are your secret weapon.
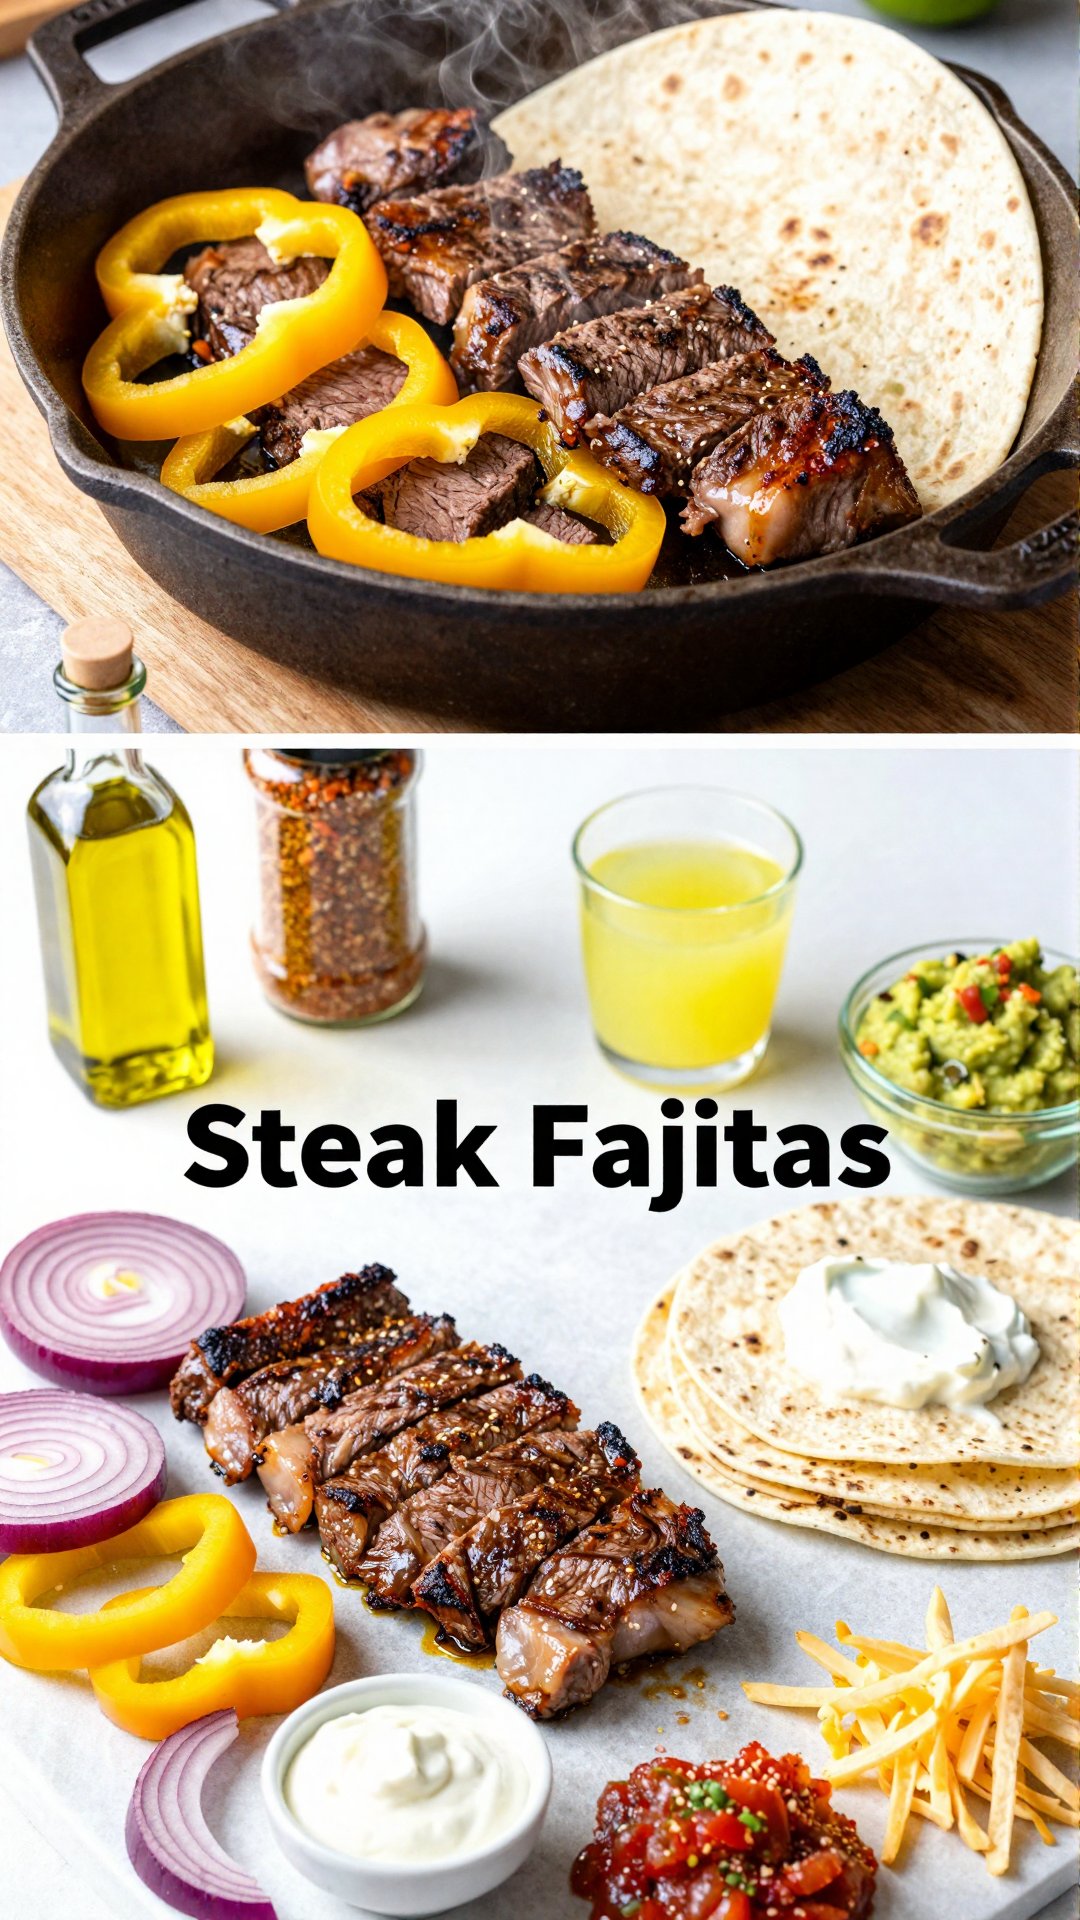
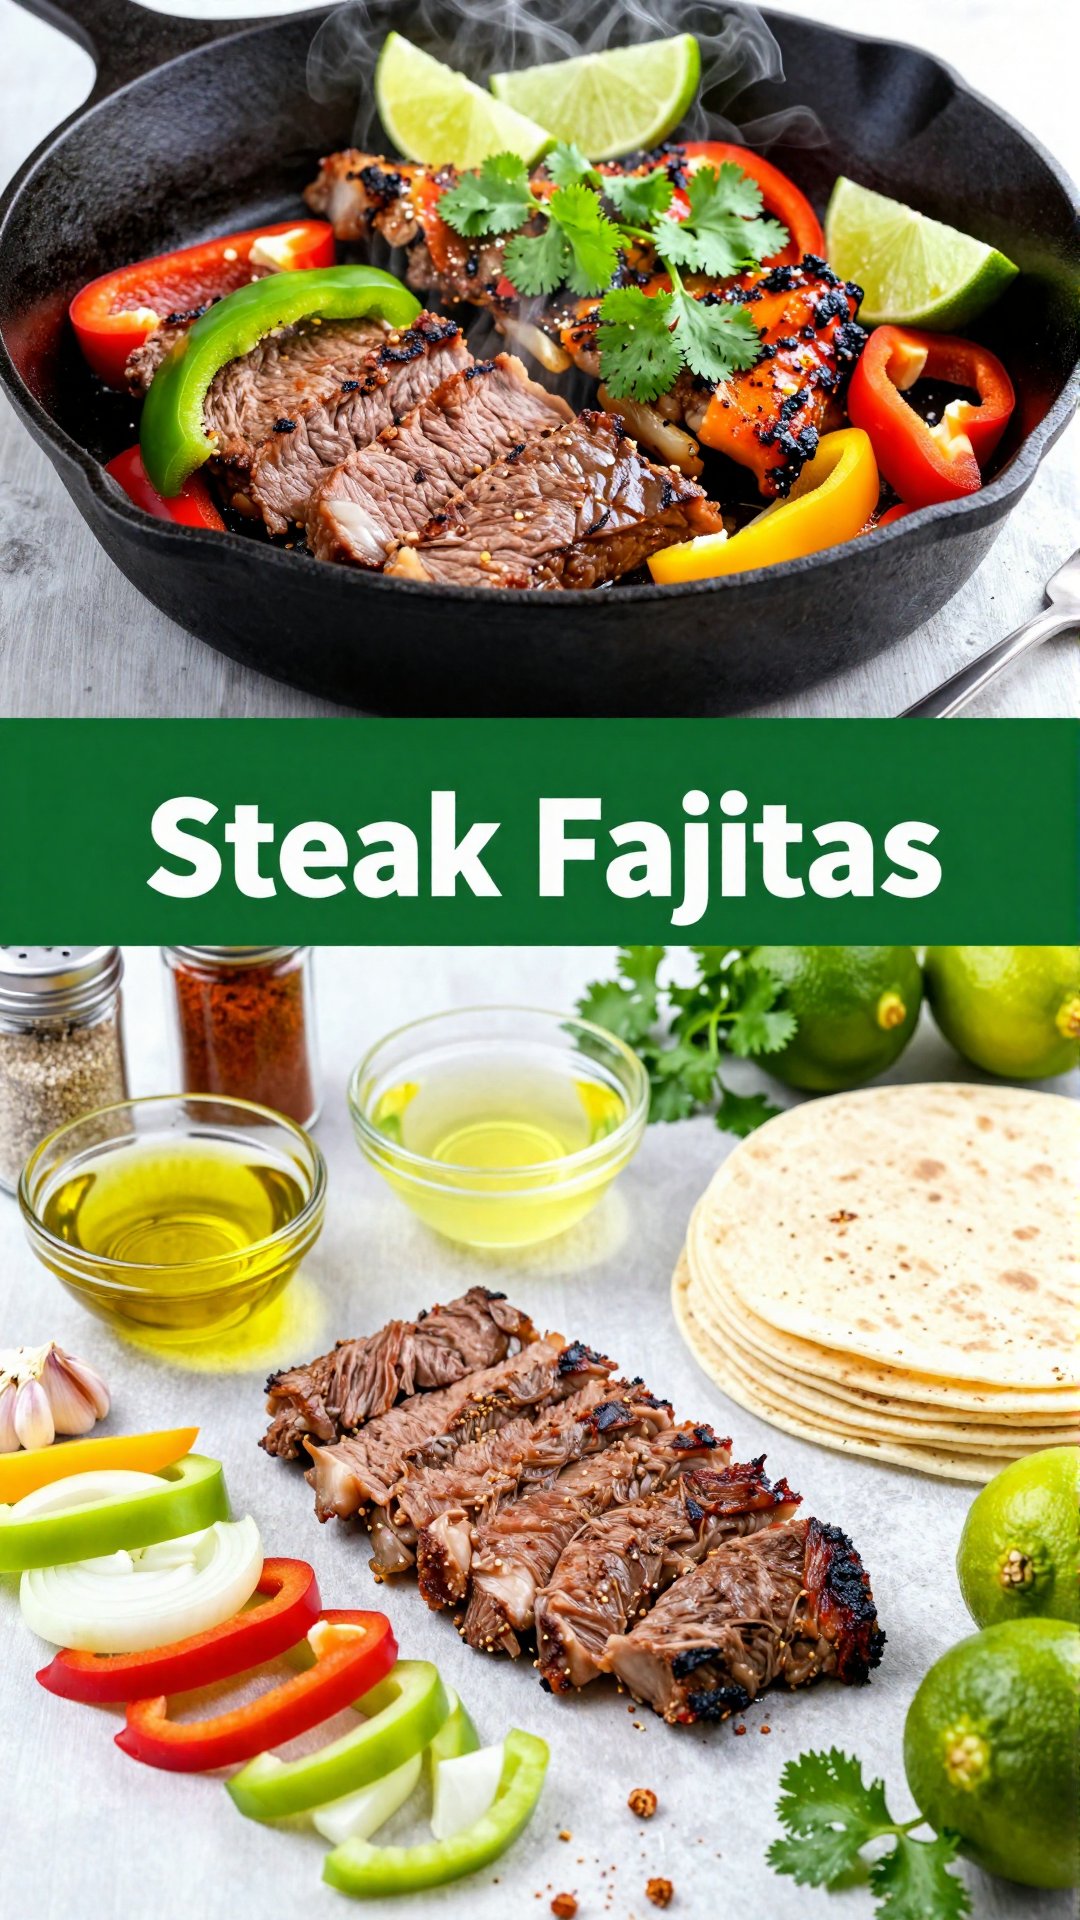
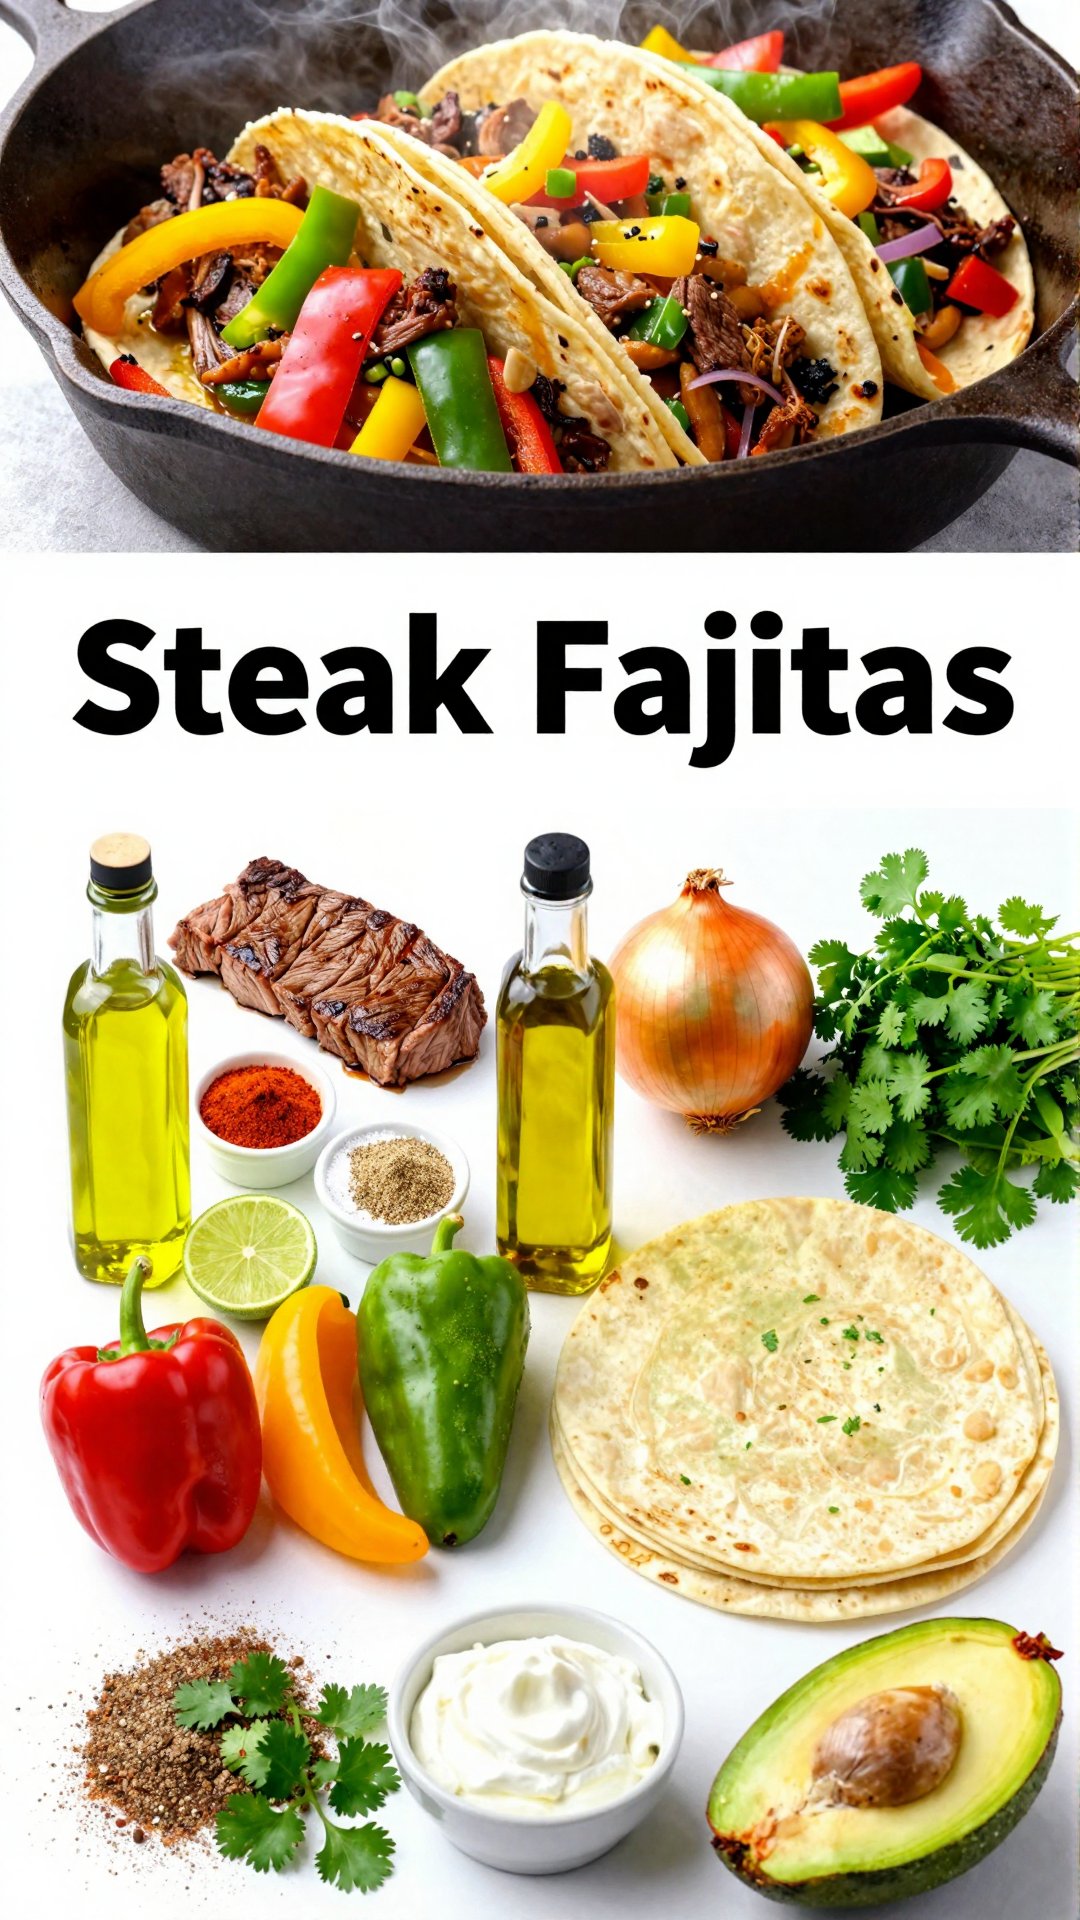
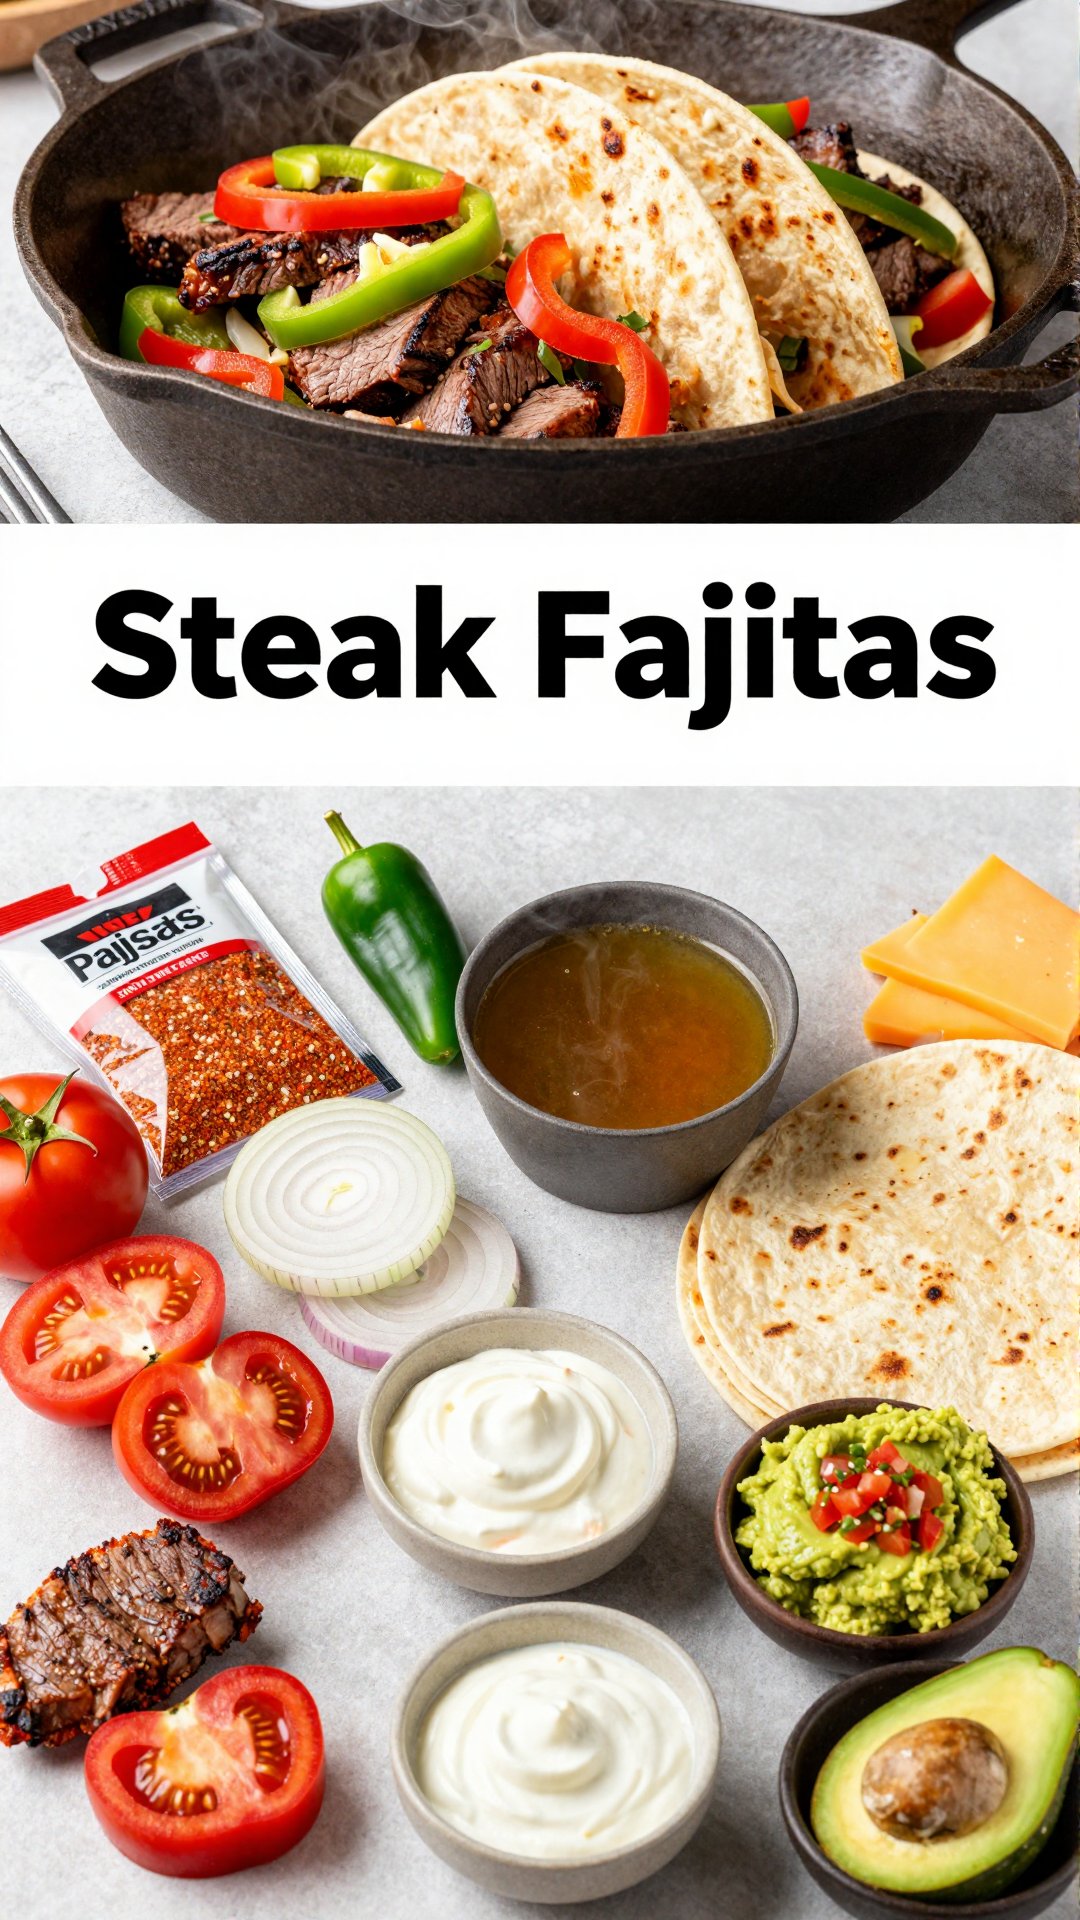
Ingredients
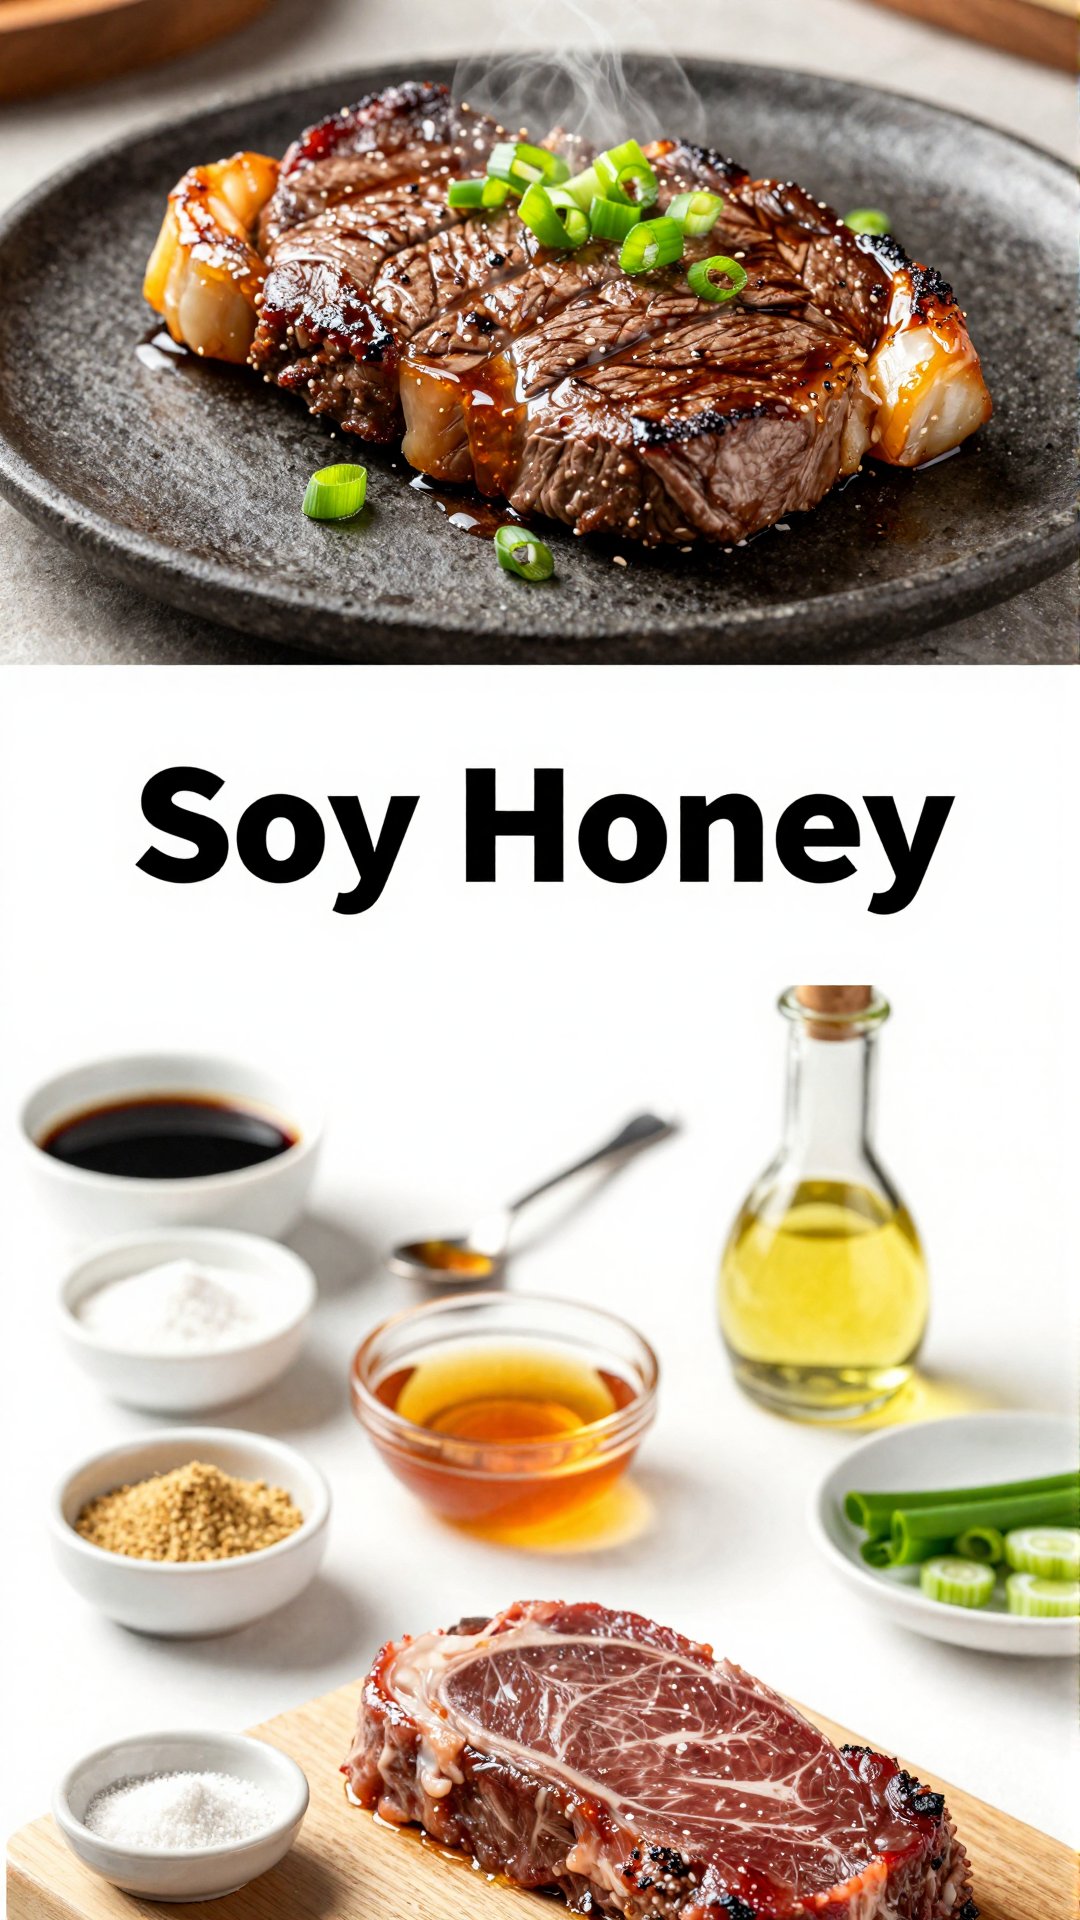
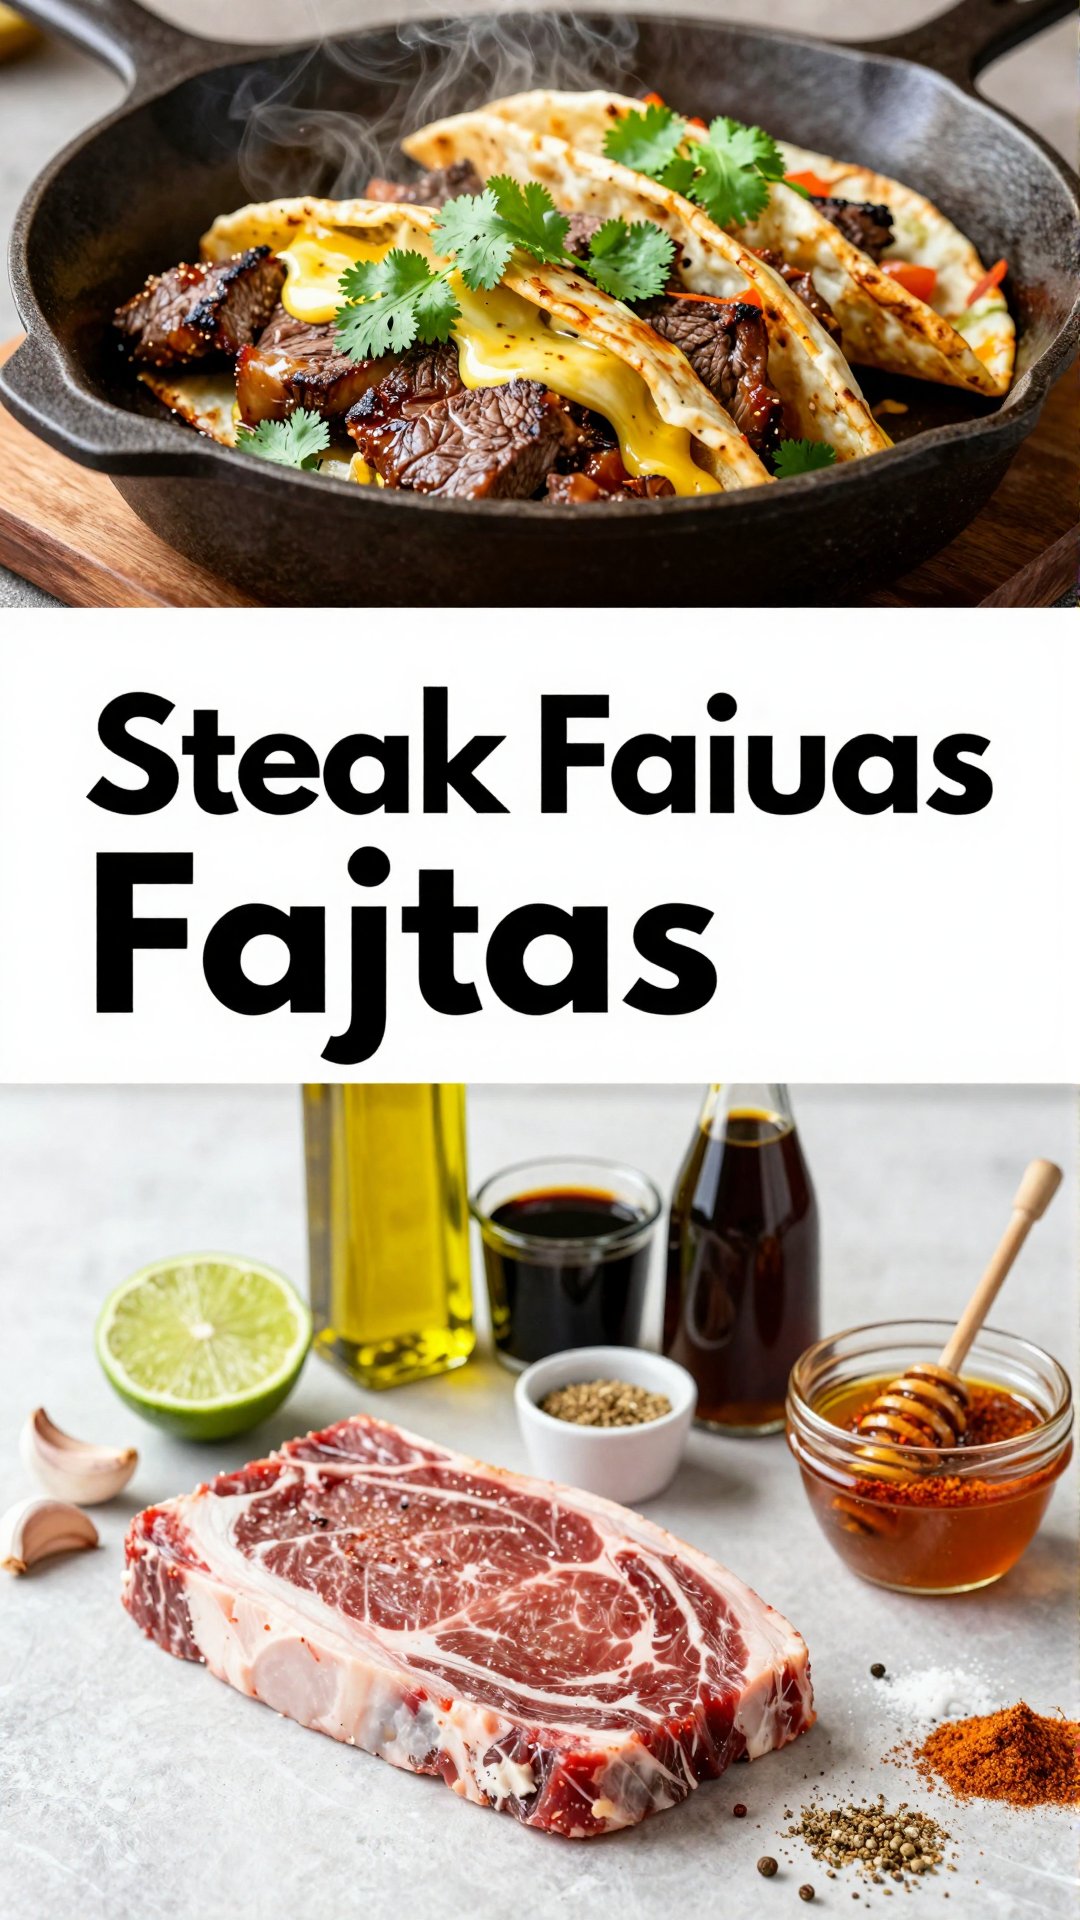
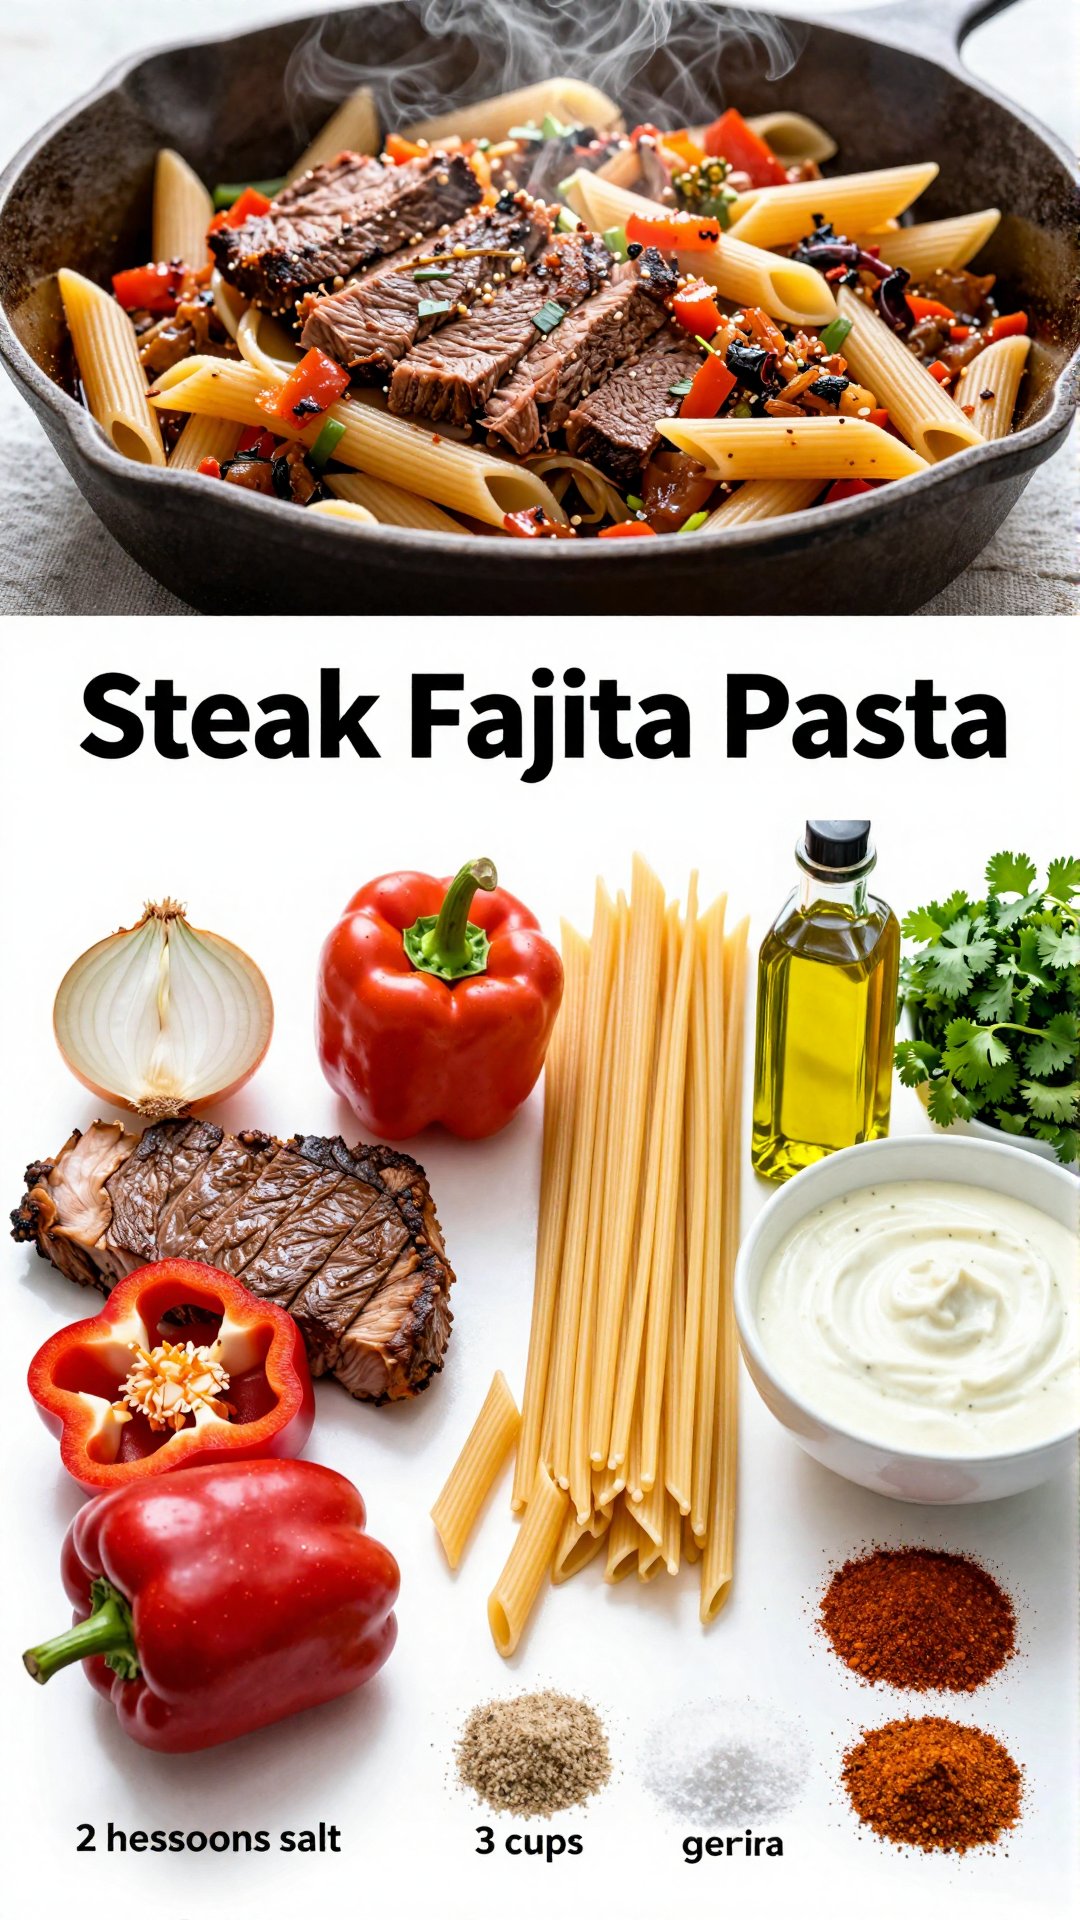
- 1.5 lbs skirt steak, trimmed
- 1 large bell pepper (any color), sliced
- 1 large onion, sliced
- 2 tbsp olive oil
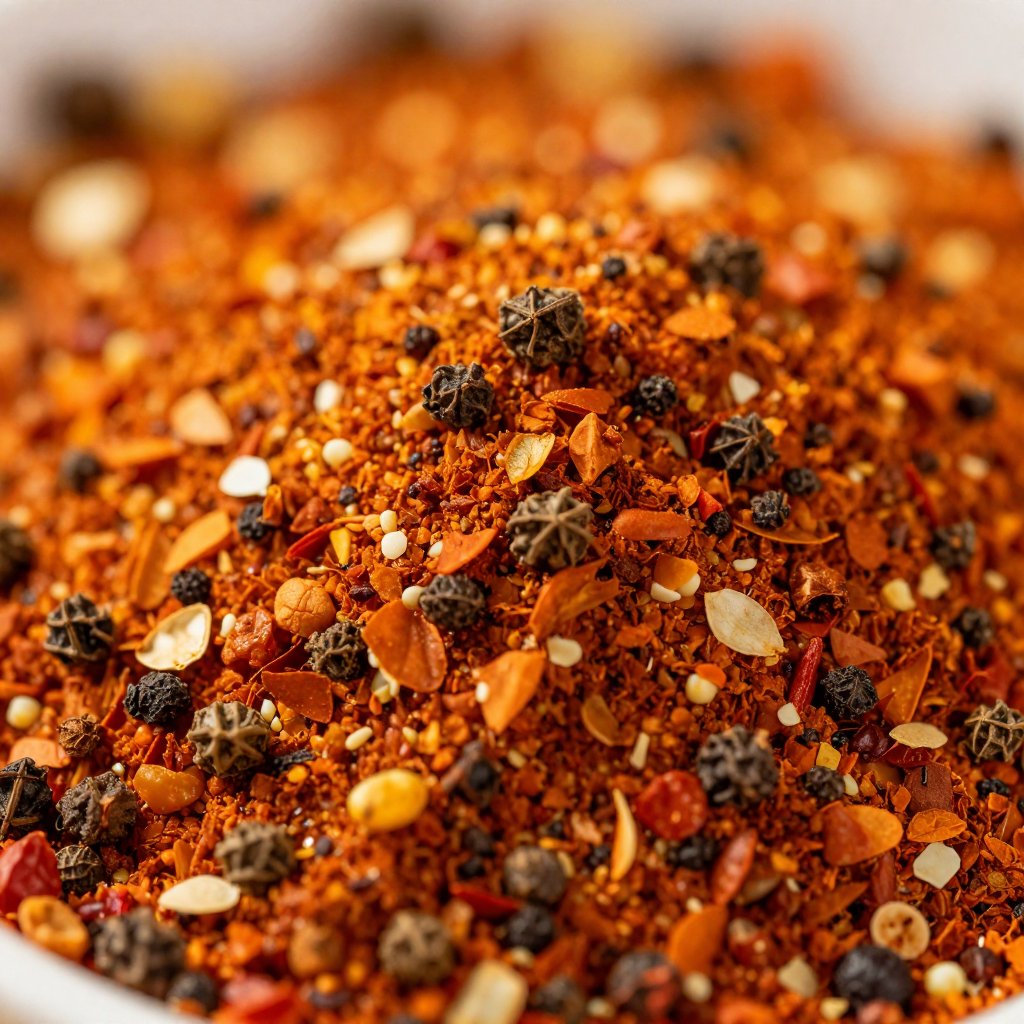
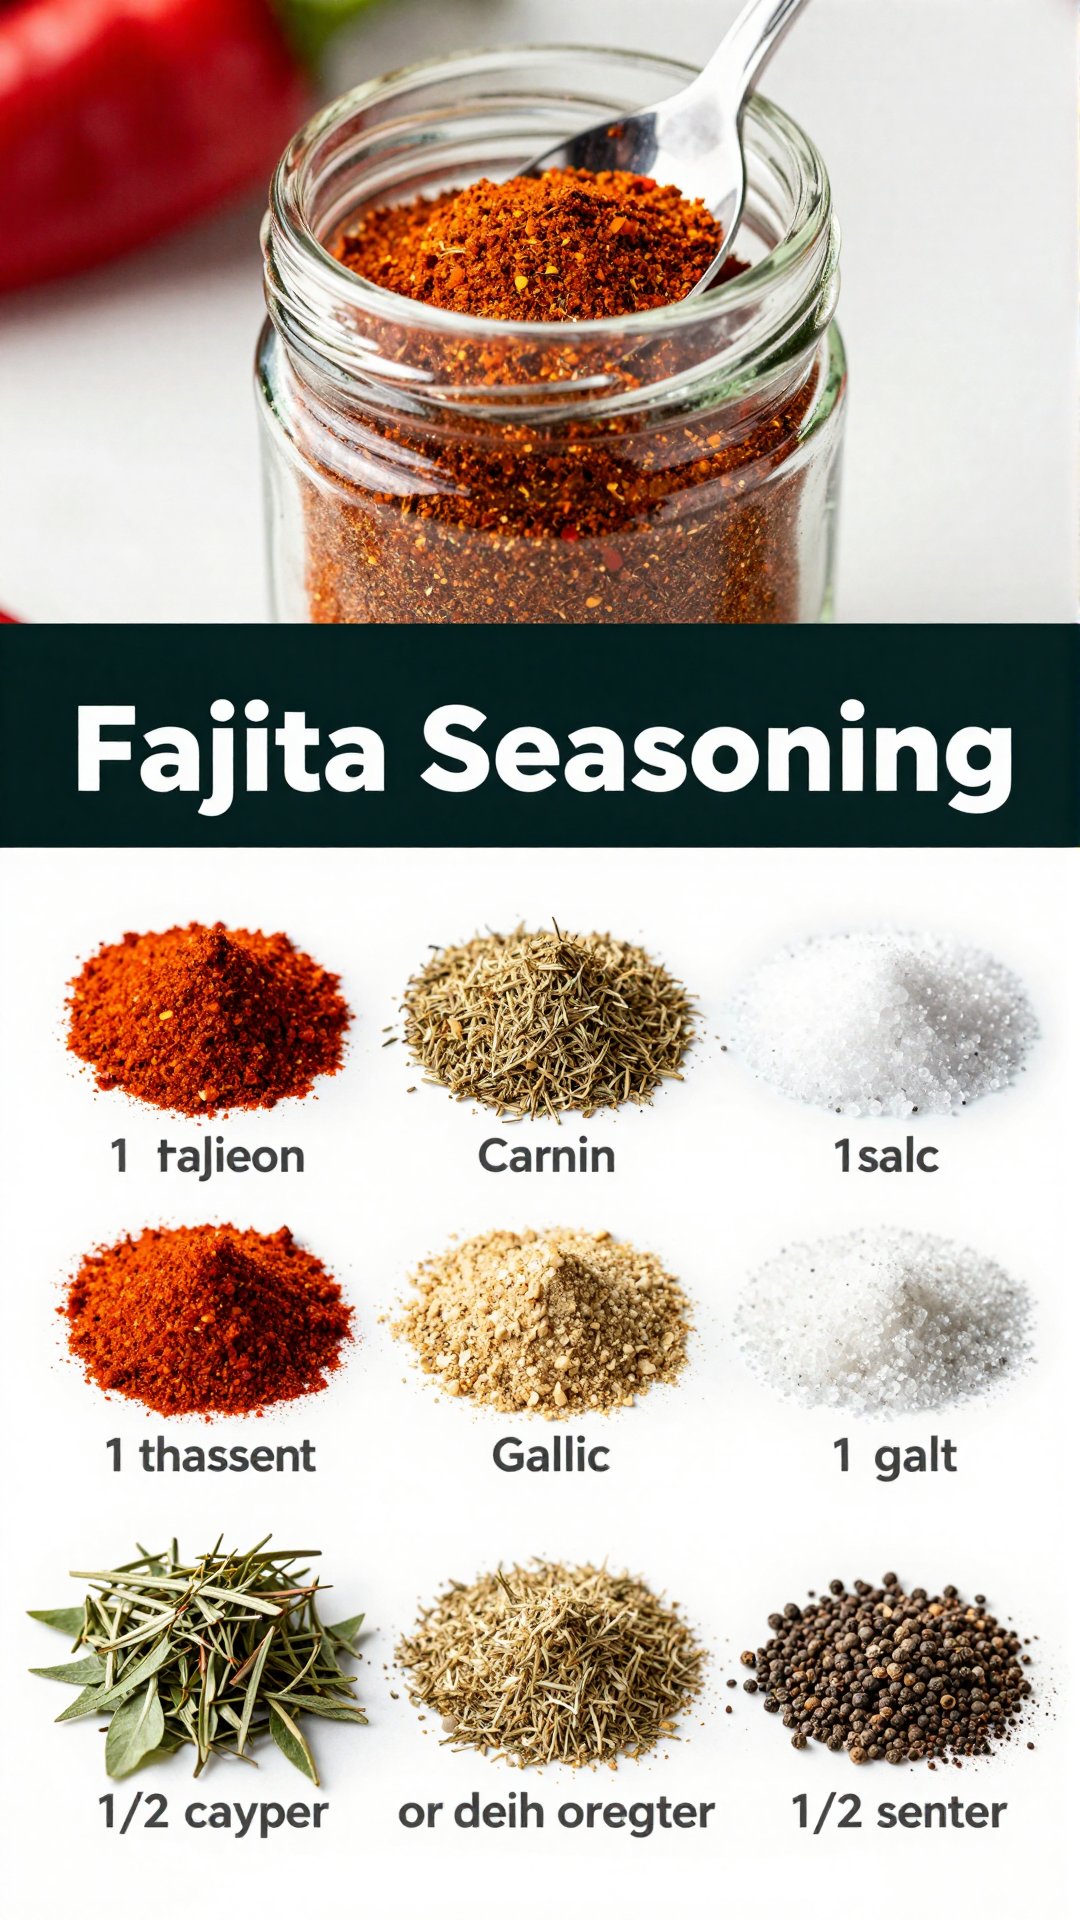
- 2 tbsp fajita seasoning
- 1 tbsp lime juice
- Flour tortillas
- Optional toppings: sour cream, guacamole, salsa, cheese
Step-by-Step: Making Your Steak Fajitas
Alright, let’s dive into the nitty-gritty. Don’t worry, it’s easier than you think!
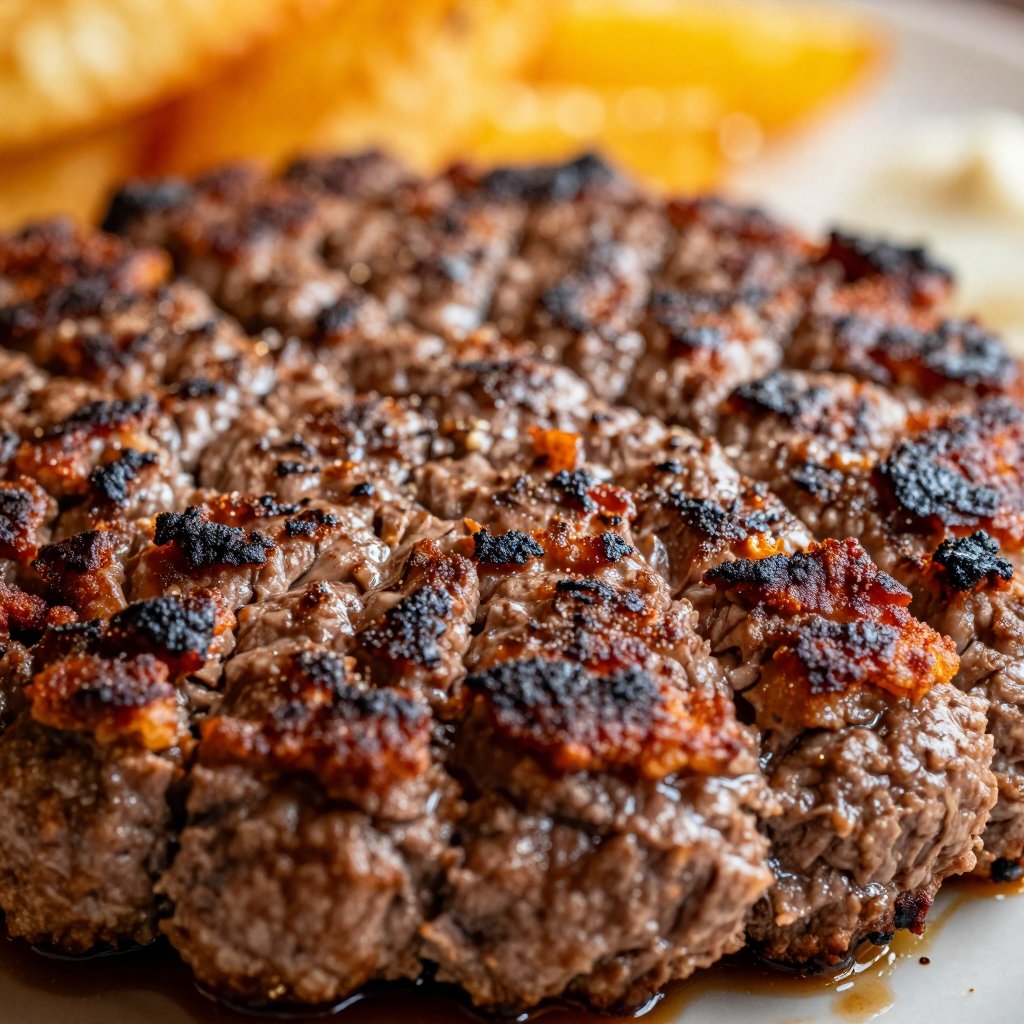
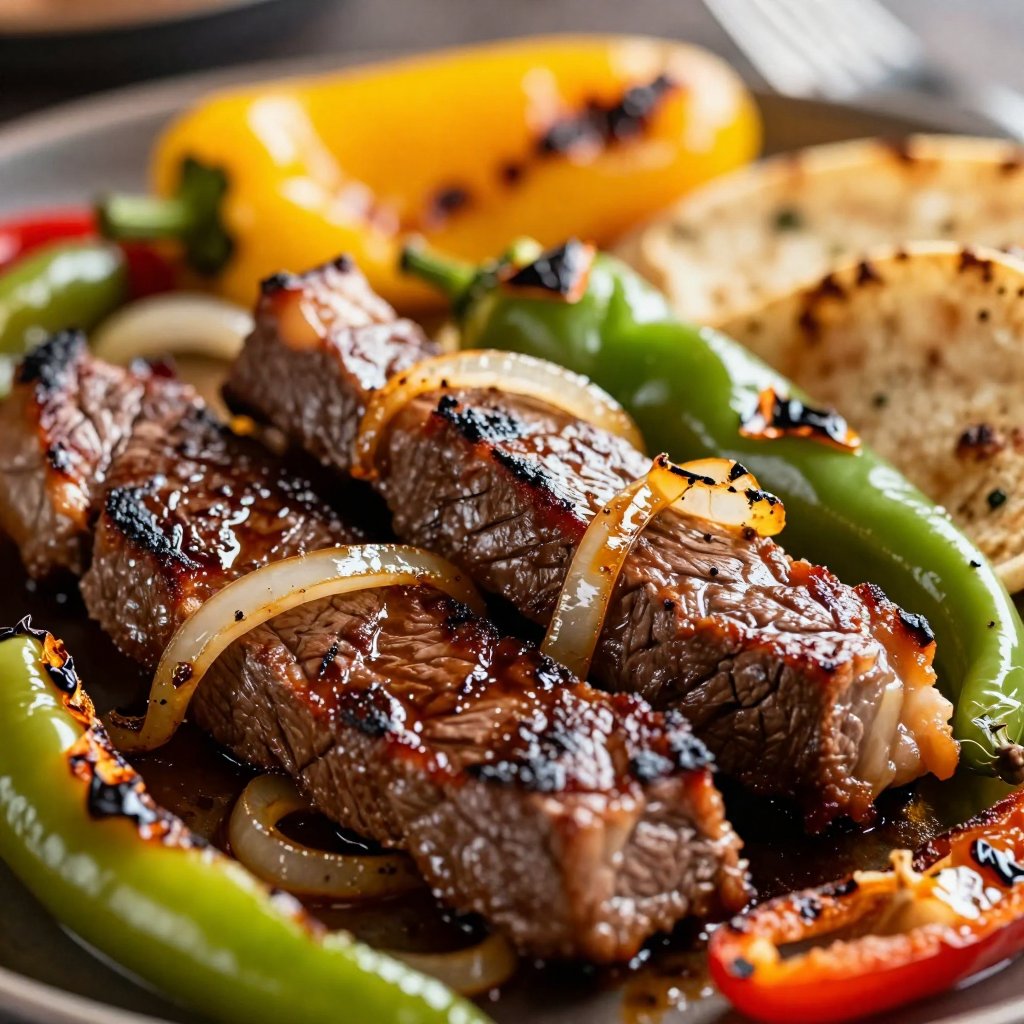
- Prep the Steak: Slice the skirt steak against the grain into thin strips. This is crucial for tender fajitas.
- Marinate: In a bowl, combine the sliced steak with 1 tbsp olive oil, fajita seasoning, and lime juice. Mix well and let it marinate for at least 15 minutes (or up to a few hours in the refrigerator). This is where the magic happens, infusing the steak with flavor.
- Preheat the Griddle: Preheat your Blackstone griddle to medium-high heat. You want it hot enough to get a good sear on the steak and veggies.
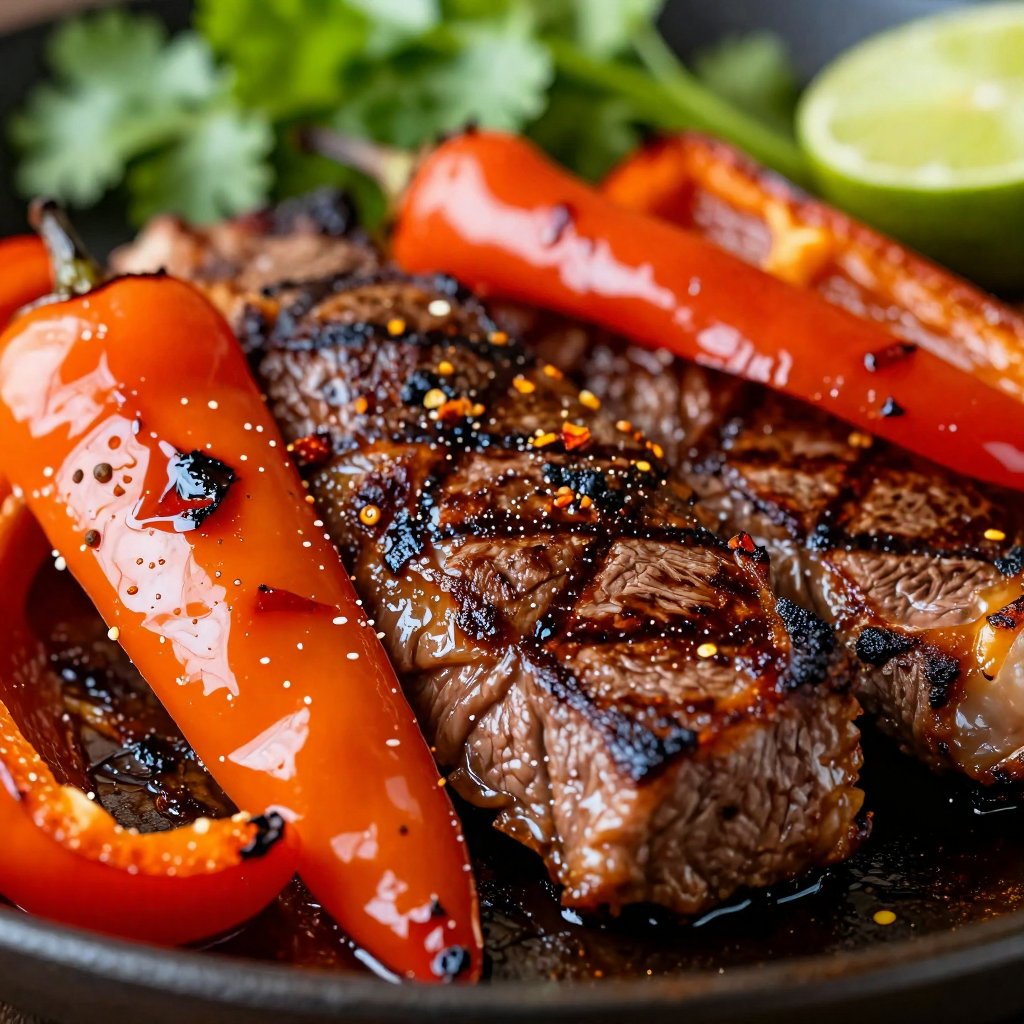
- Cook the Veggies: Add the remaining 1 tbsp of olive oil to the griddle. Add the sliced bell peppers and onions and cook until softened and slightly charred, about 5-7 minutes. Remove from the griddle and set aside.
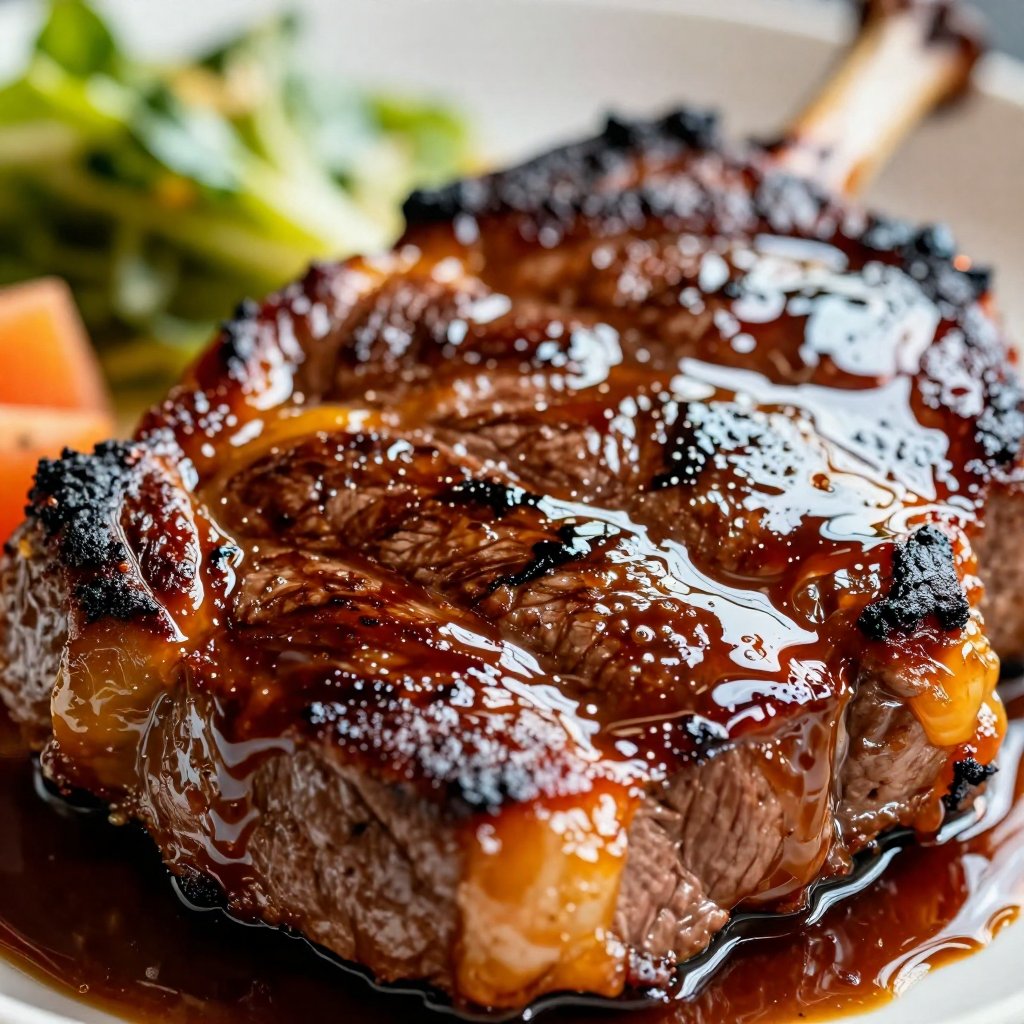
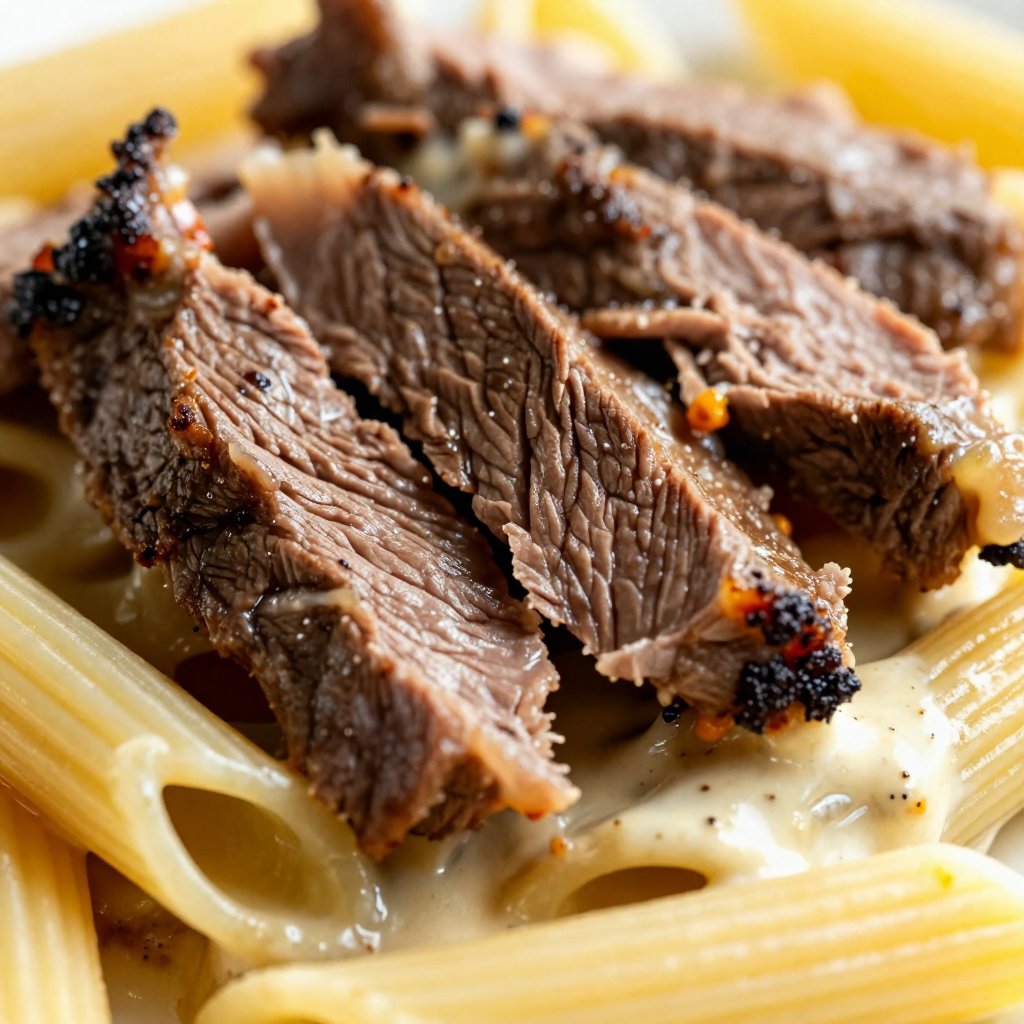
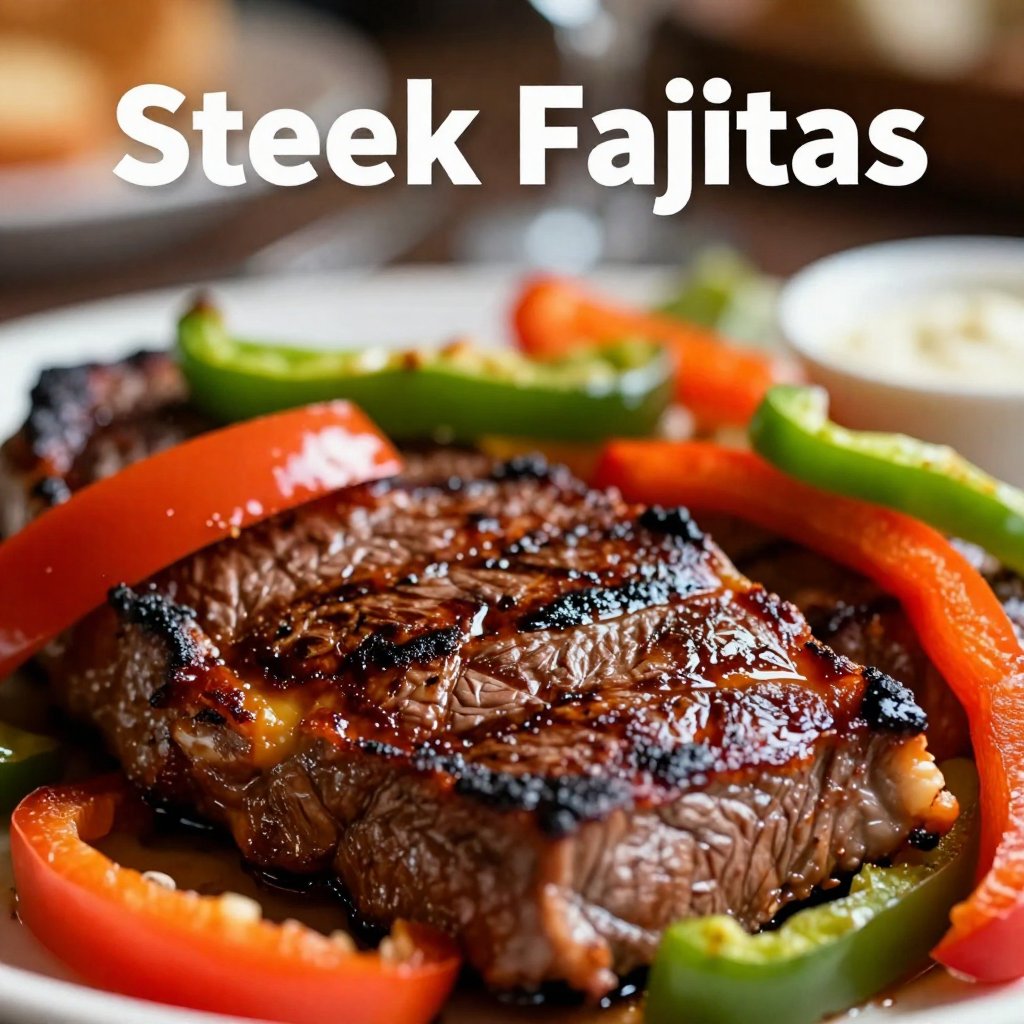
- Cook the Steak: Add the marinated steak to the griddle in a single layer. Cook for 2-3 minutes per side, or until the steak is cooked to your desired doneness. Remember, you’re looking for a nice sear.
- Combine: Return the cooked peppers and onions to the griddle with the steak and toss to combine. This allows the flavors to meld together beautifully.
- Warm the Tortillas: Warm the flour tortillas on the griddle for a few seconds per side, until pliable. This makes them easier to roll and adds a touch of warmth.
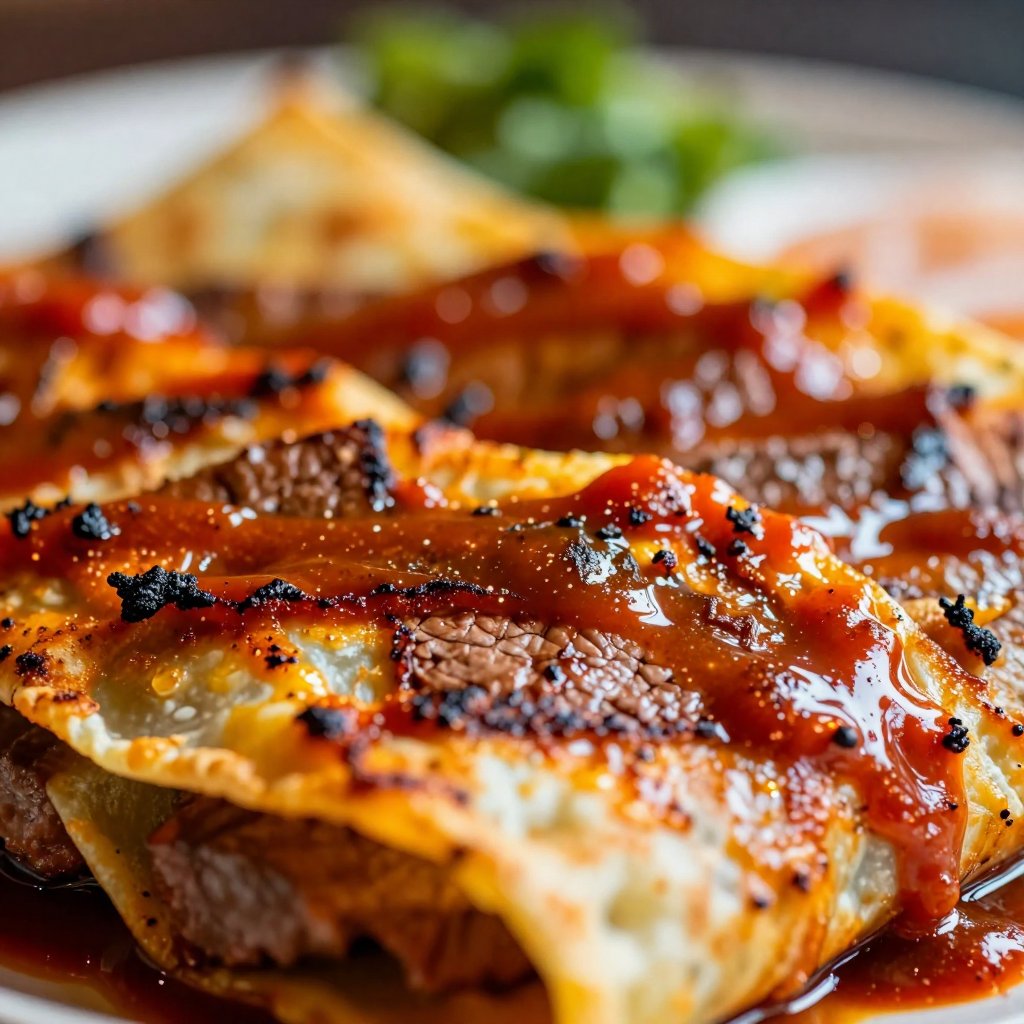
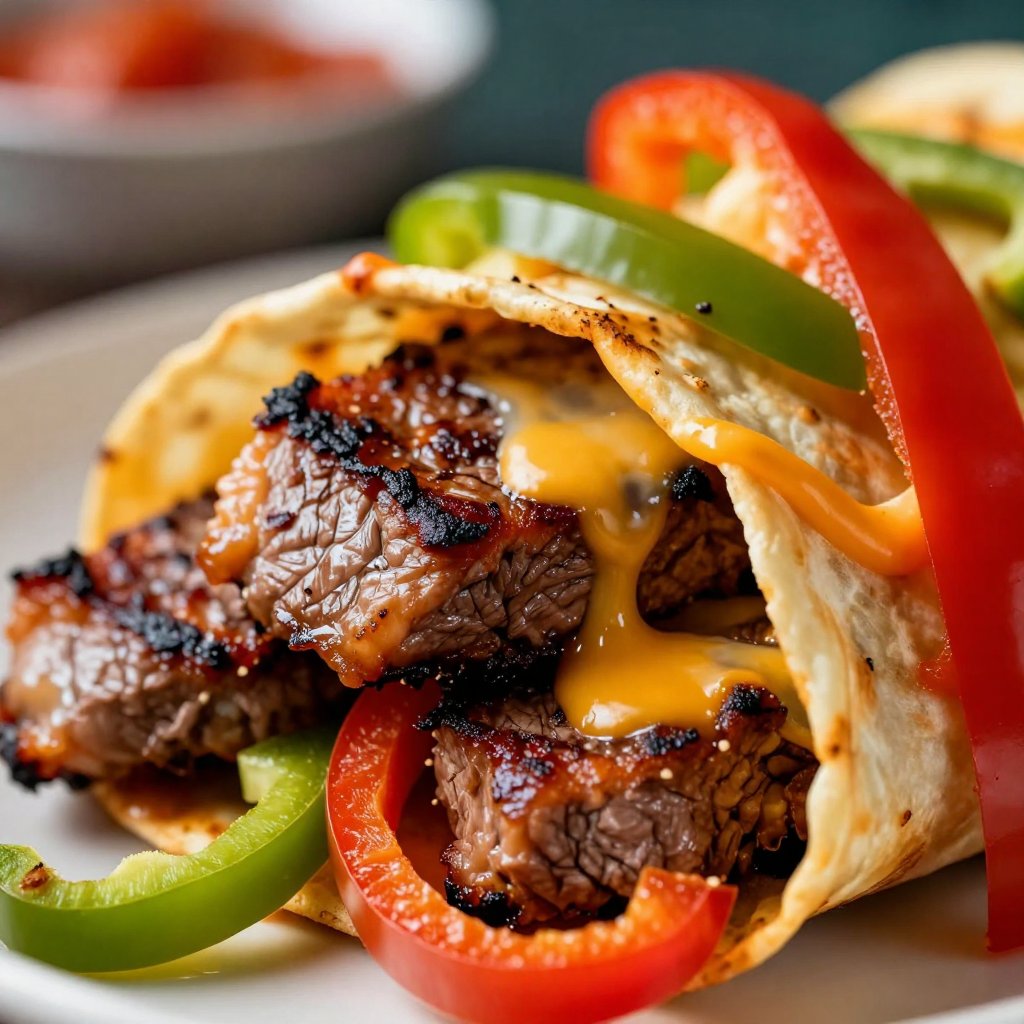
- Serve & Enjoy: Serve the steak and vegetable mixture in the warm tortillas with your favorite toppings. Sour cream, guacamole, salsa, cheese – the possibilities are endless!
Pro Tips for Perfect Fajitas
Okay, now for the insider secrets. Here are a few pro tips to take your fajitas from good to gourmet:
- Quality Steak: Start with good-quality skirt steak. It makes a difference in the flavor and texture.
- Marinate, Marinate, Marinate: Don’t skimp on the marinating time. The longer the steak marinates, the more flavorful it will be.
- Hot Griddle: Make sure your Blackstone griddle is hot before adding the steak. This ensures a good sear and prevents the steak from steaming.
- Don’t Overcrowd: Cook the steak in a single layer to ensure even cooking. Overcrowding the griddle will lower the temperature and result in steamed, not seared, steak.
- Rest the Steak: After cooking, let the steak rest for a few minutes before slicing. This allows the juices to redistribute, resulting in a more tender and flavorful fajita.
- Warm Tortillas: Warm tortillas are essential! They’re easier to roll and taste better.
I’ve learned these tips the hard way, through many batches of fajitas that were… less than perfect. But hey, that’s part of the fun, right? Every ‘oops’ moment is just a learning opportunity.
Common Mistakes to Avoid
We all make mistakes in the kitchen. Here are a few common fajita faux pas and how to avoid them:
- Overcooking the Steak: Skirt steak is thin and cooks quickly. Overcooking it will result in tough, chewy fajitas. Aim for medium-rare to medium for the best texture.
- Not Slicing Against the Grain: Slicing against the grain is crucial for tender fajitas. If you slice with the grain, the steak will be tough and hard to chew.
- Using Dull Knives: A sharp knife makes all the difference when slicing the steak and veggies. Dull knives can make the process frustrating and dangerous.
- Skipping the Marinade: The marinade is essential for adding flavor and tenderizing the steak. Don’t skip it!
- Forgetting the Toppings: Toppings are what make fajitas fun and customizable. Don’t forget to offer a variety of options for your guests to choose from.
Fajita Variations to Try
One of the best things about fajitas is how versatile they are. Here are a few variations to spice things up:
- Chicken Fajitas: Substitute the skirt steak with chicken breast or thighs. Marinate the chicken in the same fajita seasoning for a delicious twist.
- Shrimp Fajitas: Use shrimp instead of steak or chicken for a lighter option. Shrimp cooks quickly, so be careful not to overcook it.
- Vegetarian Fajitas: Skip the meat altogether and load up on veggies like mushrooms, zucchini, and corn. Add some black beans for extra protein.
- Spicy Fajitas: Add a pinch of cayenne pepper or a few chopped jalapeños to the marinade for a fiery kick.
- Sweet & Savory Fajitas: Add a touch of brown sugar or honey to the marinade for a sweet and savory flavor profile.
I love experimenting with different variations to keep things interesting. Sometimes I’ll throw in some pineapple for a tropical twist, or add a dollop of mango salsa for a burst of sweetness. The possibilities are endless!
How to Store Leftovers
If you happen to have any leftovers (which is rare in my house!), here’s how to store them:
- Steak & Veggies: Store the cooked steak and veggies in an airtight container in the refrigerator for up to 3 days.
- Tortillas: Store the tortillas in a sealed bag or container at room temperature for up to a week.
- Toppings: Store any leftover toppings in separate containers in the refrigerator.
To reheat, simply warm the steak and veggies on the griddle or in a skillet until heated through. Warm the tortillas on the griddle or in a microwave. Assemble your fajitas and enjoy!
Frequently Asked Questions (FAQ)
Got questions? I’ve got answers!
- Can I use a different cut of steak? While skirt steak is the traditional choice for fajitas, you can also use flank steak or sirloin. Just make sure to slice it thinly against the grain.
- Can I make these fajitas without a Blackstone griddle? Absolutely! You can cook the steak and veggies in a skillet on the stovetop. Just make sure to use a large skillet and don’t overcrowd it.
- Can I make the marinade ahead of time? Yes! In fact, I highly recommend it. The longer the steak marinates, the more flavorful it will be.
- Can I freeze the cooked fajitas? I don’t recommend freezing the cooked fajitas, as the texture of the steak and veggies may change. However, you can freeze the marinated steak before cooking.
- What toppings go best with fajitas? The possibilities are endless! Some popular toppings include sour cream, guacamole, salsa, cheese, lettuce, tomatoes, and onions.
Serving Suggestions
Looking for some serving inspiration? Here are a few ideas:
- Classic Fajitas: Serve the steak and vegetable mixture in warm tortillas with your favorite toppings.
- Fajita Bowls: Skip the tortillas and serve the steak and veggies over rice or quinoa. Top with your favorite toppings.
- Fajita Salad: Toss the steak and veggies with lettuce, tomatoes, onions, and your favorite dressing for a light and refreshing salad.
- Fajita Nachos: Load up tortilla chips with the steak and veggies, cheese, and your favorite toppings for a crowd-pleasing appetizer.
- Fajita Quesadillas: Sandwich the steak and veggies between two tortillas with cheese and grill until golden brown and the cheese is melted.
I often serve these fajitas with a side of Mexican rice and black beans for a complete and satisfying meal. And don’t forget the margaritas! They’re the perfect complement to these flavorful fajitas.
So, there you have it – my Easy Blackstone Steak Fajitas recipe. I hope you enjoy it as much as my family and I do. Remember, cooking is all about having fun and experimenting. Don’t be afraid to try new things and put your own spin on this recipe. And most importantly, enjoy the process!
Happy cooking, friends! And as always, feel free to share your creations with me on social media. I can’t wait to see what you come up with!
The clatter of the spatula against the griddle, the sizzle of the steak, the aroma of the charred vegetables – these are the sounds and smells of a happy kitchen. And I hope that my recipes bring a little bit of that happiness to your kitchen too.
If you want to elevate your weeknight dinners, look no further. These steak fajitas are more than just a meal; they’re an experience. From the first bite, you’ll understand why this recipe has become a staple in my home. It’s more than just cooking; it’s about creating memories.
These fajitas feel like a warm hug on a plate. It’s the kind of dish that brings people together, sparking conversation and creating lasting memories. It s a simple recipe, but it’s packed with flavor and love. And that’s what cooking is all about, isn’t it?
There s no better way to end a long day than with a plate of sizzling steak fajitas. It’s a comforting meal that satisfies the soul. My grandmother always said that food is the language of love, and these fajitas speak volumes. They’re a testament to the power of simple ingredients and a little bit of passion.
Using a Blackstone griddle makes all the difference. The even heat distribution and the ability to cook at high temperatures create a perfect sear on the steak and char on the vegetables. It’s like having a professional grill in your backyard. And the best part? Clean-up is a breeze!
Cut the steak into thin strips against the grain. This is the key to tender fajitas. It might seem like a small detail, but it makes a huge difference in the overall texture and enjoyment of the dish. An inch thick steak won t work for this recipe.
You re going to love these steak fajitas. They’re easy to make, bursting with flavor, and perfect for any occasion. Whether you’re cooking for your family, impressing friends, or just treating yourself, this recipe is sure to become a new favorite. So, grab your ingredients, fire up your Blackstone griddle, and let’s get cooking!
If you’re looking for that restaurant-quality taste at home, this recipe is for you. It’s all about the technique, the ingredients, and a little bit of love. And trust me, you won’t be disappointed. These steak fajitas are a culinary masterpiece in the making. The meat should be cooked to perfection.
Easy Blackstone Steak Fajitas Recipe for Delicious Griddle Fajitas at Home
Ingredients
Main Ingredients
- 1.5 lbs skirt steak, trimmed (sliced against the grain)
- 1 large bell pepper (any color) (sliced)
- 1 large onion (sliced)
- 2 tbsp olive oil
- 2 tbsp fajita seasoning
- 1 tbsp lime juice
- Flour tortillas
Optional Toppings
- sour cream (optional)
- guacamole (optional)
- salsa (optional)
- cheese (optional)
Instructions
- Slice steak against the grain into thin strips.
- Combine steak with 1 tbsp olive oil, fajita seasoning, and lime juice. Marinate for 15+ minutes.
- Preheat Blackstone griddle to medium-high heat.
- Add remaining olive oil, bell peppers, and onions to the griddle. Cook until softened and charred (5-7 minutes). Remove and set aside.
- Add steak to the griddle in a single layer. Cook 2-3 minutes per side.
- Return peppers and onions to the griddle with steak and toss.
- Warm tortillas on the griddle for a few seconds per side.
- Serve steak and vegetables in warm tortillas with toppings.
Notes