My name’s Ava, and if you’ve stumbled upon my kitchen, you’re probably here for one thing—the kind of recipes that make people pause mid-bite and say, ‘Wow.’ Today, let’s make something truly special: a Blueberry Cottage Cheese Breakfast Bake that’s not only incredibly delicious but also packed with protein to fuel your day. This isn’t just any breakfast bake; it’s a delightful start to your morning, a warm hug on a plate, and a testament to how simple ingredients can transform into something extraordinary. I’m so excited to share this recipe with you!
I grew up in a small town in Oregon, where the smell of fresh bread and roasted vegetables often drifted out of my mother’s kitchen window. Cooking wasn’t just something we did to eat—it was how we celebrated, comforted, and connected. This blueberry cottage cheese breakfast bake reminds me of those mornings, filled with warmth and the promise of a good day. These days, I’m 34 and living in Seattle, where my kitchen has become my favorite corner of the world. And this recipe? It’s quickly becoming a staple.
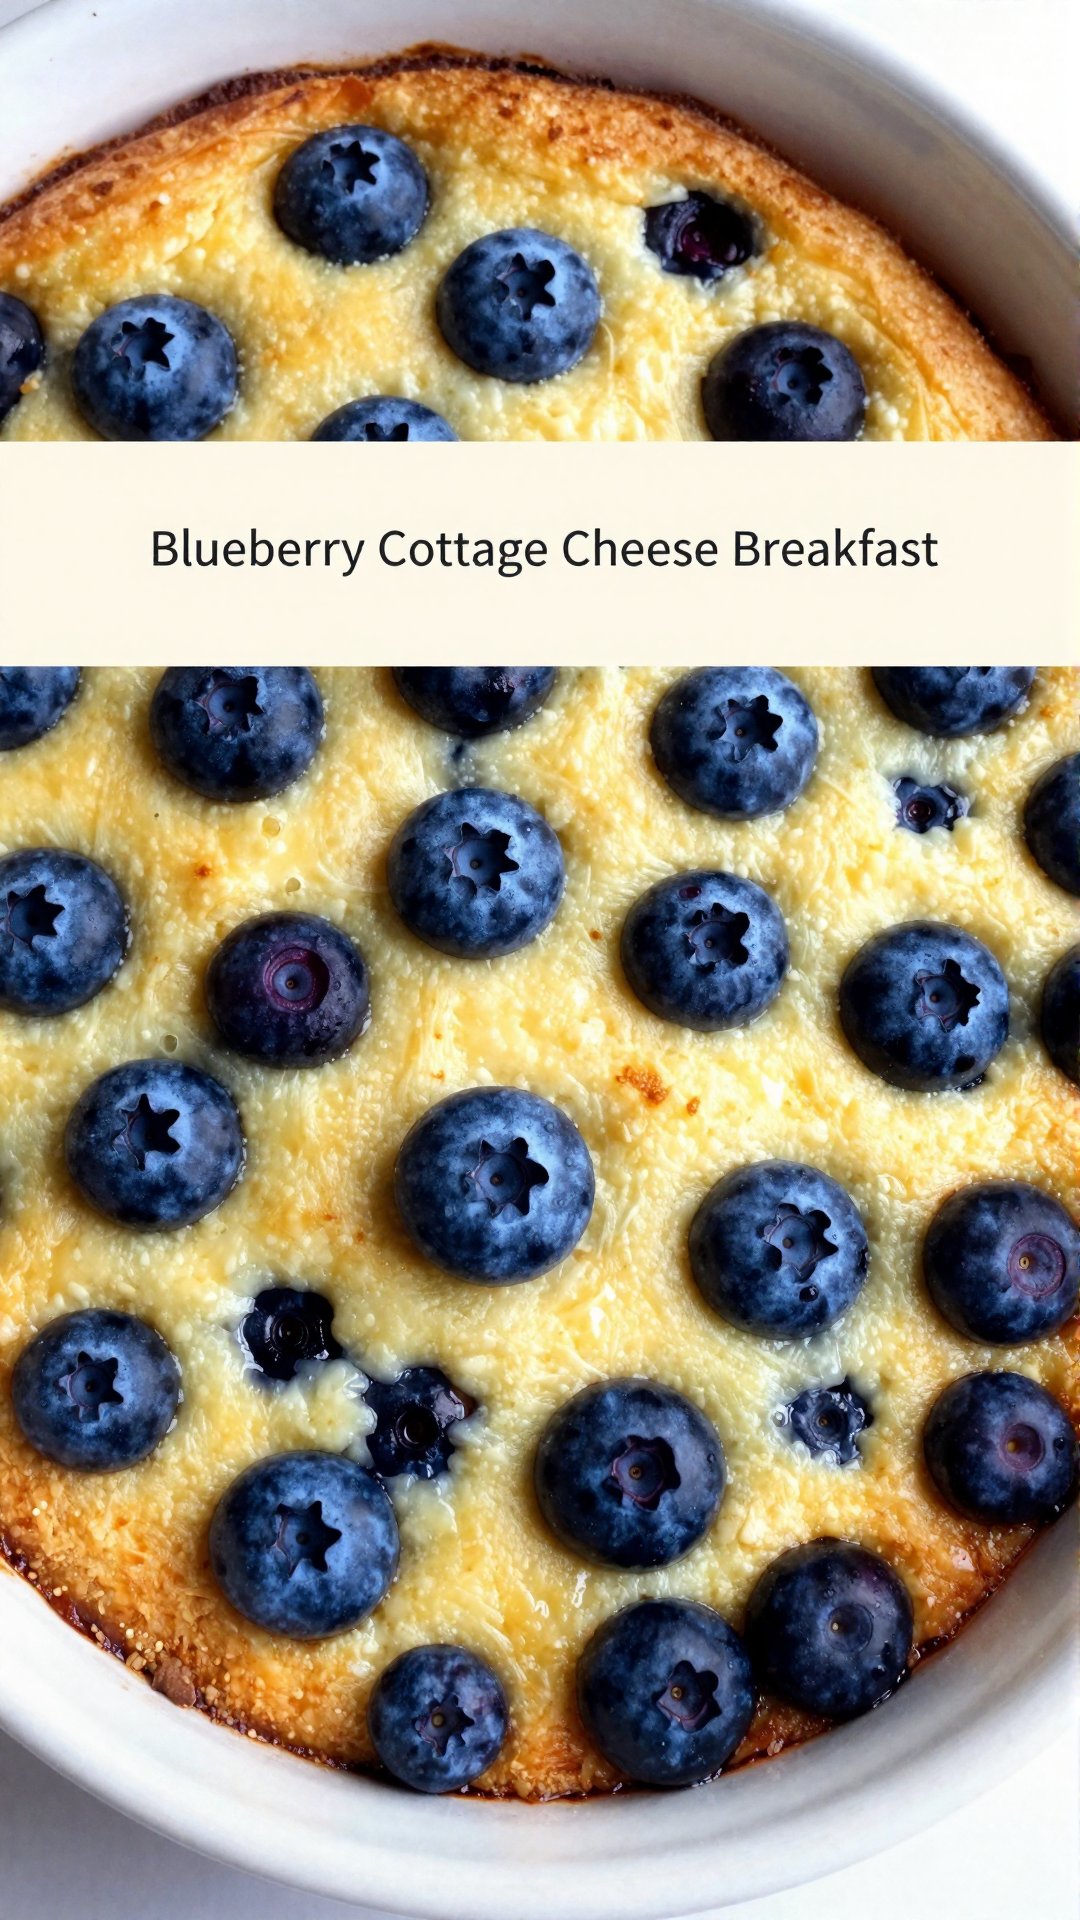
Why You’ll Love This Blueberry Cottage Cheese Breakfast Bake
This blueberry cottage cheese breakfast bake is more than just a recipe; it’s an experience. It’s the perfect way to incorporate more protein into your morning routine, and it’s so easy to customize with your favorite flavors. Here’s why I think you’re going to fall in love with it:
- High Protein: Packed with cottage cheese and eggs, this bake will keep you feeling full and energized all morning long.
- Easy to Make: With just a few simple steps, you can have this breakfast bake ready to go in under an hour.
- Customizable: Feel free to swap out the blueberries for other berries, add different nuts, or adjust the sweetness to your liking.
- Delicious Flavor: The combination of creamy cottage cheese, sweet blueberries, and warm cinnamon is simply irresistible.
- Great for Meal Prep: You can make this bake ahead of time and enjoy it throughout the week, making your mornings even easier.
Seriously, what’s not to love? This recipe is a delightful way to start your day, and it’s versatile enough to become a regular part of your breakfast routine. It’s a cheese breakfast that feels indulgent but is secretly good for you. So, let’s dive in!
Ingredients You’ll Need
Before we get started, let’s gather our ingredients. Here’s what you’ll need to create this high-protein, flavor-packed breakfast bake:
- 1 cup cottage cheese (fresh, at room temperature)
- 2 large eggs
- 1/4 cup honey or maple syrup (or to taste)
- 1 tsp pure vanilla extract
- 1 tsp ground cinnamon
- 1/4 tsp salt
- 1 cup rolled oats
- 1 cup almond milk (or any milk of choice)
- 1 cup blueberries (fresh or frozen)
- 1/2 cup nuts (chopped, such as walnuts or pecans)
- 2 tbsp chia seeds

How to Make Your Delicious Breakfast Bake: Step-by-Step
Now that you’re ready, let’s get baking! Here’s a detailed guide to making your very own Blueberry Cottage Cheese Breakfast Bake. Don’t worry, it’s easier than it sounds!
- Prep Your Oven and Dish: Set your oven to 350°F (175°C) and grease a 9×9-inch baking dish to ensure easy removal after baking.
- Mix the Base: In a large bowl, whisk together cottage cheese, eggs, honey or maple syrup, vanilla extract, cinnamon, and salt until smooth and fluffy. This is where the magic starts!
- Add the Oats and Milk: Stir in the rolled oats and almond milk, letting the mixture rest for about 5 minutes to combine flavors. This allows the oats to soften a bit, creating a better texture.
- Fold in the Goodies: Gently fold in the blueberries, chopped nuts, and chia seeds, ensuring they’re evenly distributed without smashing the berries.
- Bake to Perfection: Transfer the mixture into your prepared baking dish, spreading it evenly for a consistent bake. Place in the oven and bake for 40-45 minutes until the top is golden brown and the center is set.
- Cool and Serve: Allow the bake to cool for 5-10 minutes before slicing; this makes serving much easier. Serve warm, and savor each bite of your delightful breakfast creation! Now that you’ve made your own blueberry cottage cheese breakfast bake, it’s time to enjoy it!
Pro Tips for the Perfect Breakfast Bake
Want to take your breakfast bake to the next level? Here are a few pro tips that I’ve learned along the way:
- Use Room Temperature Cottage Cheese: This helps it blend more smoothly into the batter, ensuring a creamy texture.
- Don’t Overmix: When folding in the blueberries, be gentle to avoid smashing them.
- Check for Doneness: The bake is ready when the top is golden brown and a toothpick inserted into the center comes out clean.
- Let it Rest: Allowing the bake to cool slightly before slicing helps it hold its shape.
- Add a Topping: Sprinkle some extra nuts or a drizzle of honey on top for added flavor and texture.
These tips will help you create a breakfast bake that’s not only delicious but also looks beautiful! Remember, cooking is all about experimenting, so don’t be afraid to try new things and find what works best for you.
Common Mistakes to Avoid
Even the best cooks make mistakes sometimes! Here are a few common pitfalls to watch out for when making this breakfast bake:
- Overbaking: This can result in a dry, crumbly bake. Keep an eye on it and check for doneness regularly.
- Using Cold Cottage Cheese: This can make the batter lumpy and uneven. Make sure your cottage cheese is at room temperature.
- Adding Too Many Blueberries: While blueberries are delicious, too many can make the bake soggy. Stick to the recommended amount.
- Skipping the Resting Time: Letting the oats soak in the milk is crucial for achieving the right texture. Don’t skip this step!
By avoiding these common mistakes, you’ll be well on your way to creating a perfect breakfast bake every time. Remember, every ‘oops’ moment is just an invitation to learn and improve.
Variations to Try
One of the best things about this recipe is how easy it is to customize. Here are a few variations to spark your creativity:
- Berry Medley: Use a mix of blueberries, raspberries, and strawberries for a burst of different flavors.
- Apple Cinnamon: Replace the blueberries with diced apples and add a pinch of nutmeg for a cozy, fall-inspired bake.
- Chocolate Chip: Add some chocolate chips for a decadent treat that’s perfect for special occasions.
- Nut Butter Swirl: Swirl in some peanut butter or almond butter for a nutty, creamy twist.
- Savory Version: Omit the honey or maple syrup and add some chopped vegetables and herbs for a savory breakfast option.
The possibilities are endless! Feel free to experiment and create your own unique version of this breakfast bake. After all, cooking should be fun and creative!
How to Store Your Breakfast Bake
If you have any leftovers (which is unlikely!), here’s how to store them:
- In the Refrigerator: Store the cooled bake in an airtight container in the refrigerator for up to 3-4 days.
- In the Freezer: For longer storage, wrap individual slices in plastic wrap and freeze them for up to 2-3 months. Thaw in the refrigerator overnight before reheating.
To reheat, simply microwave a slice for 30-60 seconds or warm it in the oven at 350°F (175°C) for 10-15 minutes. Your delicious breakfast bake will be just as good as the first day!
Frequently Asked Questions (FAQ)
Here are some common questions about this recipe:
- Can I use frozen blueberries? Yes, frozen blueberries work just as well as fresh ones. Just make sure to thaw them slightly and drain any excess liquid before adding them to the batter.
- Can I use a different type of milk? Absolutely! Almond milk, soy milk, oat milk, or regular milk will all work in this recipe.
- Can I make this recipe vegan? Yes, you can substitute the eggs with flax eggs (1 tbsp flaxseed meal mixed with 3 tbsp water per egg) and use maple syrup or agave nectar instead of honey.
- Can I add protein powder? Yes, you can add a scoop of your favorite protein powder to the batter for an extra boost of protein.
- Is this recipe gluten-free? Yes, as long as you use certified gluten-free rolled oats.
If you have any other questions, feel free to ask in the comments below! I’m always happy to help.
Serving Suggestions
Now that your breakfast bake is ready, here are a few serving suggestions to make it even more enjoyable:
- With a dollop of Greek yogurt: This adds a creamy, tangy contrast to the sweetness of the bake.
- With a drizzle of honey or maple syrup: For an extra touch of sweetness.
- With a sprinkle of nuts or seeds: For added crunch and nutrition.
- With a side of fresh fruit: To complement the flavors of the bake.
- With a cup of coffee or tea: The perfect way to start your day!
No matter how you choose to serve it, this Blueberry Cottage Cheese Breakfast Bake is sure to be a hit. It’s a cheese breakfast that’s both satisfying and nutritious, making it the perfect choice for a busy morning or a leisurely weekend brunch.
So there you have it—my Blueberry Cottage Cheese Breakfast Bake. I hope you love it as much as I do! Remember, cooking is all about having fun and experimenting, so don’t be afraid to put your own spin on this recipe. And most importantly, enjoy every bite of your delicious, high-protein creation. You’re ready to conquer your day!
Blueberry Cottage Cheese Breakfast Bake: High-Protein Delight
Ingredients
Ingredients
- 1 cup cottage cheese (fresh, at room temperature)
- 2 large eggs
- 1/4 cup honey or maple syrup (or to taste)
- 1 tsp pure vanilla extract
- 1 tsp ground cinnamon
- 1/4 tsp salt
- 1 cup rolled oats
- 1 cup almond milk (or any milk of choice)
- 1 cup blueberries (fresh or frozen)
- 1/2 cup nuts (chopped, such as walnuts or pecans)
- 2 tbsp chia seeds
Instructions
- Set oven to 350°F (175°C) and grease a 9x9-inch baking dish.
- Whisk together cottage cheese, eggs, honey/maple syrup, vanilla, cinnamon, and salt until smooth.
- Stir in oats and almond milk; let rest for 5 minutes.
- Gently fold in blueberries, nuts, and chia seeds.
- Transfer mixture to baking dish, spreading evenly.
- Bake for 40-45 minutes until golden brown and center is set.
- Cool for 5-10 minutes before slicing.
- Serve warm and enjoy!
Notes