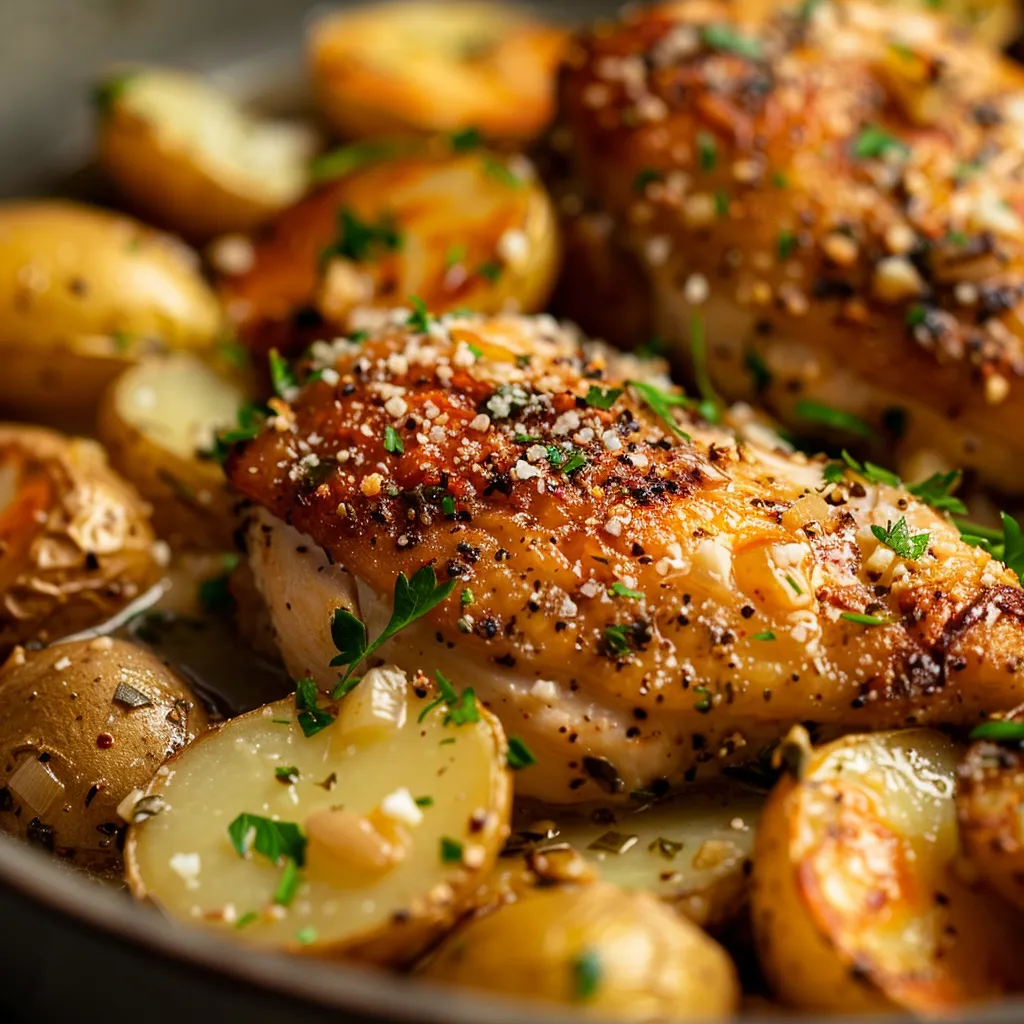
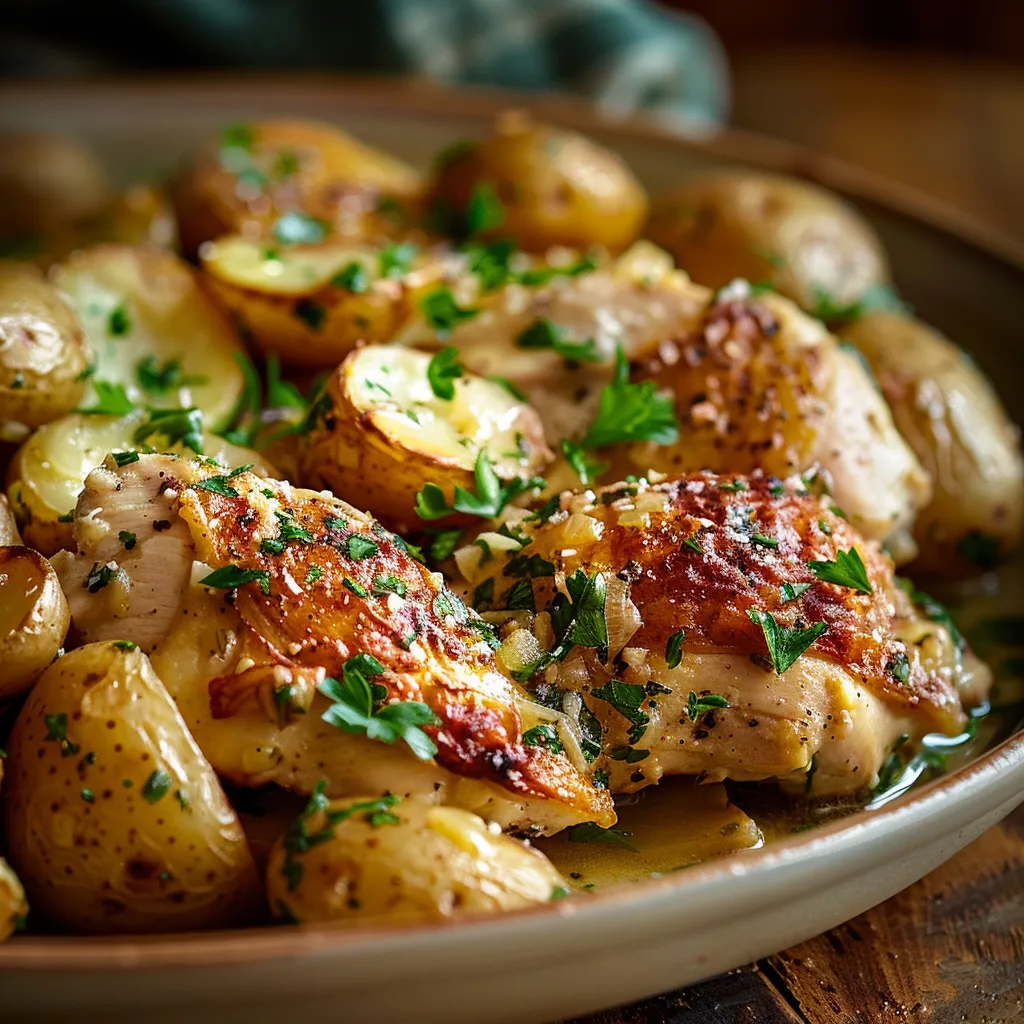
The Dinner Recipe That Feels Like Home on a Plate
Welcome, dear friends! If you’re looking for a recipe that not only fills your belly but also wraps you in the warm embrace of nostalgia, you’ve come to the right place. Today, we’re diving into a dish that feels like home on a plate—one that brings back memories of family gatherings, laughter around the table, and the simple joy of sharing a meal with loved ones. Grab your apron because we’re making a delightful One Pan Chicken and Potatoes dish that’s sure to become a staple in your kitchen!
Why This Recipe is So Special
There’s something magical about the way certain meals can transport us back to the comfort of our childhood kitchens. For me, this recipe evokes memories of cozy dinners with my family, where the aroma of roasted chicken mingled with the earthy scent of potatoes, filling our home with warmth and love. Not only is this dish easy to prepare, but it also offers a wonderful medley of flavors and textures that will have everyone asking for seconds.
Want to Save This Recipe?
If you want to bookmark this recipe for later, don’t forget to pin it! This One Pan Chicken and Potatoes recipe is perfect for busy weeknights, yet special enough for a weekend feast.
Table of Contents
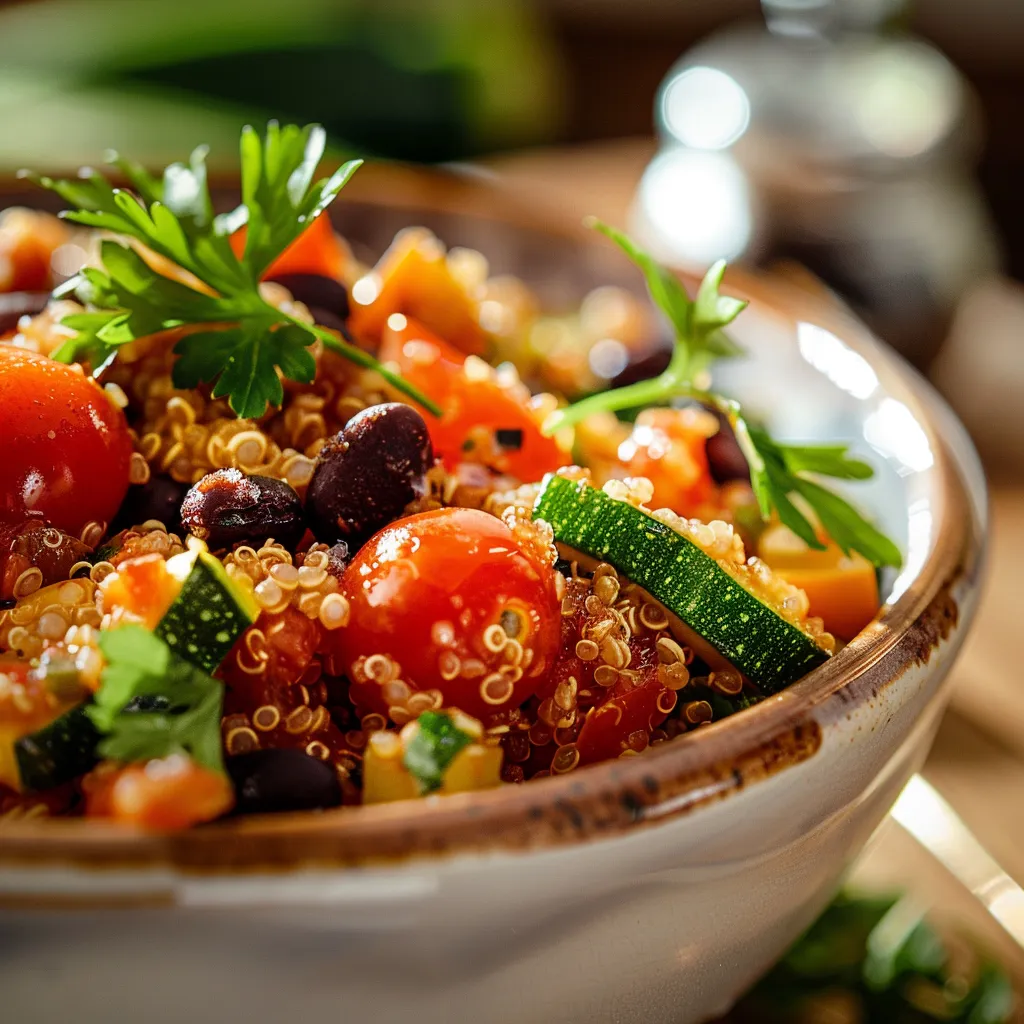
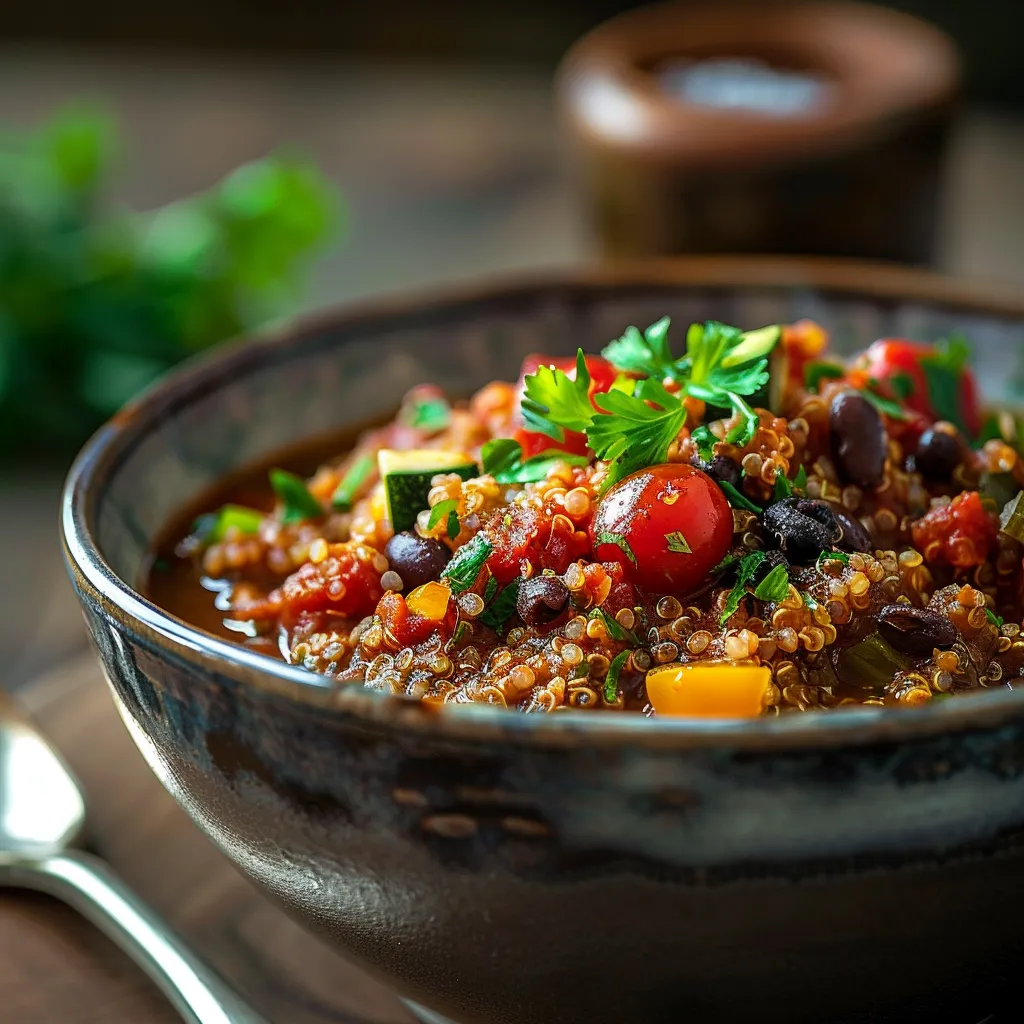
Ingredients
Here’s what you’ll need to create this comforting dish:
- 2 cups quinoa
- 4 cups vegetable broth
- 1 cup cherry tomatoes, halved
- 1 bell pepper, diced
- 1 zucchini, diced
- 1 cup black beans, rinsed
- 2 tablespoons olive oil
- 1 teaspoon garlic powder
- 1 teaspoon cumin
- Salt and pepper to taste
- Fresh parsley for garnish
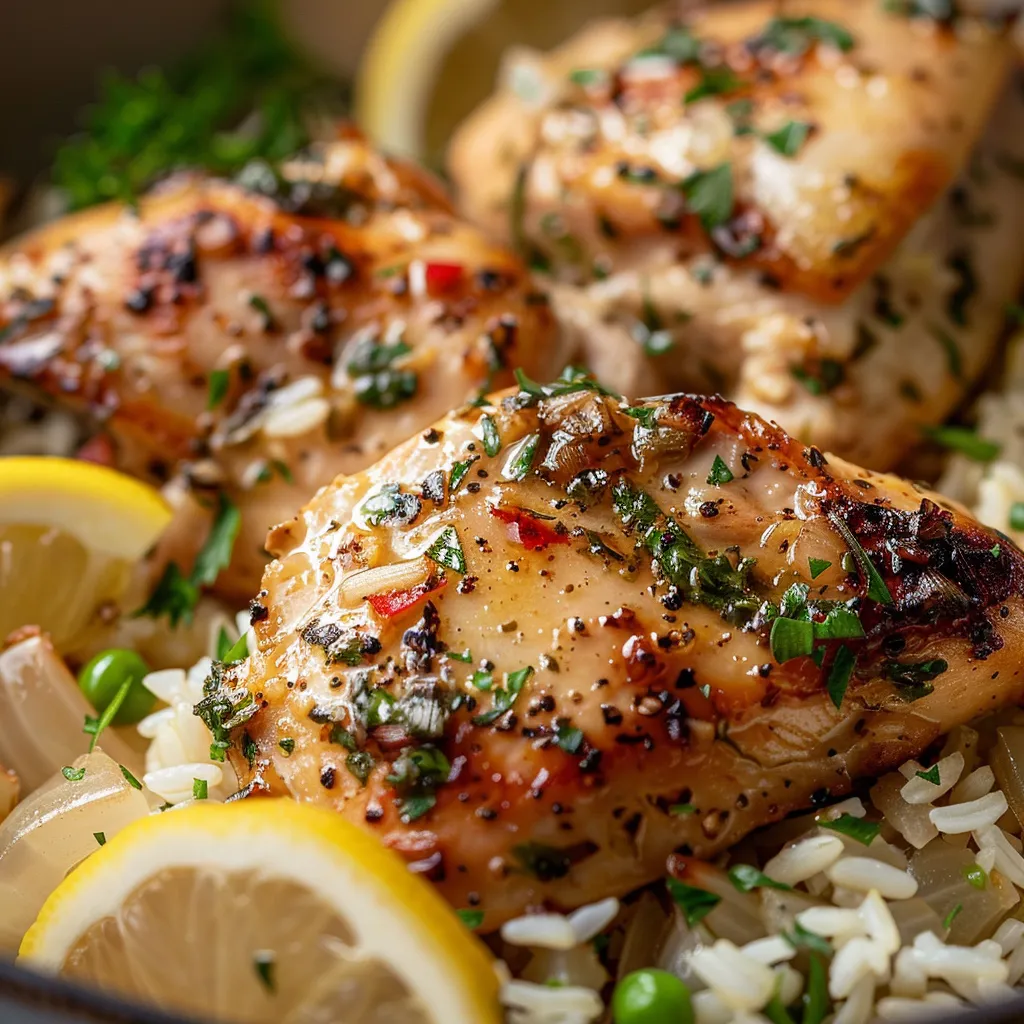
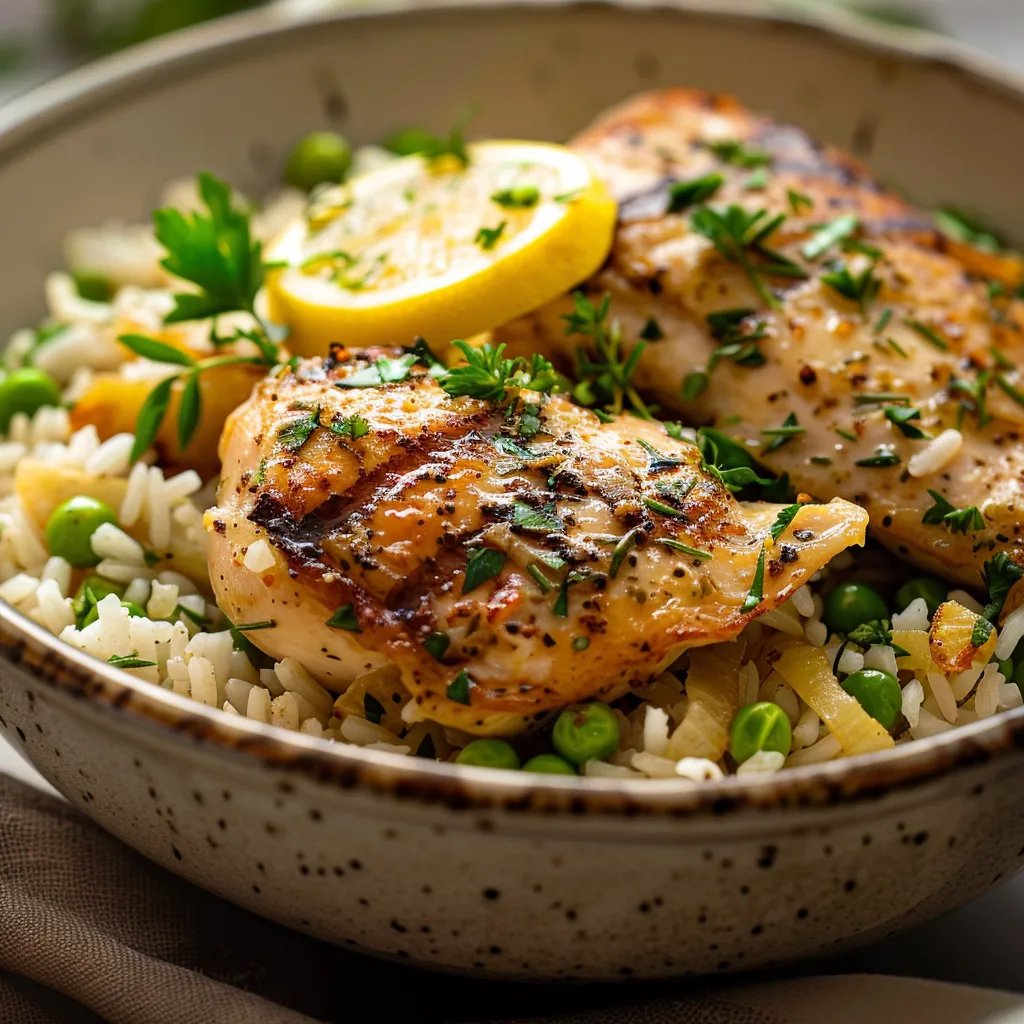
How to Make One Pan Chicken and Potatoes
Let’s get into the nitty-gritty of creating this delightful meal. Follow these simple steps and let the magic unfold:
- Rinse the Quinoa: Start by rinsing the quinoa under cold water. This step removes the natural coating called saponin, which can give quinoa a bitter taste. Give it a good rinse and then drain it well.
- Boil the Broth: In a large pot, bring the vegetable broth to a boil. The broth will infuse the quinoa with flavor, making each bite more delicious.
- Add the Quinoa: Once the broth is boiling, add the rinsed quinoa. Reduce the heat to low, cover the pot, and let it simmer for about 15 minutes. You’ll know it’s done when the quinoa has absorbed all the broth and is fluffy.
- Sauté the Vegetables: While the quinoa is cooking, heat olive oil in a skillet over medium heat. Add the diced bell pepper and zucchini, sautéing them for about 5-7 minutes until they’re tender and slightly caramelized.
- Mix in Cherry Tomatoes and Black Beans: Stir in the halved cherry tomatoes and black beans, cooking for another 3-4 minutes. The tomatoes will soften and mingle beautifully with the beans.
- Add Seasonings: Sprinkle in the garlic powder, cumin, salt, and pepper. This is where the flavors really come together, so stir well to combine all the ingredients.
- Combine with Quinoa: Fluff the cooked quinoa with a fork and add it to the skillet with the veggies and beans. Give everything a good stir, ensuring that the quinoa is well mixed and coated in flavor.
- Serve and Garnish: Serve your One Pan Chicken and Potatoes hot, garnished with fresh parsley. Enjoy the vibrant colors and enticing aromas!
Recipe Tips
To make the most out of your cooking experience, here are some tips:
- Mind the Size: Cut your vegetables and potatoes into even pieces for uniform cooking. This ensures everything is tender and delicious.
- Don’t Rush the Flavors: Allow the dish to sit for a few minutes after cooking. This lets the flavors meld together beautifully.
- Get Creative: Feel free to experiment with different vegetables based on what’s in season or what you have on hand. The beauty of this recipe is its versatility!
Variations
If you’re looking to switch things up, here are some delicious variations:
- Spicy Twist: Add a pinch of cayenne pepper or some red pepper flakes for a little heat.
- Herb Infusion: Toss in some fresh herbs like basil or thyme for an aromatic touch.
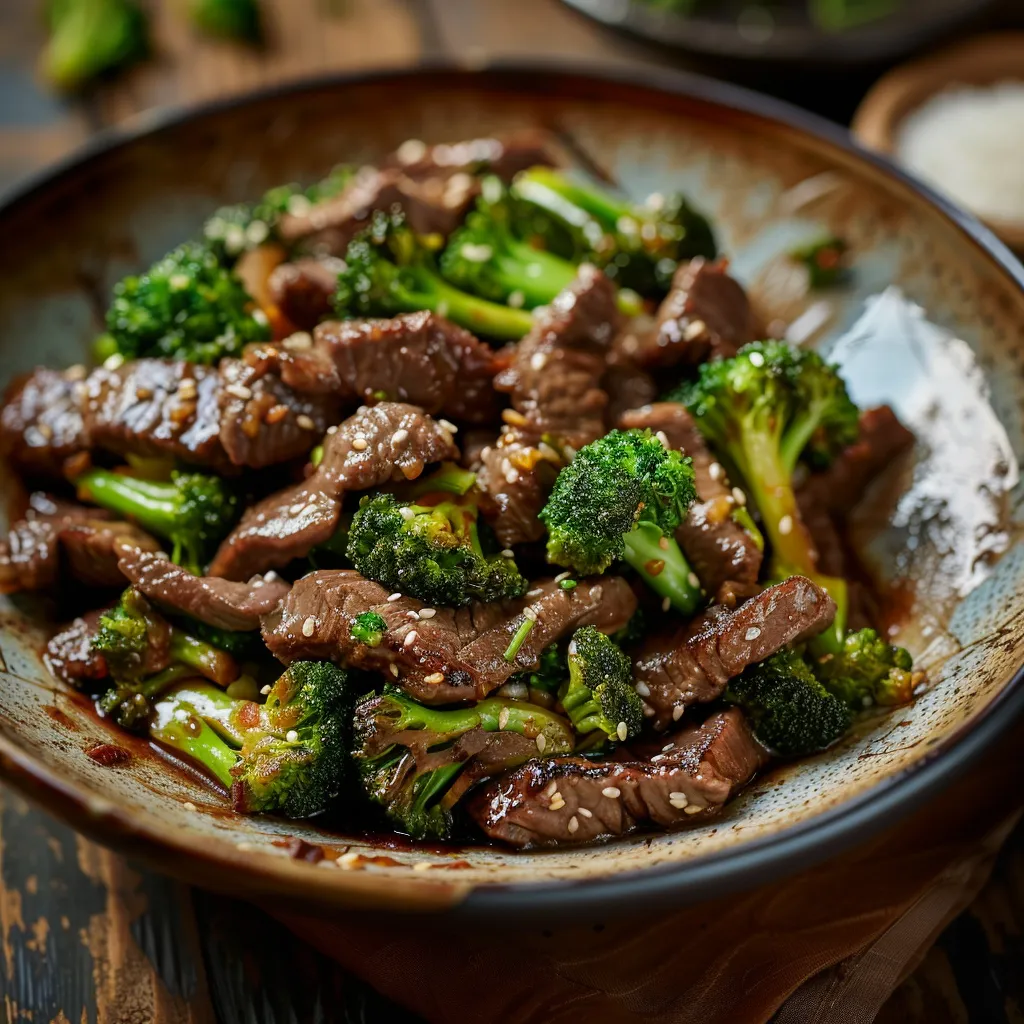
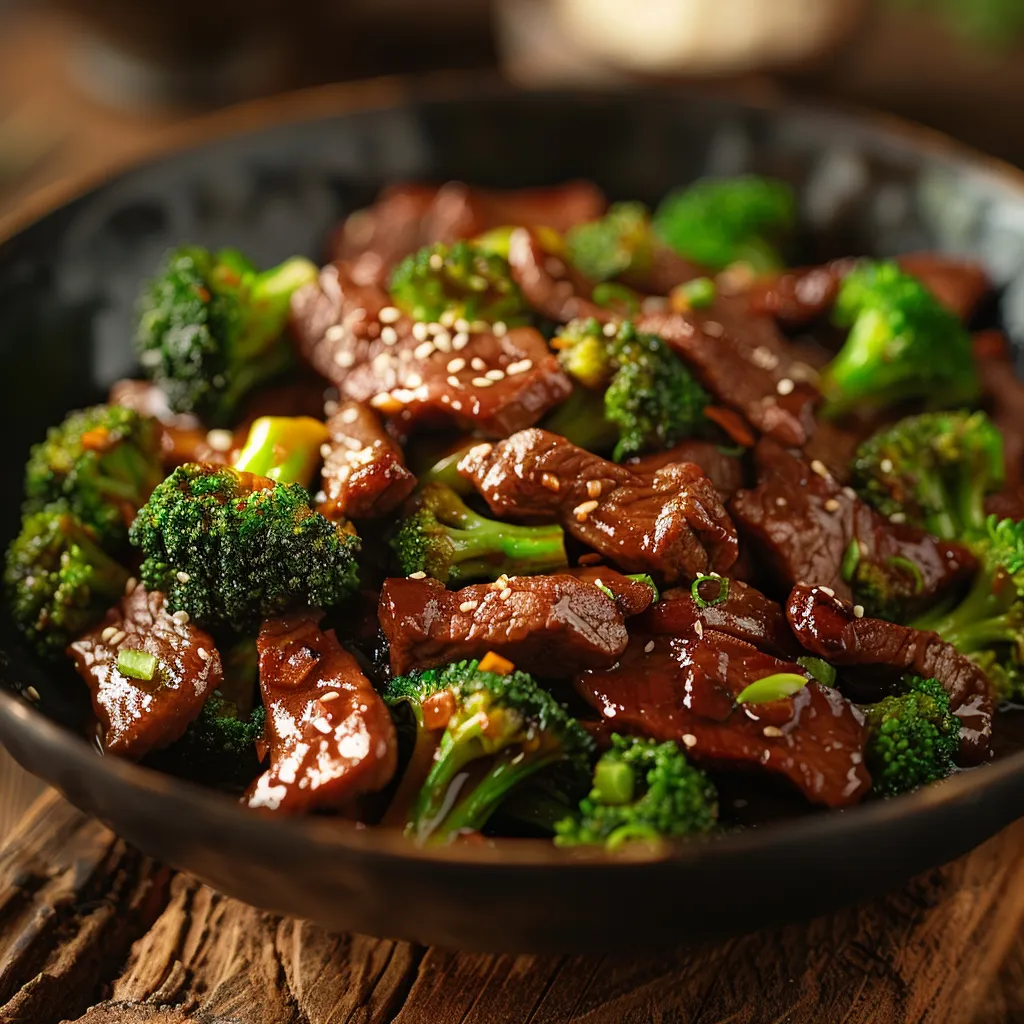
- Protein Boost: For added protein, consider including grilled chicken, shrimp, or tofu to the mix.
Substitutions
No need to fret if you’re missing an ingredient. Here are some easy swaps:
- Quinoa: If you don’t have quinoa, feel free to use brown rice or couscous as an alternative.
- Vegetable Broth: Chicken broth works just as well if you’re not strictly vegetarian.
- Black Beans: You can substitute with kidney beans or chickpeas for a different flavor profile.
Storage and Freezing
Got leftovers? No problem! Here’s how to store them:
- Refrigerator: Store in an airtight container for up to 3-4 days. Reheat in the oven or microwave until warmed through.
- Freezing: This dish freezes beautifully! Just portion it into freezer-safe containers and it should last for up to 2 months. Thaw in the refrigerator before reheating.
FAQs
Here are some commonly asked questions about this recipe:
- Can I make this dish ahead of time? Absolutely! You can prepare the ingredients and store them separately until you’re ready to cook.
- What’s the best way to reheat leftovers? The oven is ideal for reheating to maintain crispness. Heat at 350°F (175°C) until warmed through.
- Can I use frozen vegetables? Yes, frozen veggies work well! Just add them to the skillet directly, and adjust the cooking time accordingly.
Conclusion
And there you have it! A One Pan Chicken and Potatoes recipe that not only nourishes your body but also feeds your soul. This dish is a celebration of flavors, memories, and the joy of cooking. Whether you’re whipping it up for a weeknight dinner or serving it at a family gathering, it’s bound to leave a lasting impression. So gather your loved ones, share a laugh, and dig in! Happy cooking, my friends, and may your kitchen always feel like home.
Pin by Joy 🌻 on {dinner} in 2025
Ingredients
Grains
- 2 cups quinoa
Broth
- 4 cups vegetable broth
Vegetables
- 1 cup cherry tomatoes, halved
- 1 diced bell pepper
- 1 diced zucchini
Legumes
- 1 cup black beans, rinsed
Oils & Spices
- 2 tablespoons olive oil
- 1 teaspoon garlic powder
- 1 teaspoon cumin
Seasonings
- to taste salt and pepper
Garnish
- for garnish fresh parsley
Instructions
- Rinse quinoa and drain.
- Bring vegetable broth to a boil, add quinoa, cover, and simmer 15 minutes.
- Sauté bell pepper and zucchini in olive oil for 5-7 minutes.
- Add cherry tomatoes and black beans, cook 3-4 minutes.
- Mix in spices, fluff quinoa, and combine with vegetables. Garnish with parsley.
Notes
Loved this recipe? Save it to your favorite Pinterest board so you can easily find it later! It’s the perfect way to keep all your sweet ideas in one place. ✨