Welcome to My Kitchen: A Comforting Culinary Journey
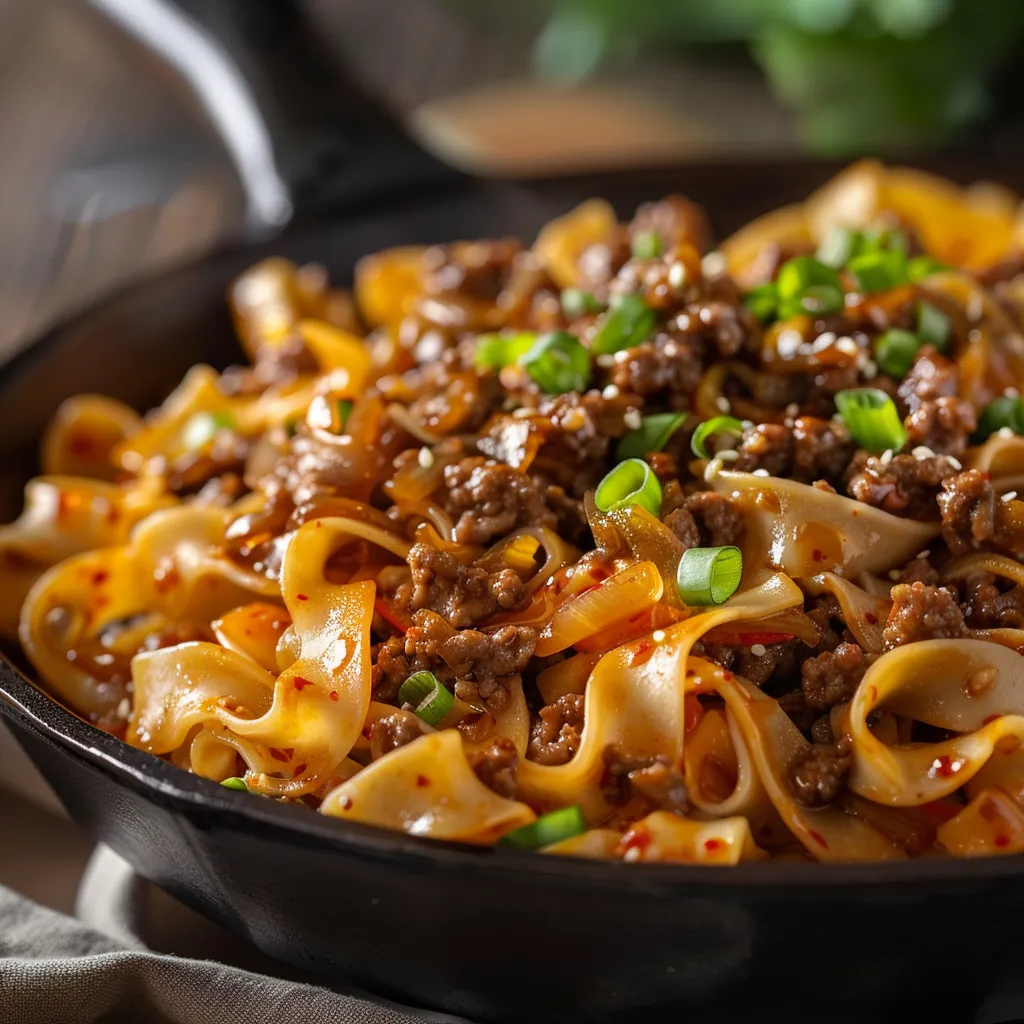
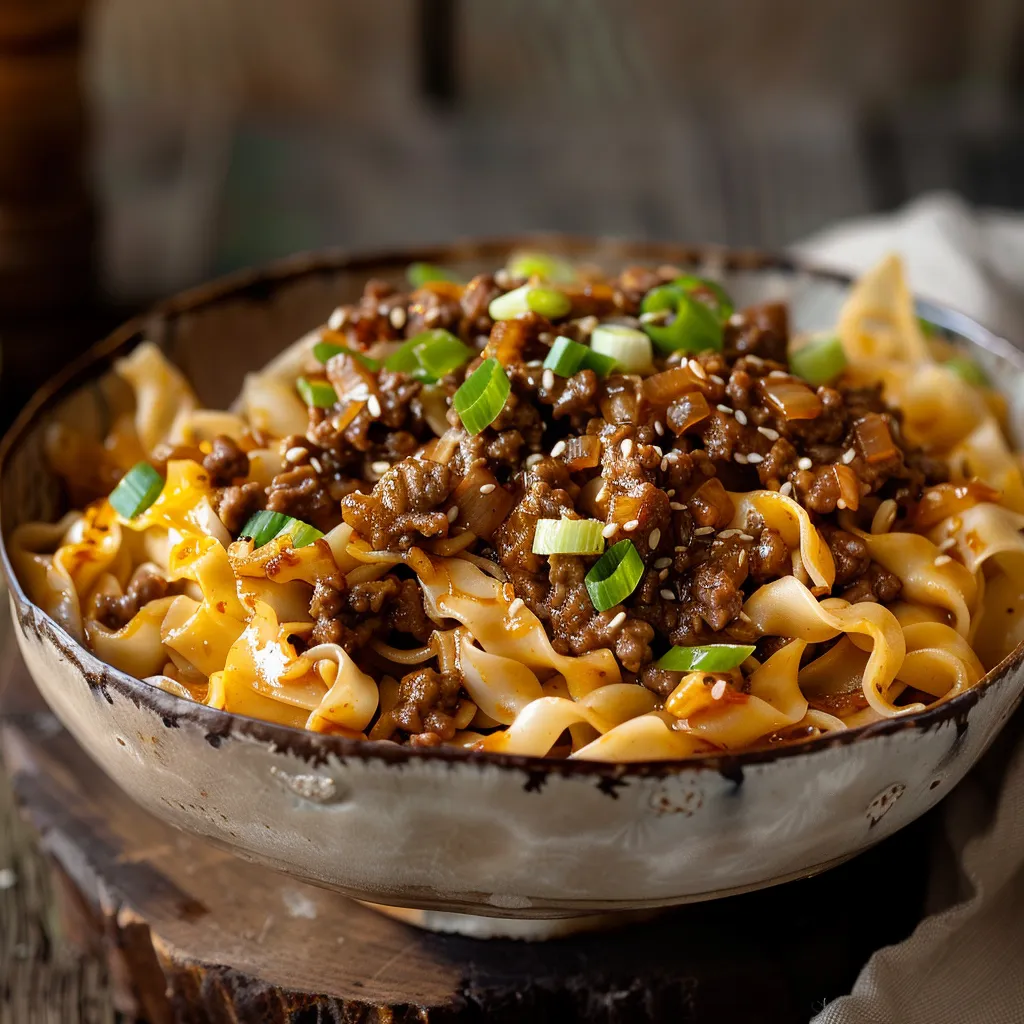
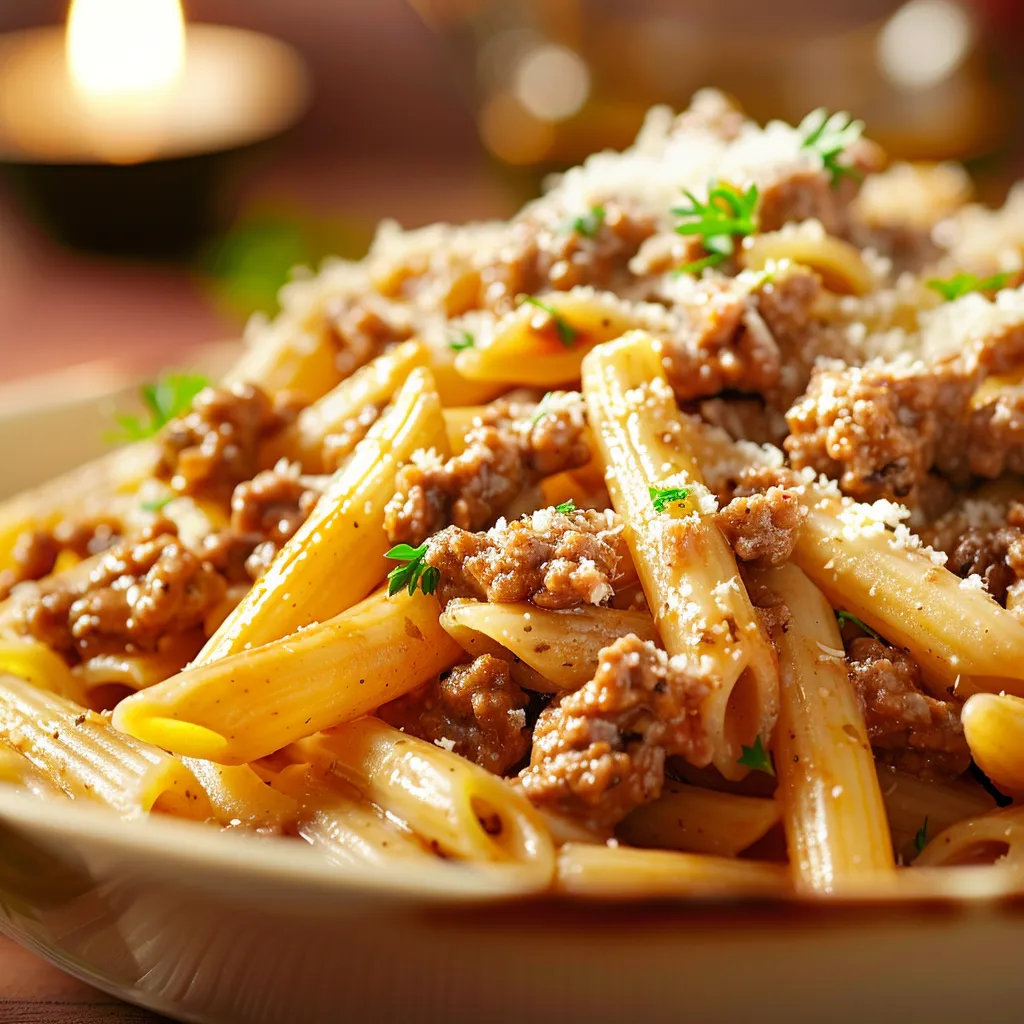
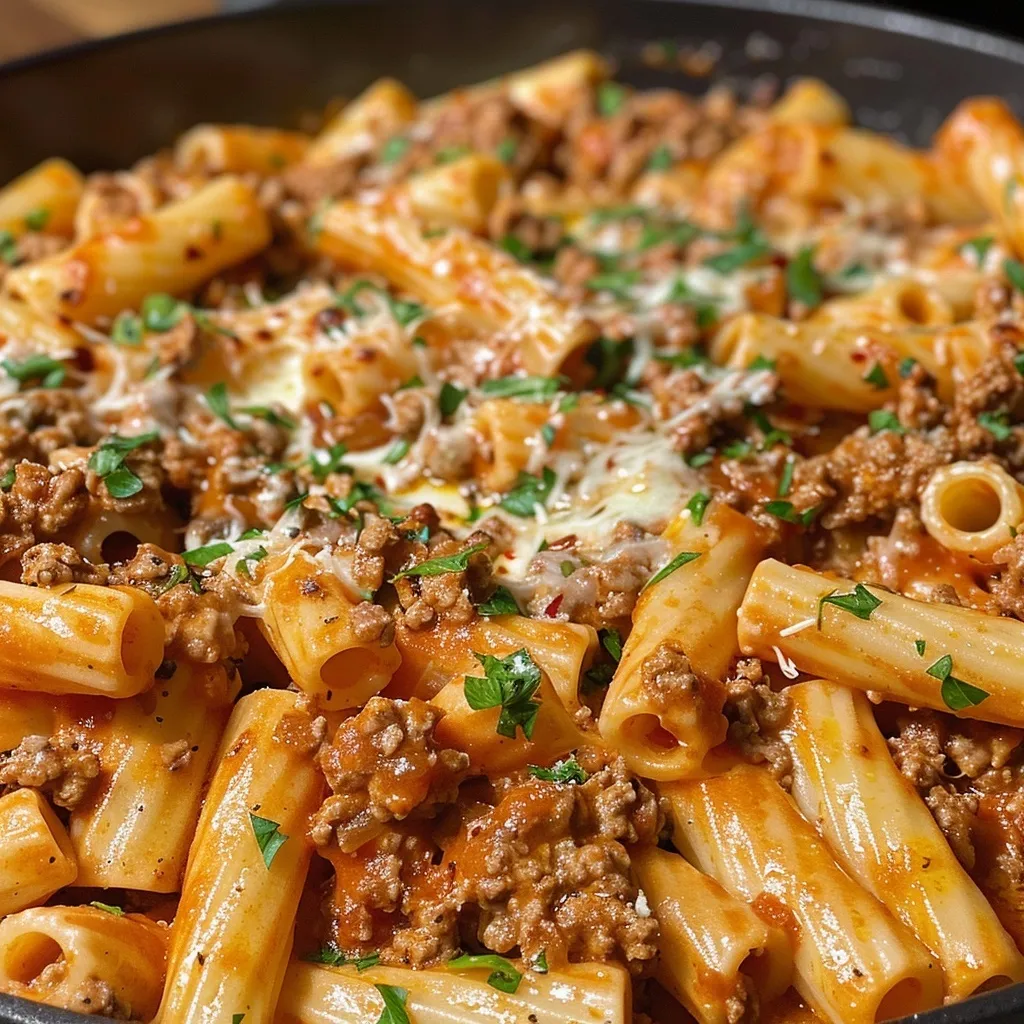
Hey there, fellow food lovers! I’m Ava, and today we’re diving into a dish that’s close to my heart: my Cheesy Ground Beef Pasta Skillet. If you’re looking for a meal that wraps you in a cozy embrace, you’ve come to the right place. Imagine a bustling kitchen filled with the aroma of garlic, savory beef, and melted mozzarella—sounds heavenly, right? This one-pan wonder is not just about filling bellies; it’s about creating memories, sharing laughter, and enjoying every moment spent around the dinner table.
The beauty of this recipe lies in its simplicity and the delightful blend of flavors. Perfect for busy weeknights or family gatherings, this dish is a reminder that comfort food doesn’t have to be complicated. So grab your favorite spatula and let’s get cooking!
Why You’ll Love This Recipe
- One-Pan Wonder: Clean-up is a breeze since everything cooks together in one skillet, leaving you more time to enjoy your meal.
- Quick and Easy: Ready in about 30 minutes, this recipe is perfect for those nights when you need a satisfying meal in a hurry.
- Kid-Friendly: With gooey cheese and hearty beef, even the pickiest eaters will find something to love—and you might just earn some extra hugs!
- Versatile Ingredients: Feel free to swap in your favorite pasta or toss in leftover veggies. It’s a great way to use up what you have on hand!
- Meal Prep Friendly: This dish is fantastic for batch cooking. Make it ahead and reheat for quick lunches or dinners throughout the week.
Ingredient Breakdown
Let’s talk ingredients! The heart of this dish revolves around a few key players:
- 2 cups ziti pasta: Cooked al dente for the best texture. (Tip: If you have leftover pasta, feel free to use it!)
- 1 tablespoon extra-virgin olive oil: For sautéing and adding healthy fats.
- 1 pound ground beef: The star of the show! You can also use ground turkey or chicken for a lighter option.
- 3 cloves garlic: Minced for that aromatic base.
- 1 onion: Chopped, because it adds a sweet flavor when sautéed.
- 1 teaspoon crushed red chili flakes: Optional, but a pinch can add a lovely kick!
- 1 tablespoon Worcestershire sauce: For depth of flavor and umami goodness.
- 2 tablespoons tomato paste: To enhance the sauce and give it a rich color.
- 1/2 cup chopped parsley: Freshness and a pop of color!
- 2 cups shredded mozzarella: The gooey, melty topping that makes everything better.
Pro Tips for Perfecting Your Skillet
Before we jump into the cooking instructions, here are some expert insights that I love to keep in mind:
- Don’t Overcook the Pasta: Since the pasta will finish cooking in the skillet, cook it for just under the recommended time.
- Use Fresh Ingredients: Fresh garlic and herbs elevate the flavor of the dish significantly.
- Adjust Seasoning: Taste as you go! You might want to add a little more salt or pepper, depending on your preference.
- Let It Rest: Allow the skillet to sit for a few minutes after cooking. This helps the flavors meld together.
- Experiment with Cheese: While mozzarella is a classic, feel free to mix in cheddar or even feta for a twist.
- Batch Cook: Make a double batch and enjoy leftovers! They reheat beautifully.
- Use a Non-Stick Skillet: This will prevent sticking and make for easier cleanup.
- Garnish with Fresh Herbs: A sprinkle of parsley or basil adds freshness and color.
Common Mistakes and Troubleshooting
Even seasoned cooks can run into hiccups. Here’s how to avoid some common pitfalls:
- Overcooked Meat: Make sure to brown the beef without overcooking it. It should be nicely browned but still juicy.
- Too Thick Sauce: If your sauce is too thick, add a splash of reserved pasta water to loosen it up.
- Burnt Garlic: Add the garlic after the meat is browned to prevent it from burning.
- Dry Pasta: If the pasta seems dry after mixing, a little more pasta water can help create a creamy texture.
Creative Variations
This recipe is wonderfully adaptable! Here are a few variations to keep things exciting:
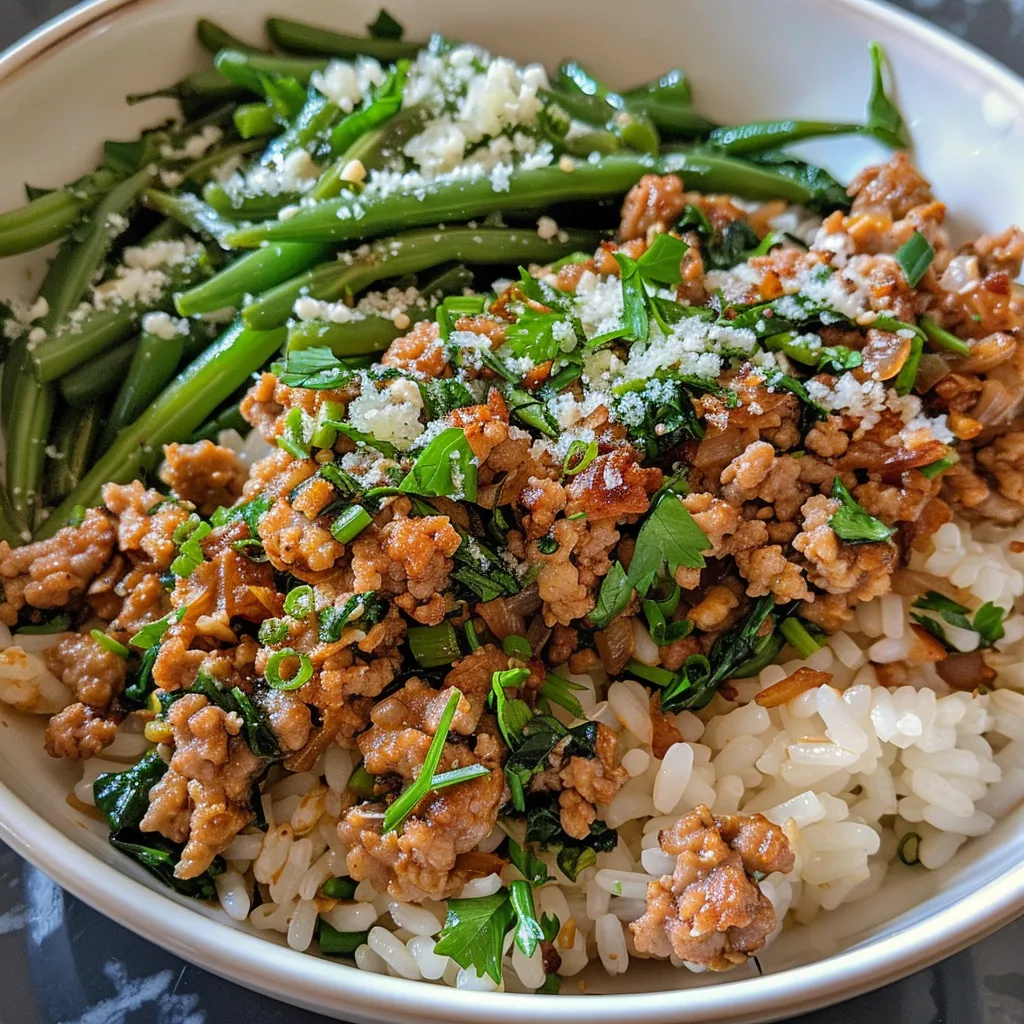
- Veggie-Loaded Skillet: Add bell peppers, spinach, or zucchini for extra nutrients and flavor.
- Spicy Ground Beef: Add jalapeños or a dash of hot sauce for a spicy kick.
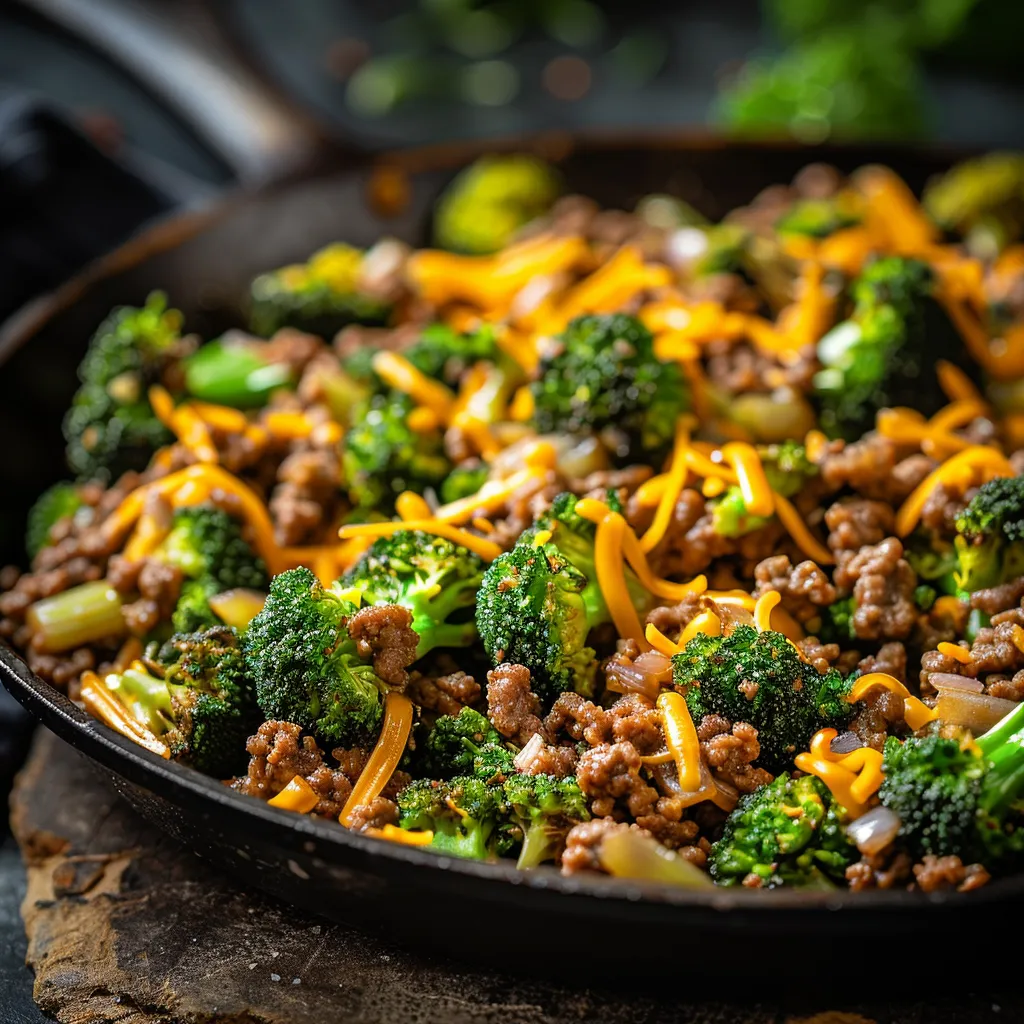
- Cheesy Broccoli Pasta: Stir in steamed broccoli during the last few minutes of cooking for a veggie-packed meal.
- Italian Sausage Twist: Substitute half of the ground beef with Italian sausage for a flavor boost.
Storage and Make-Ahead Instructions
Planning ahead? Here’s how to store and reheat:
- Refrigeration: Store leftovers in an airtight container in the fridge for up to 3 days.
- Freezing: This dish freezes well! Portion it out and freeze for up to 3 months.
- Reheating: Microwave individual servings or reheat in a skillet over low heat, adding a splash of water or broth to keep it moist.
Frequently Asked Questions
Let’s tackle some common questions about this recipe:
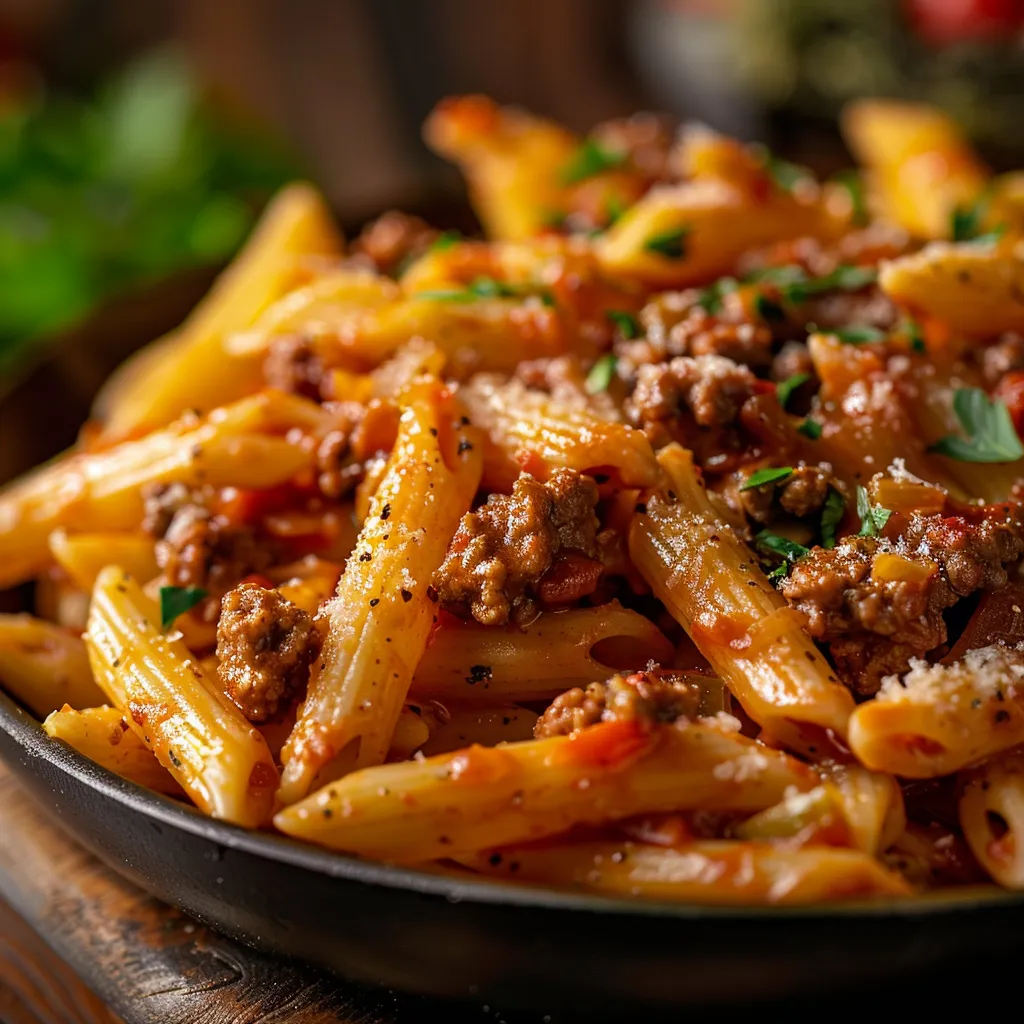
- Can I use a different type of pasta? Absolutely! Penne, fusilli, or even spaghetti work well.
- How can I make this recipe vegetarian? Swap the ground beef for lentils or a meat substitute.
- What can I serve with this dish? A simple green salad or garlic bread pairs wonderfully!
- Is it possible to make this recipe gluten-free? Yes! Use gluten-free pasta and ensure your sauces are gluten-free.
- Can I double the recipe? Certainly! Just make sure your skillet is large enough to accommodate all the ingredients.
- How do I make it creamier? Stir in a splash of cream or a dollop of sour cream just before serving.
- Can I add more cheese? More cheese is always a good idea! Just keep in mind it may change the texture.
- How spicy is this dish? It’s mild, but you can add more chili flakes or hot sauce to spice it up!
Nutritional Tips and Dietary Adaptations
Here are some nutritional insights and adaptations you can consider:
- Lean Protein: Use lean ground beef or turkey to reduce fat content.
- Load Up on Veggies: Adding veggies not only boosts nutrition but also adds flavor and texture.
- Low-Fat Cheese Options: Opt for low-fat mozzarella for a lighter version.
- Whole Wheat Pasta: Choose whole wheat pasta for added fiber.
Equipment Recommendations
Before you start, make sure you have the right tools:
- Large Skillet: A non-stick or cast-iron skillet works best for even cooking.
- Wooden Spoon: Perfect for mixing and breaking up the meat.
- Measuring Cups and Spoons: Accurate measurements make all the difference!
Serving Suggestions
Once your Cheesy Ground Beef Pasta Skillet is ready, consider these serving ideas:
- Garnish with Fresh Herbs: A sprinkle of parsley or basil adds freshness.
- Serve with Garlic Bread: Perfect for soaking up any extra sauce.
- Pair with a Simple Salad: A crisp salad balances the richness of the dish.
And there you have it! A comprehensive guide to making my Cheesy Ground Beef Pasta Skillet that’s as nourishing as it is delicious. Cooking is all about enjoying the process and creating meals that bring joy to the table. I can’t wait for you to try this recipe and make it your own. Happy cooking, friends! Remember, the kitchen is a place of magic, so sprinkle a little love into everything you make.
Cheesy Ground Beef Pasta Skillet
Ingredients
Pasta
- 2 cups ziti pasta (cooked) (see NOTES)
- 1 tbsp extra-virgin olive oil
Ground Beef
- 1 lb ground beef
- 1/2 tsp pepper
- 3 cloves garlic (minced)
- 1 tsp crushed red chili flakes (optional)
- 1 tbsp Worcestershire sauce
- 2 tbsp tomato paste
Onion
- 1 whole onion (chopped)
- 1/2 cup chopped parsley (plus more for garnish)
- salt to taste salt
- 2 cups shredded mozzarella
Instructions
- Cook pasta until al dente, reserve 1/2 cup water, then drain.
- Brown beef in a skillet with olive oil, then add garlic, onion, chili flakes, Worcestershire, tomato paste, parsley, and pasta water. Simmer 8-10 minutes.
- Mix in cooked pasta and 1 cup mozzarella, top with remaining cheese, cover, and cook until cheese melts. Garnish with parsley.