Welcome to Comfort: Your New Favorite Cheesy Broccoli Recipe
Ah, cheesy broccoli! Just saying it out loud makes my mouth water. This dish is not just a side; it’s an experience, a warm hug in a bowl, a nostalgic reminder of family dinners where laughter echoed off the kitchen walls. If you’re looking for a way to elevate your meals, you’ve stumbled upon the right recipe. With just a few ingredients and a trusty crockpot, you’ll have a cheesy broccoli dish that brings everyone to the table and leaves them asking for seconds!
In this article, we’re diving deep into the world of crockpot cheesy broccoli. Not only will I share the recipe, but I’ll also guide you through ingredient breakdowns, variations, pro tips, and even troubleshooting advice. So, grab your apron, and let’s get cooking!
Why You’ll Love This Crockpot Cheesy Broccoli
This isn’t just any cheesy broccoli; it’s a dreamy, creamy concoction that’s perfect for any occasion. Here are five reasons why this recipe will become your go-to:
- Effortless Cooking: Just throw everything into the crockpot and let it work its magic. No fuss, no hassle.
- Perfectly Creamy Texture: The slow cooking process allows the broccoli to become tender and soak up all that cheesy goodness.
- Customizable: You can easily adjust ingredients based on what you have on hand or your dietary needs.
- Family-Friendly: Even the pickiest eaters will love this dish, making it a hit at family dinners or potlucks.
- Make Ahead: Prepare it in advance and keep it warm until you’re ready to serve, making entertaining a breeze!
Ingredients Breakdown
Let’s take a closer look at what you’ll need to make this mouthwatering recipe:
- Broccoli: Fresh broccoli florets work best, but frozen can be a convenient substitute. Just adjust the cooking time if using frozen.
- Cheese: A blend of sharp cheddar and cream cheese creates a rich flavor. Feel free to experiment with your favorite cheeses!
- Heavy Cream: This adds a luxurious creaminess. If you’re looking to lighten it up, half-and-half or Greek yogurt can be good alternatives.
- Garlic: Fresh minced garlic adds depth. If you’re short on time, garlic powder works in a pinch.
- Butter: Unsalted butter enhances the flavors without making it too salty. You can swap it for olive oil for a healthier version.
- Seasonings: Salt and pepper are essential for bringing out the flavors, while a pinch of nutmeg adds a warm note.
How to Make Crockpot Cheesy Broccoli

Ready to bring this cheesy delight to life? Here’s how:
- Place the broccoli florets in the bottom of the crockpot.
- In a bowl, mix together the cream cheese, heavy cream, garlic, butter, salt, and pepper until smooth.
- Pour the cheese mixture over the broccoli, ensuring even coverage.
- Cook on low for 4-5 hours or high for 2-3 hours, until the broccoli is tender and the cheese is bubbly.
- Stir in the shredded cheddar cheese about 30 minutes before serving, allowing it to melt.
- Garnish with fresh chives before serving.
Expert Pro Tips for Perfect Cheesy Broccoli
Enhance your cooking experience with these expert insights:
- Preheat Your Crockpot: If you have time, preheating your crockpot for about 20 minutes can help kickstart the cooking process.
- Don’t Overcrowd: If you’re making a larger batch, consider cooking in two separate pots to avoid mushy broccoli.
- Layer the Cheese: Adding cheese in stages helps prevent clumping and ensures even melting.
- Add Texture: Consider topping with fried onions or breadcrumbs for a crunchy contrast.
- Use Fresh Ingredients: Whenever possible, opt for fresh broccoli and real cheese for the best flavor.
- Make it Spicy: A pinch of cayenne or a splash of hot sauce can add a delightful kick to your cheesy broccoli.
- Keep It Warm: If you’re serving this at a gathering, keep it on the warm setting to maintain that creamy consistency.
- Personalize It: Don’t hesitate to add in your favorite mix-ins, like cooked bacon or sautéed mushrooms.
Common Mistakes and Troubleshooting
Even the best cooks have their “oops” moments. Here’s how to avoid common pitfalls:
- Overcooked Broccoli: If your broccoli turns mushy, it’s likely been cooked too long. Keep an eye on it, especially if you’re using fresh florets.
- Too Thick: If the mixture is too thick, add a splash of milk or broth to loosen it up.
- Cheese Seizing Up: If your cheese gets clumpy, make sure you’re stirring it in gradually and at the right time.
- Not Enough Flavor: Always taste as you go! Adjust your seasonings to ensure the flavor is spot on.
Delicious Variations to Try
Feeling adventurous? Here are a few tasty twists on the classic:
- Broccoli and Cauliflower: Mix half broccoli and half cauliflower for a colorful medley.
- Cheesy Broccoli Rice Casserole: Stir in cooked rice for a heartier dish that’s perfect for meal prep.
- Buffalo Cheesy Broccoli: Add buffalo sauce for a spicy kick that’s sure to please!
- Vegan Version: Use cashew cream and nutritional yeast for a dairy-free twist.
Storage and Make-Ahead Instructions
This cheesy broccoli can easily be made ahead and stored for later!
- Refrigerate: Store leftovers in an airtight container in the fridge for up to 4 days.
- Freeze: Freeze in portions for up to 3 months. Thaw in the fridge before reheating.
- Reheat: Gently reheat in the microwave or on the stove, adding a splash of milk if needed to restore creaminess.
Frequently Asked Questions
Let’s tackle some common questions about this cheesy delight:
- Can I use frozen broccoli? Yes, but adjust the cooking time as it may require less time to become tender.
- What cheese works best? Sharp cheddar is a favorite, but feel free to mix in mozzarella or pepper jack for variety.
- Can I double the recipe? Absolutely! Just make sure your crockpot can accommodate the extra volume.
- How do I prevent the cheese from clumping? Gradually add cheese towards the end of cooking for the best melt.
- What can I serve with cheesy broccoli? It pairs beautifully with grilled meats, chicken, or even as a topping on baked potatoes.
- Is this recipe gluten-free? Yes, as long as you use gluten-free cheese and cream!
- Can I make this dairy-free? Yes! Substitute with vegan cream cheese and plant-based milk.
- How can I make it spicier? Add red pepper flakes or a splash of hot sauce for a kick!
Nutritional Tips and Dietary Adaptations
This cheesy broccoli isn’t just delicious; it can also be adapted to fit various dietary needs:
- Low-Carb: Skip the heavy cream and use cauliflower instead of broccoli for a keto-friendly version.
- High-Protein: Stir in some cooked chicken or turkey for an added protein boost.
- Vegetarian: The recipe is naturally vegetarian; just ensure your cheese is rennet-free.
- Heart-Healthy: Use olive oil instead of butter and limit cheese for a lighter option.
Equipment Recommendations
To make this recipe a breeze, here’s what you’ll need:
- Crockpot: A larger crockpot (at least 6 quarts) is ideal for this recipe.
- Mixing Bowls: For combining your cheese and cream ingredients.
- Measuring Cups and Spoons: Accurate measurements lead to a perfect dish every time.
- Spatula: For stirring and serving your cheesy masterpiece.
Serving Suggestions
Now that your cheesy broccoli is ready, here are some delicious ways to serve it:
- As a Side Dish: Pair it with grilled chicken or steak for a complete meal.
- In Tacos: Use it as a filling along with some shredded chicken and avocado.
- On a Baked Potato: Top your baked potato with this cheesy goodness for a comforting meal.
- With Salad: Serve it alongside a fresh green salad for a balanced plate.
Final Thoughts
There you have it, your ultimate guide to making the best crockpot cheesy broccoli that will leave everyone at the table clamoring for more. Remember, cooking is all about enjoying the process, experimenting, and finding joy in every bite. So, the next time you’re looking for a comforting side dish that’s sure to impress, whip up this recipe and watch it disappear! Thank you for joining me in this culinary adventure, and happy cooking!
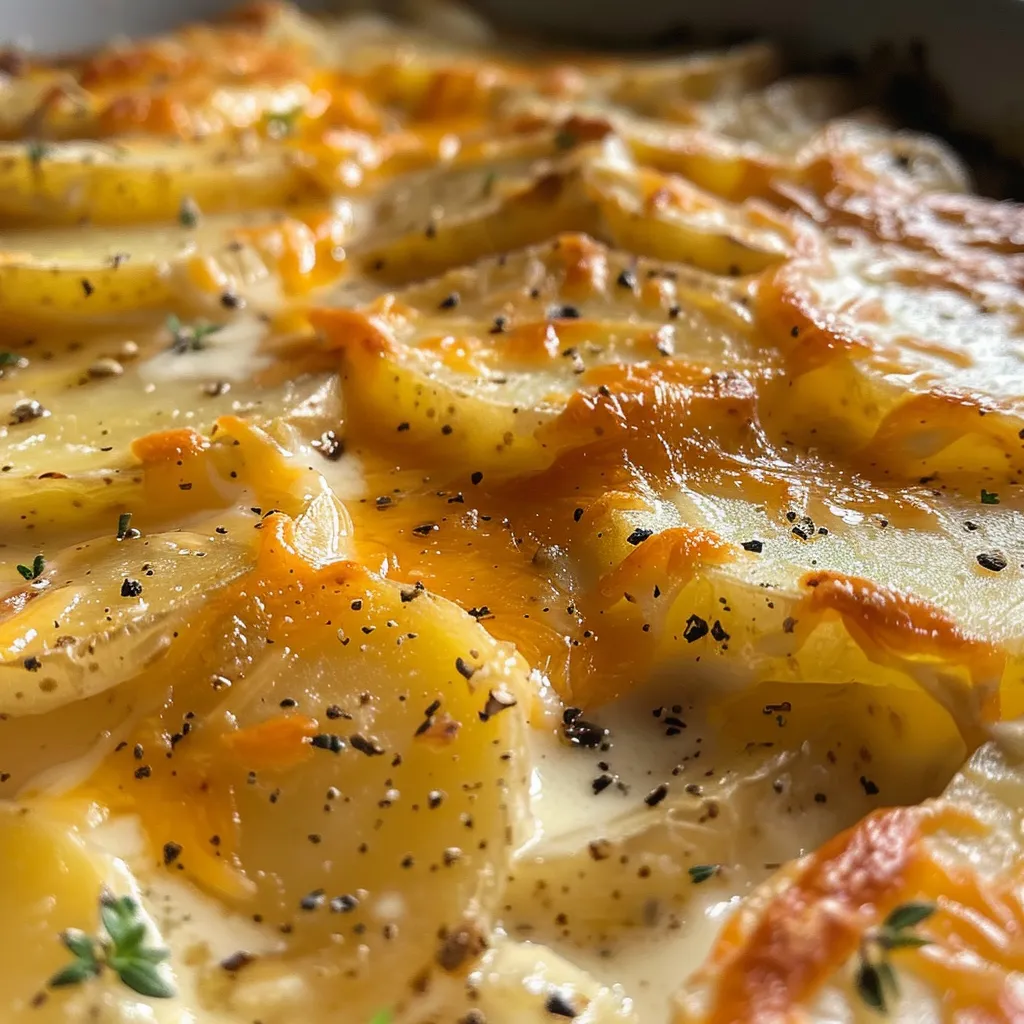
Crockpot Garlic Mashed Potatoes
Ingredients
Potatoes
- 3 lbs potatoes, peeled and cubed
- 1/2 cup unsalted butter
- 1/2 cup heavy cream
- 4 cloves garlic, minced
- to taste Salt and pepper
- for garnish Fresh chives
Instructions
- Place potatoes in crockpot and cover with water. Cook on high for 3-4 hours.
- Drain potatoes and return to crockpot.
- Add butter, cream, garlic, salt, and pepper. Mash until smooth.
- Keep warm until serving. Garnish with chives.