Introduction
My name’s Ava, and if you’ve stumbled upon my kitchen, you’re probably here for one thing—the kind of recipes that make people pause mid-bite and say, ‘Wow.’ I grew up in a small town in Oregon, where the smell of fresh bread and roasted vegetables often drifted out of my mother’s kitchen window. Cooking wasn’t just something we did to eat—it was how we marked special occasions, offered support, and created bonds. I was the kid who would rather stir a pot of chili than go ride my bike, and by the time I was twelve, I could whip up a pie from scratch that made my grandmother proud.
These days, I’m 34 and living in Seattle, where my kitchen has become my favorite corner of the world. I believe the best recipes aren’t always the fanciest—they’re the ones that feel like a familiar embrace, the ones you make over and over because they just work. And sometimes, the best recipes are the simplest. That’s where this incredible 3-ingredient dessert comes in. Imagine having a treat that’s not only incredibly easy to make but also aligns with a healthier lifestyle. This recipe is about to become your new go-to when those dessert cravings hit, and you want something fast, delicious, and guilt-free.
What I enjoy most is taking a recipe and finding ways to make it even better—whether it’s swapping in a secret ingredient or adjusting the texture. This 3-ingredient dessert is a perfect canvas for experimentation. It’s naturally sugar-free and low in calories, making it a fantastic option for anyone watching their intake. So, are you ready to discover how to make this simple yet utterly satisfying dessert? Let’s dive in!
Table of Contents
- Why This Recipe Works
- Ingredients You’ll Need
- Step-by-Step Instructions
- Pro Tips
- Variations & Substitutions
- FAQ
- Final Thoughts
Why This Recipe Works
This dessert recipe isn’t just about simplicity; it’s about creating something truly satisfying with minimal effort. Here’s why it’s a winner:
- Minimal Ingredients: With only three main ingredients, it’s incredibly easy to keep the necessary items on hand. No need for long shopping lists or complicated substitutions.
- Quick Preparation: Ready in just 5 minutes, this recipe is perfect for those last-minute cravings or unexpected guests. It’s faster than ordering takeout and much healthier too.
- Health-Conscious: Being sugar-free and low in calories, it aligns with various dietary preferences and restrictions. You can indulge without the guilt.
And let’s be honest, sometimes the simplest things in life are the most rewarding. This dessert proves that you don’t need a laundry list of ingredients or hours in the kitchen to create something amazing. It’s a testament to how clever ingredient combinations can result in a treat that’s both satisfying and good for you.
Ingredients You’ll Need
Here’s what you’ll need to whip up this incredible dessert. Remember, the quality of your ingredients will directly impact the final product, so choose wisely!
- 2 cups Oats: Use gluten-free oats for a gluten-free option. Oats provide the base for this dessert, adding fiber and a subtle nutty flavor. They also contribute to a satisfying texture.
- 1 cup Peanut Butter: Substitute with any nut-free butter if needed. Peanut butter adds richness, protein, and a creamy texture. Make sure to use natural peanut butter without added sugars or oils for the healthiest option.
- 0.25 cup Honey: Opt for maple syrup as a vegan alternative. Honey acts as a binder and adds a touch of natural.
- 0.5 cup Cocoa Powder: Use unsweetened cocoa for best results. Cocoa powder provides that rich chocolate flavor we all crave without adding any sugar.
Before you start, make sure all your ingredients are measured out and ready to go. This will make the process even faster and smoother. And don’t be afraid to experiment with different types of oats or nut butters to find your perfect combination!

Step-by-Step Instructions
Ready to get started? Follow these simple steps to create your delicious 3-ingredient dessert in just 5 minutes!
- Combine Ingredients: In a large mixing bowl, combine the oats, peanut butter, honey, and cocoa powder. Make sure your peanut butter is at room temperature for easier mixing.
- Mix Well: Use a sturdy spoon or your hands to thoroughly mix all the ingredients until they are well combined. The mixture should be slightly sticky and hold together when pressed.
- Shape the Dessert: Once mixed, you have a couple of options. You can either press the mixture into a small baking dish or roll it into individual balls. If pressing into a dish, line it with parchment paper for easy removal.
- Chill (Optional): While not required, chilling the dessert for about 10-15 minutes in the refrigerator can help it firm up and make it easier to handle. This is especially useful if you’re rolling the mixture into balls.
- Serve and Enjoy: Whether you’ve pressed it into a dish or rolled it into balls, your dessert is now ready to be served. Store any leftovers in an airtight container in the refrigerator.
That’s it! In just five simple steps, you’ve created a delectable dessert that’s both easy and nutritious. This recipe is so straightforward that even beginner cooks can master it with ease. Enjoy the process and savor every bite!
Pro Tips
Want to take your 3-ingredient dessert to the next level? Here are a few pro tips to ensure the best possible results:
- Use Natural Peanut Butter: Opt for natural peanut butter without added sugars or oils. This will not only make the dessert healthier but also provide a richer, more authentic peanut butter flavor.
- Adjust to Your Preference: Feel free to adjust the amount of honey to your liking. If you prefer a less product, start with a smaller amount and add more as needed until you reach your desired level of sweetness.
- Mix Thoroughly: Make sure all the ingredients are thoroughly combined. This will ensure that each bite is packed with flavor and that the oats are evenly coated with peanut butter and cocoa powder. Don’t be afraid to get your hands dirty!
- Add a Pinch of Salt: A tiny pinch of salt can enhance the flavors of the cocoa powder and peanut butter, creating a more balanced and satisfying dessert.
These tips are designed to help you customize the recipe to your personal taste preferences and ensure a consistently delicious outcome. Experiment and have fun with it!
Variations & Substitutions
One of the best things about this recipe is its versatility. Feel free to experiment with different ingredients and flavors to create your own unique version. Here are a few ideas:
- Nut Butter Options: While peanut butter is a classic choice, you can easily substitute it with almond butter, cashew butter, or sunflower seed butter for a nut-free alternative. Each type of nut butter will add a slightly different flavor profile to the dessert.
- Sweetener Alternatives: If you’re not a fan of honey or maple syrup, you can try using other natural like agave nectar or stevia. Keep in mind that stevia is much sweeter than honey, so you’ll need to use a smaller amount.
- Flavor Boosters: Add a teaspoon of vanilla extract, a dash of cinnamon, or a pinch of cayenne pepper for an extra burst of flavor. You can also mix in chopped nuts, shredded coconut, or dried fruit for added texture and flavor.
- Chocolate Chips: For an even more indulgent treat, mix in a handful of sugar-free chocolate chips. This will add a burst of chocolatey goodness to every bite.
Don’t be afraid to get creative and experiment with different combinations. This recipe is a blank canvas, waiting for you to add your personal touch. Maybe you want to try this with a another easy dessert or even an easy crockpot dessert for comparison. The possibilities are endless!
FAQ
Here are some frequently asked questions about this 3-ingredient dessert:
- Can I use quick oats instead of rolled oats?
- While rolled oats are recommended for their texture, you can use quick oats in a pinch. Just be aware that the final product may be slightly softer and less chewy.
- How long does this dessert last?
- This dessert can be stored in an airtight container in the refrigerator for up to a week. The flavor and texture may change slightly over time, but it will still be delicious.
- Can I freeze this dessert?
- Yes, you can freeze this dessert for up to a month. Wrap it tightly in plastic wrap or store it in a freezer-safe container to prevent freezer burn. Thaw in the refrigerator before serving.
- Is this dessert suitable for people with allergies?
- This dessert contains peanuts (unless you substitute with a nut-free butter) and oats. If you have any allergies, be sure to carefully read the ingredient list and make any necessary substitutions. For a gluten-free version, use certified gluten-free oats. If you’re looking for something like healthy baked oatmeal, this recipe is very similar!
Final Thoughts
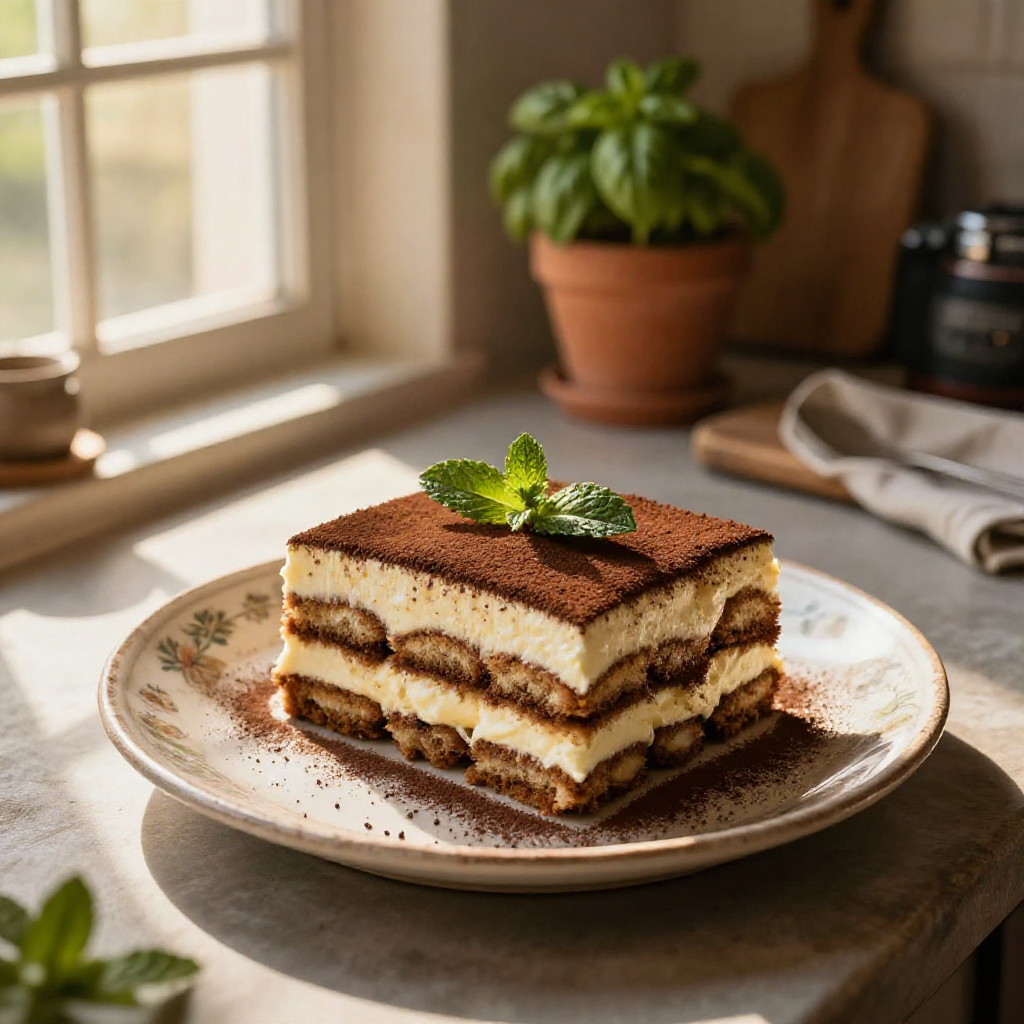
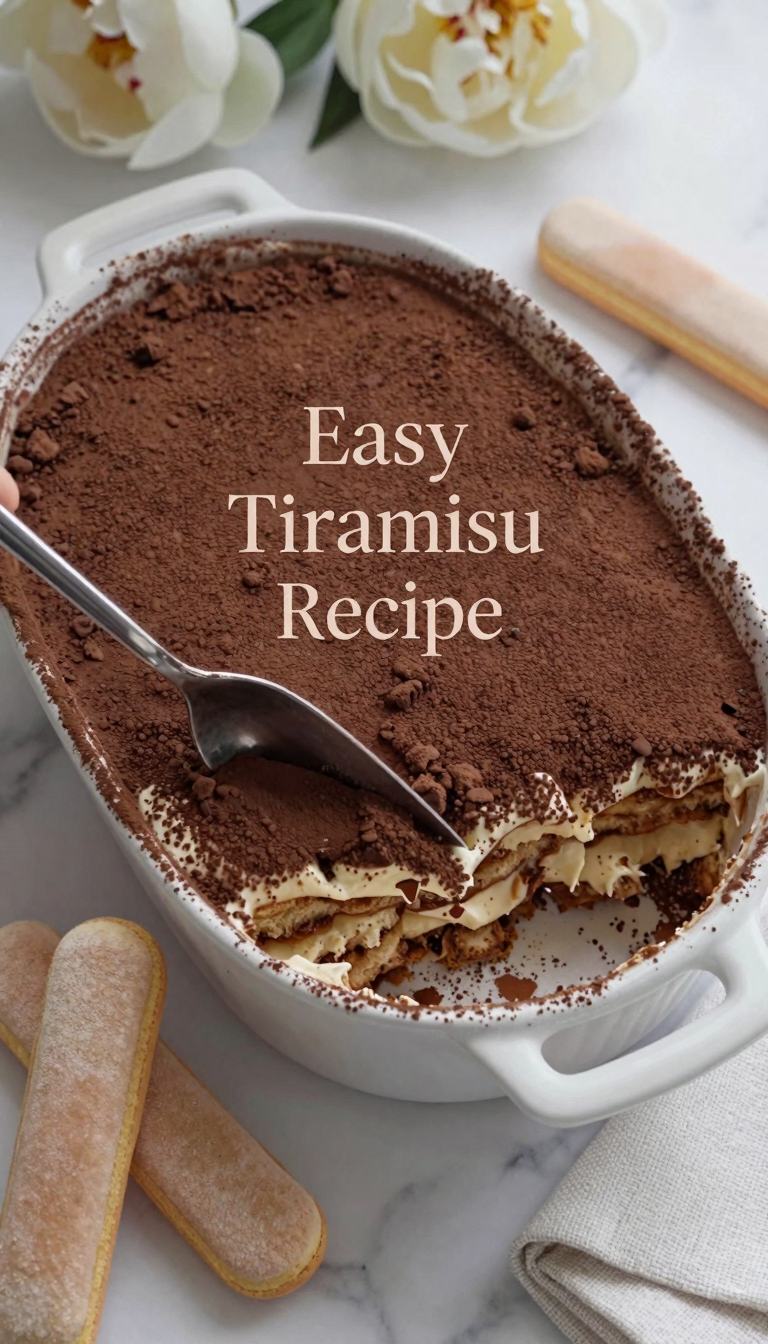
So there you have it—a no-sugar, low-calorie, 3-ingredient dessert that you can whip up in just 5 minutes! This recipe is a testament to the fact that healthy eating doesn’t have to be complicated or time-consuming. It’s perfect for satisfying those last-minute cravings or impressing guests with a simple yet delicious treat. If you’re interested in something more complex, maybe a classic tiramisu recipe is for you.
I encourage you to try this recipe and make it your own. Experiment with different flavors, textures, and ingredients to create a version that perfectly suits your taste preferences. And don’t forget to share your creations with friends and family—they’ll be amazed at how something so simple can be so satisfying.
Now, go ahead and give this recipe a try. I promise you won’t be disappointed! Happy cooking!
Loved this recipe? Save it to your favorite Pinterest board so you can easily find it later! ✨