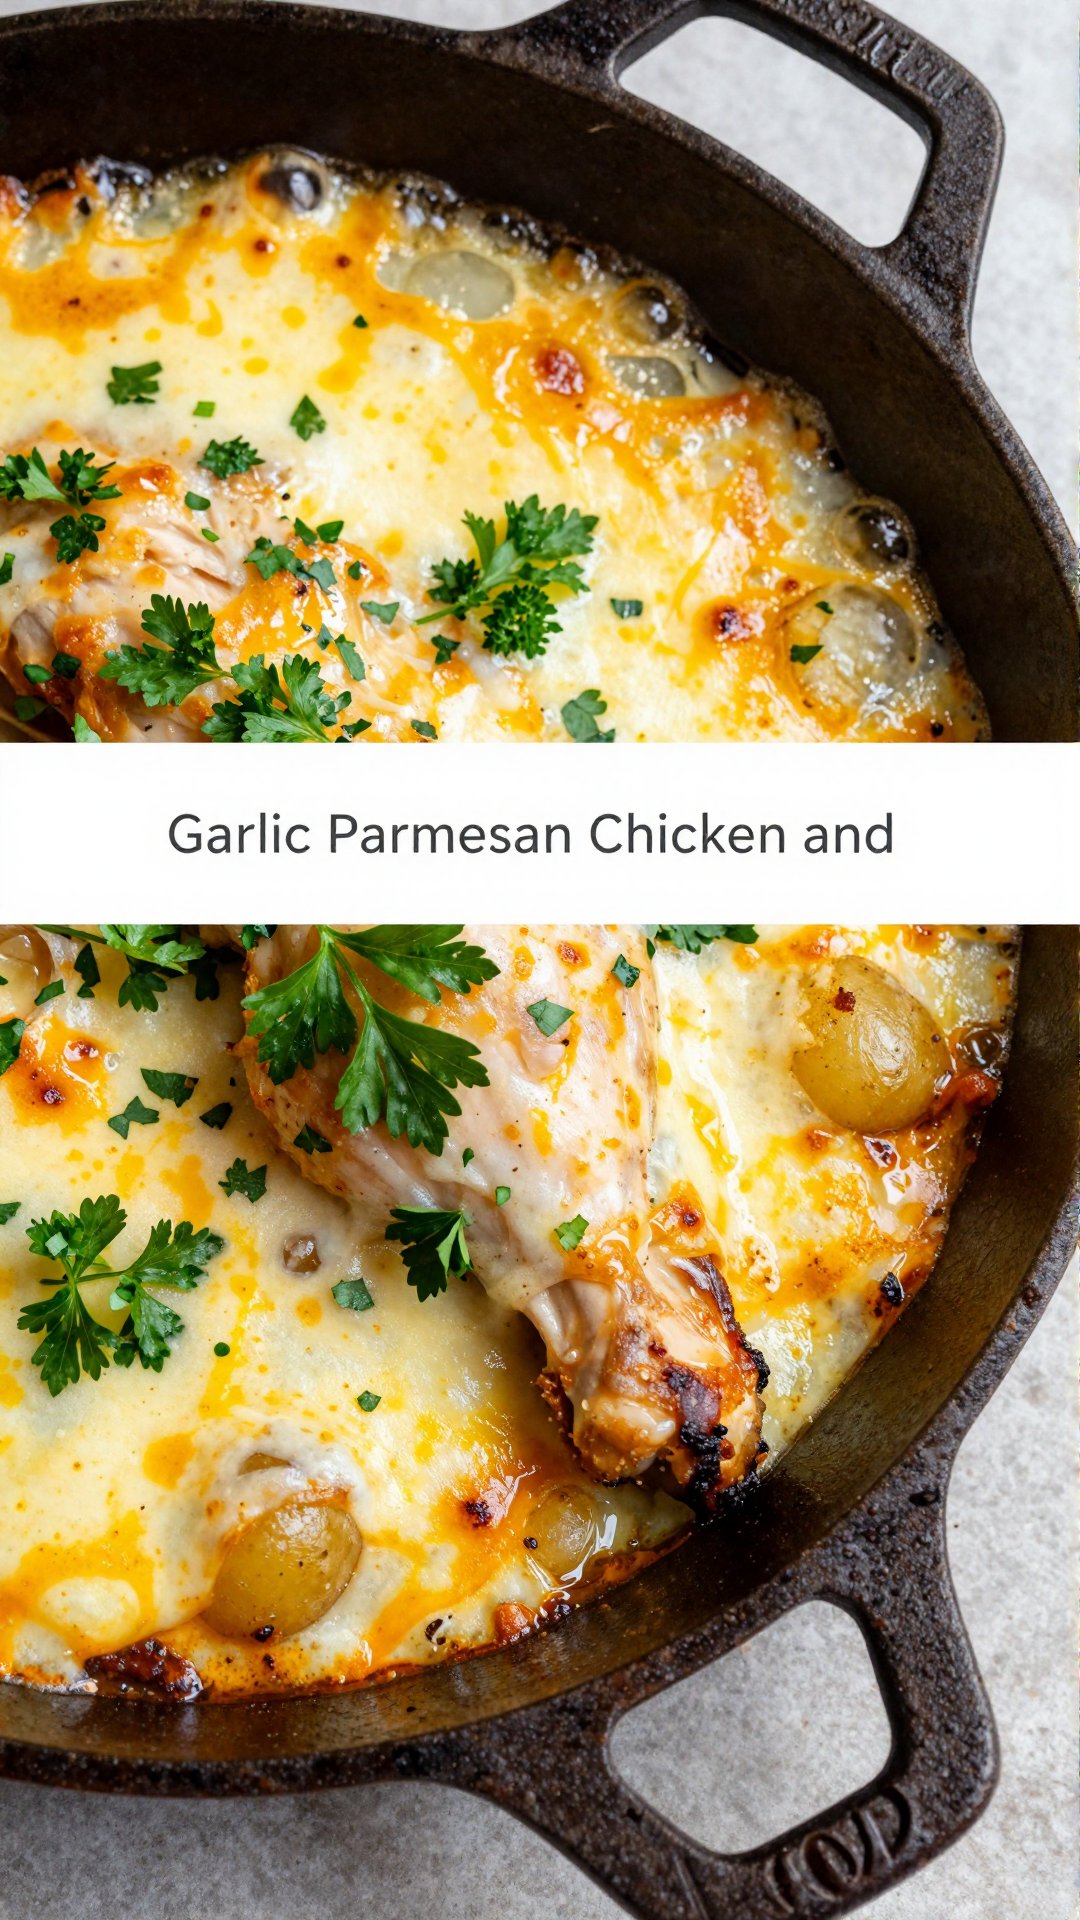
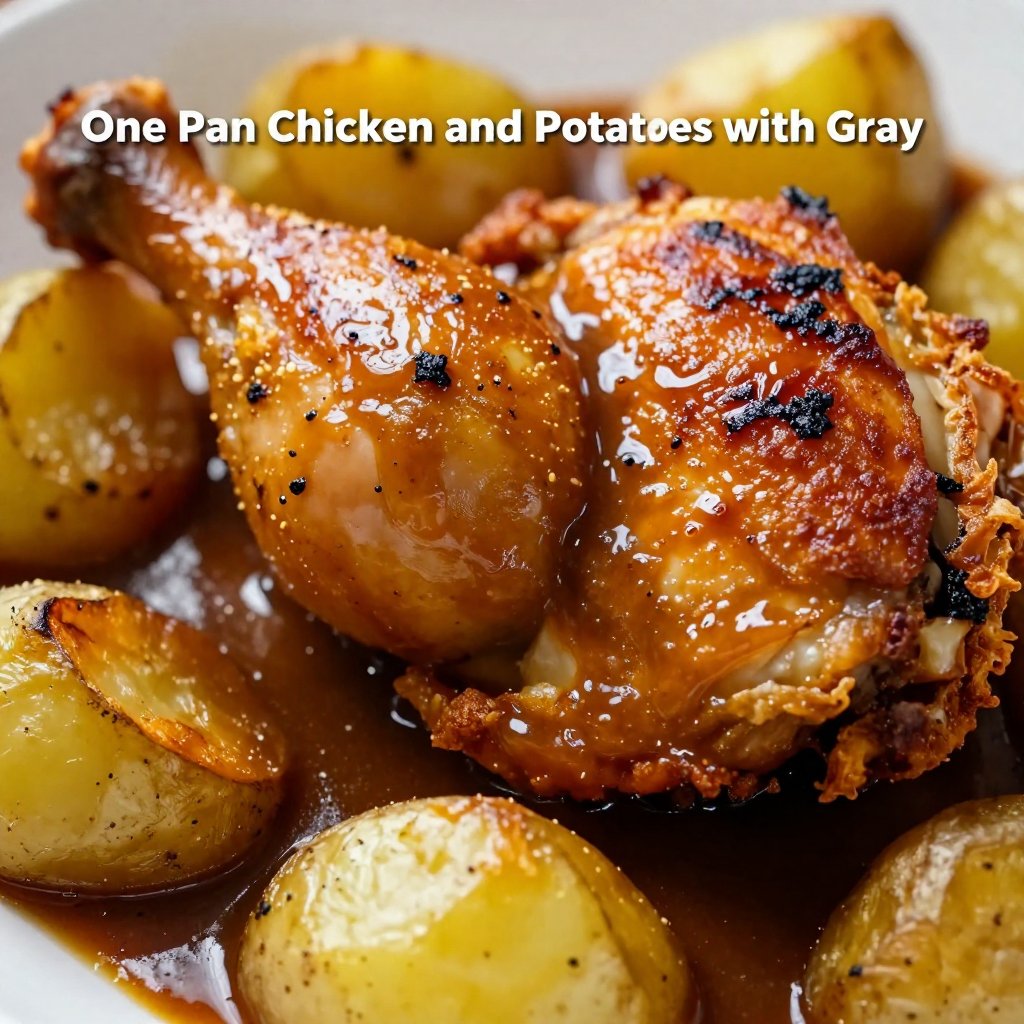
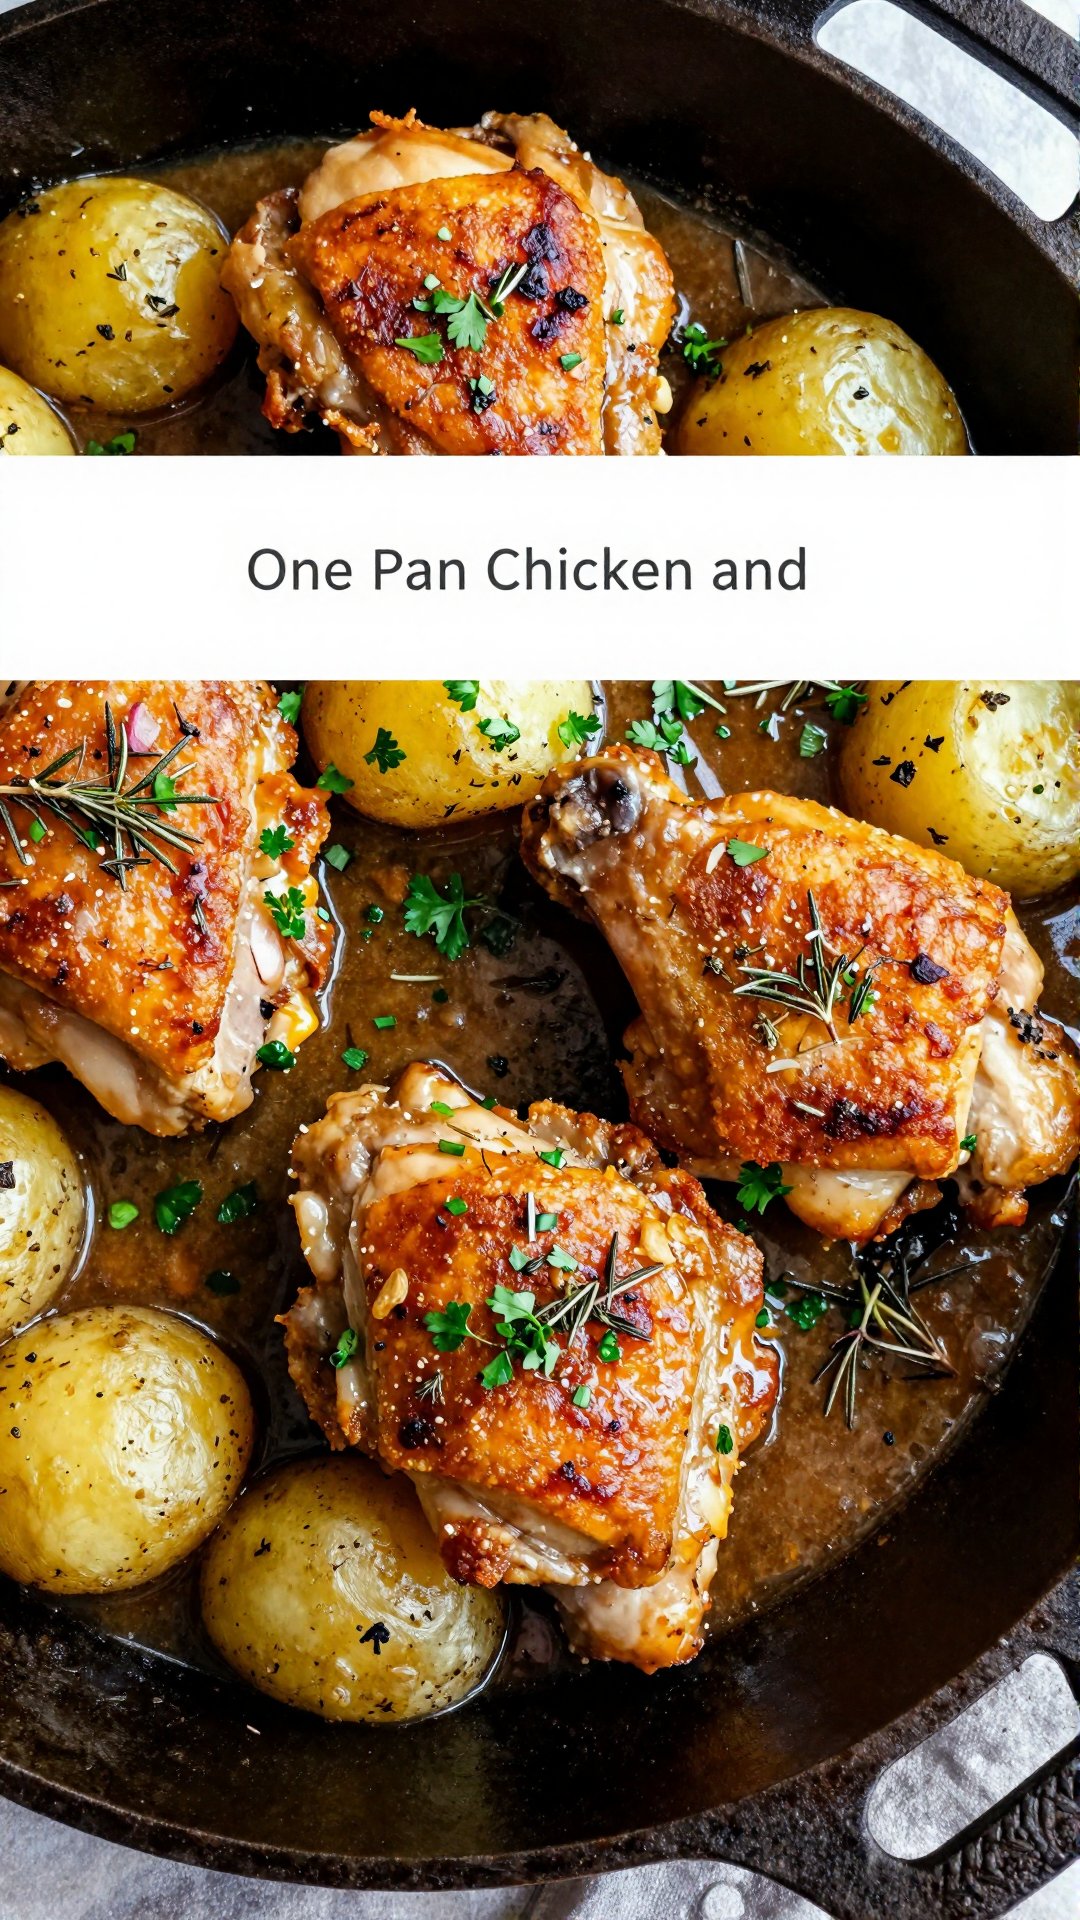
Hey there, kitchen adventurers! Ava here, ready to share a recipe that’s become a staple in my Seattle kitchen—Garlic Parmesan Chicken and Potatoes Skillet. If you’re anything like me, you crave those comforting, flavorful dishes that don’t require a ton of effort. This one-pan wonder is exactly that: easy, delicious, and guaranteed to bring smiles around the dinner table. I’m so excited to share this recipe with you!
Growing up, my mom always had a knack for creating simple, yet incredibly satisfying meals. This recipe reminds me of those cozy evenings, but with a fun, garlicky-parmesan twist. It’s the kind of dish that feels like a warm hug, perfect for a busy weeknight or a relaxed weekend gathering.
So, pull up a chair, grab your skillet, and let’s dive into this mouthwatering Garlic Parmesan Chicken and Potatoes adventure together!
Why You’ll Love This Garlic Parmesan Chicken and Potatoes Skillet
Seriously, what’s not to love? This recipe is a winner on so many levels. I’m all about efficiency and maximum flavor, and this skillet delivers both. Here’s why I think you’ll become as obsessed with it as I am:
- One-Pan Wonder: Minimal cleanup! Everything cooks together in one skillet, which means fewer dishes to wash. Hallelujah!
- Quick and Easy: From prep to plate, this dish comes together in under an hour. Perfect for those busy weeknights when you need a satisfying meal fast.
- Incredibly Flavorful: The combination of garlic, parmesan, and perfectly seasoned chicken and potatoes is simply irresistible. It’s a flavor explosion in every bite.
- Customizable: Feel free to swap out ingredients based on what you have on hand or your personal preferences. More on variations later!
- Crowd-Pleaser: Whether you’re cooking for your family, friends, or just yourself, this skillet is guaranteed to be a hit.
I remember the first time I made this for my friends. The aroma alone had everyone gathered in the kitchen, eager to dig in. And the best part? Everyone went back for seconds (and thirds!).
Ingredients for Garlic Parmesan Chicken and Potatoes
Here’s what you’ll need to whip up this delightful dish. Don’t worry, most of these ingredients are pantry staples!
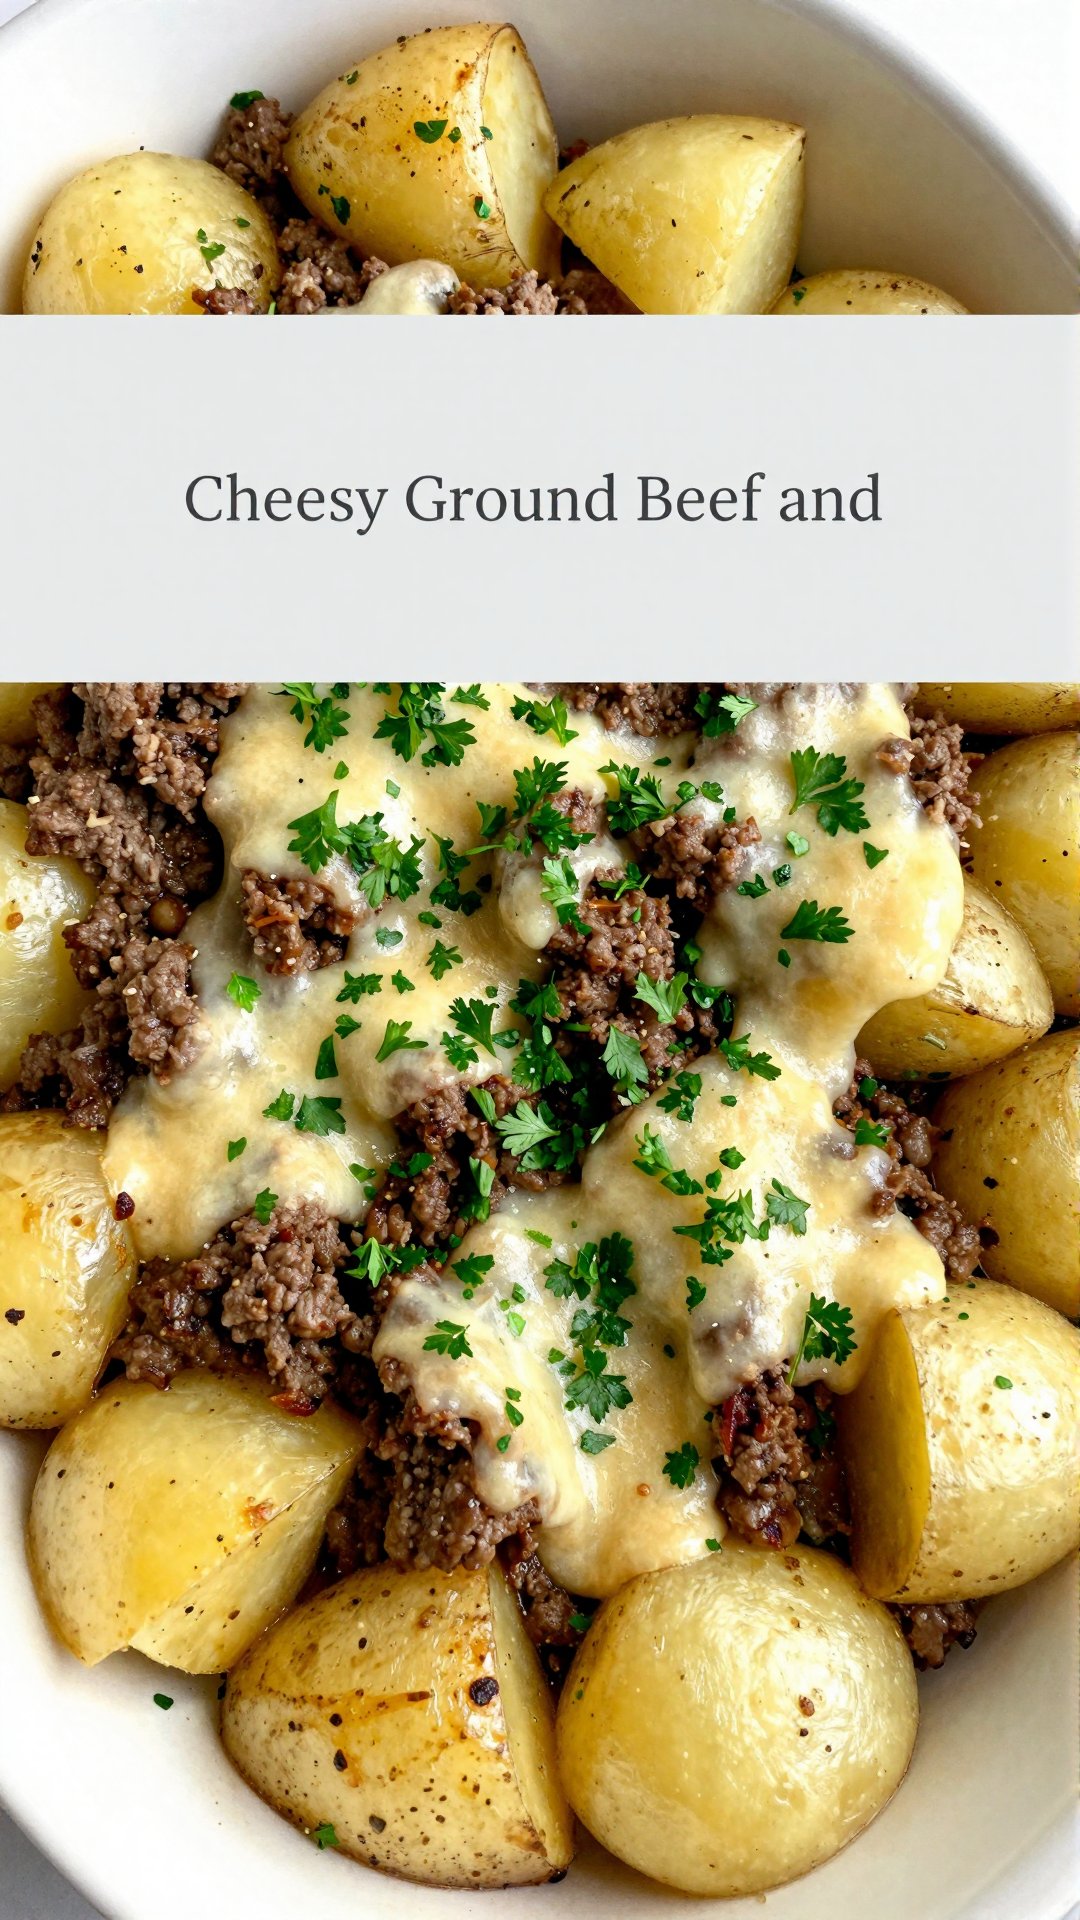
- 2 chicken breasts, cubed
- 4–5 small/medium-sized potatoes, cubed
- Olive oil (for tossing the potatoes)
- Salt, pepper, garlic powder, paprika (for seasoning potatoes)
- 2 tablespoons butter
- ½ teaspoon each of salt and pepper (for seasoning chicken)
- 1 teaspoon each of paprika, onion powder, and Italian seasoning
- 2 tablespoons minced garlic
- Buffalo Wild Wings Garlic Parmesan Sauce (as desired)
- 1 cup shredded mozzarella cheese
How to Make Garlic Parmesan Chicken and Potatoes Skillet: Step-by-Step
Alright, let’s get cooking! Here’s a simple, step-by-step guide to creating this amazing skillet. Don’t be intimidated; it’s easier than you think!
-
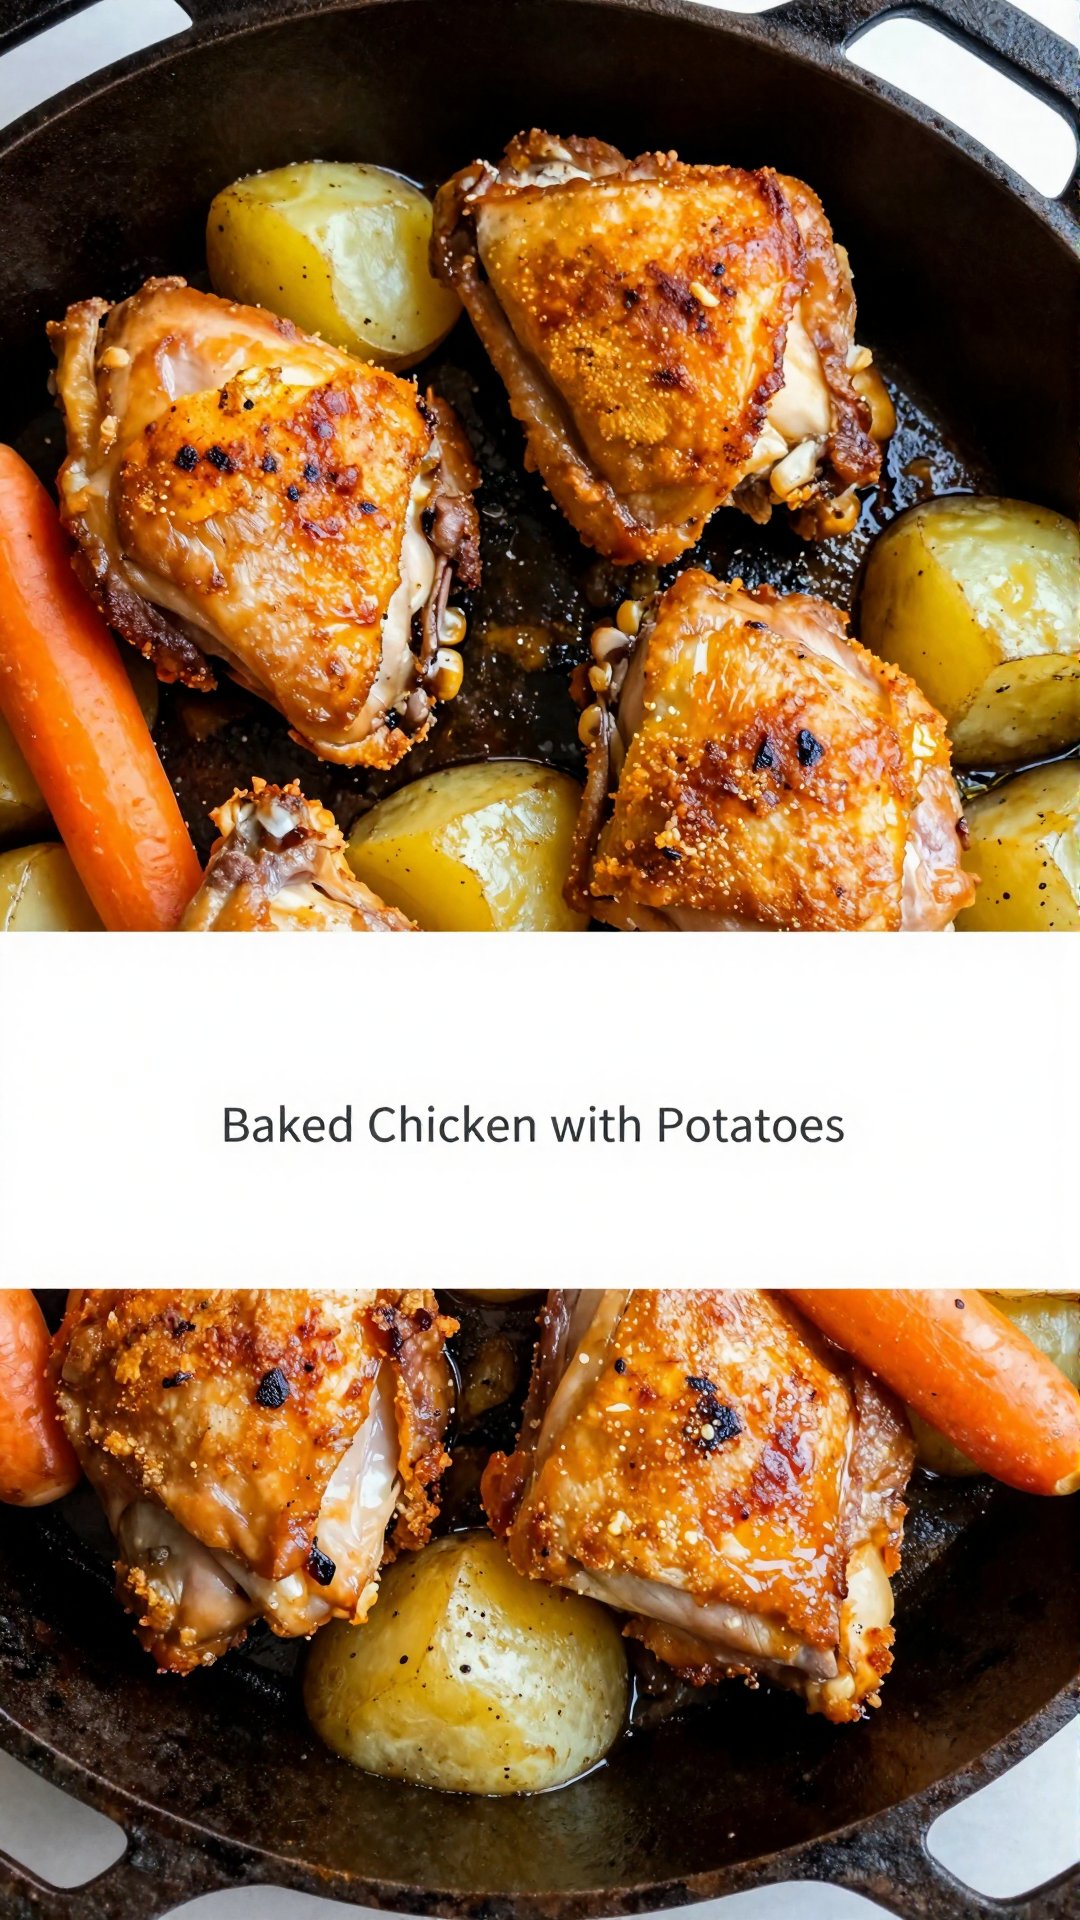
Prepare the potatoes: Wash and peel the potatoes, then cut them into small cubes. Toss the cubed potatoes with olive oil, salt, pepper, garlic powder, and paprika until evenly coated.
-
Cook the potatoes: Preheat the air fryer to 400°F and cook the potatoes for about 20 minutes, shaking the basket a couple of times to ensure even cooking. The potatoes should be crispy on the outside and tender inside.
If you don’t have an air fryer, you can roast the potatoes in the oven at 400°F for about 25-30 minutes, or until they’re golden brown and tender.
-
Season the chicken: While the potatoes are cooking, cut the chicken breasts into small cubes. In a bowl, season the chicken with ½ teaspoon each of salt and pepper, and 1 teaspoon each of paprika, onion powder, and Italian seasoning.
-
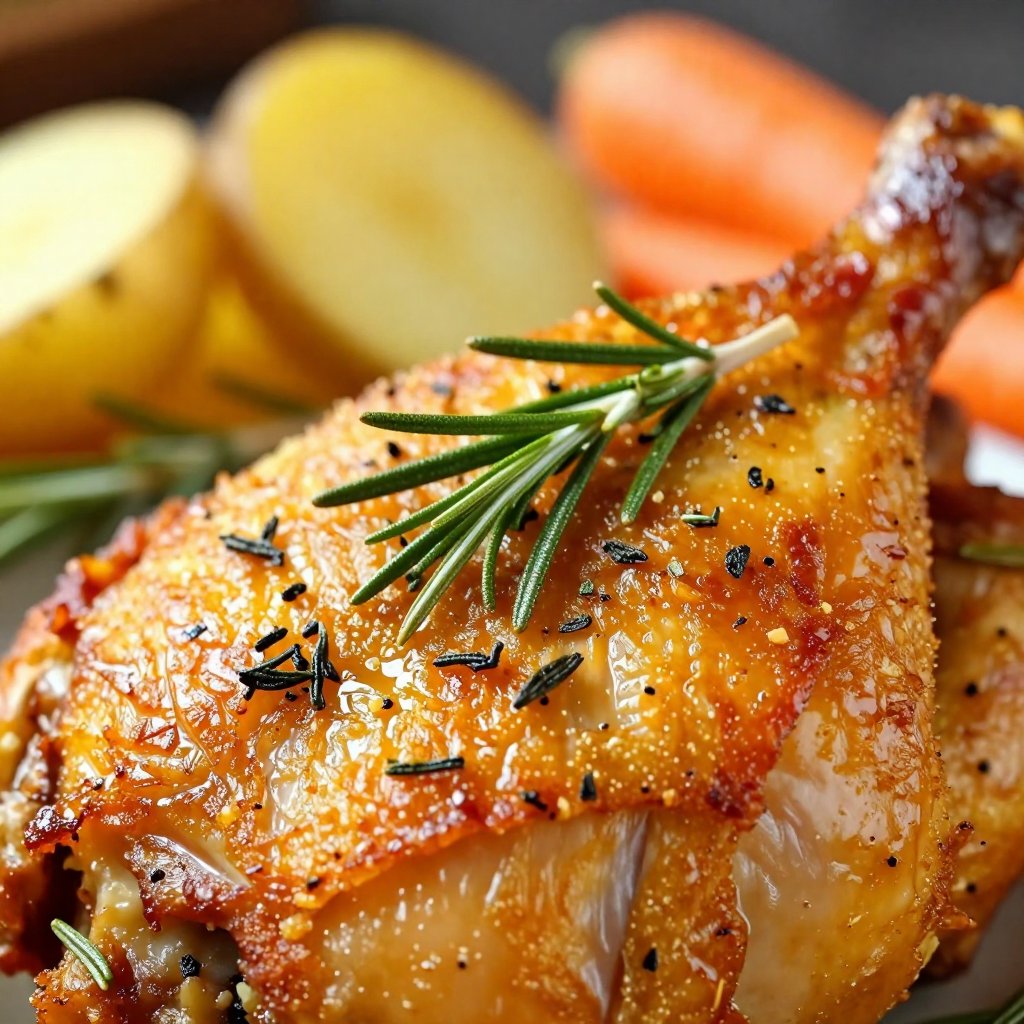
Cook the chicken: Heat 2 tablespoons of butter in a skillet over medium-high heat. Add the seasoned chicken cubes and cook until they reach an internal temperature of 165°F and are fully cooked through.
Make sure not to overcrowd the skillet; cook the chicken in batches if necessary to ensure even cooking.
-
Add garlic and sauce: Stir in the minced garlic and Buffalo Wild Wings Garlic Parmesan Sauce (use as much as desired) to the skillet. Cook for an additional 1-2 minutes, stirring to coat the chicken evenly in the sauce.
The garlic parmesan sauce is really the star of the dish!
-
Combine potatoes and chicken: Once the air-fried potatoes are done, add them to the skillet with the chicken. Toss everything together so the potatoes are coated with the sauce.
At this point, the aroma in your kitchen should be absolutely divine!
-
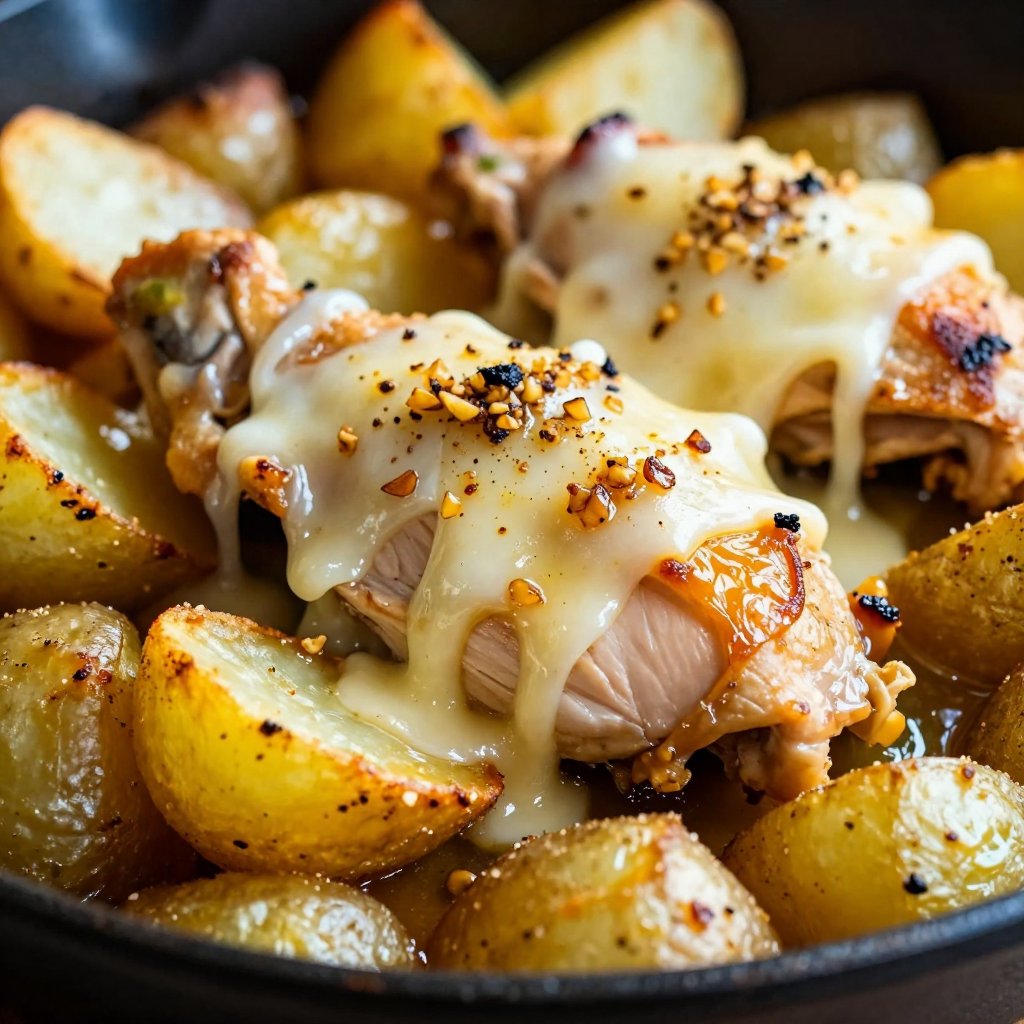
Melt the cheese: Sprinkle the shredded mozzarella cheese on top of the skillet. Either cover the skillet with a lid until the cheese melts or transfer the skillet to the oven under the broiler for a few minutes until the cheese is bubbly and golden.
Keep a close eye on it under the broiler to prevent burning. You want that cheese perfectly melted and slightly browned.
And there you have it! A delicious, easy-to-make Garlic Parmesan Chicken and Potatoes Skillet that’s sure to impress. Serve it hot and watch it disappear!
Pro Tips for the Perfect Skillet
Want to take your skillet game to the next level? Here are a few of my tried-and-true tips:
- Evenly Cubed Potatoes: Make sure your potatoes are cut into uniform sizes. This ensures they cook evenly and become perfectly crispy.
- Don’t Overcrowd the Skillet: When cooking the chicken, avoid overcrowding the skillet. Cook in batches if needed to ensure the chicken browns properly.
- Taste as You Go: Seasoning is key! Taste the potatoes and chicken as you cook and adjust the seasonings to your liking.
- Use Quality Ingredients: The better the ingredients, the better the dish. Opt for fresh garlic, good quality parmesan sauce, and flavorful chicken.
- Crispy Potatoes are Key: For extra crispy potatoes, you can parboil them for a few minutes before air frying or roasting. This helps to soften the outsides and create a crispier crust.
I once made this for a potluck, and I completely forgot to season the potatoes properly. Let’s just say, it wasn’t my finest culinary moment. But hey, we all make mistakes, right? That’s why tasting as you go is so important!
Common Mistakes to Avoid
We’ve all been there—a slight misstep can sometimes lead to a kitchen mishap. Here are a few common mistakes to watch out for when making this skillet:
- Under-Seasoning: This is a big one! Don’t be shy with the salt, pepper, garlic powder, and paprika. The potatoes and chicken need to be well-seasoned to truly shine.
- Overcooking the Chicken: Overcooked chicken can become dry and tough. Use a meat thermometer to ensure the chicken reaches an internal temperature of 165°F, but don’t go beyond that.
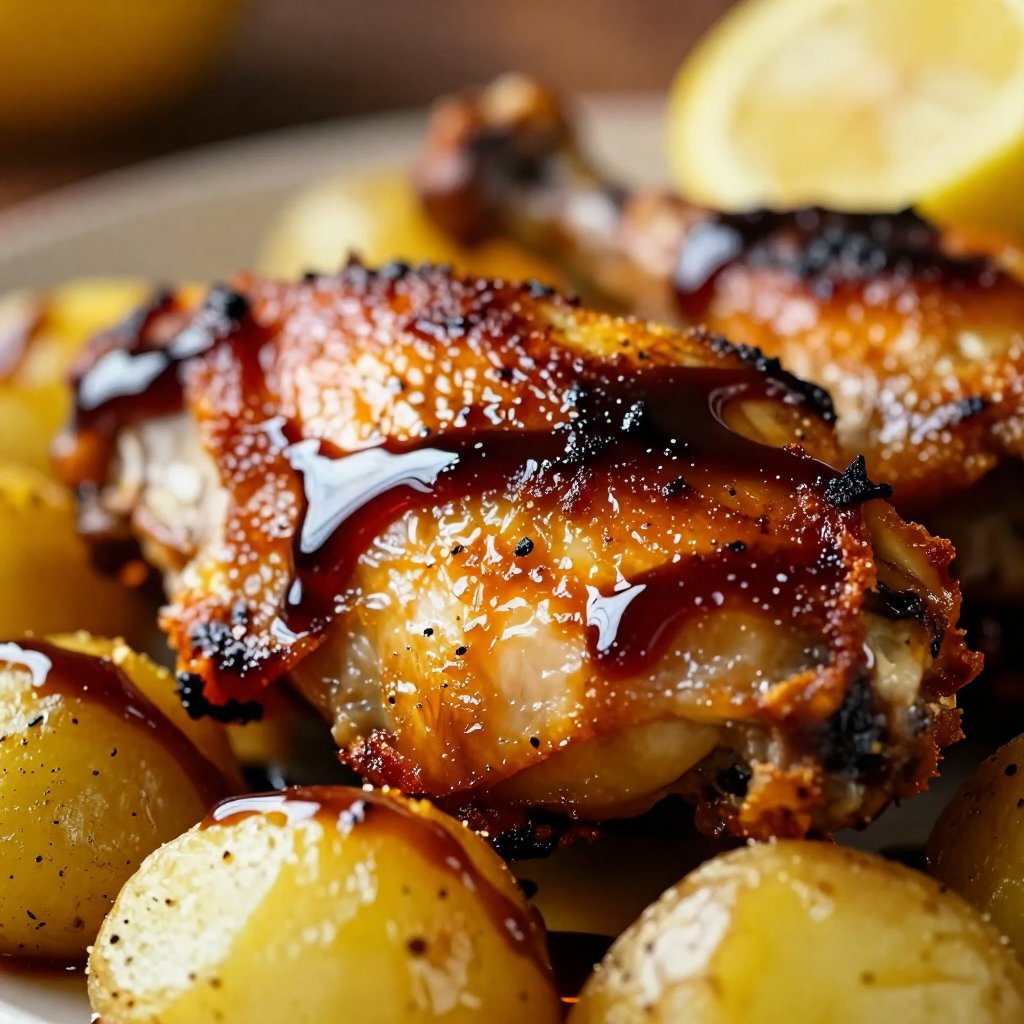
- Not Using Enough Sauce: The garlic parmesan sauce is what brings everything together. Make sure to use enough to coat the chicken and potatoes evenly.
- Burning the Garlic: Garlic can burn quickly, so keep a close eye on it and stir frequently. Burnt garlic can have a bitter taste that can ruin the dish.
- Skipping the Air Fryer/Oven Step for Potatoes: While you *could* cook the potatoes in the skillet from the start, you really won’t get that amazing crispy texture. It’s worth the extra step.
Garlic Parmesan Chicken and Potatoes Skillet Variations
One of the things I love most about this recipe is how versatile it is. Feel free to get creative and customize it to your liking! Here are a few variations to try:
- Add Veggies: Toss in some broccoli florets, bell peppers, onions, or mushrooms for added nutrients and flavor.
- Spice it Up: Add a pinch of red pepper flakes or a dash of hot sauce for a little kick.
- Use Different Cheeses: Swap out the mozzarella for parmesan, provolone, or a blend of Italian cheeses.
- Add Herbs: Fresh herbs like parsley, basil, or oregano can add a burst of flavor.
- Make it Creamy: Stir in a splash of heavy cream or sour cream at the end for a richer, creamier sauce.
- Garlic Parmesan Chicken Potato Casserole: Instead of the skillet, layer the ingredients in a casserole dish and bake until bubbly and golden.
- Garlic Parmesan Chicken Thighs And Potatoes: Use chicken thighs instead of breasts for a richer, more flavorful dish.
I once tried adding roasted Brussels sprouts to this skillet, and it was a game-changer! The slightly bitter sprouts paired perfectly with the savory chicken and potatoes. Don’t be afraid to experiment and find your own favorite combinations.
How to Store and Reheat Leftovers
If you happen to have any leftovers (which is rare in my house!), here’s how to store and reheat them:
- Storage: Allow the skillet to cool completely, then transfer the leftovers to an airtight container and store in the refrigerator for up to 3-4 days.
- Reheating: You can reheat the skillet in the microwave, oven, or skillet. For best results, reheat in the oven at 350°F until heated through. Adding a little extra garlic parmesan sauce can help to keep it moist.
I’ve found that reheating it in the skillet with a little extra butter and garlic parmesan sauce makes it taste almost as good as the first time!
Frequently Asked Questions (FAQ)
Got questions? I’ve got answers! Here are some of the most common questions I get about this recipe:
- Can I use frozen potatoes? Yes, you can use frozen potatoes, but keep in mind that they may not get as crispy as fresh potatoes.
- Can I use boneless, skinless chicken thighs instead of breasts? Absolutely! Chicken thighs are a great alternative and can add even more flavor to the dish.
- Can I make this ahead of time? You can prep the ingredients ahead of time, but I recommend cooking the skillet fresh for the best flavor and texture.
- What if I don’t have Buffalo Wild Wings Garlic Parmesan Sauce? You can use any store-bought garlic parmesan sauce or make your own using butter, garlic, parmesan cheese, and a little cream.
- Can I add other vegetables? Of course! Feel free to add any vegetables you like, such as broccoli, bell peppers, or onions.
- Is it okay to skip the cheese? If you are dairy-free, you can skip the cheese.
One time, I accidentally used sweet potatoes instead of regular potatoes, and it turned out surprisingly delicious! The sweetness of the potatoes added a unique twist to the dish. So, don’t be afraid to experiment and adapt the recipe to your liking.
Serving Suggestions
This Garlic Parmesan Chicken and Potatoes Skillet is a complete meal on its own, but here are a few serving suggestions to make it even more special:
- Side Salad: Serve with a simple green salad or a Caesar salad for a fresh and light contrast.
- Garlic Bread: Pair with warm garlic bread for dipping into the delicious garlic parmesan sauce.
- Steamed Vegetables: Add a side of steamed broccoli, green beans, or asparagus for a healthy and colorful addition.
- Crusty Bread: Serve with a slice of crusty bread to soak up all the flavorful sauce.
I often serve this with a side of roasted asparagus and a slice of crusty bread. It’s the perfect combination of flavors and textures, and it always leaves everyone feeling satisfied.
So there you have it—my go-to Garlic Parmesan Chicken and Potatoes Skillet recipe. I hope you love it as much as I do! Remember, cooking is all about having fun and experimenting, so don’t be afraid to put your own spin on this dish. And if you do, be sure to share your creations with me!
Happy cooking, friends! And remember, every ‘oops’ moment is just an invitation to try again—this time with a little more patience and maybe a pinch more salt. Until next time!
Garlic Parmesan Chicken and Potatoes Skillet
Ingredients
Ingredients
- 2 chicken breasts (cubed)
- 4 –5 small/medium-sized potatoes (cubed)
- Olive oil (for tossing the potatoes)
- Salt, pepper, garlic powder, paprika (for seasoning potatoes)
- 2 tablespoons butter
- 0.5 teaspoon salt (for seasoning chicken)
- 0.5 teaspoon pepper (for seasoning chicken)
- 1 teaspoon paprika
- 1 teaspoon onion powder
- 1 teaspoon Italian seasoning
- 2 tablespoons minced garlic
- Buffalo Wild Wings Garlic Parmesan Sauce (as desired)
- 1 cup shredded mozzarella cheese
Instructions
- Wash, peel, and cube potatoes. Toss with olive oil, salt, pepper, garlic powder, and paprika.
- Air fry potatoes at 400°F for 20 minutes, shaking occasionally, until crispy and tender.
- Cube chicken and season with salt, pepper, paprika, onion powder, and Italian seasoning.
- Melt butter in a skillet over medium-high heat. Cook chicken until fully cooked (165°F).
- Stir in garlic and Garlic Parmesan Sauce. Cook 1-2 minutes, coating chicken evenly.
- Add air-fried potatoes to the skillet with the chicken and toss to coat.
- Sprinkle mozzarella cheese on top. Cover until melted or broil until bubbly and golden.
Notes