Why You’ll Love This Quick Salmon Recipe
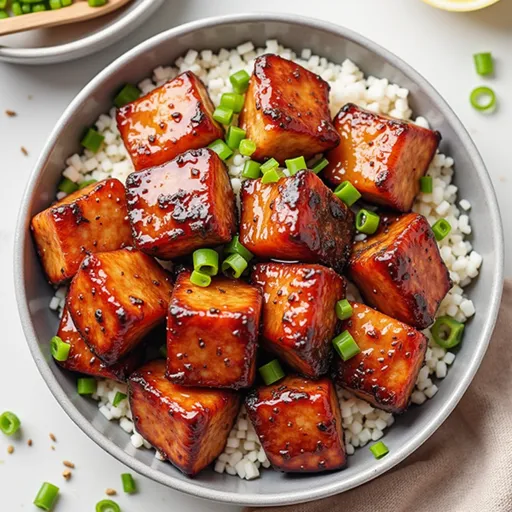
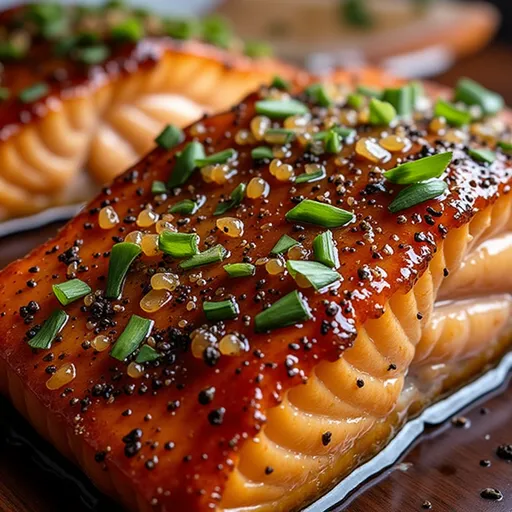
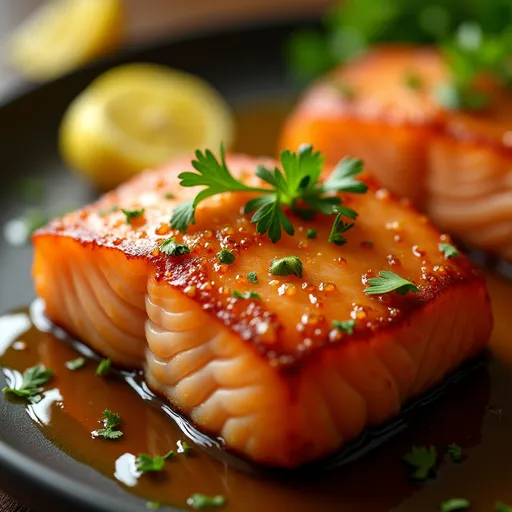
Imagine a weeknight dinner that’s not just easy to prepare but also bursts with flavor and nutrition. These Sweet & Savory Honey Garlic Salmon Bites are everything you need when life gets busy. In under 30 minutes, you can whip up a dish that will have your family asking for seconds and your friends swooning over your culinary skills. The combination of sweet honey, soy sauce, and savory garlic creates a delightful glaze that perfectly complements the rich, buttery texture of salmon. Not only are these bite-sized morsels delectable, but they also pack a nutritional punch, making them a fantastic choice for health-conscious eaters.
Ingredients You’ll Need
To create these mouthwatering salmon bites, gather the following ingredients:
- 1 lb salmon fillet, skin removed and cut into bite-sized pieces
- 2 tablespoons honey
- 2 tablespoons soy sauce
- 3 cloves garlic, minced
- 1 tablespoon olive oil
- 1 teaspoon sesame oil
- Salt and pepper to taste
- Chopped green onions for garnish
- Sesame seeds for garnish
Steps to Culinary Success

Follow these simple steps to create your own Honey Garlic Salmon Bites:
- In a small bowl, whisk together honey, soy sauce, minced garlic, olive oil, and sesame oil until well combined.
- Season the salmon pieces with salt and pepper for an added flavor boost.
- Heat a non-stick skillet over medium-high heat and add the salmon pieces in a single layer.
- Cook the salmon for 2-3 minutes until browned, then flip and cook for another 2 minutes.
- Pour the honey garlic sauce over the salmon and cook for an additional 1-2 minutes, allowing the sauce to thicken slightly.
- Remove from heat and garnish with chopped green onions and sesame seeds.
- Serve immediately and enjoy your quick weeknight delight!
Why These Bites Are a Hit
These Honey Garlic Salmon Bites have quickly gained a place in my heart—and my recipe book—because they are:
- Quick and Easy: Perfect for those busy weeknights when you need dinner on the table in a flash.
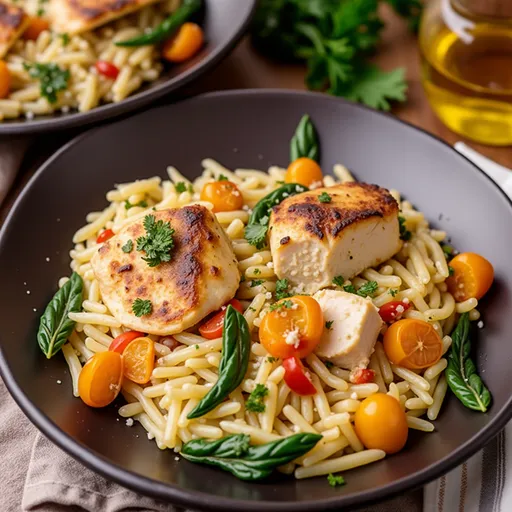
- Versatile: Enjoy them over rice, in a salad, or as a stand-alone appetizer. The possibilities are endless!
- Nutritious: Loaded with omega-3 fatty acids, these salmon bites are as good for your heart as they are for your taste buds.
- Kid-Friendly: The sweet and savory flavors appeal to all ages, making them a great family dinner choice.
Tips for Cooking Perfect Salmon Bites
To elevate your salmon bites from good to great, keep these tips in mind:
- Pat the Salmon Dry: Moisture can prevent a good sear. Gently patting the salmon with paper towels will help achieve that golden-brown exterior.
- Don’t Overcrowd the Pan: Give each piece space to sear properly. Overcrowding can lead to steaming instead of browning.
- Use Medium-High Heat: This ensures a crispy texture without overcooking the inside of the salmon.
- Let the Sauce Thicken: Allow the sauce to bubble and cling to the fish for maximum flavor.
Delicious Variations
Feeling adventurous? Here are some fun twists on the classic recipe:
- Add Spice: Incorporate a teaspoon of sriracha or chili garlic sauce for a spicy kick.
- Citrus Zing: Squeeze some fresh lime or orange juice into the sauce for a bright, zesty flavor.
- Herb Infusion: Mix in fresh herbs like cilantro or basil for a fresh twist on the glaze.
Substitutions You Can Make
Don’t have all the ingredients on hand? No problem! Here are some substitutions:
- Honey: Maple syrup can be an excellent vegan alternative for sweetness.
- Soy Sauce: For a gluten-free option, use tamari instead.
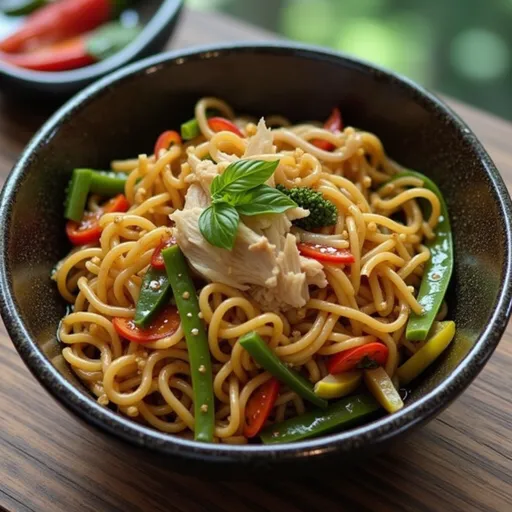
- Salmon: If salmon isn’t your thing, try using chicken breast or tofu, adjusting the cooking time as necessary.
Essential Equipment
To make your Honey Garlic Salmon Bites, you will need:
- A non-stick skillet or frying pan
- A small mixing bowl
- A whisk or fork for mixing
- A spatula or tongs for flipping the salmon
Storage and Freezing Tips
Want to prepare ahead or preserve leftovers? Here’s how:
- Refrigeration: Store cooked salmon bites in an airtight container in the fridge for up to 3 days.
- Freezing: For longer storage, freeze the salmon before cooking. Marinate and freeze raw pieces in a sealed bag. Thaw in the fridge before cooking.
Frequently Asked Questions
Let’s address some common queries about this delightful recipe:
- Can I use frozen salmon? Absolutely! Just make sure to thaw it properly before cooking.
- What can I serve with these salmon bites? They pair beautifully with steamed veggies, rice, or a fresh salad.
- Is it okay to double the recipe? Yes! Just ensure your skillet can accommodate the salmon without overcrowding.
Troubleshooting Common Issues
If you encounter any hiccups during cooking, here’s how to fix them:
- Salmon is sticking: Make sure your pan is hot enough and use a non-stick skillet for best results.
- Sauce isn’t thickening: Allow it to simmer a bit longer to reach the desired consistency.
- Salmon is overcooked: Keep an eye on the cooking time; salmon cooks quickly, and it’s best enjoyed slightly undercooked for optimal texture.
Serving Suggestions
Presentation is key when it comes to impressing your guests. Here are some ideas for serving:
- Serve on a beautiful platter with a sprinkle of sesame seeds and chopped green onions for a pop of color.
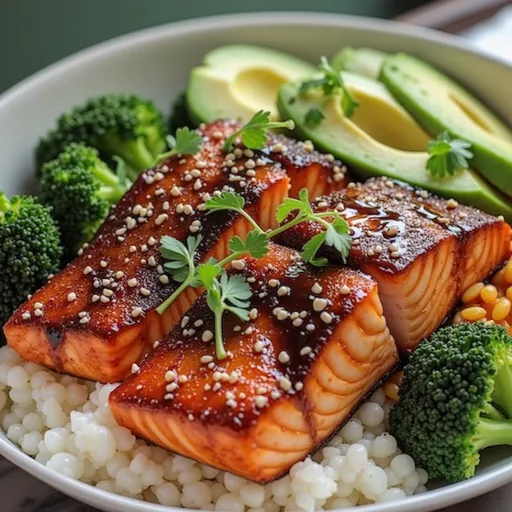
- Pair with a side of jasmine rice and steamed broccoli for a complete meal.
- For entertaining, serve as an appetizer on toothpicks with a side of dipping sauce.
Conclusion: Bring the Magic Home
Cooking should be a joyful experience, and Sweet & Savory Honey Garlic Salmon Bites bring just the right mix of ease and delight to your kitchen. They are a reminder that great food doesn’t have to be complicated; it just needs a little love and the right ingredients. So whether you’re treating your family to a wholesome meal or impressing friends at a gathering, these salmon bites are sure to become a beloved staple in your recipe rotation. Let’s make some magic happen together—grab your apron, and let’s get cooking!

Sweet & Savory Honey Garlic Salmon Bites: A Quick Weeknight Delight
Ingredients
Main
- 1 lb salmon fillet, skin removed and cut into bite-sized pieces
- 2 tablespoons honey
- 2 tablespoons soy sauce
- 3 cloves garlic, minced
- 1 tablespoon olive oil
- 1 teaspoon sesame oil
- to taste salt and pepper
- chopped green onions for garnish chopped green onions
- sesame seeds for garnish sesame seeds
Instructions
- Whisk honey, soy sauce, garlic, olive oil, and sesame oil.
- Season salmon with salt and pepper.
- Cook salmon in a skillet over medium-high heat for 2-3 minutes per side.
- Add sauce and cook for 1-2 minutes until thickened.
- Garnish with green onions and sesame seeds, then serve.
Notes
Loved this recipe? Save it to your favorite Pinterest board so you can easily find it later! It’s the perfect way to keep all your sweet ideas in one place. ✨