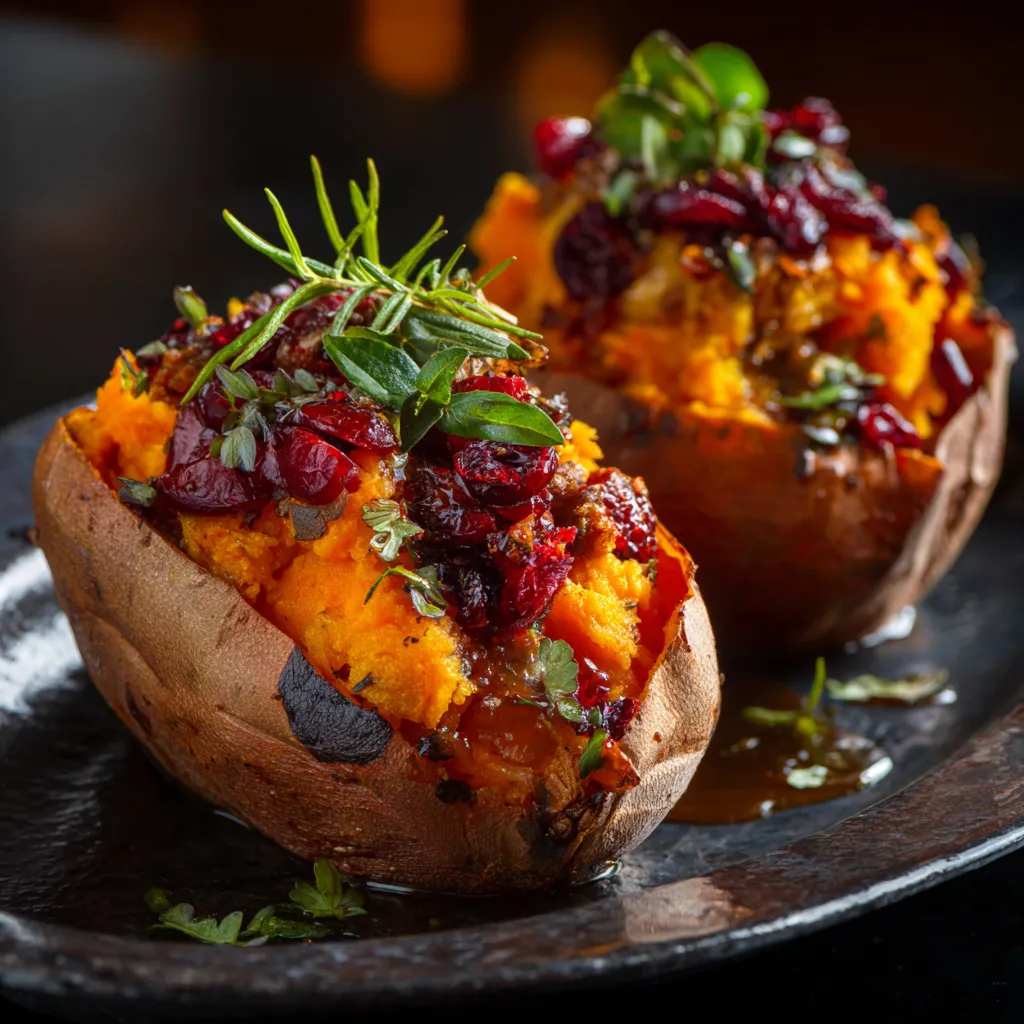
Welcome to a Flavorful Journey!
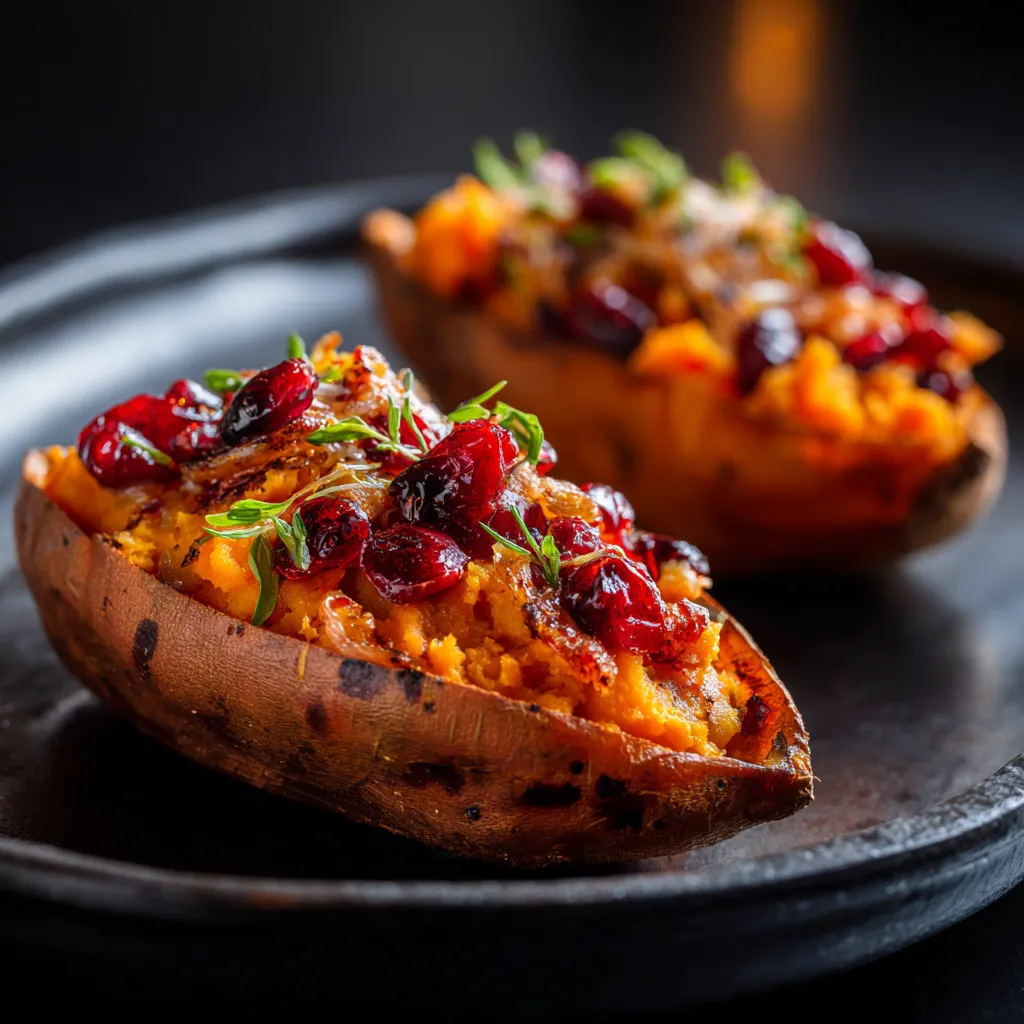
Hey there, friend! I’m Ava, and today, we’re diving into something truly special: my Cranberry Apple Twice-Baked Sweet Potatoes. If you’re looking for a dish that embodies the warmth and comfort of fall, you’ve come to the right place. This recipe marries the earthy sweetness of sweet potatoes with the tartness of cranberries and the delightful crunch of apples. Not only is this dish a feast for the eyes, but it’s also a healthful option that will have your taste buds doing a happy dance.
Whether you’re prepping for a holiday gathering or simply want to treat yourself on a cozy evening at home, these twice-baked beauties are sure to impress. Let’s get cooking!
Why You’ll Love This Recipe
- Comforting and Cozy: This dish is like a warm hug on a plate, perfect for chilly evenings.
- Healthful Ingredients: Packed with nutrients, sweet potatoes are a great source of vitamins and fiber.
- Versatile Serving Options: Great as a side dish for holiday meals or a wholesome main for a light dinner.
- Make-Ahead Friendly: Prepare in advance and pop them in the oven just before serving.
- Unique Flavor Profile: The combination of sweet and tart from the apples and cranberries adds a delightful twist.
Ingredient Breakdown: Sweet and Savory Elements
Let’s talk about what goes into these magical twice-baked sweet potatoes. Here’s what you’ll need:
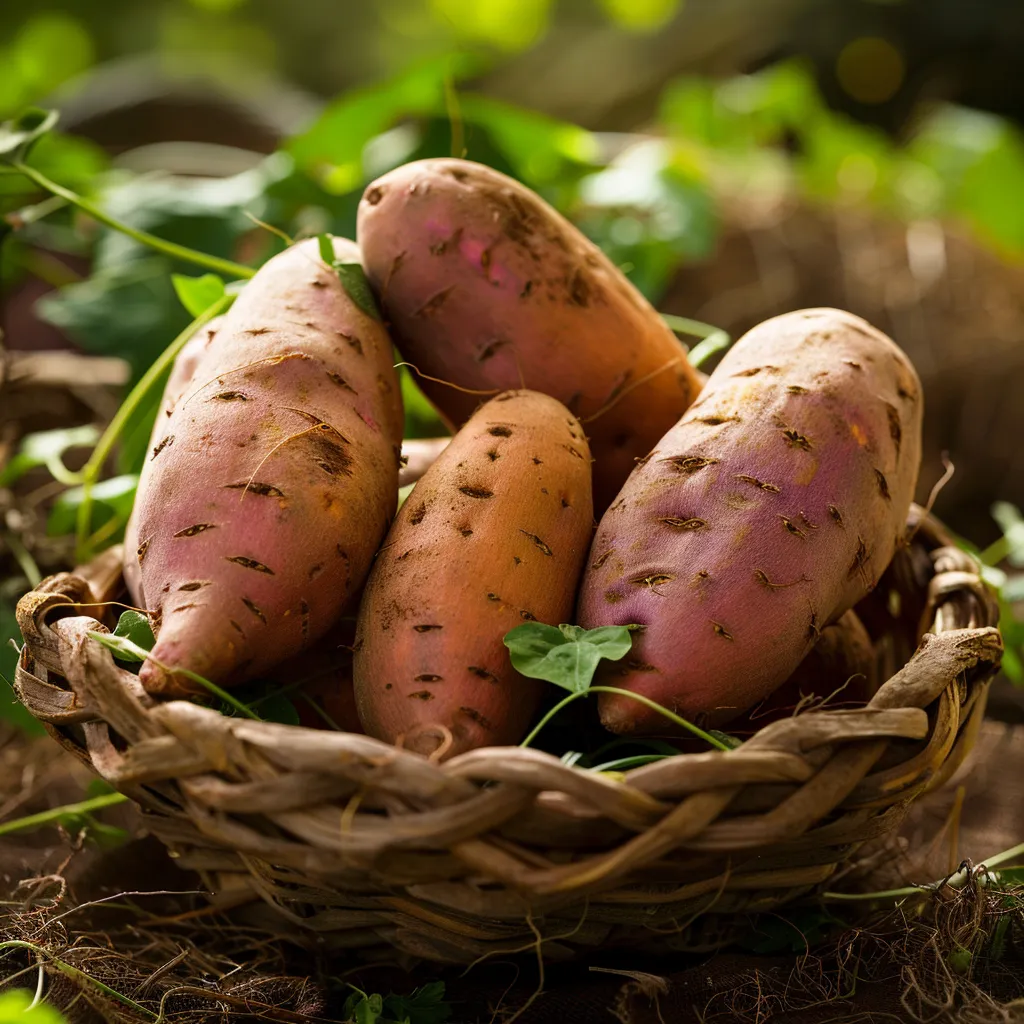
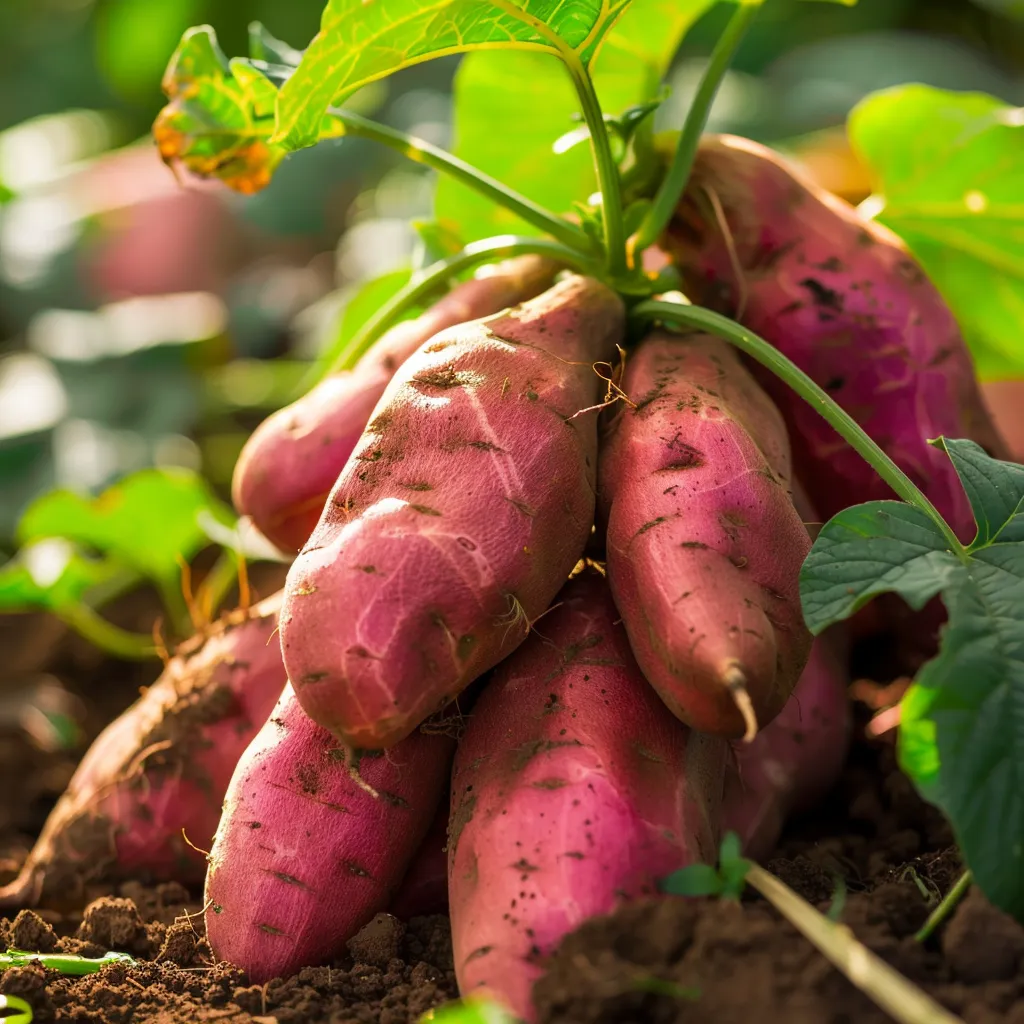
- 4 medium sweet potatoes: Choose firm, blemish-free potatoes for the best texture and flavor.
- 1 cup fresh cranberries: These provide a lovely tartness that balances the sweetness of the sweet potatoes.
- 1 large apple, diced: I love using a tart apple like Granny Smith for that extra zing.
- 1/4 cup maple syrup: A natural sweetener that enhances the overall flavor profile.
- 1/2 teaspoon cinnamon: Adds warmth and depth to the filling.
- 1/4 teaspoon nutmeg: A pinch of nutmeg elevates the dish with its aromatic essence.
- 1/4 cup chopped pecans (optional): Adds a crunchy texture; feel free to substitute with walnuts or omit for a nut-free version.
- Salt to taste: Just a pinch to balance the flavors.
Feel free to get creative! If you’re out of cranberries, dried cherries or raisins can work wonderfully in this recipe. And if you prefer a different nut, almonds or hazelnuts can add a lovely crunch.
Step-by-Step Instructions for Deliciousness
Ready to bring this recipe to life? Follow these simple steps:
- Preheat the oven: Set it to 400°F (200°C).
- Prepare the sweet potatoes: Wash and pierce each potato with a fork. Place them on a baking sheet and bake for 45-60 minutes, or until tender.
- Make the filling: In a saucepan, combine cranberries, diced apple, maple syrup, cinnamon, nutmeg, and a pinch of salt. Cook over medium heat until the cranberries burst and the mixture thickens, about 10-15 minutes.
- Cool and scoop: Once the sweet potatoes are done, let them cool slightly. Cut them in half lengthwise and scoop out the flesh, leaving a thin layer in the skins.
- Mix it up: In a mixing bowl, combine the sweet potato flesh with the cranberry-apple mixture and half of the chopped pecans. Mix until well combined.
- Stuff and bake: Spoon the mixture back into the sweet potato skins, mounding it slightly. Return to the oven and bake for an additional 15-20 minutes, until heated through.
- Final touches: Remove from the oven, sprinkle the remaining pecans on top, and serve warm. Enjoy!
Pro Tips for Perfect Twice-Baked Sweet Potatoes
- Choose the right sweet potatoes: Look for medium-sized, firm potatoes with vibrant skin.
- Don’t overbake: If your sweet potatoes are too soft, they may become mushy when mixed with the filling.
- Experiment with spices: Feel free to add ginger or allspice for a different flavor profile!
- Check consistency: If the filling is too thick, add a splash of apple juice or water to loosen it up.
- Make it vegan: Substitute maple syrup for agave nectar, and use coconut oil instead of butter.
- Enhance the texture: For a creamier filling, add a dollop of Greek yogurt or sour cream.
- Prep ahead: You can prepare the filling a day in advance and store it in the fridge.
- Garnish creatively: Try a drizzle of balsamic glaze or a sprinkle of fresh herbs for an extra pop!
Common Mistakes and Troubleshooting
Even the best chefs have their off days! Here are some common pitfalls to avoid:
- Underbaking the sweet potatoes: Ensure they’re fork-tender before scooping out the flesh.
- Overmixing the filling: This can lead to a gummy texture—mix just until combined.
- Forgetting to season: A pinch of salt in the filling is crucial for balancing flavors.
- Not letting the filling cool: If the filling is too hot, it may melt the sweet potato skins.
Delicious Variations to Try
If you want to switch things up, consider these fun variations:
- Maple Pecan Delight: Replace the cranberries with chopped dates and add extra pecans for crunch.
- Savory Spin: Add sautéed spinach and feta cheese for a Mediterranean twist.
- Spicy Kick: Incorporate diced jalapeños into the filling for a surprising heat.
- Cheesy Version: Mix in shredded cheese for a gooey, comforting option.
Storage and Make-Ahead Instructions
Want to prepare these in advance? Here’s how:
- Make-Ahead: Assemble the sweet potatoes up to the final bake, cover, and store in the fridge for up to 24 hours.
- Freezing: You can freeze the filled sweet potatoes before baking. Wrap them tightly in foil and store for up to 3 months. Thaw in the fridge overnight before baking.
- Leftovers: Store any leftovers in an airtight container in the fridge for up to 3 days. Reheat in the oven for best results.
Comprehensive FAQ
- Can I use canned cranberries? While fresh cranberries give the best flavor, you can use canned ones. Just drain them well.
- What other fruits can I add? Pears or peaches can add a delightful twist to the filling.
- How do I know when the sweet potatoes are done? They should be tender enough to pierce easily with a fork.
- Can I make this recipe gluten-free? Yes! All ingredients are naturally gluten-free.
- How do I prevent the filling from being too runny? Make sure the cranberries burst and thicken properly during cooking.
- Can I prepare the filling ahead of time? Absolutely! Store it in the fridge for up to 3 days before using.
- Is this dish suitable for vegans? Yes, just make sure to swap any non-vegan ingredients.
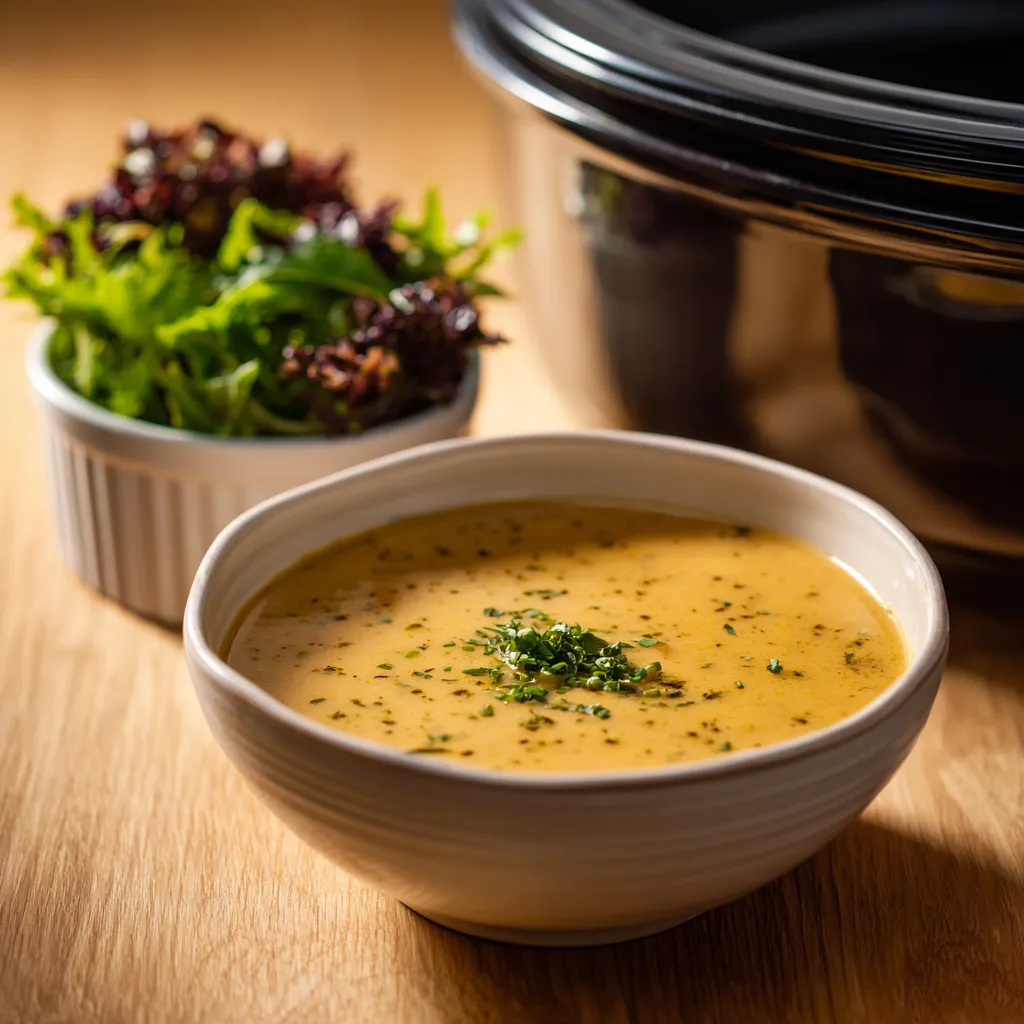
- What do I serve with these sweet potatoes? They pair beautifully with roast chicken, turkey, or a salad for a lighter meal.
Nutritional Benefits and Dietary Adaptations
This recipe isn’t just delicious; it’s also packed with nutrients!
- Rich in Vitamins: Sweet potatoes are a great source of vitamin A, which supports eye health.
- High in Fiber: This dish is loaded with fiber, helping to support digestion.
- Low in Calories: A guilt-free option, especially when you swap out heavy ingredients.
- Customizable for Diets: Easily adapted for gluten-free, vegan, or nut-free diets.
Essential Equipment for Success
Before you get started, gather your kitchen essentials:
- Sharp knife: For cutting the sweet potatoes and dicing the apple.
- Cutting board: A sturdy surface is key for safe chopping.
- Mixing bowls: You’ll need a couple of different sizes for mixing and mashing.
- Measuring cups and spoons: Accurate measurements are crucial for the perfect balance of flavors.
- Baking sheet: To bake the sweet potatoes and hold the filling.
Serving Suggestions: How to Enjoy Your Creation
Once your Cranberry Apple Twice-Baked Sweet Potatoes are out of the oven, consider these serving ideas:
- Garnish with Fresh Herbs: A sprinkle of parsley or chives adds a fresh touch.
- Pair with Proteins: Serve alongside roasted turkey or chicken for a complete meal.
- Lighten It Up: Serve with a side salad for a refreshing contrast.
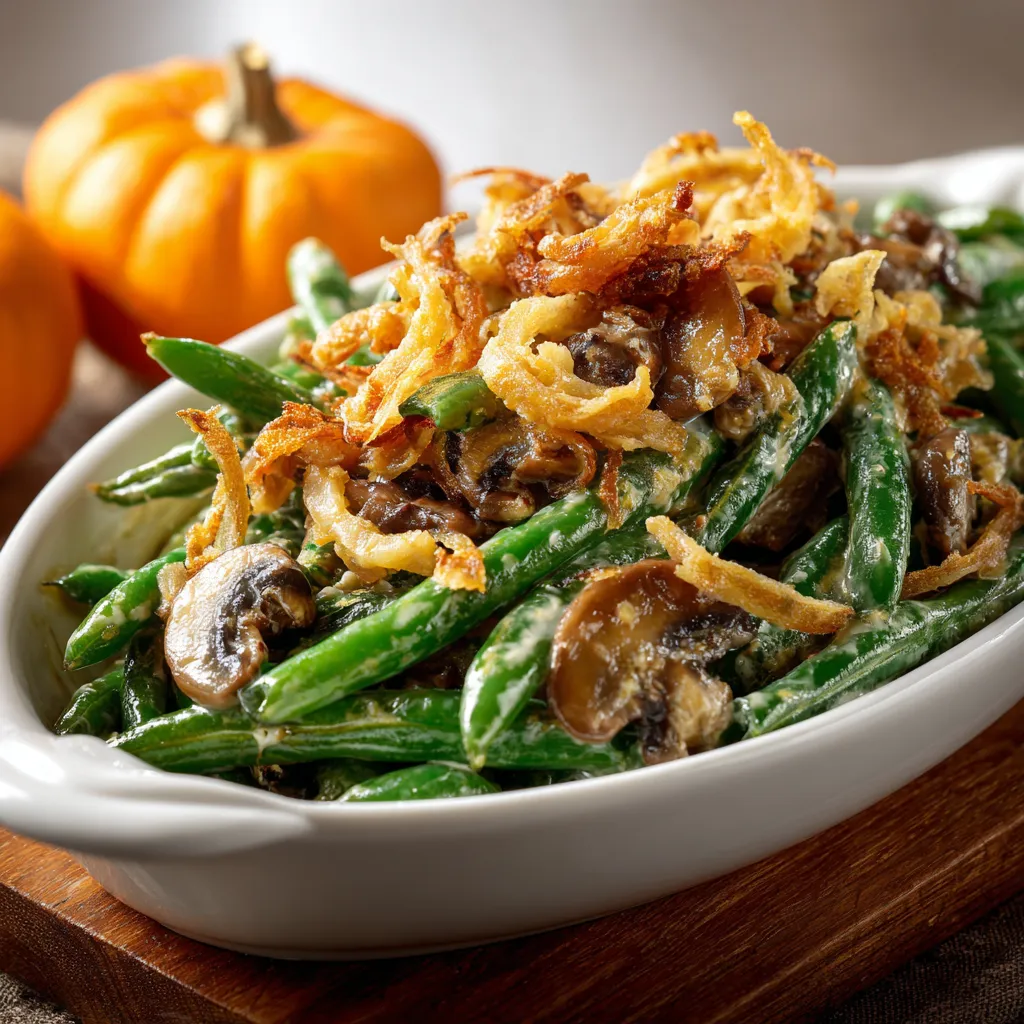
- Make It a Feast: Include these as part of your Thanksgiving spread or holiday feast for a vibrant touch.
Cooking is about sharing joy and love through food. I hope these Cranberry Apple Twice-Baked Sweet Potatoes bring warmth to your kitchen and smiles to your table. Happy cooking, and remember, the best recipes come with a sprinkle of love!
Irresistible Cranberry Apple Twice-Baked Sweet Potatoes – A Healthy Delight!
Ingredients
Sweet Potatoes
- 4 medium sweet potatoes
- 1 cup fresh cranberries
- 1 large apple, diced
- 1/4 cup maple syrup
- 1/2 teaspoon cinnamon
- 1/4 teaspoon nutmeg
- 1/4 cup chopped pecans (optional)
- to taste salt
Instructions
- Preheat oven to 400°F (200°C). Bake sweet potatoes for 45-60 minutes until tender.
- Cook cranberries, apple, maple syrup, cinnamon, nutmeg, and salt until thickened, about 10-15 minutes.
- Cool sweet potatoes, halve lengthwise, and scoop out flesh, leaving a thin layer.
- Mix sweet potato flesh with cranberry-apple mixture and half of pecans. Fill skins with the mixture.
- Bake filled sweet potatoes for 15-20 minutes, then top with remaining pecans and serve warm.
Notes
Loved this recipe? Save it to your favorite Pinterest board so you can easily find it later! It’s the perfect way to keep all your sweet ideas in one place. ✨