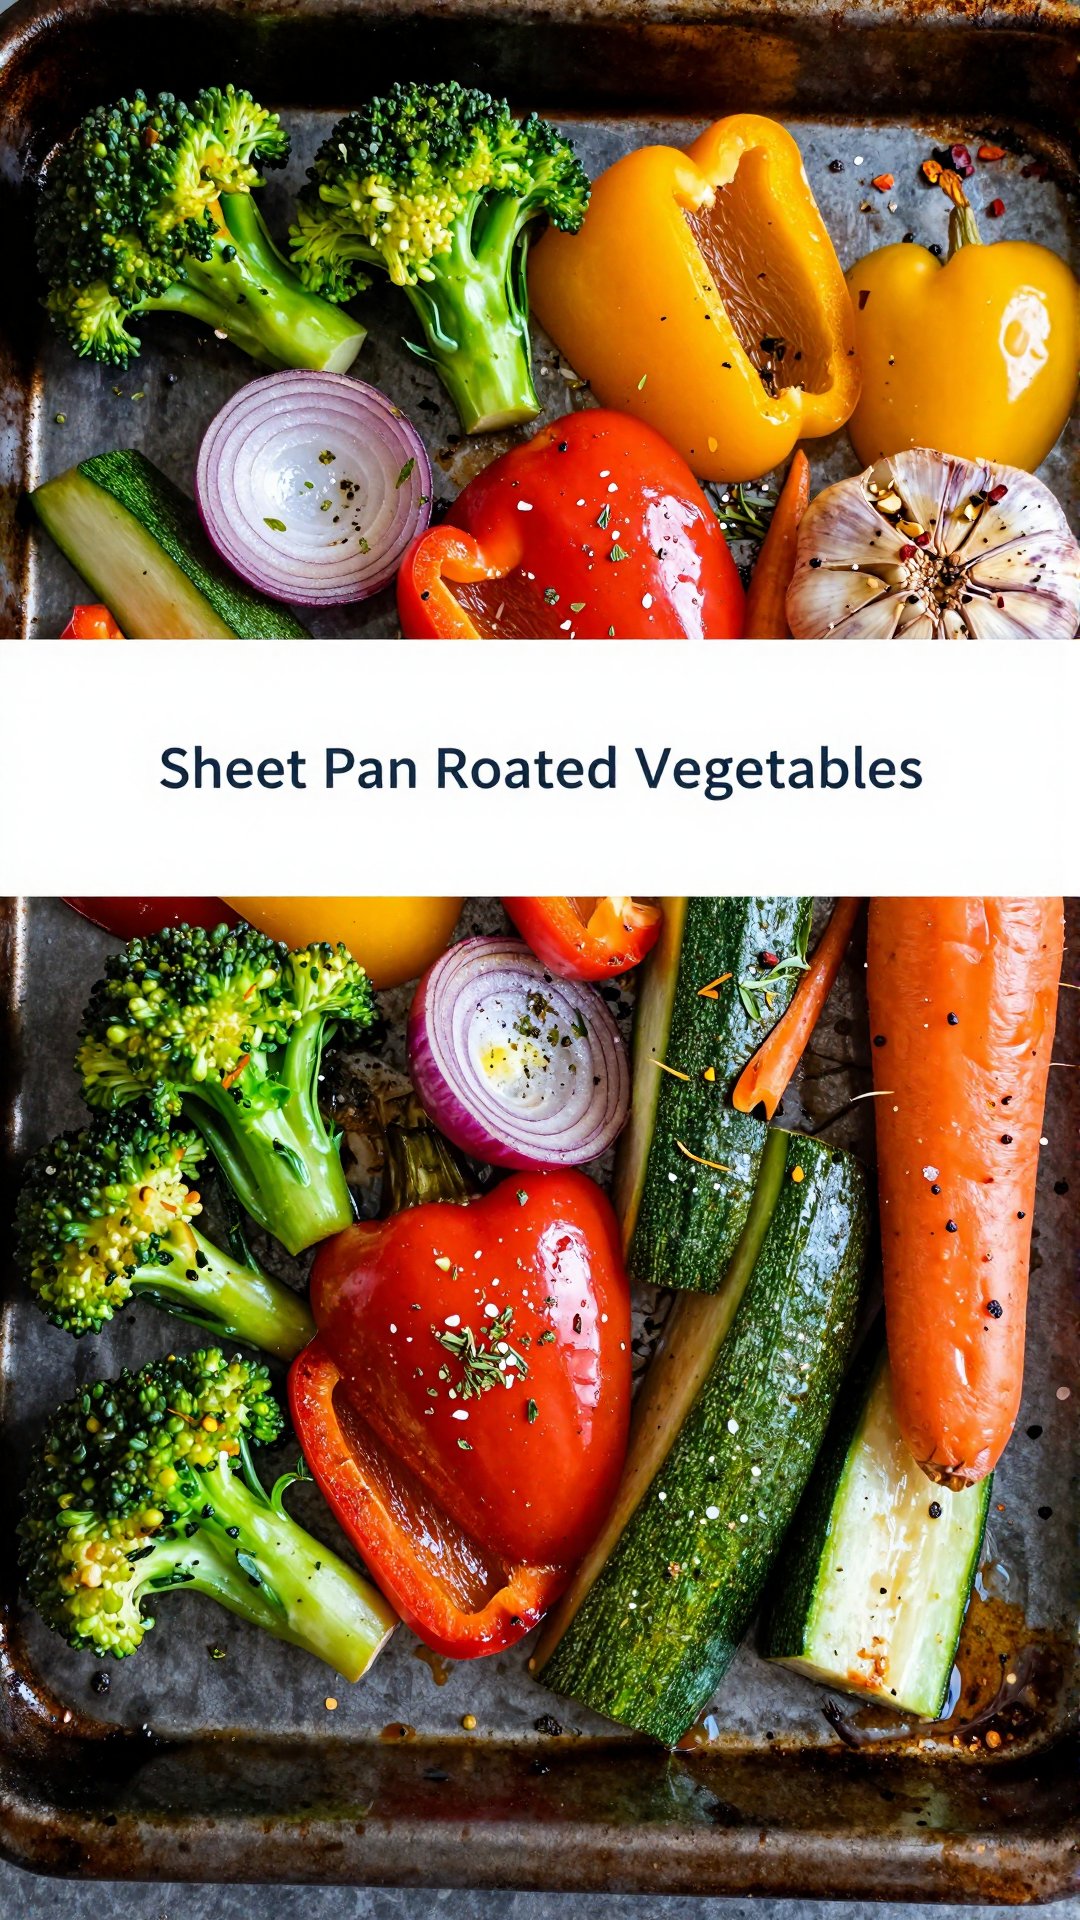
Hey there, friends! Ava here, back in my Seattle kitchen, where the magic (and the delicious smells!) happen. Today, we’re diving into a recipe that’s a total game-changer: Easy Sheet Pan Roasted Vegetables. If you’re anything like me, you’re always on the lookout for meals that are healthy, flavorful, and, most importantly, easy to clean up. This recipe ticks all those boxes and then some. It’s the perfect way to get your veggie fix while minimizing your time spent scrubbing pots and pans. Think of it as a warm hug on a plate – simple, comforting, and utterly satisfying.
Growing up, my mom always had a way of making vegetables taste incredible, even to a picky eater like I was. Her secret? Roasting! Roasting brings out the natural sweetness of vegetables, caramelizing them to perfection. This sheet pan method takes it to the next level, allowing you to roast a whole medley of veggies together, creating a symphony of flavors and textures. Whether you’re a seasoned cook or just starting out, this recipe is guaranteed to become a staple in your kitchen. So, grab your baking sheet, and let’s get roasting!
Why You’ll Love This Sheet Pan Roasted Vegetables Recipe
Seriously, what’s not to love? This recipe is a winner for so many reasons. Let’s break it down:
- Easy Peasy: Minimal prep time and a single pan mean less time in the kitchen and more time enjoying your meal.
- Healthy and Nutritious: Packed with vitamins, minerals, and fiber, these roasted vegetables are a nutritional powerhouse.
- Customizable: The beauty of this recipe is that you can easily adapt it to your liking. Swap in your favorite veggies, add different spices, or toss in some protein for a complete meal.
- Flavor Bomb: Roasting brings out the natural sweetness of the vegetables, creating a depth of flavor that’s simply irresistible. It’s a fantastic side dish or even a light vegetarian meal.
- Versatile: Serve these roasted vegetables as a side dish, add them to salads, or use them as a filling for wraps and sandwiches. The possibilities are endless!
- Perfect for Meal Prep: Roast a big batch on Sunday and enjoy them throughout the week in various dishes. This recipe is perfect for those who love meal prepping.
- The Sauce is Optional: While the vegetables are delicious on their own, a simple sauce can elevate them to the next level.
This sheet pan recipe is truly a lifesaver on busy weeknights. You can throw everything on one baking sheet, pop it in the oven, and walk away. When you come back, you’ll have a delicious, healthy meal waiting for you. It’s a simple way to get more vegetables into your diet without sacrificing flavor or convenience. It’s a truly satisfying side dish.
Ingredients You’ll Need
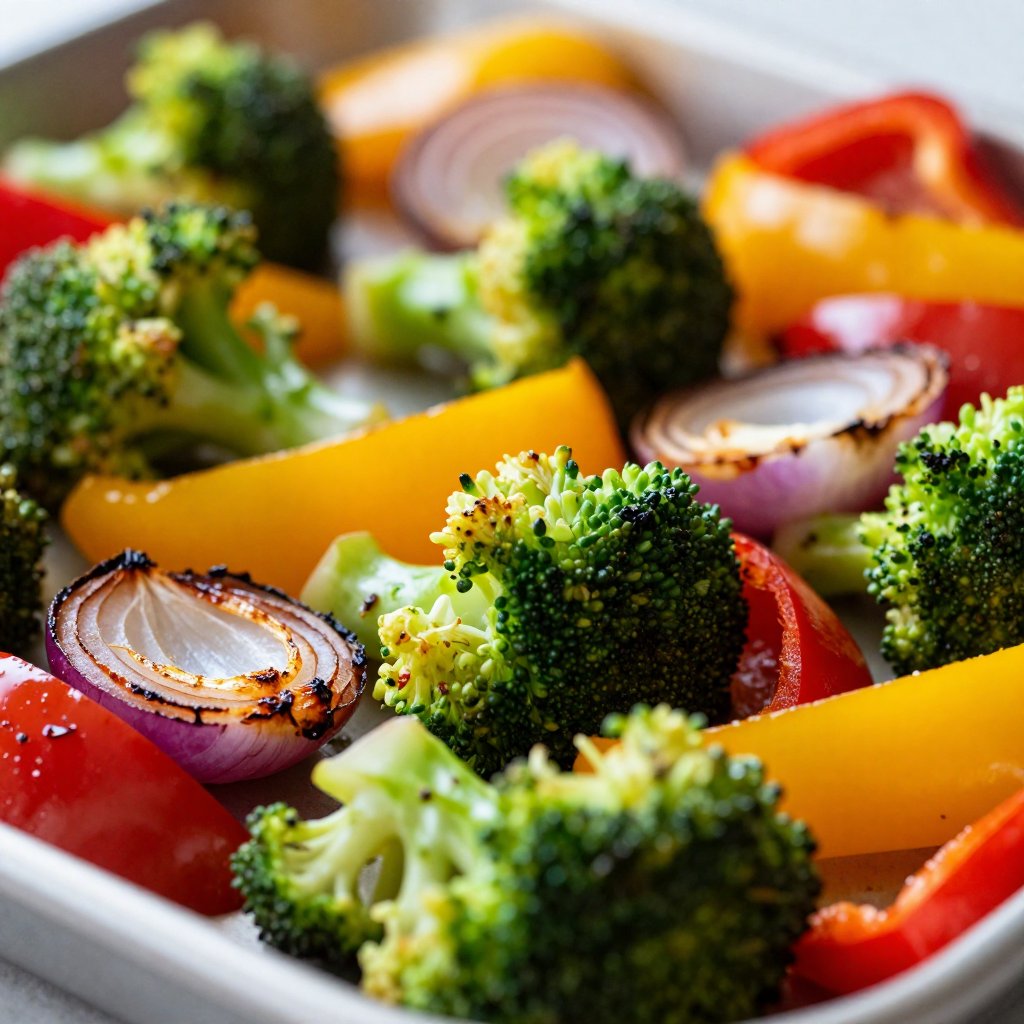
- 1 pound broccoli florets
- 1 red bell pepper, chopped
- 1 yellow bell pepper, chopped
- 1 red onion, cut into wedges
- 2 carrots, peeled and chopped
- 2 zucchini, chopped
- 4 cloves garlic, minced
- 3 tablespoons olive oil
- 1 teaspoon dried oregano
- 1/2 teaspoon dried basil
- 1/4 teaspoon red pepper flakes (optional)
- Salt and pepper to taste
Step-by-Step Instructions
Alright, let’s get down to business. Here’s how to make these amazing sheet pan roasted vegetables:
- Preheat: Preheat oven to 400°F (200°C).
- Combine: In a large bowl, combine all the vegetables, garlic, olive oil, oregano, basil, and red pepper flakes (if using). Season with salt and pepper.
- Spread: Spread the vegetables in a single layer on a large baking sheet. Make sure not to overcrowd the pan, or the vegetables will steam instead of roast. If necessary, use two baking sheets.
- Roast: Roast for 20-25 minutes, or until the vegetables are tender and slightly browned, flipping halfway through.
- Serve: Serve immediately and enjoy!
That’s it! Seriously, could it be any easier? Now, let’s dive into some pro tips to make sure your roasted vegetables are absolutely perfect.
Pro Tips for Perfect Sheet Pan Roasted Vegetables
Okay, friends, let’s talk pro tips. These little nuggets of wisdom will take your sheet pan roasted vegetables from good to absolutely amazing:
- Don’t Overcrowd the Pan: This is the golden rule of roasting vegetables. Overcrowding the pan will cause the vegetables to steam instead of roast, resulting in soggy veggies. Give them space to breathe!
- Cut Vegetables into Uniform Sizes: This ensures that all the vegetables cook evenly. No one wants some pieces to be perfectly roasted while others are still raw.
- Use High Heat: Roasting at a higher temperature (400°F/200°C) helps to caramelize the vegetables and bring out their natural sweetness.
- Toss with Olive Oil: Olive oil not only adds flavor but also helps the vegetables to brown and crisp up.
- Season Generously: Don’t be shy with the salt, pepper, and other spices. Seasoning is key to bringing out the flavors of the vegetables.
- Flip Halfway Through: Flipping the vegetables halfway through ensures that they cook evenly on all sides.
- Use Parchment Paper: Line your baking sheet with parchment paper for easy cleanup. Plus, it prevents the vegetables from sticking to the pan.
- Add Herbs at the End: If you’re using fresh herbs, add them during the last few minutes of roasting to prevent them from burning.
- Consider Adding Chickpeas: For a boost of protein and fiber, toss in some chickpeas during the last 10 minutes of roasting. It’s a simple addition that makes it even more satisfying.
These tips will help you achieve perfectly roasted vegetables every time. Trust me, once you master these techniques, you’ll never go back to soggy, bland veggies again. The key is to ensure the vegetables are evenly spread on the pan oven, and the oven roasted vegetables are seasoned well.
Common Mistakes to Avoid
We all make mistakes in the kitchen, but knowing what to avoid can save you from a less-than-stellar outcome. Here are some common pitfalls to watch out for when making sheet pan roasted vegetables:
- Using Old Vegetables: Fresh vegetables are key to achieving the best flavor and texture. Avoid using vegetables that are wilted or have soft spots.
- Not Drying the Vegetables: Excess moisture can prevent the vegetables from browning properly. Make sure to dry them thoroughly after washing.
- Using the Wrong Type of Olive Oil: Extra virgin olive oil has a lower smoke point and is not ideal for high-heat roasting. Opt for regular olive oil or another high-heat oil like avocado oil.
- Forgetting to Preheat the Oven: Preheating the oven is crucial for ensuring that the vegetables cook evenly.
- Not Monitoring the Vegetables: Keep an eye on the vegetables while they’re roasting to prevent them from burning. Every oven is different, so cooking times may vary.
- Adding Too Much Salt Too Early: Salt can draw moisture out of the vegetables, preventing them from browning. Add salt towards the end of the roasting process.
Avoiding these mistakes will help you achieve perfectly roasted vegetables every time. Remember, practice makes perfect, so don’t be discouraged if your first attempt isn’t flawless. The recipe is very forgiving.
Variations to Try
One of the best things about this sheet pan roasted vegetables recipe is that it’s incredibly versatile. Here are a few variations to try:
- Mediterranean Roasted Vegetables With Sauce: Add a Mediterranean twist by tossing the vegetables with feta cheese, Kalamata olives, and a drizzle of balsamic glaze after roasting.
- Roasted Veggies And Chickpeas: For a heartier meal, toss in some chickpeas during the last 10 minutes of roasting. Season with cumin, coriander, and a pinch of cayenne pepper for a flavorful kick.
- Roasted Vegetables With Feta: Crumble feta cheese over the roasted vegetables during the last few minutes of cooking. The salty feta pairs perfectly with the sweet, caramelized vegetables.
- Spicy Roasted Vegetables: Add a pinch of cayenne pepper or a dash of hot sauce to the vegetables before roasting for a fiery kick.
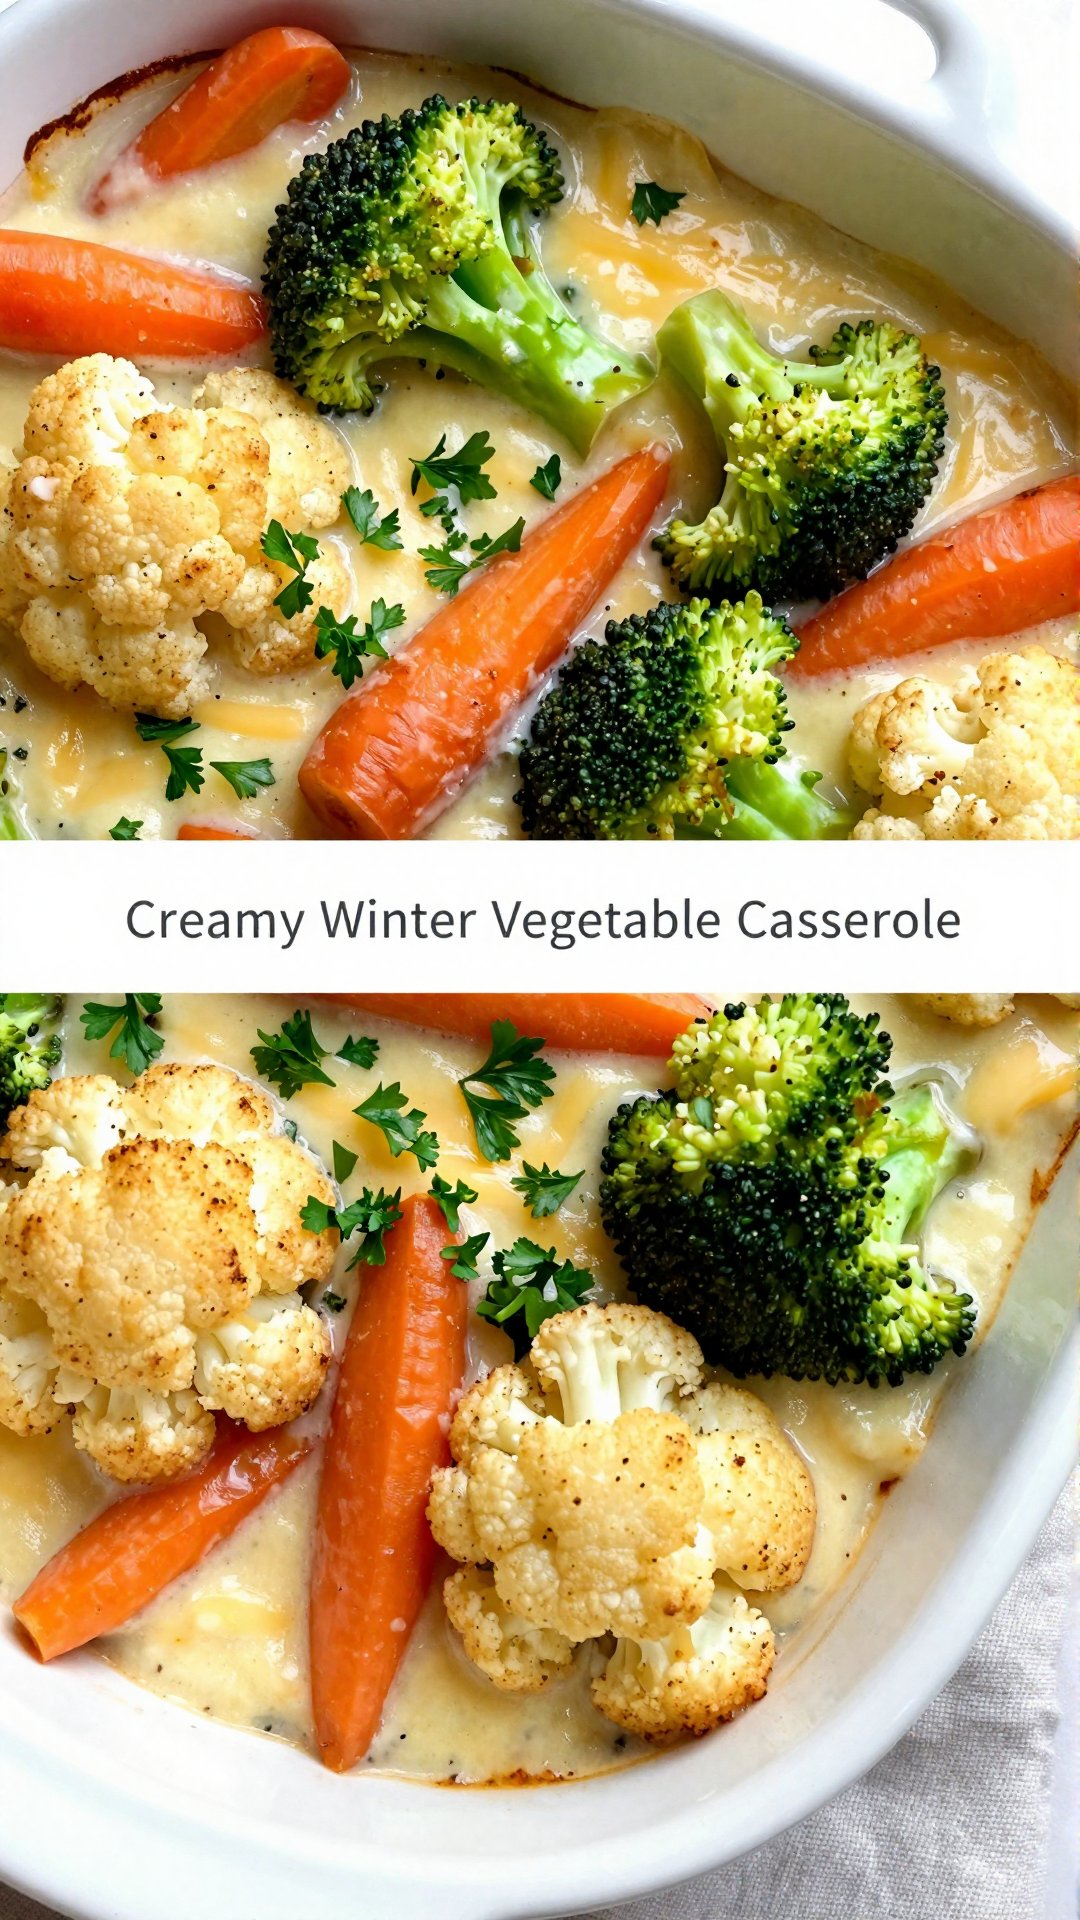
- Roasted Root Vegetables: Use a combination of root vegetables like carrots, parsnips, sweet potatoes, and beets for a hearty and flavorful side dish.
- Creamy Garlic Roasted Vegetables: Toss the roasted vegetables with a creamy garlic sauce made from Greek yogurt, minced garlic, lemon juice, and fresh herbs.
These are just a few ideas to get you started. Feel free to experiment with different combinations of vegetables, spices, and toppings to create your own signature roasted vegetable dish. The possibilities are endless! Remember the sauce can really transform the final product.
How to Store and Reheat Leftovers
If you happen to have any leftovers (which is rare in my house!), here’s how to store and reheat them:
- Storage: Allow the roasted vegetables to cool completely before transferring them to an airtight container. Store in the refrigerator for up to 3-4 days.
- Reheating: Preheat oven to 350°F (175°C). Spread the vegetables on a baking sheet and reheat for 10-15 minutes, or until warmed through. You can also reheat them in a skillet over medium heat or in the microwave.
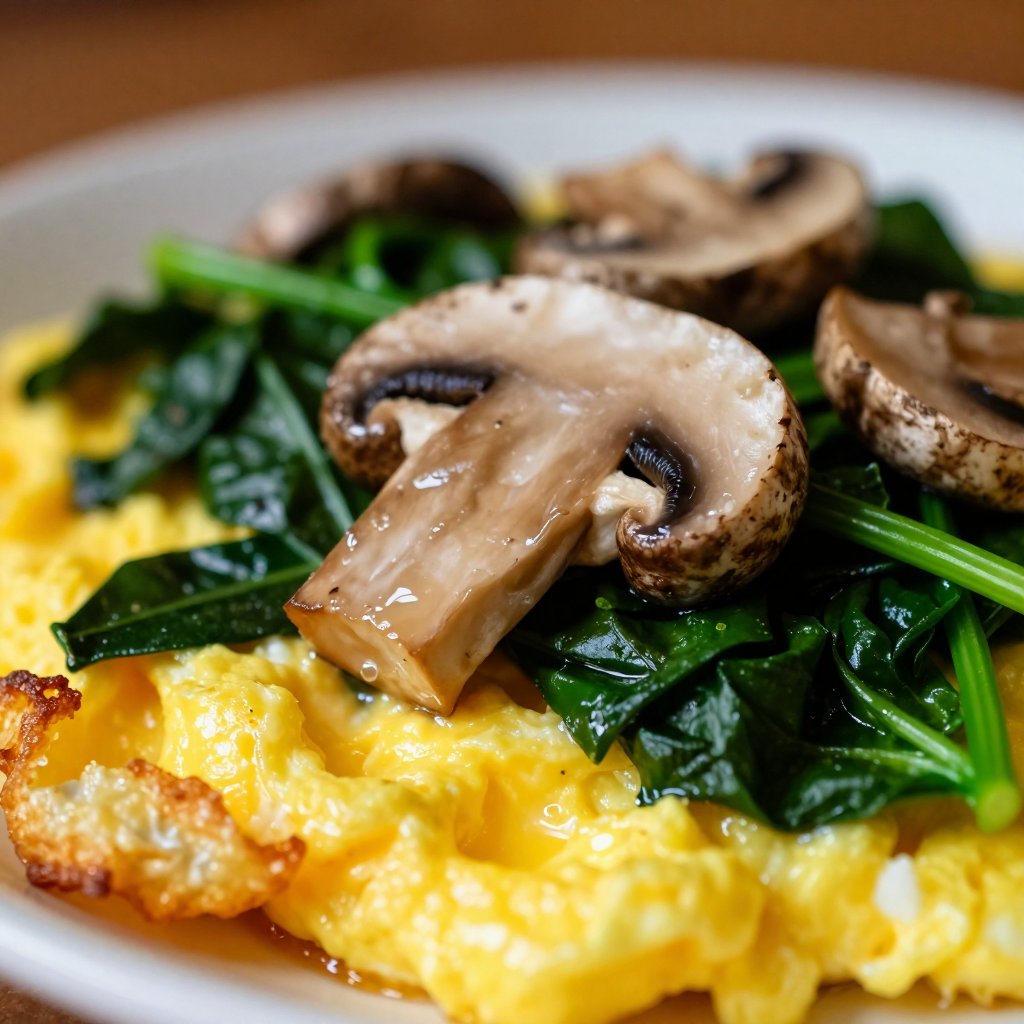
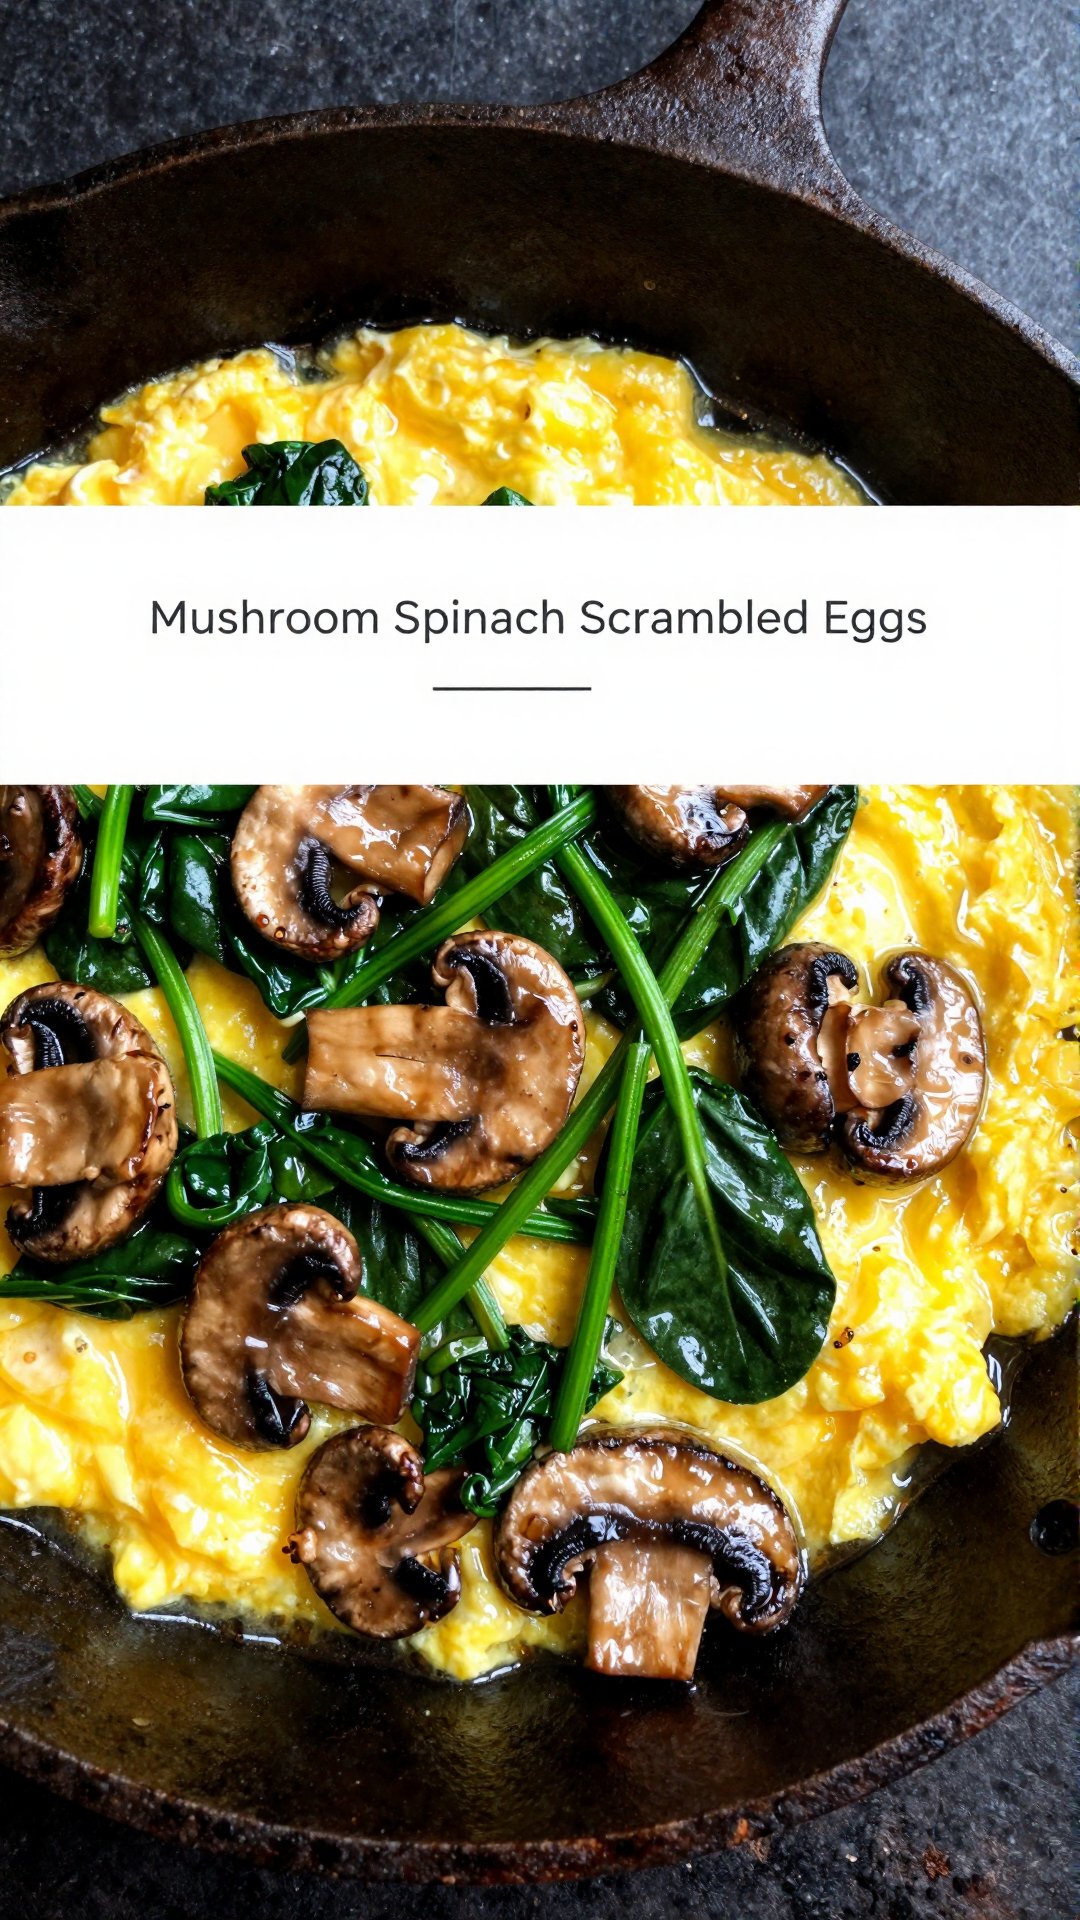
Reheated roasted vegetables are great in salads, wraps, or as a side dish. They also make a delicious addition to omelets and frittatas.
Frequently Asked Questions (FAQ)
Got questions? I’ve got answers! Here are some frequently asked questions about sheet pan roasted vegetables:
- Can I use frozen vegetables? While fresh vegetables are preferred, you can use frozen vegetables in a pinch. Just make sure to thaw them completely and pat them dry before roasting.
- Can I roast the vegetables ahead of time? Yes, you can roast the vegetables ahead of time and store them in the refrigerator for up to 2 days. Reheat before serving.
- Can I add protein to this recipe? Absolutely! Toss in some chickpeas, tofu, or chicken during the last 15 minutes of roasting for a complete meal.
- What other vegetables can I use? The possibilities are endless! Try using Brussels sprouts, asparagus, mushrooms, or butternut squash.
- Can I use different spices? Of course! Experiment with different spice blends like Italian seasoning, chili powder, or curry powder.
- Is this recipe vegan? Yes, this recipe is naturally vegan.
If you have any other questions, feel free to leave a comment below, and I’ll do my best to answer them.
Serving Suggestions
Now that you’ve made these amazing sheet pan roasted vegetables, let’s talk about how to serve them. Here are a few ideas:
- As a Side Dish: Serve alongside grilled chicken, fish, or steak for a healthy and flavorful meal.
- In Salads: Add the roasted vegetables to your favorite salad for a boost of flavor and nutrients.
- In Wraps and Sandwiches: Use the roasted vegetables as a filling for wraps and sandwiches.
- As a Topping for Pizza: Top your homemade pizza with roasted vegetables for a gourmet twist.
- With Grains: Serve the roasted vegetables over a bed of quinoa, rice, or couscous for a hearty and satisfying meal.
No matter how you choose to serve them, these sheet pan roasted vegetables are sure to be a hit. They’re easy, healthy, and packed with flavor—what more could you ask for? This it s a great and satisfying side dish, and the sheet pan roast is perfect for a quick and healthy weeknight dinner. You can even adjust the vegetables based on what you have on hand. The pan oven roasted vegetables are a simple way to get more veggies into your diet. The sauce is optional but can add an extra layer of flavor.
So, there you have it—my go-to recipe for Easy Sheet Pan Roasted Vegetables. I hope you love it as much as I do. Now, go forth and roast some veggies! And don’t forget to share your creations with me on social media using #AvasKitchenMagic. I can’t wait to see what you come up with. Happy cooking!
Sheet Pan Roasted Vegetables
Ingredients
Vegetables
- 1 pound broccoli florets
- 1 red bell pepper (chopped)
- 1 yellow bell pepper (chopped)
- 1 red onion (cut into wedges)
- 2 carrots (peeled and chopped)
- 2 zucchini (chopped)
Seasoning
- 4 cloves garlic (minced)
- 3 tablespoons olive oil
- 1 teaspoon dried oregano
- 0.5 teaspoon dried basil
- 0.25 teaspoon red pepper flakes (optional)
- to taste Salt and pepper
Instructions
- Preheat oven to 400°F (200°C).
- Combine vegetables, garlic, olive oil, oregano, basil, and red pepper flakes (if using). Season with salt and pepper.
- Spread vegetables on a baking sheet in a single layer.
- Roast for 20-25 minutes, flipping halfway through, until tender and browned.
- Serve immediately.
Notes