Welcome to the Cozy Vegetable Pasta Bake Adventure!
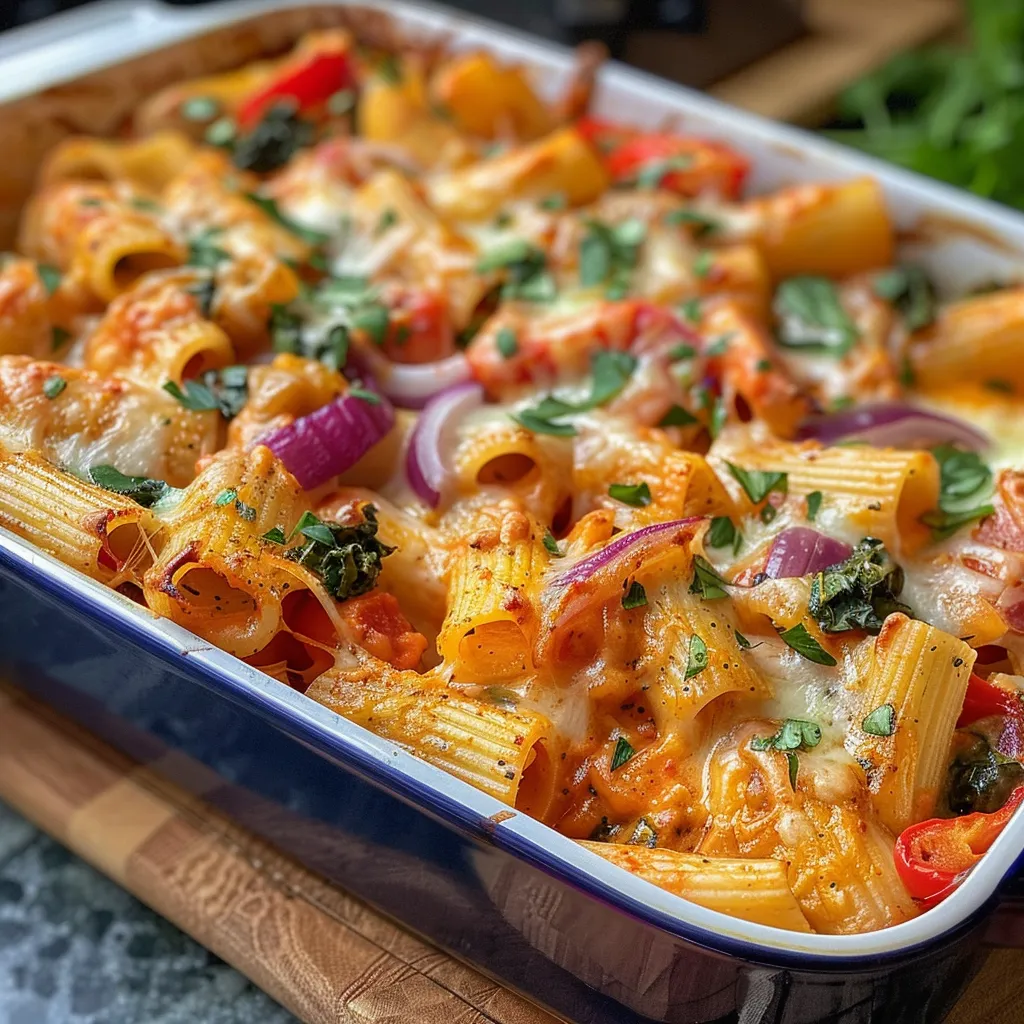
Hey there, fellow food lover! If you’ve found your way into my kitchen today, you’re about to embark on a delightful journey of flavors with my Cozy Vegetable Pasta Bake. This dish is more than just a meal; it’s a warm embrace after a long day, a celebration of vibrant veggies, and a cheesy hug that’ll make you ask for seconds. Trust me, this recipe is not just about filling your belly; it’s about creating moments that linger long after the last bite.
Let’s dive into the magic of this pasta bake, where every ingredient is chosen with love and care, and each step is designed to bring out the best in your kitchen. So grab your apron, and let’s cook up something unforgettable!
Why You’ll Love This Recipe
- Comforting flavors: The combination of creamy cheese and roasted veggies creates a rich, satisfying dish that feels like home.
- Flexible ingredients: Use whatever veggies you have on hand! This recipe is a great way to clean out your fridge.
- Make-ahead friendly: Prepare it in advance and pop it in the oven on a busy weeknight for a quick dinner solution.
- Perfect for leftovers: This pasta bake tastes even better the next day, making it a fantastic choice for meal prep.
- Kid-approved: With melted cheese and colorful veggies, it’s a hit with the little ones too!
Ingredient Breakdown
Before we start cooking, let’s gather our ingredients. Here’s what you’ll need for this cozy delight:
- 400 g (14 oz) dried pasta shapes (I used rigatoni, but feel free to swap in penne or fusilli!)
- 1 tbsp vegetable oil
- 1 large red onion, peeled and chopped into wedges
- 1 red bell pepper, de-seeded and chopped into large chunks
- 1 yellow bell pepper, de-seeded and chopped into large chunks
- 1 large or 2 small courgette (zucchini), chopped into chunks
- 1/4 tsp salt
- 1/4 tsp pepper
- 2 cloves garlic, peeled and minced
- 1 tbsp tomato puree (or paste for US)
- ½ tsp dried oregano
- ½ tsp dried thyme
- 2 x 400 g (2 x 14 oz) tins chopped tomatoes
- 120 ml (1/2 cup) double (heavy) cream
- 100 g (3 packed cups) fresh baby spinach
- 100 g (1 cup) strong cheddar cheese, grated
- 100 g (1 cup) mozzarella, grated
- A small bunch of parsley, roughly torn for garnish
Now, let’s talk substitutions! If you’re dairy-free, try using a plant-based cream and cheese. For added protein, consider tossing in some cooked chickpeas or lentils. The beauty of this recipe is in its adaptability—make it your own!
Pro Tips for the Perfect Pasta Bake
- Cook the pasta al dente: Since the pasta will continue to cook in the oven, be sure to cook it for just 1 minute less than the package instructions.
- Use a large skillet: A big, safe skillet helps combine all the ingredients without making a mess.
- Don’t skip the roasting: Sauté the veggies until they’re slightly caramelized to boost their flavor.
- Mix up the cheeses: Experiment with different cheese blends for a unique flavor profile.
- Layer it up: For an extra cheesy crust, add a layer of cheese on top before baking.
- Let it rest: Allow the pasta bake to sit for a few minutes after taking it out of the oven. This helps it set up and makes for easier serving.
- Use fresh herbs: Fresh basil or oregano can elevate the dish’s flavor profile.
- Save the pasta water: Add a splash of pasta water to the sauce for extra creaminess.
- Customize your spices: Feel free to add red pepper flakes for some heat or Italian seasoning for a flavor boost.
A Step-by-Step Guide to Making Your Cozy Vegetable Pasta Bake
Now that we have our ingredients and tips, let’s get cooking! Here’s how to whip up this delightful dish:
- Preheat your oven to 190C/375F (fan).
- Boil a large pan of water and cook the pasta for 1 minute less than recommended on the pack. Drain and set aside.
- In a large frying pan, heat the vegetable oil over medium heat. Add the red onion and cook for 3-4 minutes until it starts to soften.
- Add the chopped peppers, courgette, salt, pepper, garlic, tomato puree, oregano, and thyme. Stir and cook for about 2-3 minutes.
- Stir in the tinned tomatoes and cream, bringing everything to a gentle bubble.
- Once the pasta is cooked, drain it and add it along with the spinach to the sauce and veggies. Mix everything together, then transfer to a large baking dish.
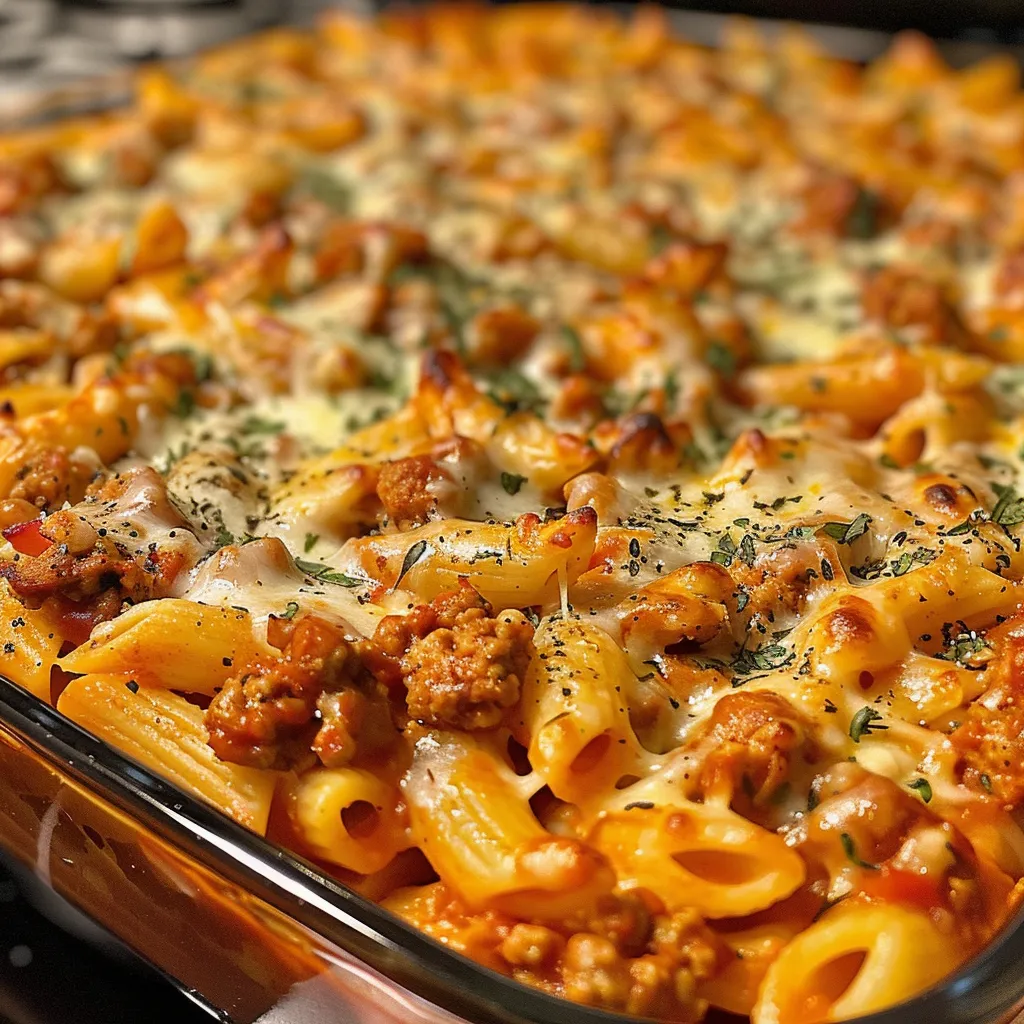
- Top with grated cheddar and mozzarella cheese, then place in the oven for 20-25 minutes until the cheese is golden brown.
- Remove from the oven and sprinkle with torn parsley before serving.
Common Mistakes and Troubleshooting
Even the best cooks have their oops moments! Here are a few common mistakes and how to avoid them:
- Pasta too mushy: Always cook pasta al dente for the best texture.
- Too dry: If your pasta bake seems dry, consider adding a splash of pasta water or extra cream.
- Cheese doesn’t melt: Make sure to use cheese that melts well, like mozzarella or a blend.
- Veggies undercooked: Give your veggies enough time to soften and develop flavor before combining them with the pasta.
Variations to Spice Up Your Pasta Bake
Want to mix things up? Here are some fun variations you can try:
- Italian Sausage Addition: Crumble cooked Italian sausage for a heartier dish.
- Pesto Twist: Stir in some basil pesto for a fresh, herby flavor.
- Roasted Veggie Bake: Use roasted seasonal vegetables like butternut squash or Brussels sprouts for a different taste.
- Cheesy Spinach Bake: Add more spinach and ricotta cheese for a creamier texture.
Storage and Make-Ahead Instructions
This pasta bake is perfect for meal prep! Here’s how to store it:
- Refrigerator: Store leftovers in an airtight container for up to 3 days. Reheat in the oven or microwave.
- Freezer: Freeze portions in airtight containers for up to 3 months. Thaw in the fridge before reheating.
- Make-Ahead: Assemble the pasta bake a day in advance, cover, and refrigerate. Bake it when you’re ready for a cozy dinner.
Comprehensive FAQ
Let’s tackle some common questions:
- Can I use whole wheat pasta? Absolutely! Whole wheat pasta adds extra fiber and nutrients.
- Is this recipe gluten-free? You can use gluten-free pasta for a delicious alternative.
- Can I add meat? Yes, feel free to add cooked chicken, sausage, or ground beef!
- What can I substitute for cream? Use coconut cream or a cashew cream for a dairy-free option.
- How can I make it spicier? Add some crushed red pepper flakes or diced jalapeños.
- Can I use frozen vegetables? Definitely! Just add them directly to the pan without thawing.
- What’s the best way to reheat leftovers? Reheat in the oven for the best texture, or microwave for convenience.
- How do I know when it’s done? The cheese should be bubbly and golden brown!
Nutritional Tips and Dietary Adaptations
This Cozy Vegetable Pasta Bake can fit into a variety of dietary preferences:
- Vegetarian: Naturally vegetarian, packed with nutrients from the veggies.
- Dairy-Free: Swap cheese for dairy-free alternatives and use coconut cream.
- Low-Carb: Try using spaghetti squash or zucchini noodles instead of pasta.
Recommended Equipment
Having the right tools makes cooking easier and more enjoyable:
- Large Pot: For boiling the pasta.
- Large Skillet: Ideal for sautéing veggies and mixing ingredients.
- Baking Dish: An oven-safe dish for your pasta bake.
- Wooden Spoon: Perfect for stirring and mixing ingredients together.
Serving Suggestions
This Cozy Vegetable Pasta Bake is delicious on its own, but here are some fun serving ideas:
- Side Salad: Pair it with a fresh green salad dressed with a light vinaigrette.
- Garlic Bread: Serve with warm, buttery garlic bread for the ultimate comfort meal.
- Wine Pairing: Enjoy with a glass of white wine, like a crisp Sauvignon Blanc or a light Pinot Grigio.
- Extra Toppings: Consider adding a sprinkle of parmesan or fresh herbs on top before serving.
Wrap-Up
And there you have it! A Cozy Vegetable Pasta Bake that’s not just a recipe but a way to bring warmth and joy into your kitchen. I hope you enjoy making this dish as much as I do. Remember, cooking is all about having fun and sharing love through food. So gather your friends and family, serve up generous portions, and watch as everyone falls in love with this comforting creation. Happy cooking, my friends!
Vegetable Pasta Bake Recipe
Ingredients
Pasta
- 400 g dried pasta shapes (rigatoni)
Vegetable oil
- 1 tbsp vegetable oil
Red onion
- 1 large red onion (peeled and chopped into wedges)
Red bell pepper
- 1 large red bell pepper (de-seeded and chopped into large chunks)
Yellow bell pepper
- 1 large yellow bell pepper (de-seeded and chopped into large chunks)
Courgette (zucchini)
- 1 large courgette (chopped into chunks)
Salt
- 0.25 tsp salt
Pepper
- 0.25 tsp pepper
Garlic
- 2 cloves garlic (peeled and minced)
Tomato puree
- 1 tbsp tomato puree (paste for US)
Dried oregano
- 0.5 tsp dried oregano
Dried thyme
- 0.5 tsp dried thyme
Chopped tomatoes
- 2 x 400 g tinned chopped tomatoes
Heavy cream
- 120 ml double (heavy) cream
Baby spinach
- 100 g fresh baby spinach
Strong cheddar cheese
- 100 g grated strong cheddar cheese
Mozzarella
- 100 g grated mozzarella
Parsley
- small bunch parsley (roughly torn)
Instructions
- Cook pasta in boiling water for 1 minute less than package instructions; drain.
- Heat oil and cook onion for 3-4 minutes until soft.
- Add peppers, courgette, salt, pepper, garlic, tomato puree, oregano, and thyme; cook 2-3 minutes.
- Stir in tomatoes and cream; simmer gently.
- Combine pasta, spinach, and sauce; transfer to baking dish. Top with cheeses and bake 20-25 minutes until golden. Garnish with parsley before serving.