Why You’ll Fall for This Recipe
Picture this: a busy weeknight, the clock is ticking, and the last thing you want to do is spend hours in the kitchen. But then, you remember—Air Fryer Honey Garlic Salmon is on the menu. This dish is not just quick; it’s a delightful dance of sweet and savory flavors that will make your taste buds sing and your kitchen feel like a warm hug. With the air fryer doing most of the work, you’ll have a delicious meal on the table in no time, leaving you free to enjoy the evening—perhaps with a glass of wine or a good book.
Overview of Air Frying
Air frying has taken the cooking world by storm, and for good reason! It’s a healthier alternative to traditional frying, allowing you to achieve that crispy texture we all love while using significantly less oil. Not to mention, it locks in flavors beautifully, making dishes like our honey garlic salmon not just healthy but also mouthwateringly delicious. The air fryer circulates hot air around the food, yielding a delightful crunch without the greasy aftermath.
Ingredients for Air Fryer Honey Garlic Salmon

Let’s gather our ingredients, shall we? Here’s what you’ll need:
- 4 salmon fillets
- 2 tablespoons honey
- 2 tablespoons soy sauce
- 2 cloves garlic, minced
- 1 tablespoon olive oil
- Salt and pepper to taste
- Lemon wedges for serving
- Chopped green onions for garnish (optional)
Each ingredient plays a crucial role in creating that perfect balance of sweet and savory. The salmon itself is rich in omega-3 fatty acids, making this dish not only tasty but also a healthy choice for your family.
Preparation Steps
Prepping the Salmon
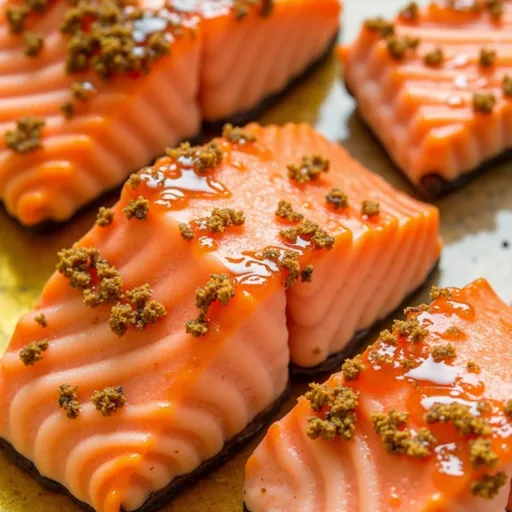
First things first—let’s prep our salmon! If you’re using frozen fillets, make sure they are fully thawed before you start marinating. This ensures even cooking and helps the flavors seep into the fish. You can choose whether to cook the salmon with the skin on or off; I prefer skin-on for added moisture and texture.
Making the Honey Garlic Marinade
Now, let’s whip up that glorious marinade that will elevate our salmon to new heights. In a small mixing bowl, combine:
- 2 tablespoons of honey
- 2 tablespoons of soy sauce
- 2 cloves of minced garlic
- 1 tablespoon of olive oil
- Salt and pepper to taste
Whisk these ingredients together until they are well blended. The honey will give a lovely sweetness that balances the savory soy sauce and the punchy garlic. Feel free to adjust the garlic based on your preference; if you’re a garlic lover like me, you might want to add an extra clove or two!
Cooking the Salmon
Equipment
To make this dish, you’ll need:
- An air fryer
- A small bowl for the marinade
- A shallow dish for marinating the salmon
- A whisk or fork
- A cooking spray or brush for the air fryer basket
Instructions
Ready to bring this dish to life? Here’s how:
- In a small bowl, whisk together the honey, soy sauce, minced garlic, olive oil, salt, and pepper.
- Place the salmon fillets in a shallow dish and pour the honey garlic mixture over them. Make sure each fillet gets a generous coating. Marinate for at least 15 minutes (or longer if you have the time—up to an hour is great!).
- Preheat your air fryer to 400°F (200°C). This is a crucial step to get that perfect crispiness.
- Lightly spray the air fryer basket with cooking spray. This helps prevent sticking and ensures easy cleanup later on.
- Carefully place the marinated salmon fillets in the basket, skin-side down. Be sure not to overcrowd them; give them space to breathe!
- Cook the salmon for 8-10 minutes, or until the internal temperature reaches 145°F (63°C) and the fish flakes easily with a fork. The cooking time may vary slightly based on the thickness of your fillets.
- Once cooked, remove the salmon from the air fryer and let it rest for a few minutes before serving.
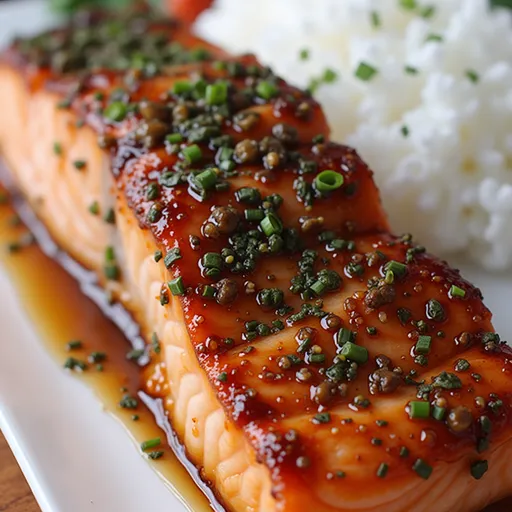
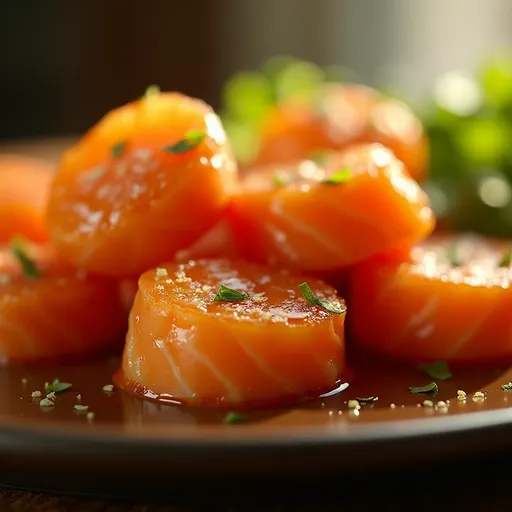
Serve your beautiful salmon fillets with a squeeze of fresh lemon juice and garnish with chopped green onions if desired. This dish pairs wonderfully with steamed veggies or a light salad for a complete meal.
Tips for Perfect Air Fryer Honey Garlic Salmon
Every cook has their tricks, and I’m here to share a few of mine:
- Don’t rush the marinating: The longer you let the salmon soak in the marinade, the more flavorful it will be. If you can, marinate it for up to an hour.
- Check the temperature: Invest in a good meat thermometer to ensure your salmon is perfectly cooked. Overcooked salmon can be dry, and nobody wants that!
- Experiment with flavors: Feel free to add a pinch of red pepper flakes for some heat, or a splash of ginger for a zingy twist.
Possible Variations
One of the best things about this recipe is its versatility. Here are a few variations to consider:
- Maple Garlic Salmon: Swap out honey for maple syrup for a different kind of sweetness.
- Citrus Twist: Add orange juice or zest to the marinade for a bright, refreshing flavor.
- Herb-Infused: Stir in some chopped fresh herbs like cilantro or parsley for a fresh finish.
Storage and Freezing
If you happen to have leftovers (which I doubt because it’s that good), here’s how to store them:
- Refrigerate: Place any uneaten salmon in an airtight container and store it in the fridge for up to 3 days.
- Freeze: For longer storage, wrap the cooked salmon tightly in plastic wrap and aluminum foil, or place it in a freezer-safe bag. It can last up to 3 months in the freezer. Just thaw it in the fridge overnight before reheating.
FAQs About Air Fryer Honey Garlic Salmon
Can I use frozen salmon fillets?
Yes, just make sure to thaw them completely before marinating and cooking.
How do I know when the salmon is done?
The internal temperature should reach 145°F (63°C), and the salmon should flake easily with a fork.
Can I cook other proteins in the air fryer?
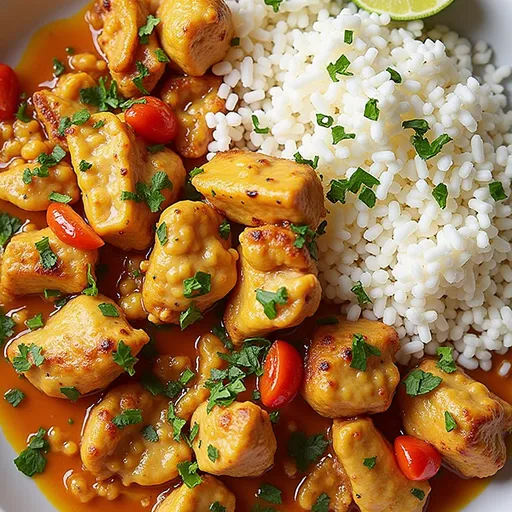
Absolutely! This honey garlic marinade works wonderfully with chicken and shrimp as well.
Troubleshooting Common Issues
Even the best cooks face challenges. Here are a few common issues and how to tackle them:
- Salmon sticking to the basket: Ensure you coat the air fryer basket with cooking spray before placing the salmon inside.
- Overcooked salmon: Keep an eye on the cooking time and use a thermometer to avoid drying out the fish.
- Flavor not intense enough: If you find the flavors lacking, consider marinating longer or adding a touch more garlic or soy sauce to the mix.
Conclusion
And there you have it! Air Fryer Honey Garlic Salmon is not just a recipe; it’s a culinary experience that brings joy and flavor to your table. With its simple preparation and delightful taste, this dish is sure to become a favorite in your home. Whether you serve it for a special occasion or a casual weeknight dinner, it’s bound to impress. So, roll up your sleeves, grab those ingredients, and let’s get cooking together. Here’s to delicious meals and cherished moments around the dinner table—happy cooking!

Air Fryer Honey Garlic Salmon: A Quick & Healthy Recipe
Ingredients
Salmon
- 4 fillets salmon fillets
- 2 tablespoons honey
- 2 tablespoons soy sauce
- 2 cloves garlic, minced
- 1 tablespoon olive oil
- to taste salt and pepper
- for serving lemon wedges
- optional chopped green onions
Instructions
- Whisk honey, soy sauce, garlic, olive oil, salt, and pepper in a bowl.
- Marinate salmon in the mixture for at least 15 minutes.
- Preheat air fryer to 400°F (200°C). Lightly spray basket.
- Place salmon skin-side down in the basket and cook for 8-10 minutes.
- Let rest briefly, then serve with lemon wedges and green onions if desired.
Notes
Loved this recipe? Save it to your favorite Pinterest board so you can easily find it later! It’s the perfect way to keep all your sweet ideas in one place. ✨