Why This Dish Will Become Your New Favorite
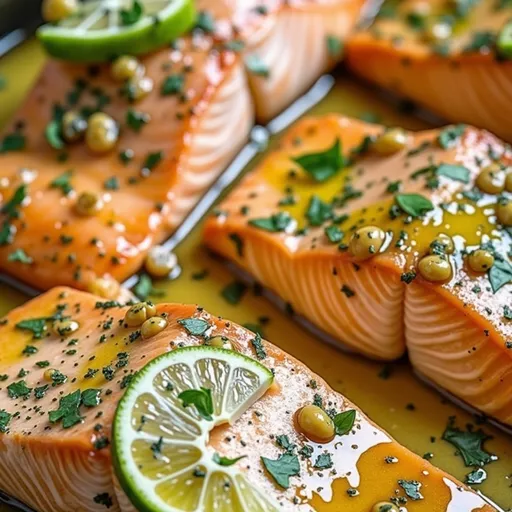
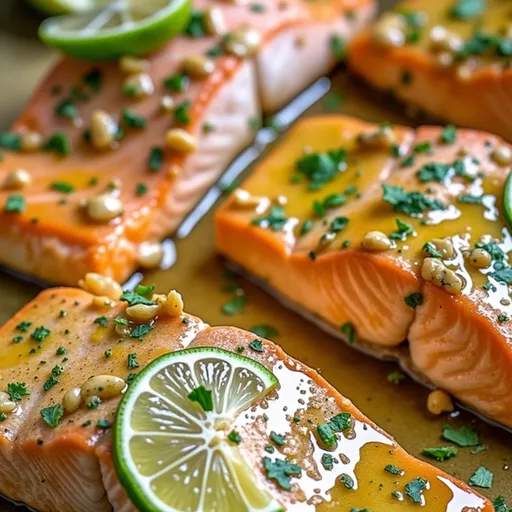
When it comes to cooking, there’s something incredibly rewarding about creating a dish that not only satisfies your taste buds but also warms your heart. Honey Garlic Butter Baked Salmon is that dish. Imagine a perfectly baked salmon fillet, draped in a luscious honey-garlic glaze that dances between sweet and savory. This recipe is a celebration of simplicity and flavor, making it ideal for weeknight dinners or special occasions alike. If you’ve been on the hunt for a meal that’s both comforting and impressive, you’ve just struck gold.
Ingredients You’ll Need
Cooking is all about using quality ingredients, and for this Savory Sweet Honey Garlic Butter Baked Salmon, you’ll need:
- 4 salmon fillets
- 1/4 cup honey
- 3 tablespoons butter, melted
- 3 cloves garlic, minced
- 2 tablespoons soy sauce
- 1 tablespoon Dijon mustard
- 1 teaspoon salt
- 1/2 teaspoon black pepper
- 1 tablespoon chopped fresh parsley (for garnish)
These ingredients blend beautifully to create a glaze that not only enhances the salmon’s natural flavors but also adds a delightful depth to the dish. Trust me, once you make this, you’ll want to keep the ingredients stocked in your pantry at all times.
Step-by-Step Guide to Culinary Perfection

Now that we’ve gathered our ingredients, let’s dive into the cooking process. It’s as easy as pie—well, easier, actually!
- Preheat the oven: First things first, preheat your oven to 375°F (190°C). This ensures that your salmon will cook evenly and give you that perfect flaky texture.
- Prepare the glaze: In a small bowl, whisk together the honey, melted butter, minced garlic, soy sauce, Dijon mustard, salt, and black pepper until well combined. The aroma will make your heart skip a beat!
- Coat the salmon: Place the salmon fillets in a baking dish and pour the honey garlic mixture over them, ensuring they are well coated. Don’t skimp on this step—the glaze is what makes this dish sing!
- Bake: Pop the baking dish into your preheated oven and let it bake for 15-20 minutes, or until the salmon flakes easily with a fork. Pro tip: If you have a meat thermometer, aim for an internal temperature of 145°F (63°C) for perfectly cooked salmon.
- Rest and garnish: Once done, remove the salmon from the oven and let it rest for a few minutes. Garnish with chopped parsley before serving to add a pop of color and freshness.
And voilà! You’ve just made an unforgettable dish that is sure to impress anyone lucky enough to share your table.
Tips for the Perfect Salmon
As someone who’s spent countless hours in the kitchen, I’ve gathered a few tips that will take your Honey Garlic Butter Baked Salmon from great to absolutely spectacular:
- Choose the right salmon: Fresh, high-quality salmon is crucial. Wild-caught salmon tends to have a richer flavor compared to farmed varieties.
- Don’t overcook: Keep an eye on your salmon while it bakes. Overcooked salmon can become dry and lose its deliciousness.
- Experiment with flavors: If you’re feeling adventurous, try adding a splash of lemon juice or some chili flakes to the glaze for a zesty kick.
- Serve with sides: Pair your salmon with green veggies or a light salad to balance the sweetness of the glaze. Roasted asparagus or sautéed spinach are excellent choices.
Variations to Explore
The beauty of this dish lies in its versatility. Here are some fun variations you can try:
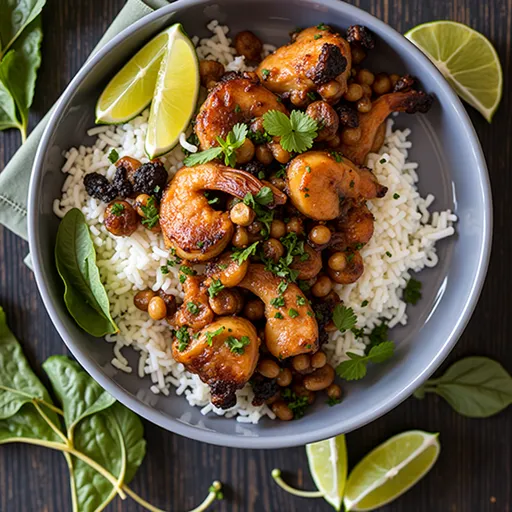
- Honey Garlic Butter Shrimp: Swap the salmon for shrimp for a quick seafood alternative. Simply adjust the cooking time as shrimp cooks faster.
- Herb-Crusted Salmon: Before adding the honey garlic glaze, sprinkle the salmon with a mix of your favorite herbs, like dill or thyme, for an aromatic twist.
- Maple Glazed Version: Substitute honey with maple syrup for a delightful take on the classic flavor.
Substitutions You Can Make
Cooking should be enjoyable, not stressful! If you find yourself missing an ingredient, here are some handy substitutions:
- Butter: You can use olive oil or coconut oil instead of butter for a dairy-free version.
- Honey: Agave syrup works as a vegan alternative to honey, maintaining that sweet flavor.
- Dijon mustard: If you prefer a milder taste, yellow mustard can be used, but the flavor profile will change slightly.
Equipment You’ll Need
Before you start cooking, make sure you have the right tools at hand:
- Baking dish
- Mixing bowl
- Whisk
- Meat thermometer (optional but highly recommended)
Storage and Freezing Tips
Leftovers? Yes, please! Here’s how to store your delightful creation:
- Refrigeration: Store any leftover salmon in an airtight container in the fridge for up to 3 days.
- Freezing: If you want to save some for later, wrap the salmon tightly in foil and then place it in a freezer-safe bag. It should keep well for up to 3 months.
Frequently Asked Questions
Let’s tackle some common questions that pop up around this glorious recipe:
- Can I use frozen salmon? Absolutely! Just make sure to thaw it completely before cooking to ensure even baking.
- What sides pair well with this dish? Roasted veggies, quinoa, or a light salad are perfect companions to balance the sweetness of the salmon.
- Can I double the recipe? Yes! Just ensure your baking dish is large enough to accommodate the extra fillets without crowding.
Troubleshooting Common Issues
We all have those days when things don’t go as planned in the kitchen. Here’s how to troubleshoot:
- Salmon is too dry: This usually happens if it’s overcooked. Make sure to keep an eye on the time and use a thermometer for accuracy.
- Glaze is too runny: If your glaze is thinner than expected, consider adding a bit more honey or simmering it on the stove for a few minutes to thicken it.
Final Thoughts: Cooking is an Adventure
As we wrap up this culinary journey, I hope you feel inspired to dive into your kitchen and whip up this Honey Garlic Butter Baked Salmon. Cooking is a beautiful adventure, and with each recipe, you’re not just creating a meal—you’re making memories. Whether it’s a cozy dinner for one or a gathering with friends, this dish is sure to impress and satisfy. Remember, the best recipes are the ones that feel like home. So grab your apron, turn on your favorite playlist, and let the magic of cooking fill your space. Happy cooking, my friend!

Savory Sweet Honey Garlic Butter Baked Salmon
Ingredients
Main ingredients
- 4 fillets salmon fillets
- 1/4 cup honey
- 3 tablespoons butter, melted
- 3 cloves garlic, minced
- 2 tablespoons soy sauce
- 1 tablespoon dijon mustard
- 1 teaspoon salt
- 1/2 teaspoon black pepper
- 1 tablespoon chopped fresh parsley (for garnish)
Instructions
- Preheat oven to 375°F (190°C).
- Mix honey, melted butter, garlic, soy sauce, mustard, salt, and pepper.
- Pour mixture over salmon in a baking dish.
- Bake for 15-20 minutes until flaky.
- Rest briefly, then garnish with parsley before serving.
Notes
Loved this recipe? Save it to your favorite Pinterest board so you can easily find it later! It’s the perfect way to keep all your sweet ideas in one place. ✨


")