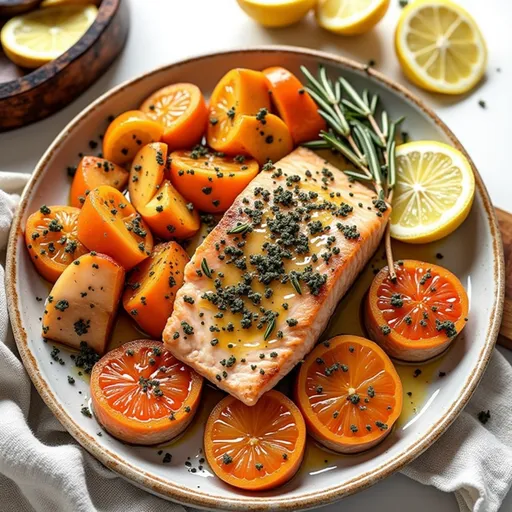
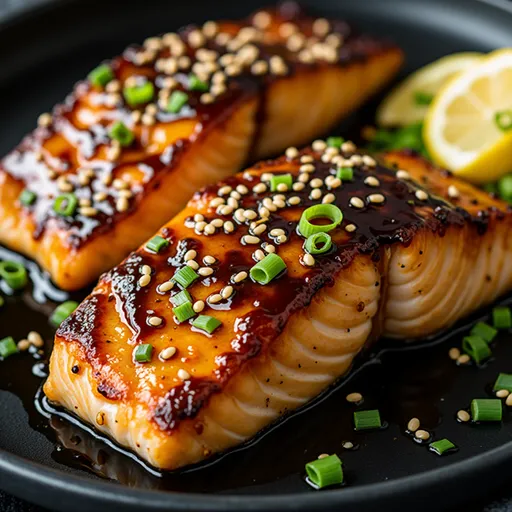
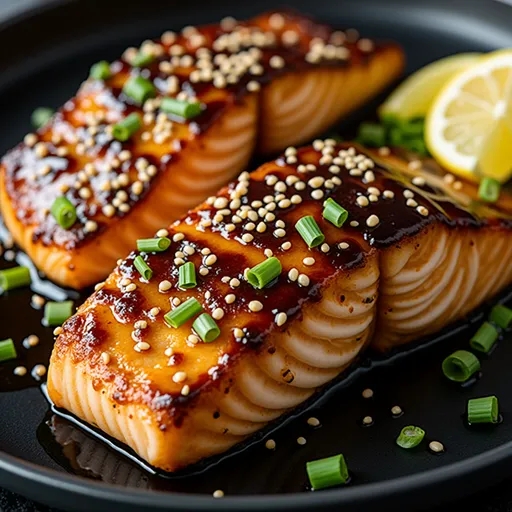
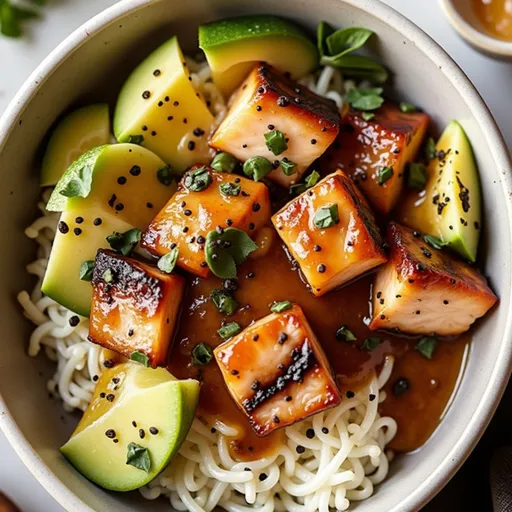
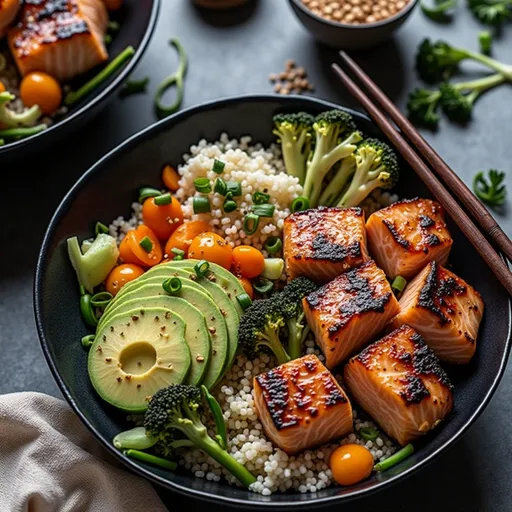
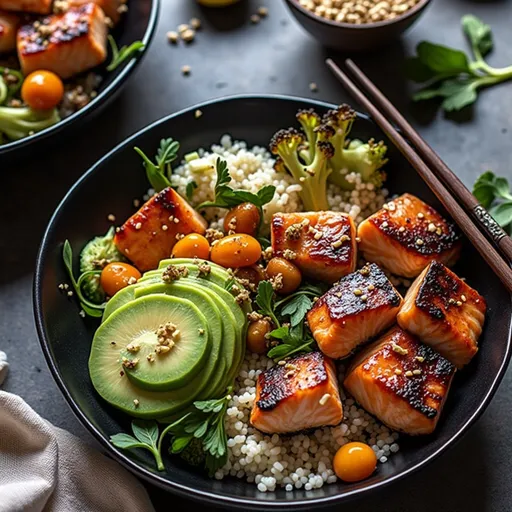
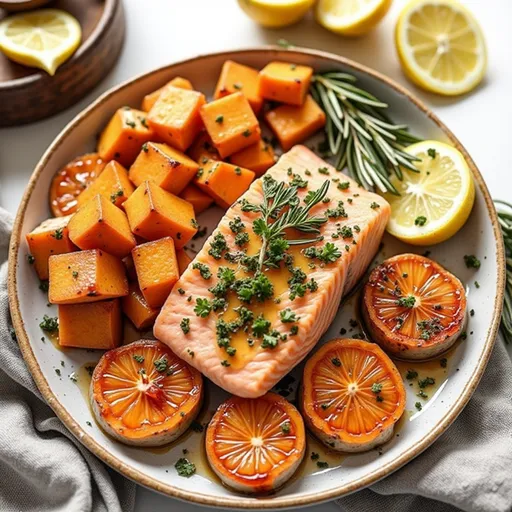
Why This Dish is a Must-Try
There’s something magical about a meal that not only nourishes your body but also envelops you in a warm embrace of flavor and comfort. Our Cozy Honey Rosemary Salmon Recipe is one of those meals—perfect for a cozy weeknight dinner or a special occasion that deserves a touch of magic. With its sweet honey glaze and fragrant rosemary, this dish transforms simple salmon fillets into a culinary masterpiece that will have your family and friends asking for seconds. And let’s be honest, who wouldn’t want to dine on something that looks and tastes this good?
Essential Ingredients
Before we dive into the cooking process, let’s take a moment to appreciate the ingredients that make this dish so delightful:
- 4 salmon fillets: Fresh or frozen, just make sure they’re wild-caught for the best flavor.
- 2 tablespoons honey: Opt for raw honey to enhance the flavor profile.
- 2 tablespoons olive oil: Extra virgin is preferred for its rich taste and health benefits.
- 2 tablespoons fresh rosemary: Chopped to release its aromatic oils.
- 2 cloves garlic: Minced, to add a depth of flavor.
- Salt and pepper: Essential seasonings to elevate all the flavors.
- Lemon wedges: For serving, these add a refreshing touch to the dish.
Let’s Make It Together
Cooking should be a joyful experience, so let’s roll up our sleeves and get ready to create something delicious! Here’s how to bring this magical dish to life:
- Preheat your oven: Start by preheating your oven to 400°F (200°C). This is essential for evenly cooked salmon and perfectly roasted sweet potatoes.
- Create the honey rosemary mixture: In a small bowl, whisk together the honey, olive oil, chopped rosemary, minced garlic, salt, and pepper until well combined. This glaze is where the magic begins!
- Prepare the salmon: Line a baking sheet with parchment paper for easy cleanup and place the salmon fillets skin side down. Brush the honey rosemary mixture generously over the top of each fillet, allowing the flavors to soak in.
- Bake: Place the baking sheet in your preheated oven and bake for 12-15 minutes. You’ll know it’s done when the salmon flakes easily with a fork and appears beautifully glazed.
- Rest and serve: Once cooked, remove the salmon from the oven and let it rest for a couple of minutes. Serve warm with lemon wedges to brighten the flavors.
You Must Know
Here are a few important tips and tricks to ensure your salmon turns out perfect every time:
- Check for doneness by gently flaking the salmon with a fork; it should be opaque and flake easily.
- If you’re using frozen salmon, make sure it’s completely thawed before cooking for even results.
- Feel free to adjust the amount of honey in the glaze based on your taste preference; more honey means more sweetness!
Perfecting the Cooking Process
Cooking salmon can be intimidating for some, but with a few simple techniques, you’ll be a pro in no time. Here are some tips to perfect your cooking process:
- Choose the right salmon: Skin-on fillets tend to retain moisture better, resulting in a more succulent dish.
- Use a meat thermometer: For precise cooking, aim for an internal temperature of 145°F (63°C). This ensures your salmon is perfectly cooked without being dry.
- Experiment with cooking time: Depending on the thickness of your fillets, you might need to adjust the cooking time slightly. Thicker fillets may require a couple of extra minutes.
Add Your Touch
This recipe is wonderfully versatile, so don’t hesitate to put your personal spin on it! Here are a few ideas to get your creative juices flowing:
- Swap sweet potatoes for another side: Try pairing the salmon with roasted asparagus or steamed broccoli for a lighter meal.
- Add spices: Consider sprinkling a little paprika or cayenne pepper on the salmon before baking for an extra kick.
- Try different herbs: If rosemary isn’t your favorite, thyme or dill can create a lovely flavor profile.
Storing & Reheating
If you happen to have leftovers (which I highly doubt, but just in case!), here’s how to store and reheat them:
- Storage: Place leftover salmon in an airtight container and store it in the refrigerator for up to three days.
- Reheating: To maintain the texture and flavor, reheat in the oven at 350°F for about 10-15 minutes, or until warmed through.
Chef’s Helpful Tips
As someone who has spent countless hours in the kitchen, I’ve learned a few things along the way. Here are my top tips for cooking salmon:
- Let your salmon come to room temperature before cooking; this helps it cook more evenly.
- Don’t overcrowd the baking sheet; give each fillet enough space to roast properly.
- If you want to add a crisp to the top of the salmon, broil it for the last 1-2 minutes of cooking.
FAQs
Let’s address some common questions you might have:
- Can I use frozen salmon for this recipe? Yes! Just make sure it’s fully thawed before cooking.
- What can I serve with honey rosemary baked salmon? Consider pairing it with a light salad or some roasted vegetables to balance the meal.
- How do I know when the salmon is perfectly cooked? It should flake easily with a fork and be opaque throughout. A meat thermometer is also a great tool to ensure it reaches 145°F internally.
Troubleshooting
If things don’t go as planned, don’t fret! Here are a few common issues and how to fix them:
- Salmon is dry: This usually happens if it’s overcooked. Next time, check on it a minute or two earlier.
- Flavor is too strong: If the rosemary flavor is overpowering, consider reducing the amount of rosemary or using a milder herb.
Wrap-Up
Cooking is all about exploration and finding joy in the process, and I hope this Cozy Honey Rosemary Salmon Recipe becomes a cherished addition to your culinary repertoire. It’s a dish that not only fills your belly but also warms your heart, bringing family and friends together over a shared love of good food. So, the next time you’re looking for something delicious and comforting, remember to reach for this recipe. Enjoy every bite, and don’t forget to share your creations with loved ones—they’ll be begging for your secrets! Happy cooking!
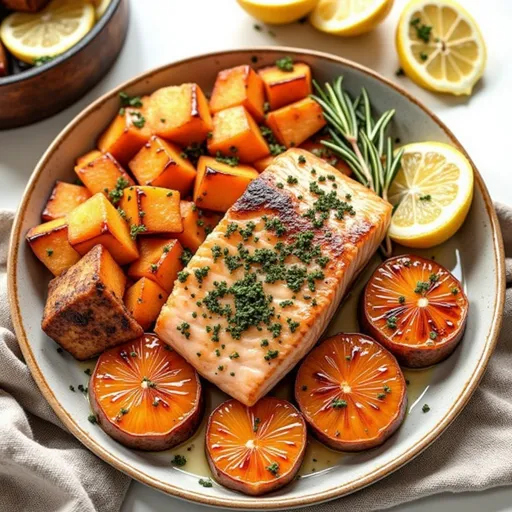
Cozy Honey Rosemary Salmon Recipe
Ingredients
Salmon
- 4 fillets salmon fillets
- 2 tablespoons honey
- 2 tablespoons olive oil
- 2 tablespoons fresh rosemary, chopped
- 2 cloves garlic, minced
- to taste salt and pepper
- for serving lemon wedges
Instructions
- Preheat oven to 400°F (200°C).
- Mix honey, olive oil, rosemary, garlic, salt, and pepper.
- Place salmon on a lined baking sheet and brush with the mixture.
- Bake for 12-15 minutes until flaky.
- Serve with lemon wedges.
Notes
Loved this recipe? Save it to your favorite Pinterest board so you can easily find it later! It’s the perfect way to keep all your sweet ideas in one place. ✨