Why You’ll Love This Grilled Honey Garlic Salmon
There’s something truly magical about the combination of sweet and savory flavors, isn’t there? It’s a culinary dance that can transform a simple dish into something extraordinary. If you’ve been searching for a recipe that captures this essence, look no further than Grilled Honey Garlic Salmon. This delightful dish is not only easy to prepare, but it also brings a burst of flavor that will steal your heart—and your dinner guests’ too!
Imagine a warm summer evening, the sun setting as you fire up the grill. The aroma of honey and garlic wafts through the air, mingling with the smoky scent of salmon sizzling on the grates. This is more than just dinner; it’s an experience. Whether you’re cooking for your family on a casual weeknight or hosting friends for a special occasion, this recipe is bound to impress.
Ingredients You’ll Need
To create this mouthwatering grilled salmon, gather the following ingredients:
- 2 salmon fillets
- 2 tablespoons honey
- 2 tablespoons soy sauce
- 3 cloves garlic, minced
- 1 tablespoon olive oil
- 1 teaspoon lemon juice
- Salt and pepper to taste
These simple ingredients are likely already in your pantry or fridge, making this dish not just delicious but also accessible.
How to Make Grilled Honey Garlic Salmon

Now, let’s dive into the steps to create this delightful dish. You won’t believe how easy it is!
- Prepare the Marinade: In a small bowl, whisk together the honey, soy sauce, minced garlic, olive oil, and lemon juice until well combined. This marinade is the star of the show, infusing the salmon with a sweet and savory glaze that’s absolutely irresistible.
- Season the Salmon: Take your salmon fillets and sprinkle them with salt and pepper. This simple seasoning step enhances the natural flavors of the fish.
- Marinate: Place the fillets in a shallow dish or a resealable plastic bag. Pour the marinade over the salmon, ensuring it’s well-coated. Let it marinate in the refrigerator for at least 15 minutes. If you have time, letting it sit for an hour or longer will deepen the flavors even more!
- Preheat the Grill: While the salmon is marinating, preheat your grill to medium-high heat. You want it nice and hot for that perfect sear.
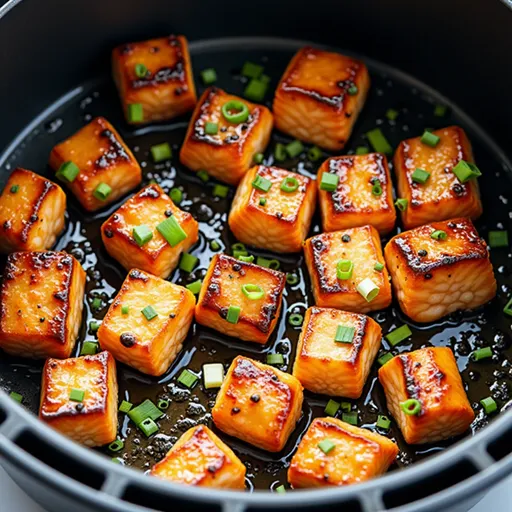
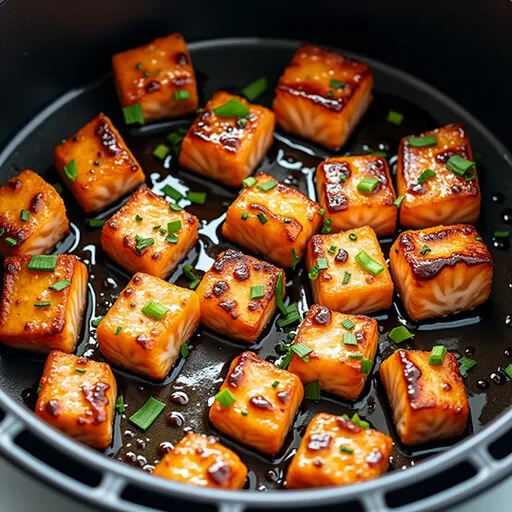
- Grill the Salmon: Remove the salmon from the marinade and place it on the grill. Cook for about four to five minutes on each side. You’ll know it’s done when it’s opaque all the way through and flakes easily with a fork. If you want a stronger glaze, brush some of the reserved marinade on the salmon while it’s grilling!
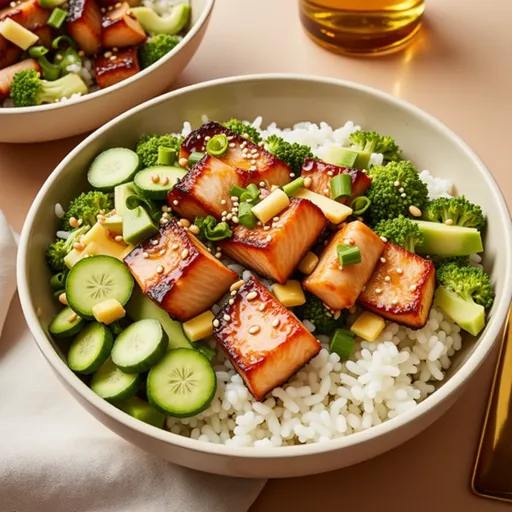
- Serve and Enjoy: Once cooked, take the salmon off the grill and serve it hot. Pair it with your favorite sides—think roasted vegetables, rice, or a fresh salad for a complete meal.
Tips for Perfect Grilled Salmon
Here are a few tips to ensure your grilled honey garlic salmon turns out perfectly every time:
- Choose Quality Salmon: Fresh, high-quality salmon makes all the difference. Look for wild-caught if possible, as it tends to have better flavor and texture.
- Don’t Overcook: Salmon can go from perfectly flaky to dry quickly, so keep an eye on it while it’s grilling. Aim for an internal temperature of 145°F (63°C).
- Let it Rest: After grilling, let the salmon rest for a couple of minutes. This allows the juices to redistribute, making for an even more succulent bite.
Variations to Try
If you’re feeling adventurous, here are a few variations to customize your grilled salmon:
- Spicy Kick: Add a teaspoon of red pepper flakes or a splash of sriracha to the marinade for a spicy twist.
- Herb Infusion: Toss in some fresh herbs like dill or cilantro to the marinade for an aromatic touch.
- Fruit Glaze: Add a tablespoon of orange or pineapple juice to the marinade for a fruity flair.
Substitutions
No honey? No problem! You can substitute agave syrup, maple syrup, or brown sugar for a similar sweetness. If you’re looking for a gluten-free option, use tamari instead of soy sauce.
Equipment You’ll Need
To make this grilled salmon, you’ll need:
- A grill (gas or charcoal works great)
- A small bowl for mixing the marinade
- A whisk or fork
- A shallow dish or resealable plastic bag for marinating
- A grill spatula for flipping the salmon
Storage and Freezing
Leftovers? Yes, please! You can store any leftover grilled salmon in an airtight container in the refrigerator for up to 3 days. For longer storage, freeze the cooked salmon in a freezer-safe container for up to three months. Just be sure to thaw it in the refrigerator before reheating.
FAQs About Grilled Salmon
Here are some frequently asked questions to help you out:
- Can I bake the salmon instead? Absolutely! Preheat your oven to 400°F (200°C) and bake for about 12-15 minutes, or until cooked through.
- What should I serve with grilled salmon? This dish pairs wonderfully with roasted vegetables, quinoa, or a refreshing salad. You can even serve it over pasta for a hearty meal.
- Can I use a different type of fish? Yes! This marinade also works great with other fish like trout or mahi-mahi.
Troubleshooting Common Issues
If you encounter any hiccups along the way, here are some solutions:
- Salmon Sticking to the Grill: Ensure your grill is preheated and lightly oiled to prevent sticking.
- Marinade Too Sweet: Balance it out with a splash of vinegar or more lemon juice to cut through the sweetness.
- Uneven Cooking: Try to select fillets that are similar in size for even cooking.
Conclusion
Grilled Honey Garlic Salmon is not just a recipe; it’s a culinary adventure that brings joy to your table. With its delightful combination of sweet and savory flavors, it’s bound to become a favorite in your household. So why not gather your loved ones, fire up the grill, and create some unforgettable memories? I can’t wait for you to experience the magic of this dish. Happy cooking!
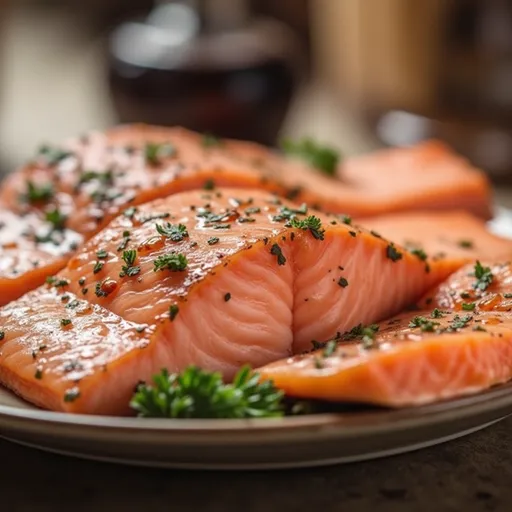
Grilled Honey Garlic Salmon
Ingredients
Salmon
- 2 fillets salmon fillets
- 2 tablespoons honey
- 2 tablespoons soy sauce
- 3 cloves garlic, minced
- 1 tablespoon olive oil
- 1 teaspoon lemon juice
- to taste salt and pepper (for seasoning)
Instructions
- Whisk honey, soy sauce, minced garlic, olive oil, and lemon juice to make the marinade.
- Season salmon with salt and pepper, then marinate in the refrigerator for at least 15 minutes.
- Preheat grill to medium-high heat. Remove salmon from marinade and place on grill.
- Grill salmon for 4-5 minutes per side until opaque and easily flaked with a fork. Brush with marinade during grilling if desired.
- Remove from grill and serve hot with sides of your choice.
Notes
Loved this recipe? Save it to your favorite Pinterest board so you can easily find it later! It’s the perfect way to keep all your sweet ideas in one place. ✨