Introduction
My name’s Ava, and if you’ve stumbled upon my kitchen, you’re probably here for one thing—the kind of recipes that make people pause mid-bite and say, ‘Wow.’ I grew up in a small town in Oregon, where the smell of fresh bread and roasted vegetables often drifted out of my mother’s kitchen window. Cooking wasn’t just something we did to eat—it was how we marked occasions, offered support, and created bonds. I was the kid who would rather stir a pot of chili than go ride my bike, and by the time I was twelve, I could whip up a pie from scratch that made my grandmother proud.
These days, I’m 34 and living in Seattle, where my kitchen has become my favorite corner of the world. I believe the best recipes aren’t always the fanciest—they’re the ones that feel like a warm embrace, the ones you make over and over because they just work. Sure, I’ve had my share of flops (ask me about the infamous triple-layer cake that collapsed right before a dinner party), but I’ve learned that every ‘oops’ moment is just an invitation to try again—this time with a little more patience and maybe a pinch more salt.
And speaking of things that just *work*, let’s talk about steak. For many home cooks, the idea of perfectly cooking a steak can be intimidating. Visions of dry, tough, or unevenly cooked meat dance in their heads. But fear not! I’m here to tell you that cooking a fantastic steak at home is totally achievable, even if you’re a beginner. This guide breaks down the process into simple, manageable steps, ensuring a restaurant-quality steak right in your own kitchen. Forget those fancy steakhouses; you’re about to become a steak master!
Table of Contents
- Why This Recipe Works
- Ingredients You’ll Need
- Step-by-Step Instructions
- Pro Tips
- Variations & Substitutions
- FAQ
- Final Thoughts
Why This Recipe Works
- Simple Ingredients: You don’t need a pantry full of exotic spices or fancy equipment. Just a good steak, some basic seasonings, and a little bit of technique.
- Clear, Concise Instructions: No confusing jargon or complicated steps. This guide breaks down the process into easy-to-follow instructions, perfect for beginners.
- Guaranteed Delicious Results: By following these steps, you’ll achieve a perfectly seared steak with a tender, juicy interior every time. Say goodbye to tough, overcooked steak!
Ingredients You’ll Need
- 1 steak (Ribeye, New York Strip, or Sirloin), about 1-inch thick
- 1 tablespoon olive oil
- 1 teaspoon salt
- 1/2 teaspoon black pepper
- 1 tablespoon butter (optional)
- 1 clove garlic, minced (optional)
- 1 sprig of rosemary or thyme (optional)
Step-by-Step Instructions
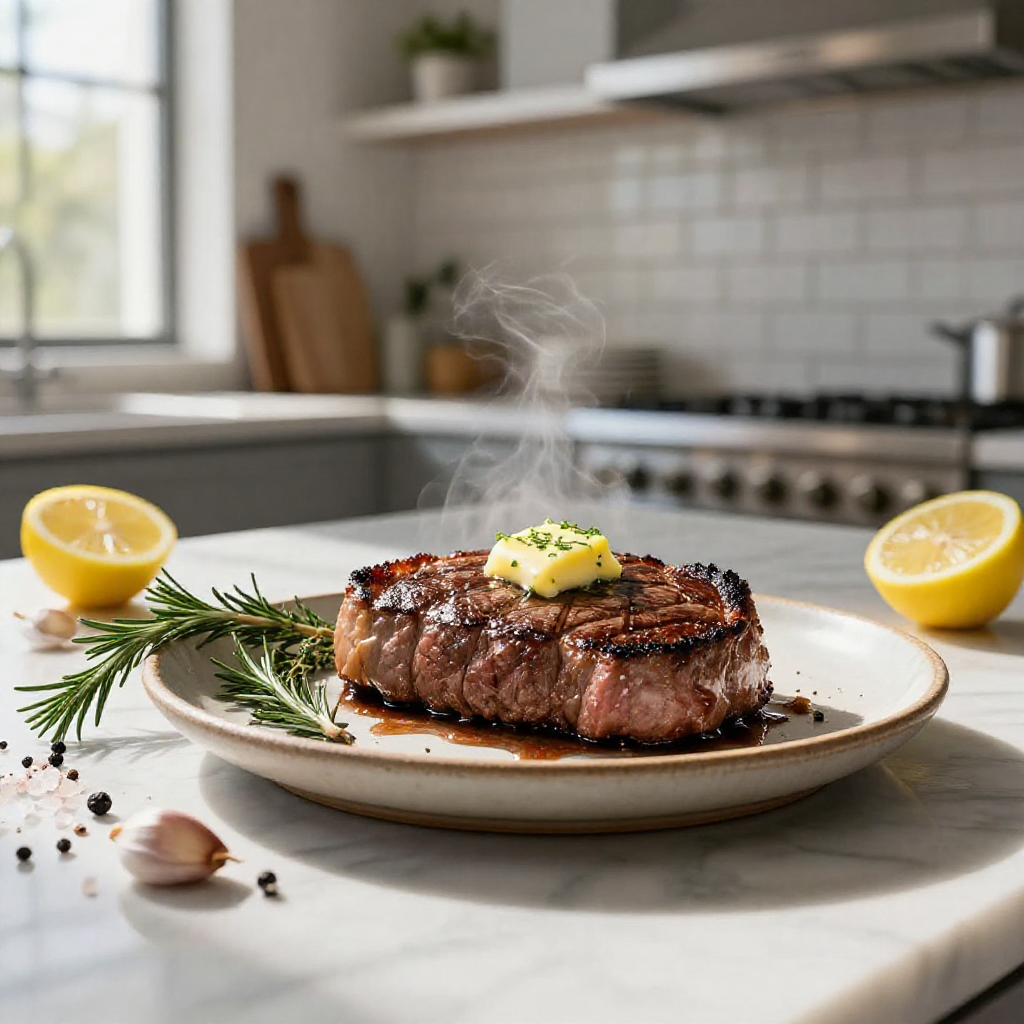
- Prep the Steak: Take the steak out of the refrigerator at least 30 minutes before cooking, and ideally up to an hour. This allows the steak to come to room temperature, which helps it cook more evenly. Pat the steak dry with paper towels. This is crucial for achieving a good sear. Generously season both sides of the steak with salt and pepper. Don’t be shy with the seasoning!
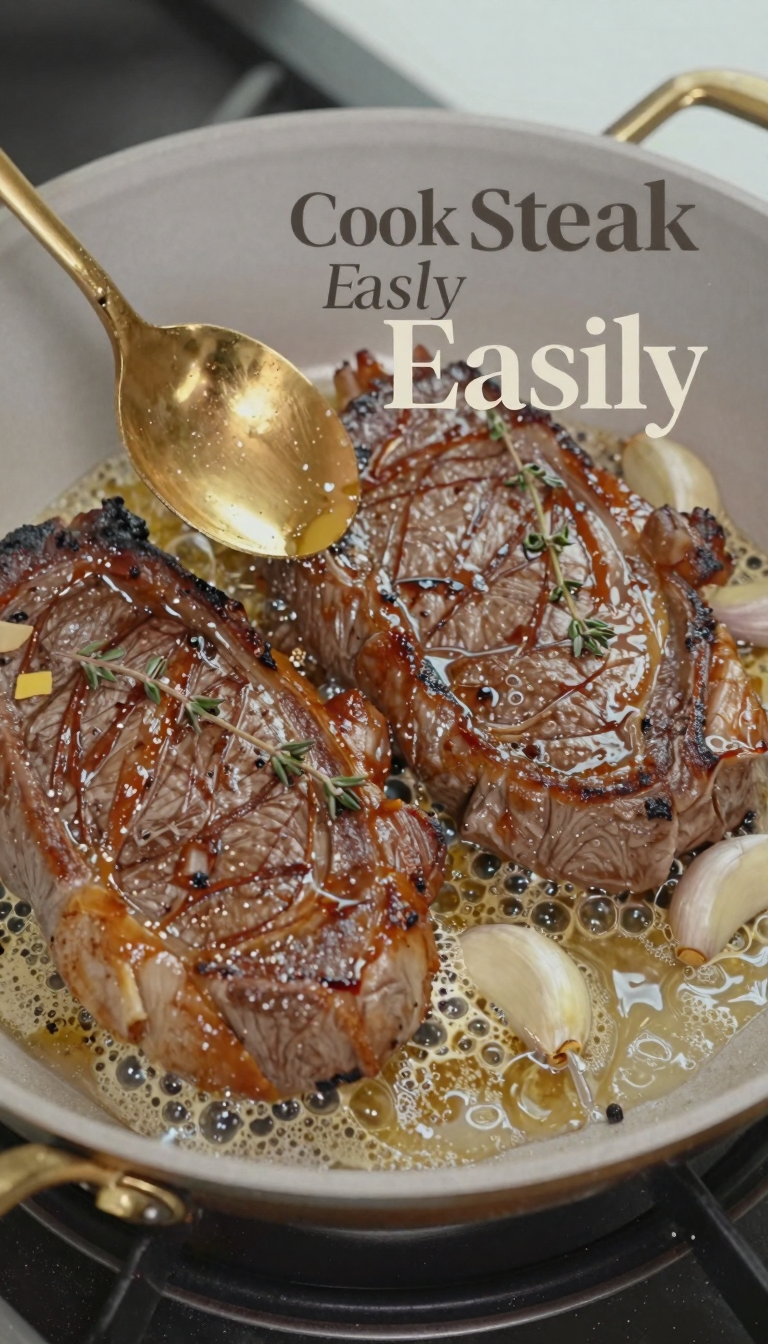
- Heat the Pan: Place a heavy-bottomed skillet (cast iron is ideal) over medium-high heat. Add the olive oil and let it heat until it shimmers and is almost smoking. A hot pan is essential for creating a beautiful crust on the steak.
- Sear the Steak: Carefully place the steak in the hot skillet. Sear for 3-4 minutes on each side for medium-rare. If you prefer a different level of doneness, adjust the cooking time accordingly. Use a meat thermometer to check the internal temperature.
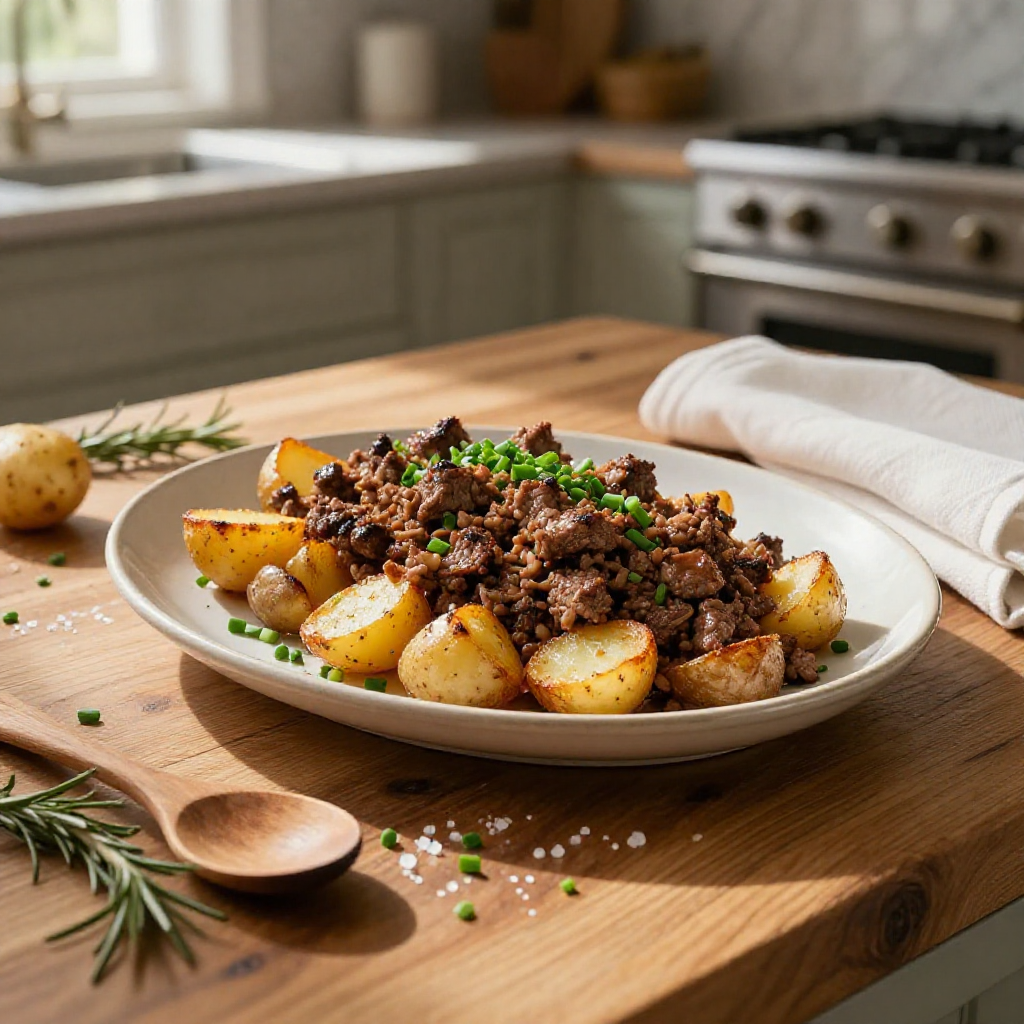
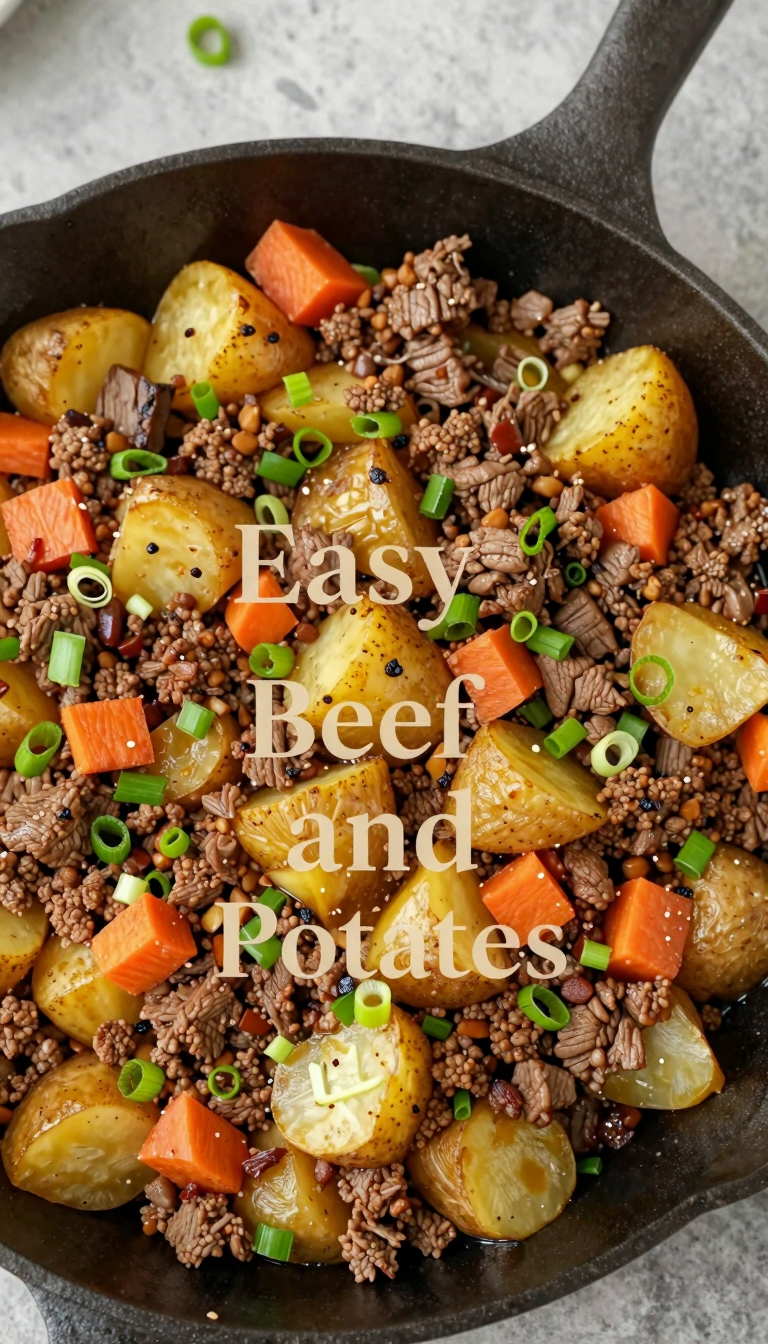
- Add Flavor (Optional): For added flavor, in the last minute of cooking, add the butter, minced garlic, and rosemary or thyme to the skillet. Tilt the pan and use a spoon to baste the steak with the melted butter. This infuses the steak with rich, aromatic flavors. If you’re looking for a quick weeknight meal, you might also enjoy my recipe for garlic butter steak and potatoes skillet.
- Check the Temperature: Use a meat thermometer to ensure the steak reaches your desired level of doneness. Here’s a guide:
- Medium-Rare: 130-135°F
- Medium: 135-145°F
- Medium-Well: 145-155°F
- Well-Done: 155°F+
- Rest the Steak: Remove the steak from the skillet and place it on a cutting board. Tent it loosely with foil and let it rest for at least 10 minutes. This allows the juices to redistribute throughout the steak, resulting in a more tender and flavorful final product.
- Slice and Serve: After resting, slice the steak against the grain into thin slices. This makes it easier to chew and enhances the tenderness. Serve immediately and enjoy!
Pro Tips
- Don’t overcrowd the pan: If you’re cooking multiple steaks, do it in batches to avoid overcrowding the pan. Overcrowding lowers the temperature of the pan and prevents the steak from searing properly.
- Use a meat thermometer: A meat thermometer is your best friend when cooking steak. It’s the most accurate way to ensure the steak reaches your desired level of doneness.
- Let it rest! I can’t stress this enough. Resting the steak is crucial for achieving a tender and juicy result. Don’t skip this step! Also, for another beef and potato recipe, check out this beef and potato skillet.
- Consider reverse searing: For thicker cuts of steak, consider reverse searing. This involves cooking the steak at a low temperature in the oven until it’s almost to your desired doneness, then searing it in a hot skillet for a perfect crust.
Variations & Substitutions
One of the great things about cooking steak is how adaptable it is. Feel free to experiment with different flavors and techniques to create your perfect steak. Here are a few ideas:
- Different Cuts of Steak: While Ribeye, New York Strip, and Sirloin are popular choices, you can also use other cuts like Filet Mignon, T-Bone, or Flank Steak. Keep in mind that different cuts may require different cooking times and techniques.
- Spice Rubs: Instead of just salt and pepper, try using a spice rub to add extra flavor to your steak. Some popular options include garlic powder, onion powder, paprika, chili powder, and cumin.
- Marinades: Marinating your steak before cooking can add flavor and tenderize the meat. Try using a marinade made with olive oil, balsamic vinegar, soy sauce, Worcestershire sauce, and your favorite herbs and spices.
- Sauces: Top your steak with your favorite sauce, such as chimichurri, béarnaise, or a simple pan sauce made with red wine and beef broth.
- Different Cooking Methods: While this guide focuses on pan-searing, you can also grill, broil, or bake your steak. Each method will yield slightly different results, so experiment to find your favorite. If you are in the mood for something different try this easy steak fajitas or another steak fajita.
FAQ
- How do I know when my steak is done?
- The best way to determine the doneness of your steak is to use a meat thermometer. Insert the thermometer into the thickest part of the steak, avoiding any bone. Use the temperature guide in the instructions to determine if your steak is cooked to your liking.
- Can I use frozen steak?
- While it’s always best to use fresh steak, you can cook steak from frozen if necessary. However, it will take longer to cook, and it may not sear as well. Make sure to adjust the cooking time accordingly and use a meat thermometer to ensure it reaches your desired level of doneness.
- What kind of pan should I use?
- A heavy-bottomed skillet, such as cast iron, is ideal for cooking steak. Cast iron pans retain heat well and distribute it evenly, which is essential for achieving a good sear. If you don’t have a cast iron pan, you can use a stainless steel skillet instead.
- Why is it important to let the steak rest?
- Resting the steak allows the juices to redistribute throughout the meat. When steak is cooked, the muscle fibers contract and squeeze out moisture. Letting it rest allows those fibers to relax and reabsorb the juices, resulting in a more tender and flavorful steak.
Final Thoughts
So, there you have it! Cooking a delicious steak at home is easier than you think. With a little bit of practice and this beginner-friendly guide, you’ll be impressing your friends and family with perfectly cooked steaks in no time. Now, go fire up that skillet and get cooking! I can’t wait to hear about your steak-cooking adventures. Let me know in the comments how it turns out!
How to Cook a Steak (Beginner Friendly)
Ingredients
Steak
- 1 steak (Ribeye, New York Strip, or Sirloin) (about 1-inch thick)
Seasoning
- 1 tablespoon olive oil
- 1 teaspoon salt
- 0.5 teaspoon black pepper
Optional Flavors
- 1 tablespoon butter (optional)
- 1 clove garlic (minced (optional))
- 1 sprig rosemary or thyme (optional)
Instructions
- Take steak out of refrigerator 30 minutes before cooking.
- Pat the steak dry with paper towels.
- Season generously with salt and pepper on both sides.
- Heat olive oil in a skillet over medium-high heat.
- Sear steak for 3-4 minutes on each side (or longer for desired doneness). Check internal temperature.
- For added flavor (optional): Add butter, garlic, and herbs in the last minute and baste the steak.
- Remove steak and let it rest for 5-10 minutes.
- Slice and serve immediately.
Notes
Loved this recipe? Save it to your favorite Pinterest board so you can easily find it later! ✨


")