Welcome to the Magical World of Homemade Beefy Melt Burritos!
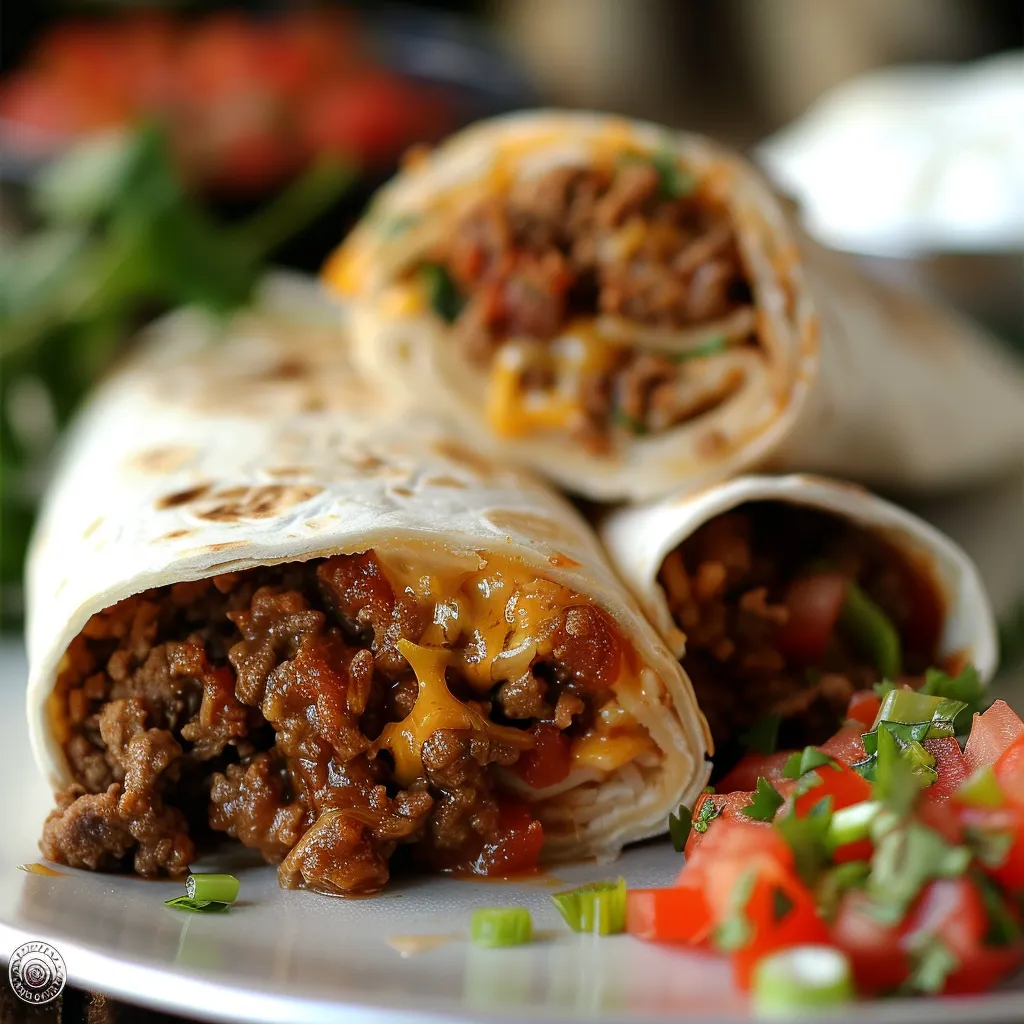
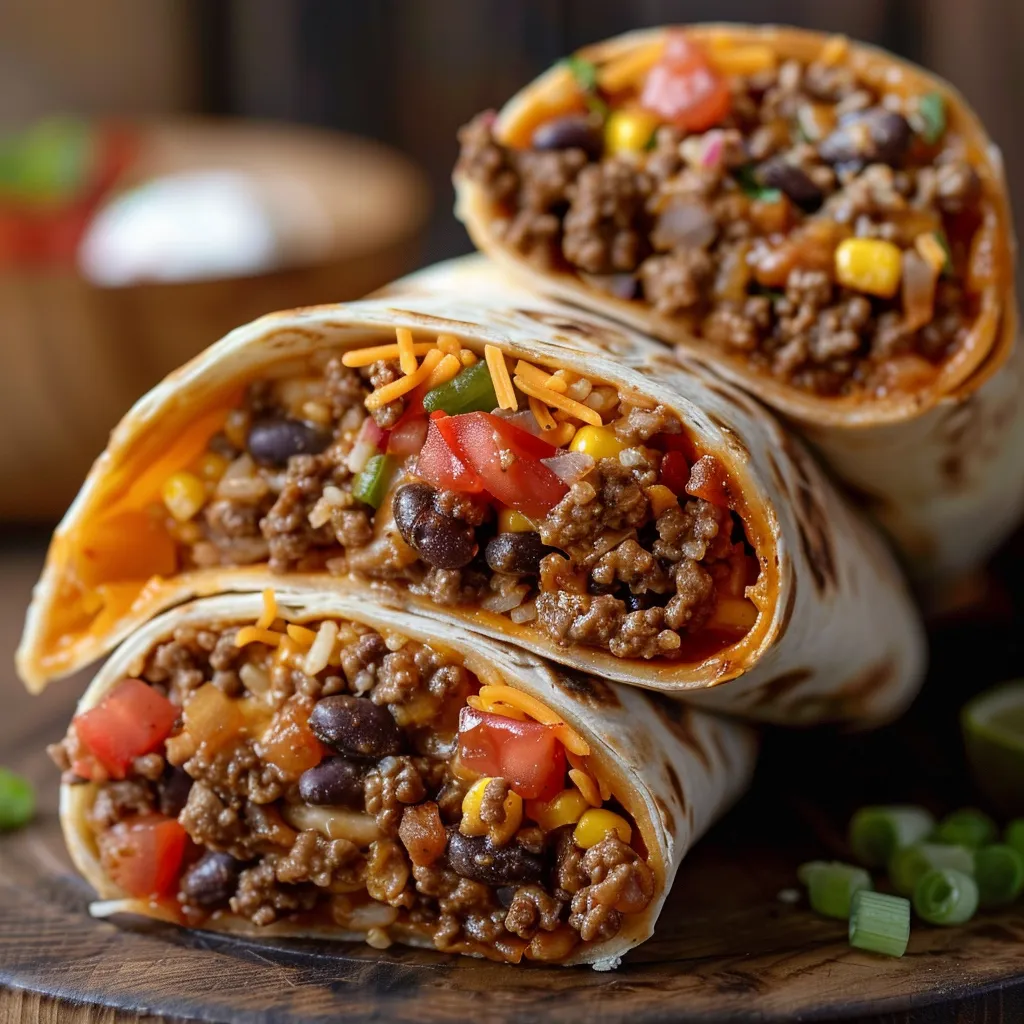
Ah, the beefy melt burrito! It’s more than just a meal; it’s a comforting wrap of flavor that transports you back to cozy evenings spent with family around the dinner table. Imagine biting into a warm tortilla filled with seasoned ground beef, gooey cheese, and a hint of salsa that dances on your taste buds. If you’re looking for a quick and delicious weeknight dinner, you’ve arrived at the right recipe! Today, we’re diving into the art of creating Easy Homemade Beefy Melt Burritos that are not only simple to make but also bursting with nostalgia and flavor.
This recipe is perfect for busy evenings when you want to whip up something satisfying without spending hours in the kitchen. Let’s embark on this culinary adventure together—grab your apron, and let’s make some magic happen!
Why You’ll Love This Recipe
- Quick and Easy: With just a few ingredients and simple steps, you can have a delicious dinner on the table in under 30 minutes, perfect for busy weeknights.
- Customizable: This burrito is a blank canvas! You can add your favorite toppings and fillings, making it a dish the whole family can enjoy.
- Budget-Friendly: Using ground beef and pantry staples means you can create a filling meal without breaking the bank—perfect for families!
- Comfort Food: There’s something about a warm burrito that feels like a hug from the inside. It’s a dish that brings people together.
- Meal Prep Friendly: Make a double batch and freeze some for later. These burritos reheat beautifully, making them an excellent option for quick lunches or dinners.
Ingredients Breakdown
Before we dive into the cooking process, let’s take a closer look at the ingredients that will make your beefy melt burritos sing:
- 1 pound ground beef: The star of the show! Feel free to substitute with ground turkey or chicken for a lighter option.
- 1 packet taco seasoning: This blend of spices adds that classic taco flavor. You can also make your own blend with chili powder, cumin, garlic powder, and onion powder.
- 1 cup shredded cheese: Cheddar or a Mexican blend works beautifully here. Cheese is essential for that melty goodness!
- 4 large flour tortillas: Flour tortillas are perfect for wrapping and hold everything together well. Corn tortillas can be used for a gluten-free option.
- 1 cup cooked rice: Adds bulk and texture to the burrito. You can use Mexican rice or any leftover rice you have on hand.
- 1 can refried beans: These add creaminess and depth of flavor. Black beans can be substituted for a different twist.
- 1/2 cup salsa: Choose your favorite salsa for a burst of flavor; mild for the kids or spicy for the adults!
- 1/4 cup chopped green onions (optional): A fresh touch that adds a bit of crunch and flavor. You can also use diced tomatoes or avocado.
- Sour cream (for serving, optional): A dollop of sour cream on top takes these burritos to the next level!
Step-by-Step Cooking Instructions
Ready to get cooking? Follow these simple steps to create your beefy melt burritos:
- In a skillet over medium heat, cook the ground beef until browned, about 5-7 minutes. Drain any excess fat.
- Add the taco seasoning to the beef, following package instructions to add water and let simmer for flavor explosion.
- In a separate bowl, mix the cooked rice, refried beans, and salsa until well combined.
- Warm the flour tortillas in a dry skillet or microwave until pliable, making them easier to roll.
- Spread a spoonful of the rice and bean mixture on each tortilla, then add a portion of the seasoned beef and sprinkle with cheese.
- Roll the tortillas tightly, folding in the sides to secure the filling. Place them seam-side down in a greased baking dish.
- Top with remaining cheese and bake in a preheated oven at 350°F (175°C) for about 10-15 minutes, or until the cheese is melted and bubbly.
- Remove from the oven, garnish with chopped green onions if desired, and serve with sour cream.
Pro Tips for Perfect Burritos
- Don’t Overstuff: It’s tempting to pile on the fillings, but less is more! Overstuffed burritos can burst while rolling.
- Customize Your Fillings: Feel free to add black beans, corn, or even grilled veggies for a twist.
- Let the Cheese Melt: For the ultimate flavor, broil the burritos for an additional 1-2 minutes after baking to get that crispy cheese top.
- Make-Ahead: You can prepare the filling ahead of time and store it in the fridge for easy assembly later.
- Use Fresh Ingredients: Fresh tortillas and quality cheese make all the difference in taste and texture.
- Experiment with Spices: Add a pinch of cayenne or smoked paprika to the beef for an extra kick!
- Pair with Sides: Serve with a side of chips and guacamole or a fresh salad for a complete meal.
- Freeze for Later: These burritos freeze well! Wrap them individually in foil and freeze for up to 3 months.
Common Mistakes and Troubleshooting
Even the best cooks have a few oops moments in the kitchen. Here are some common pitfalls to avoid:
- Burrito Burst: If your burrito bursts, it might be due to overstuffing. Next time, use a little less filling and ensure it’s rolled tightly.
- Dry Filling: If the filling is dry, ensure you’re adding enough salsa or moisture while cooking the beef. A splash of beef broth can also help.
- Cheese Not Melting: If your cheese doesn’t melt, try broiling the burritos for a couple of minutes to achieve that gooey goodness.
Delicious Variations
If you want to switch things up, here are some fun variations to try:
- Vegetarian Option: Swap ground beef for sautéed mushrooms or lentils and use black beans for added protein.
- Spicy Chicken Burrito: Substitute chicken for beef and add jalapeños to the filling for a spicy kick.
- Breakfast Burrito: Use scrambled eggs instead of ground beef, and add breakfast sausage, cheese, and salsa.
- BBQ Beef Burrito: Substitute taco seasoning with BBQ sauce and add coleslaw for a fun twist.
Storage and Make-Ahead Instructions
These burritos are not only delicious but also convenient for meal prep! Here’s how to store and prepare them:
- Refrigerate: Store any leftover burritos in an airtight container in the fridge for up to 3 days.
- Freeze: Wrap burritos individually in foil or plastic wrap and store in a freezer bag for up to 3 months.
- Reheat: To reheat, bake from frozen at 350°F (175°C) for about 25 minutes or until heated through.
Frequently Asked Questions
Let’s tackle some common questions about making beefy melt burritos:
- Can I use ground turkey instead of beef? Absolutely! Ground turkey or chicken are great substitutes.
- What type of cheese can I use? Cheddar, Monterey Jack, or a Mexican blend works beautifully. Use your favorite!
- How do I prevent the burritos from getting soggy? Make sure to drain excess fat from the beef and avoid overloading with wet ingredients.
- Can I add extra vegetables? Yes! Feel free to add bell peppers, corn, or spinach for added nutrition.
- What’s the best way to warm tortillas? A dry skillet or microwave works best to keep them soft and pliable.
- Can I make these burritos ahead of time? Absolutely! Prepare the filling and store it in the fridge. Assemble and bake when ready to eat.
- Are these burritos kid-friendly? Definitely! They’re customizable, so let the kids choose their own fillings.
- How do I make these burritos spicier? Add diced jalapeños, hot sauce, or spicy salsa to the filling for an extra kick!
Nutritional Tips and Dietary Adaptations
Want to make your beefy melt burritos a bit healthier? Here are some tips:
- Lean Meat: Use lean ground beef or ground turkey to reduce fat content.
- Whole Wheat Tortillas: Opt for whole wheat tortillas for added fiber.
- Load Up on Veggies: Add extra vegetables like spinach or bell peppers to increase the nutrient density.
- Low-Fat Cheese: Use low-fat cheese options to reduce calories without losing flavor.
Equipment Recommendations
To make the cooking process smoother, here are some handy kitchen tools:
- Skillet: A sturdy non-stick skillet is essential for browning the beef perfectly.
- Baking Dish: A glass or ceramic baking dish works well for baking your burritos.
- Spatula: A silicone spatula is great for mixing and serving without scratching your cookware.
- Measuring Cups and Spoons: Accurate measurements are key to consistent and delicious results!
Serving Suggestions
Want to elevate your burrito experience? Here are some delicious sides and accompaniments:
- Chips and Salsa: A classic combo that never gets old!
- Guacamole: Creamy, dreamy guac pairs perfectly with the burritos.
- Mexican Rice: Serve with a side of Mexican rice for a complete meal.
- Fresh Salad: A simple green salad with lime vinaigrette adds freshness to your plate.
In conclusion, these Easy Homemade Beefy Melt Burritos are not only a hit at the dinner table but also a wonderful way to bring the magic of cooking into your home. With their rich flavors, comforting textures, and endless possibilities for customization, they’re bound to become a staple in your kitchen. So whether you’re feeding a hungry family or impressing friends with your culinary skills, these burritos are sure to bring smiles all around. Now, go ahead and make some burrito magic happen—you’ve got this!
Easy Homemade Beefy Melt Burritos | Quick & Delicious Weeknight Dinner
Ingredients
Meat and Fillings
- 1 pound ground beef
- 1 packet taco seasoning
- 1 cup shredded cheese (cheddar or mexican blend)
- 1 cup cooked rice
- 1 can refried beans
- 1/2 cup salsa
- 1/4 cup chopped green onions (optional)
Optional toppings
- sour cream (for serving)
Instructions
- Cook ground beef in a skillet until browned, about 5-7 minutes.
- Add taco seasoning and water as per package instructions; simmer.
- Mix cooked rice, refried beans, and salsa in a bowl.
- Warm tortillas and spread rice-bean mixture, beef, and cheese on each.
- Roll up the burritos, place seam-side down in a baking dish, top with cheese, and bake at 350°F (175°C) for 10-15 minutes.
- Garnish with green onions and serve with sour cream if desired.
Notes
Loved this recipe? Save it to your favorite Pinterest board so you can easily find it later! It’s the perfect way to keep all your sweet ideas in one place. ✨