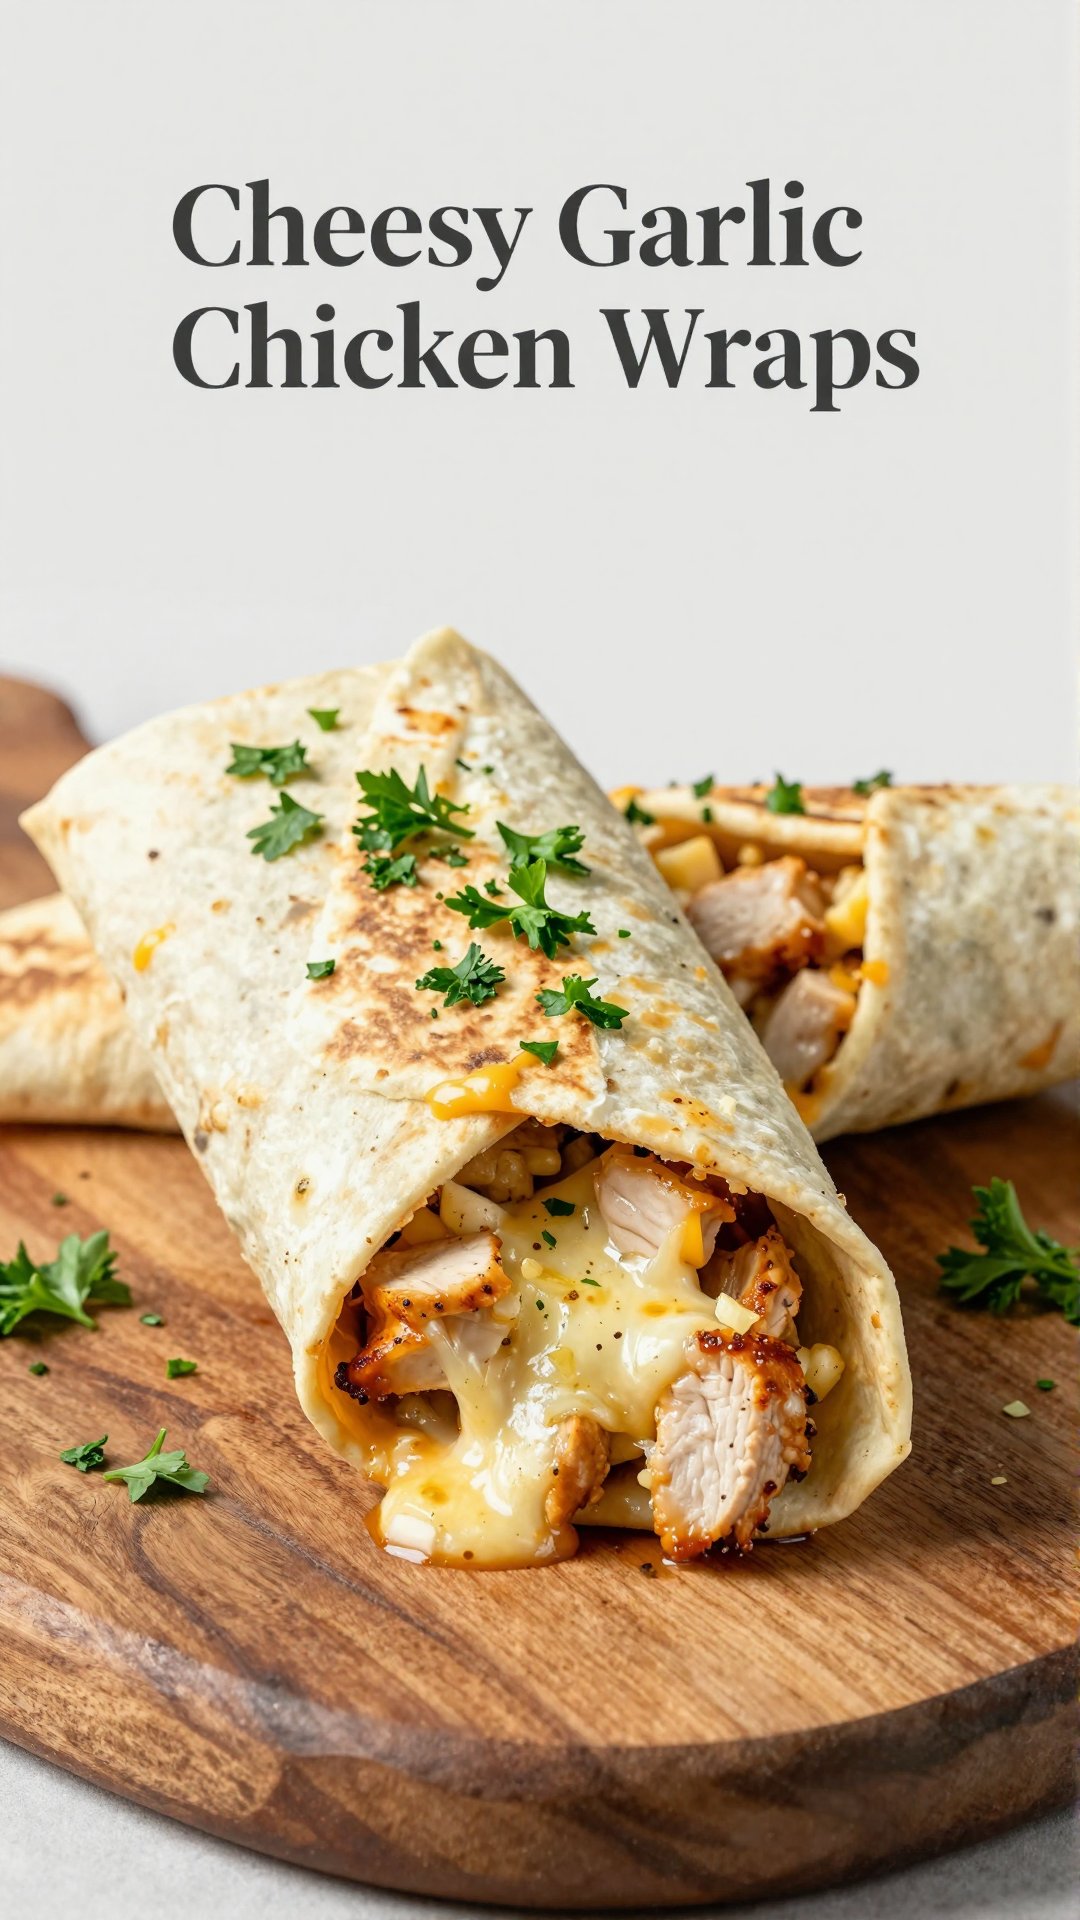
My name’s Ava, and welcome back to my kitchen! Today, we’re diving headfirst into comfort food territory with a recipe that’s not only incredibly delicious but also ridiculously easy to make. Get ready to meet your new weeknight hero: Ooey-Gooey Cheesy Garlic Chicken Wraps. If you’re anything like me, you crave those meals that are both satisfying and quick to prepare, especially after a long day. These wraps are exactly that—a warm, cheesy hug in every bite.
I remember the first time I made something similar to this. It was a chaotic Tuesday, I was running late, and my stomach was rumbling louder than my car’s engine. Scrounging through the fridge, I found some leftover chicken, a lonely clove of garlic, and a mountain of cheese. A few minutes later, I was happily munching on a makeshift wrap that tasted like pure magic. That’s how this recipe was born – from a moment of hungry desperation and a desire for something comforting. And let me tell you, it’s been a family favorite ever since. Whether you are looking for a quick lunch or an easy dinner, these cheesy garlic chicken wraps are the perfect choice.
Why You’ll Love This Recipe
Let’s be honest, sometimes all you need is something warm, cheesy, and utterly delicious to make everything better. These cheesy garlic chicken wraps are the answer. But why will you absolutely adore them? Let me count the ways:
- Quick & Easy: From start to finish, you can have these wraps on the table in under 30 minutes. Perfect for those busy weeknights!
- Ultimate Comfort Food: The combination of garlic, chicken, and melted cheese is a match made in heaven. It’s like a warm hug for your taste buds.
- Customizable: Feel free to swap out ingredients based on what you have on hand. Use different cheeses, add veggies, or spice things up with a dash of hot sauce.
- Kid-Friendly: Even the pickiest eaters will devour these wraps. The cheesy, savory flavor is a surefire hit with kids of all ages.
- Leftover-Friendly: Got leftover chicken? This is the perfect way to use it up! No need to let that delicious chicken go to waste.
Ingredients You’ll Need
- Chicken breast (cooked, diced): The star of the show! You can use leftover rotisserie chicken, grilled chicken, or even canned chicken in a pinch.
- Garlic (minced): Adds that unmistakable garlicky goodness. Freshly minced is best, but jarred minced garlic works too.
- Olive oil: For sautéing the garlic and adding richness. You can substitute with butter if you prefer.
- Shredded mozzarella cheese: For that stretchy, melty, cheesy pull.
- Shredded cheddar cheese: Adds a sharp, tangy flavor that complements the mozzarella perfectly.
- Flour tortillas (medium): The vessel for all that deliciousness! Use your favorite brand of flour tortillas. You can also use gluten-free tortillas if needed.
- Butter: For toasting the wraps to golden perfection.
- Parsley (chopped, optional): Adds a pop of freshness and color.
- Salt and black pepper: To season everything just right.
How to Make Cheesy Garlic Chicken Wraps: Step-by-Step
Alright, let’s get cooking! Here’s how to make these amazing cheesy garlic chicken wraps:
- Prepare the Chicken: Start by cooking the chicken if you have not already. Season it lightly with salt and pepper and either bake, sauté, or grill until done. Dice into small bite-sized pieces and set aside. This ensures that every bite of these wraps is packed with flavor and that the texture is just right.
- Sauté the Garlic: In a pan over medium heat, warm the olive oil. Add the minced garlic and sauté just until golden and fragrant, around thirty seconds to one minute. Be careful not to burn the garlic, as it can become bitter. Add the diced chicken to the pan and toss it with the garlic oil to infuse flavor evenly.
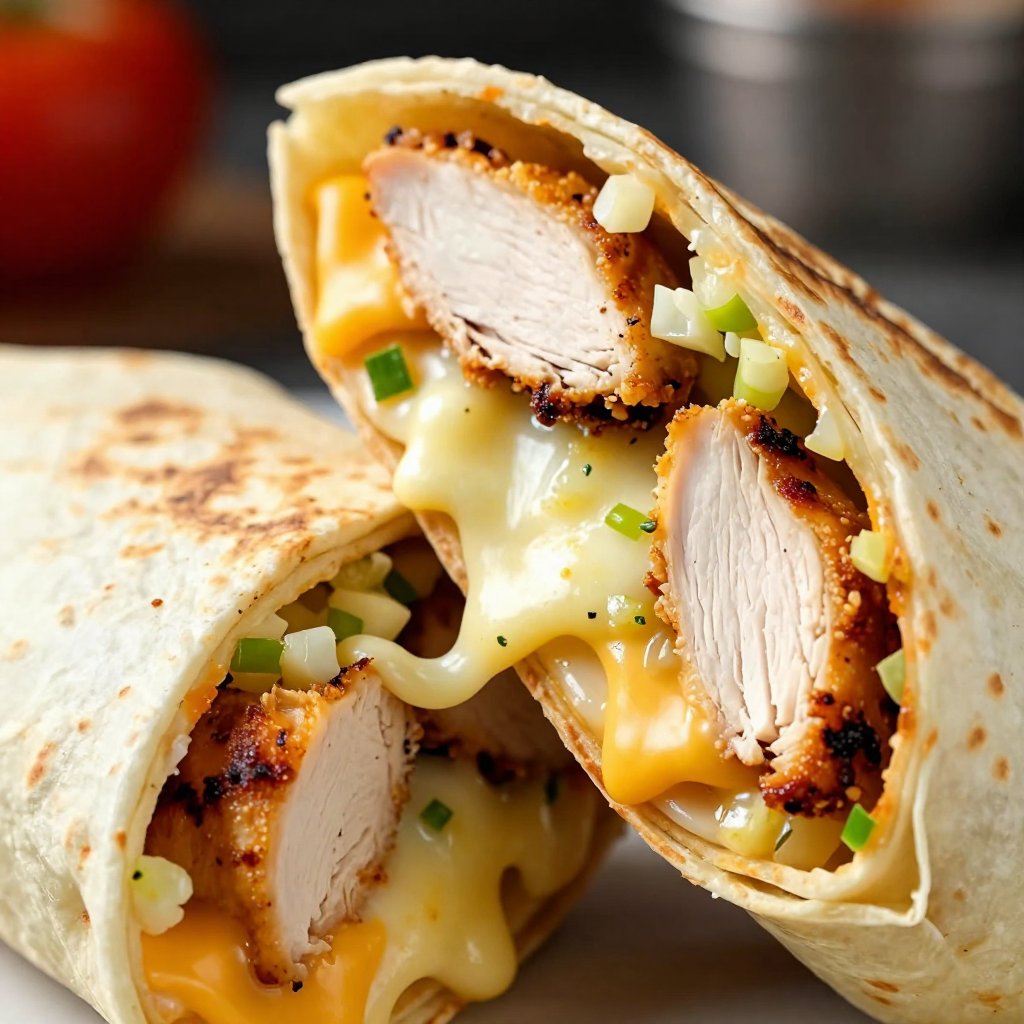
- Add the Cheese: Remove from heat and stir in both cheeses while the chicken is still hot. This helps the cheese start melting before it goes into the wrap. The goal is to get that ooey-gooey consistency that makes these wraps so irresistible.
- Assemble the Wraps: Lay a tortilla flat and spoon a generous portion of the cheesy garlic chicken mixture into the center. Fold in the sides and roll it tightly like a burrito. Make sure to tuck in the sides well so that the filling doesn’t spill out while cooking.
- Toast the Wraps: In a skillet, melt the butter over medium heat. Place the wraps seam-side down and press gently. Cook each side for two to three minutes or until golden brown and crispy. Flip carefully to avoid spilling any filling. The butter helps to create a beautiful golden crust that adds a delightful crunch to each bite.
- Rest and Serve: Once all wraps are cooked, remove from the skillet and let them rest for one to two minutes before slicing. This allows the cheese to set slightly, making them easier to handle.
- Garnish and Enjoy: Sprinkle chopped parsley over the top if desired, and serve warm. The parsley adds a pop of freshness and color that elevates the dish.
Pro Tips for Perfect Wraps
Want to take your cheesy garlic chicken wraps to the next level? Here are a few pro tips to keep in mind:
- Don’t Overcook the Garlic: Burnt garlic is bitter and can ruin the flavor of the entire dish. Sauté it gently until it’s just fragrant and golden.
- Use High-Quality Cheese: The better the cheese, the better the flavor. Opt for freshly shredded cheese instead of pre-shredded for the best melting and taste.
- Warm the Tortillas: Warming the tortillas slightly before filling them makes them more pliable and less likely to tear. You can warm them in a dry skillet or in the microwave for a few seconds.
- Don’t Overfill the Wraps: Overfilling the wraps can make them difficult to roll and prone to bursting. Use a generous but reasonable amount of filling.
- Press Gently While Cooking: Pressing the wraps gently in the skillet helps them to brown evenly and seals the edges, preventing the filling from spilling out.
Common Mistakes to Avoid
We all make mistakes in the kitchen, but here are a few common pitfalls to watch out for when making these wraps:
- Burning the Garlic: As mentioned earlier, burnt garlic is a no-no. Keep a close eye on it while sautéing.
- Using Cold Chicken: Cold chicken can make the cheese mixture cool down too quickly, preventing it from melting properly. Make sure the chicken is warm when you add the cheese.
- Overcooking the Wraps: Overcooking the wraps can make the tortillas dry and brittle. Cook them until they’re golden brown and crispy, but not burnt.
- Skipping the Resting Period: Letting the wraps rest for a minute or two after cooking allows the cheese to set and prevents them from being too messy to handle.
Variations to Try
One of the best things about this recipe is how versatile it is. Here are a few variations to try:
- Spicy Chicken Wraps: Add a pinch of red pepper flakes or a dash of hot sauce to the chicken mixture for a kick of heat.
- Veggie-Loaded Wraps: Add sautéed veggies like bell peppers, onions, and mushrooms to the chicken mixture for a healthier twist.
- BBQ Chicken Wraps: Use BBQ sauce instead of olive oil and garlic to sauté the chicken for a smoky, tangy flavor.
- Pesto Chicken Wraps: Add a spoonful of pesto to the chicken mixture for a burst of fresh, herby flavor.
- Cream Cheese Chicken Wraps: Add a dollop of cream cheese to the chicken mixture for extra creaminess.
How to Store Leftovers
If you happen to have any leftovers (which is unlikely, because they’re so delicious), here’s how to store them:
- Refrigerate: Store leftover wraps in an airtight container in the refrigerator for up to 3 days.
- Reheat: Reheat the wraps in a skillet over medium heat or in the microwave until warmed through. They may not be as crispy as when they were freshly made, but they’ll still be delicious.
Frequently Asked Questions (FAQ)
Got questions? I’ve got answers! Here are some common questions about these cheesy garlic chicken wraps:
- Can I use pre-cooked chicken?: Absolutely! Pre-cooked chicken is a great time-saver. Just make sure it’s warmed through before adding the cheese.
- Can I use different cheeses?: Of course! Feel free to experiment with different cheeses like provolone, Monterey Jack, or pepper jack.
- Can I make these ahead of time?: You can prepare the chicken and cheese mixture ahead of time and store it in the refrigerator. When you’re ready to eat, simply assemble the wraps and cook them.
- Can I freeze these wraps?: I don’t recommend freezing these wraps, as the tortillas can become soggy when thawed.
- Are these wraps gluten-free?: Not as written, but you can easily make them gluten-free by using gluten-free tortillas.
Serving Suggestions
These cheesy garlic chicken wraps are delicious on their own, but here are a few serving suggestions to make them a complete meal:
- Side Salad: Serve with a simple side salad for a light and refreshing meal.
- Soup: Pair with a bowl of tomato soup or chicken noodle soup for a comforting and satisfying meal.
- French Fries: Serve with a side of crispy French fries for a classic comfort food combination.
- Coleslaw: Add a scoop of coleslaw for a crunchy and tangy side dish.
So there you have it – Ooey-Gooey Cheesy Garlic Chicken Wraps that are sure to become a family favorite. I hope you love this recipe as much as I do. Happy cooking, and I’ll see you in the next recipe!
Ooey-Gooey Cheesy Garlic Chicken Wraps You’ll Devour
Ingredients
Ingredients
- 2 cups Chicken breast (cooked, diced) (cooked and diced)
- 2 cloves Garlic (minced) (minced)
- 1 tablespoon Olive oil
- 1 cup Shredded mozzarella cheese
- 1 cup Shredded cheddar cheese
- 4 Flour tortillas (medium) (medium)
- 2 tablespoons Butter
- to taste Parsley (chopped, optional) (chopped, optional)
- to taste Salt and black pepper
Instructions
- Cook and dice the chicken, seasoning with salt and pepper.
- Sauté garlic in olive oil until fragrant. Add chicken and toss.
- Remove from heat and stir in mozzarella and cheddar cheese.
- Lay tortilla flat, spoon in chicken mixture, fold sides, and roll tightly.
- Melt butter in skillet, cook wraps seam-side down until golden brown and crispy.
- Let wraps rest for 1-2 minutes before slicing.
- Sprinkle with parsley and serve warm.
Notes