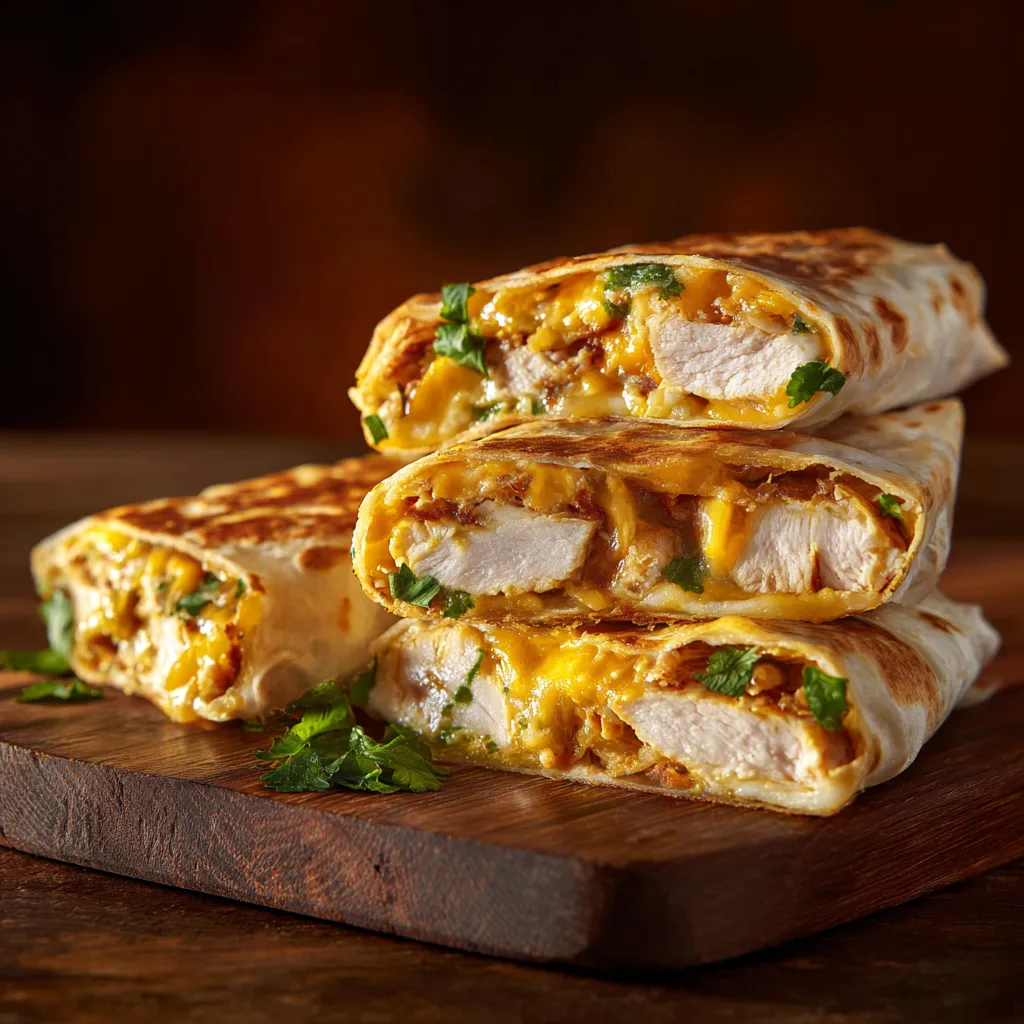
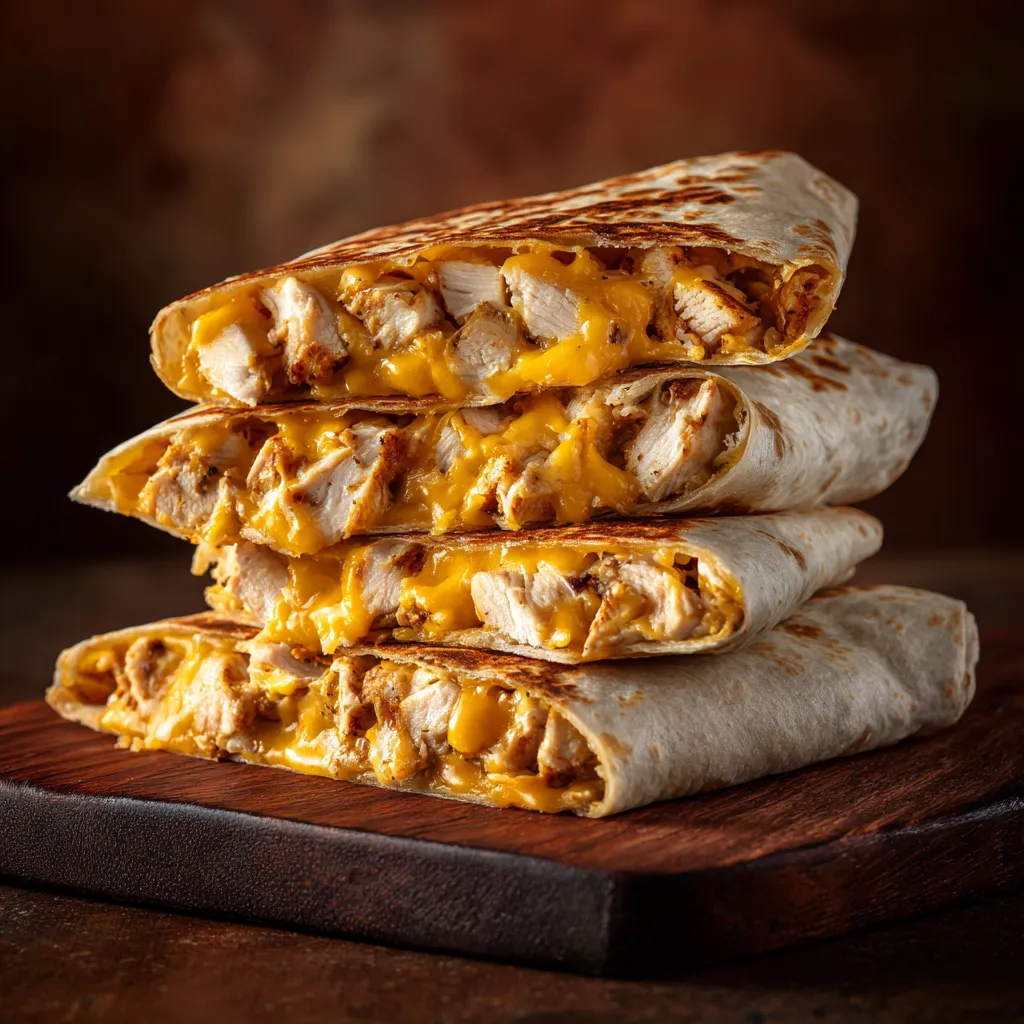
Welcome to the World of Cheesy Chicken Garlic Wraps!
If you’re anything like me, the kitchen is your happy place—where the magic happens, and flavors dance together. Today, we’re diving into the cozy goodness of Ooey-Gooey Cheesy Chicken Garlic Wraps, a dish that’s not just a meal but a warm hug on a plate. Perfect for dinner parties, quick lunches, or a comforting weeknight meal, these wraps are a delightful blend of cheesy goodness and garlicky delight. So, grab your apron, and let’s get started!
Why You’ll Love This Recipe
- Quick Preparation: These wraps can be whipped up in under 30 minutes, making them an ideal choice for busy weeknights.
- Kid-Friendly: The cheesy filling is a hit with kids, ensuring that mealtime is stress-free and enjoyable.
- Customizable: Add your favorite veggies or switch up the cheese for endless flavor combinations.
- Perfect for Meal Prep: Make a batch ahead of time, and store them in the fridge for quick, delicious meals throughout the week.
- Impressive Presentation: Serve them with a side of salsa or guacamole, and watch your guests’ eyes light up!
Ingredient Breakdown
Let’s gather our ingredients for these cheesy chicken wraps that promise to steal the show:
- 2 cups cooked chicken: Shredded or diced, this is your protein powerhouse. You can use rotisserie chicken for convenience!
- 1 cup shredded mozzarella cheese: Melty, gooey goodness that binds everything together.
- 1/2 cup cream cheese: Adds richness and creaminess that makes the filling irresistible.
- 1/4 cup garlic powder: For that punch of flavor; feel free to adjust based on your love for garlic.
- 1/2 teaspoon salt: Enhances the flavors of your filling.
- 1/4 teaspoon black pepper: A simple seasoning that adds depth.
- 4 large tortillas: Flour tortillas work best, but feel free to try corn or whole wheat for a twist.
- 1/4 cup chopped fresh parsley (optional): For a pop of color and freshness.
- Olive oil for cooking: Helps achieve that golden-brown crust on your wraps.
How to Make Cheesy Chicken Garlic Wraps
Ready to dive into the cooking process? Here’s a step-by-step guide to creating these delightful wraps:
Step 1: Prepare the Filling
In a mixing bowl, combine the shredded chicken, mozzarella cheese, cream cheese, garlic powder, salt, and black pepper. Mix until well combined and set aside.
Step 2: Assemble the Wraps
Lay a tortilla flat on a clean surface. Spoon a generous amount of the chicken mixture onto the center of the tortilla. If you’re using parsley, sprinkle it on top.
Step 3: Roll It Up
Fold the sides of the tortilla over the filling and roll it up tightly, ensuring everything is snug inside.
Step 4: Cook the Wraps
In a skillet, heat a little olive oil over medium heat. Place the wrapped tortillas seam side down in the skillet. Cook for about 3-4 minutes on each side, or until the tortillas are golden brown and the cheese is melted.
Step 5: Slice and Serve
Remove from the skillet, slice in half, and serve warm. Enjoy the cheesy goodness!
Pro Tips for Perfect Wraps
- Don’t Overfill: Keep the filling to about 1/3 of the tortilla to avoid spilling when rolling.
- Heat Control: Use medium heat to ensure the tortillas don’t burn while the cheese melts.
- Experiment with Cheeses: Try mixing in cheddar, pepper jack, or even feta for a unique twist.
- Add Veggies: Sauté spinach, bell peppers, or mushrooms to sneak in some extra nutrition.
- Use Fresh Herbs: Fresh basil or cilantro can elevate the flavor profile significantly.
- Make It Spicy: Add diced jalapeños or a pinch of cayenne pepper to kick it up a notch.
- Storage Tips: Store leftovers in an airtight container in the fridge for up to 3 days.
- Freezing Instructions: You can freeze un-cooked wraps for up to a month. Just cook them straight from the freezer, adding a few extra minutes to the cooking time.
Common Mistakes and Troubleshooting
Even seasoned cooks encounter hiccups! Here are some common issues and how to fix them:
- Wraps Falling Apart: Ensure you’re rolling tightly and not overfilling. A little practice goes a long way!
- Cheese Not Melting: Make sure your heat is set to medium; too low won’t melt the cheese, and too high might burn the tortilla.
- Dry Filling: If your mixture feels dry, add a little more cream cheese or a splash of chicken broth for moisture.
- Too Much Garlic: If you find the garlic flavor overwhelming, balance it out with a bit of extra cream cheese or sour cream.
Delicious Variations to Try
These wraps are incredibly versatile! Here are some fun variations to keep your taste buds excited:
- Buffalo Chicken Wraps: Mix in some buffalo sauce for a spicy twist.
- Veggie Lover’s Wrap: Add sautéed zucchini, mushrooms, and spinach for a delicious vegetarian option.
- BBQ Chicken Wraps: Use BBQ sauce instead of garlic powder for a tangy flavor.
- Breakfast Wraps: Swap the chicken for scrambled eggs and add some diced tomatoes and avocado.
Storage and Make-Ahead Instructions
Planning ahead? Here’s how to store and prepare your wraps:
- Refrigeration: Store cooked wraps in an airtight container in the fridge for up to 3 days.
- Make Ahead: Assemble your wraps and store them un-cooked in the fridge for up to a day before cooking.
- Freezing: Wrap raw tortillas in plastic wrap and place them in a freezer-safe bag. Thaw overnight in the fridge before cooking.
Frequently Asked Questions (FAQ)
- Can I use frozen chicken? Yes, just make sure to cook it thoroughly before shredding.
- What can I substitute for cream cheese? You can use Greek yogurt or sour cream for a lighter option.
- How can I make the wraps gluten-free? Simply use gluten-free tortillas.
- Can I bake these wraps? Yes! Place them seam-side down on a baking sheet, brush with olive oil, and bake at 375°F (190°C) for about 15-20 minutes.
- What dipping sauces pair well with these wraps? Salsa, ranch, or guacamole are excellent choices!
- How do I prevent the tortillas from becoming soggy? Ensure the filling is not too wet, and avoid overfilling.
- Can I make these wraps vegetarian? Absolutely! Just omit the chicken and add your choice of veggies and cheese.
- How long do leftovers last? They’ll be good for up to 3 days in the fridge.
Nutrition Tips and Dietary Adaptations
If you’re keeping an eye on nutrition, here are some helpful tips:
- Lean Protein: Opt for grilled chicken breast to reduce fat content.
- Low-Fat Cheese: Use low-fat versions of mozzarella and cream cheese to lighten the dish.
- Add Fiber: Include beans or lentils in the filling for extra fiber and protein.
- Watch the Tortilla Size: Choosing smaller tortillas can help control portion sizes.
Equipment Recommendations
Having the right tools makes cooking a breeze! Here’s what you’ll need:
- Non-Stick Skillet: Essential for achieving that golden-brown crust without sticking.
- Mixing Bowl: For combining all your delicious filling ingredients.
- Spatula: A good spatula helps flip your wraps with ease.
Serving Suggestions
Ready to impress your family and friends? Here are some serving ideas:
- With a Side Salad: Pair these wraps with a fresh salad for a balanced meal.
- Accompany with Dips: Serve with salsa, guacamole, or ranch for a delicious contrast.
- Make a Platter: Create a wrap platter with various fillings for a fun gathering.
So there you have it! Your complete guide to making Ooey-Gooey Cheesy Chicken Garlic Wraps that are sure to impress and satisfy. Whether you’re sharing them with loved ones or savoring them solo, these wraps are all about comfort and joy. Now, it’s time to roll up those sleeves and create some kitchen magic. Happy cooking!
Ooey-Gooey Cheesy Chicken Garlic Wraps
Ingredients
Protein
- 2 cups cooked chicken, shredded
- 1 cup shredded mozzarella cheese
- 1/2 cup cream cheese, softened
- 1/4 cup garlic powder
- 1/2 teaspoon salt
- 1/4 teaspoon black pepper
Wraps
- 4 large tortillas
- 1/4 cup chopped fresh parsley (optional)
Cooking Oil
- as needed olive oil for cooking
Instructions
- Mix shredded chicken, mozzarella, cream cheese, garlic powder, salt, and pepper.
- Spread the mixture onto a tortilla, add parsley if desired, then roll up.
- Heat olive oil in a skillet over medium heat. Place wraps seam side down.
- Cook 3-4 minutes per side until golden and cheese melts.
- Slice in half and serve warm.
Notes
Loved this recipe? Save it to your favorite Pinterest board so you can easily find it later! It’s the perfect way to keep all your sweet ideas in one place. ✨